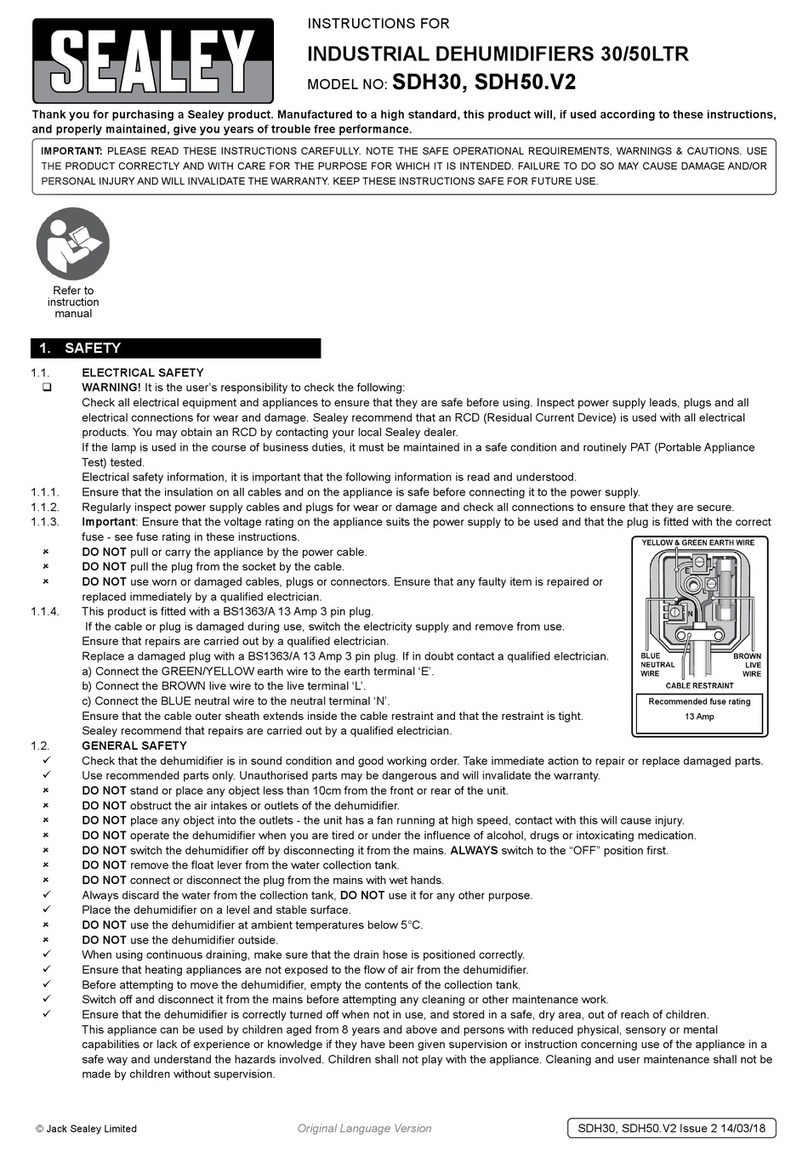
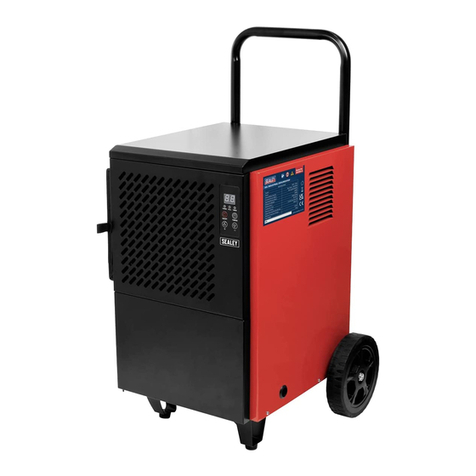
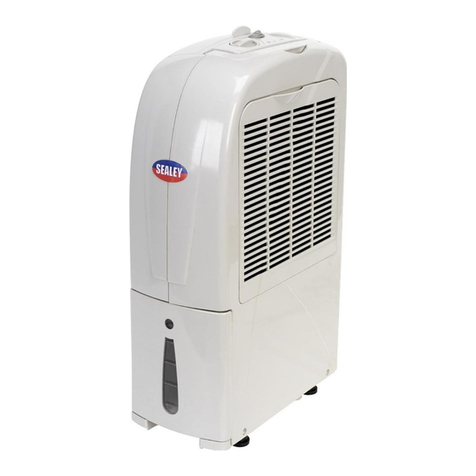
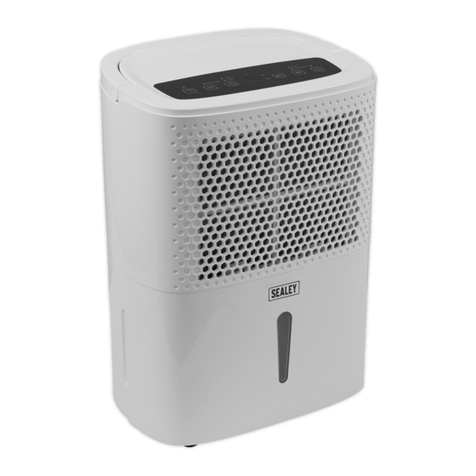
Sealey SDH30 User manual

INSTRUCTIONS FOR:
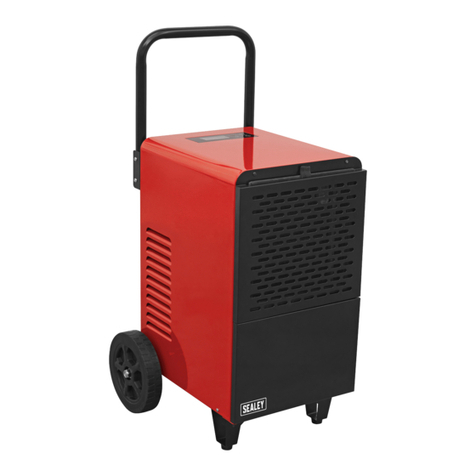
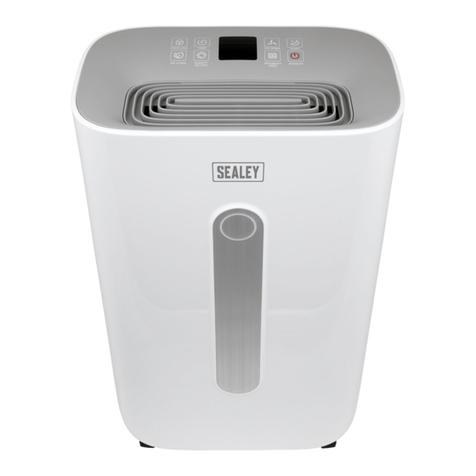
INDUSTRIAL DEHUMIDIFIER
MODELS:SDH30 & SDH50
Thank you for purchasing a Sealey product. Manufactured to a high standard this product will, if used according to these instructions and properly
maintained, give you years of trouble free performance.
IMPORTANT: PLEASE READ THESE INSTRUCTIONS CAREFULLY. NOTE THE SAFE OPERATIONAL REQUIREMENTS, WARNINGS & CAUTIONS. USE
THE PRODUCT CORRECTLY AND WITH CARE FOR THE PURPOSE FOR WHICH IT IS INTENDED. FAILURE TO DO SO MAY CAUSE DAMAGE AND/OR
PERSONAL INJURY AND WILL INVALIDATE THE WARRANTY. PLEASE KEEP THESE INSTRUCTIONS SAFE FOR FUTURE USE.
1. SAFETY INSTRUCTIONS
1.2. GENERAL SAFETY
3 Check that the dehumidifier is in sound condition and good working order. Take immediate action to repair or replace damaged parts.
3Use recommended parts only. Unauthorised parts may be dangerous and will invalidate the warranty.
7 DO NOT stand or place any object less than 10cm from the front or rear of the unit.
7 DO NOT obstruct the air intakes or outlets of the dehumidifier.
7 DO NOT place any object into the outlets - the unit has a fan running at high speed, contact with this will cause injury.
7 DO NOT operate the dehumidifier when you are tired or under the influence of alcohol, drugs or intoxicating medication.
7 DO NOT switch the dehumidifier off by disconnecting it from the mains. ALWAYS switch to the “OFF” position first.
7 DO NOT remove the float lever from the water collection tank.
7 DO NOT connect or disconnect the plug from the mains with wet hands.
3 Always discard the water from the collection tank, DO NOT use it for any other purpose.
3 Place the dehumidifier on a level and stable surface.
3 DO NOT use the dehumidifier at ambient temperatures below 5°C.
3 DO NOT use the dehumidifier outside.
3 When using continuous draining, make sure that the drain hose is positioned correctly.
3 Ensure that heating appliances are not exposed to the flow of air from the dehumidifier.
3 Before attempting to move the dehumidifier, empty the contents of the collection tank.
3Switch off and disconnect it from the mains before attempting any cleaning or other maintenance work.
3Ensure that the dehumidifier is correctly turned off when not in use, and stored in a safe, dry area, out of reach of children.
1.1. ELECTRICAL SAFETY
pWARNING! It is the responsibility of the owner and the operator to read, understand and comply with the following:
You must check all electrical products, before use, to ensure that they are safe. You must inspect power cables, plugs, sockets and any other
connectors for wear or damage. You must ensure that the risk of electric shock is minimised by the installation of appropriate safety devices.
A Residual Current Circuit Breaker (RCCB) should be incorporated in the main distribution board. We also recommend that a Residual
Current Device (RCD) is used. It is particularly important to use an RCD with portable products that are plugged into a supply which is not
protected by an RCCB. If in any doubt consult a qualified electrician. You may obtain a Residual Current Device by contacting your Sealey
dealer.
You must also read and understand the following instructions concerning electrical safety.
1.1.1. The Electricity at Work Act 1989 requires that all portable electrical appliances, if used on business premises, are tested by a qualified
electrician, using a Portable Appliance Tester (PAT), at least once a year.
1.1.2. The Health & Safety at Work Act 1974 makes owners of electrical appliances responsible for the safe condition of those appliances and the
safety of the appliance operators. If in any doubt about electrical safety, contact a qualified electrician.
1.1.3. Ensure that the insulation on all cables and on the appliance is safe before connecting it to the
power supply. See 1.1.1. and 1.1.2. and use a Portable Appliance Tester.
1.1.4. Ensure that cables are always protected against short circuit and overload.
1.1.5. Regularly inspect power supply cables and plugs for wear or damage and check all
connections to ensure that none are loose.
1.1.6. Important: Ensure that the voltage marked on the appliance matches the power supply
to be used and that the plug is fitted with the correct fuse - see fuse rating at right.
1.1.7. DO NOT pull or carry the appliance by the power cable.
1.1.8. DO NOT pull the plug from the socket by the cable.
1.1.9. DO NOT use worn or damaged cables, plugs or connectors. Immediately have any faulty
item repaired or replaced by a qualified electrician. When a BS 1363/A UK 3 pin plug is
damaged, cut the cable just above the plug and dispose of the plug safely.
Fit a new plug according to the following instructions (UK only).
a)Connect the GREEN/YELLOW earth wire to the earth terminal ‘E’.
b)Connect the BROWN live wire to the live terminal ‘L’.
c)Connect the BLUE neutral wire to the neutral terminal ‘N’.
d)After wiring, check that there are no bare wires, that all wires have been correctly connected, that the cable outer insulation
extends beyond the cable restraint and that the restraint is tight.
Double insulated products, which are always marked with this symbol , are fitted with live (brown) and neutral (blue) wires only. To rewire,
connect the wires as indicated above - DO NOT connect either wire to the earth terminal.
1.1.10. Products which require more than 13 amps are supplied without a plug. In this case you must contact a qualified electrician to ensure
that a suitably rated supply is available. We recommend that you discuss the installation of an industrial round pin plug and socket
with your electrician.
1.1.11. If an extension reel is used it should be fully unwound before connection. A reel with an RCD fitted is preferred since any appliance
plugged into it will be protected. The cable core section is important and should be at least 1.5mm², but to be absolutely sure that the
capacity of the reel is suitable for this product and for others which may be used in the other output sockets, we recommend the use
of 2.5mm² section cable.
FUSE RATING: 13AMP
Blue
Neutral
Wire
Yellow & Green
Earth Wire
Cable
Restraint
Brown
Live
Wire
SDH30, SDH50 Issue No: 1 - 15/10/08
2. SPECIFICATION
3. OPERATION
Powerful dehumidification capacity. Removes excess moisture from air, preventing build-up of
mildew and mould. Features auto-defrost function, which activates if the room temperature falls
too low. Washable activated carbon air filter. Refrigerant is environmentally friendly R407C.
May be connected to a drain hose for continuous operation. Mounted on castors for
manoeuvrability.
SDH30, SDH50 Issue No: 1 - 15/10/08
Model No: SDH30 SDH50
Supply Voltage: 230V 230V
Power: 750W 900W
Dehumidifying Capacity: 30ltr/day 50ltr/day
Working Space: 30 ~ 40m250 ~ 70m2
Maximum Airflow: 300m3/hr 350m3/hr
Refrigerant: R407C R407C
Condensate Tank: 5ltr (with auto shut-off) 5ltr (with auto shut-off)
Working Temperature Range: 5 ~ 32°C 5 ~ 32°C
Dimensions (L x W x H) 497 x 420 x 850mm 497 x 420 x 850mm
Weight: 28kg 30kg
Efficiency of the dehumidifier is influenced by the air outside the room. For operating efficiently, try to avoid opening and closing the windows
and doors. For best performance, operate the dehumidifier within the usable operating temperature.
3.1 Operation
3.1.1 Plug the unit in to the mains socket, a beep will be heard when inserting the plug.
3.1.2 Press the "ON/OFF" switch and the operation light will illuminate, the humidity display will light to display the previous set humidity. The initial
setting for humidity is 60%, after 3 seconds the display will show the current humidity.
3.1.3 Press the humidity up or down buttons to adjust to the desired humidity required. If the required humidity is 3% below the current humidity the
unit will start automatically, if the set humidity is 3% more than the current humidity the dehumidifier will automatically stop.
3.1.4 The unit has a memory function. Use the humidity up and down buttons to adjust to the desired setting and then press the memory button
to record the setting, each time the machine is switched on it will automatically run at the required setting.
3.1.5 When setting the humidity to less than 30%, the unit will run continuously and the display will read "CO".
3.1.6 To shut the dehumidifier down press the "ON/OFF" switch.
Note: If the humidity setting is greater than the current humidity the unit will not run.
pWARNING! The fan motor and compressor must run for at least 3 minutes while dehumidifying.
7 DO NOT start the dehumidifier immediately after shutting down, allow 3 minutes before restarting.
fig.1
3.2 Defrosting Operation
The evaporator within the dehumidifier frosts during the dehumidifying operation at a room temperature of approximately 15°C or less. The
defrosting device works automatically at an interval of approximately every 30 minutes for a duration of approximately 5 minutes. The
dehumidifying function will stop during the defrosting operation. Do not disconnect the plug or turn off the unit during the defrosting operation.
Note: This dehumidifier does not have a cooling function, it produces heat during the operation and room temperature will rise by 1°C to 4°C. The
temperature gets higher while it is operated in a closet, or similar. Furthermore, room temperature will rise because doors and windows are
closed and heat is produced from other appliances in the room and from sun radiation.
3.3 Emptying the Water Collection Tank
During the dehumidifying operation, water is collected in the water collection tank. When the tank is full of water, the dehumidifier stops
operating automatically and the warning buzzer beeps twice. The unit will not restart until the water collection tank has been emptied.
3.3.1 Open the door and remove water collection tank from the dehumidifier by pulling it gently outwards by holding the sides of the tank (fig.3).
3.3.2 Hold the tank by the handle and carry it carefully to an emptying point.
3.3.3 Remove the plug at the bottom of the tank and slowly empty the water out of the tank.
3.3.4 Replace the drain plug and refit the tank in the dehumidifier, making sure it is properly back in place as the unit will not restart if it is not fitted
correctly.
3.4 Continuous Draining
3.4.1 If there is a place suitable for draining, continuous draining can be carried out. The continuous operation enables the dehumidfying operation
to continue uninterrupted.
3.4.2 Turn off the dehumidifier, disconnect the power plug and remove the water collection tank.
fig.2 Control Panel

SDH30, SDH50 Issue No: 1 - 15/10/08
fig.3
fig.4
Drain plug and continuous
draining hose connection
3.4.3 Remove the plug from the bottom right hand side of the tank (fig.3) and
attach a suitable length hose It should have an inner diameter of 5/8"
and secure with a hose clip.
3.4.4 Thread the hose through the hole in the bottom right hand side of the
base of the unit, insert the tank ensuring that the hose is not kinked.
3.4.5 Continue to use the dehumidifier as normal.
4.1 Cleaning Air Filter
The dehumidifying capacity is lowered when the air cleaning filter
becomes clogged.
4.1.1 Open the front door of the unit.
4.1.2 Lift up the filter element from the bottom as shown in fig.4 and lift
out of the holder.
4.1.3 To dislodge the dust from the filter, use a vacuum cleaner or tap it
lightly.
4.1.4 If the filter is very dirty, wash it carefully in water with a neutral
detergent, then rinse well with clean water and leave until dry.
4.1.5 To refit the air filter locate the top of the element into the locating
bracket at the top of the door and then locate the lower section into
the lower bracket.
4.1.6 Close the door of the dehumidifier.
4.2 Storage
4.2.1 Unplug the unit, bundle the power cord, and hang the bundled cord
at the back of the unit.
4.2.2 Remove the water collection tank and empty the water out of it.
Remove the tank cover and wash the inside of the tank with clean
water. The tank may be scratched if it is scrubbed strongly with a
brush. Do not remove the float lever from the tank. Wipe off the
water on the outside of the tank with a cloth. Refit the tank cover
onto the tank and replace the tank in position.
4.2.3 Clean the air filter (see 4.1).
4.2.4 When the unit is to be stored for a long time, wipe the dehumidifier
over with a dry soft cloth. To remove dirt, wipe over with a very
slightly dampened cloth (never use a wet cloth for cleaning the
controls). To avoid deformation or cracking, do not use benzine,
thinner or liquid cleaners.
4.2.5 When storing, place in a safe, dry, childproof location. Stand the unit
upright and avoid exposure to direct sunlight.
4. MAINTENANCE
5 . TROUBLESHOOTING
Problem Cause Remedy
Will not run Switch is not “ON” Switch “ON”
Unit is not plugged in Insert plug
Fuse blown Replace fuse
Water tank full Empty water tank
Dehumidifier inefficient Filter blocked Clean filter
Inlet or outlet vents restricted Remove restriction
Doors or windows open Close openings
Refrigerant leak Contact Sealey dealer
Water leaking from unit Dehumidifier is not level Adjust position of dehumidifier
Reservoir float not shutting down unit Contact Sealey dealer
Error Codes Problem
E1 Humidity sensor faulty
E2 Refrigerant sensor faulty
Declaration of Conformity We, the sole importer into the UK, declare that the product listed below is in conformity with the following
standards and directives
The construction file for this product is held by the Manufacturer and may be inspected on
request by contacting Jack Sealey Ltd.
For Jack Sealey Ltd. Sole importer into the UK of Sealey Power Products.
Industrial Dehumidifier
Models: SDH30, SDH50
2006/95/EC Low Voltage Directive
2004/108/EC EMC Directive
2002/95/EC RoHS Directive
2002/96/EEC WEEE Directive
93/68/EEC CE Marking Directive
15 October 2008
Signed by Steve Buckle
6 . DECLARATION OF CONFORMITY
NOTE: It is our policy to continually improve products and as such we reserve the right to alter data, specifications and component parts without prior notice.
IMPORTANT: No liability is accepted for incorrect use of this product.
WARRANTY: Guarantee is 12 months from purchase date, proof of which will be required for any claim.
INFORMATION: For a copy of our catalogue and latest promotions call us on 01284 757525 and leave your full name, address and postcode.
01284 757500
01284 703534
sales@sealey.co.uk
Sole UK Distributor
Sealey Group,
Bury St. Edmunds, Suffolk.
www.sealey.co.uk
W e b
email
This manual suits for next models
1
Table of contents
Other Sealey Dehumidifier manuals

Sealey
Sealey ADB3000 User manual

Sealey
Sealey SDH10 User manual

Sealey
Sealey SDH90 User manual

Sealey
Sealey SDH50.V2 User manual

Sealey
Sealey ADB300 User manual

Sealey
Sealey SDH70 User manual

Sealey
Sealey SDH30.V2 User manual

Sealey
Sealey SDH102.V2 User manual

Sealey
Sealey XRC25 User manual

Sealey
Sealey SDH20.V5 User manual