7DO NOT touch the quartz lamps, even when cold. (See 3.1.4).
7DO NOT use the heater without the guards fitted.
7DO NOT use the heater without the wheels fitted and locked.
7DO NOT allow the heater to get wet as this may cause an electric shock, causing damage to the heater and possible personal injury.
7DO NOT let power lead hang over an edge (i.e. table), or touch a hot surface, lie in the beam of heat, or run under a carpet.
7DO NOT cover heater when in use, and do not obstruct the air inlet and outlet grilles.
7DO NOT use in bathroom, shower room, or in any wet or damp environments or where there is high condensation.
7DO NOT operate the heater when you are tired or under the influence of alcohol, drugs or intoxicating medication.
7DO NOT insert or allow objects to enter any openings of heater as this may cause an electric shock, fire or damage to heater.
7DO NOT use the heater out of doors. These heaters are designed for indoor use only.
7DO NOT use heater if the power cord, plug or the heater is damaged, or if the heater has become wet.
7DO NOT use the heater where there are flammable liquids, solids or gases such as petrol, solvents, aerosols etc, or where heat sensitive materials may be stored.
7DO NOT place the heater near items that may be damaged by heat, allow at least 2mtr clearance in front of the heater.
7DO NOT touch the outlet grille of the heater during and immediately after use as it will be hot.
7DO NOT allow children to touch or to operate the heater.
7DO NOT place heater too close to yourself or any object, allow the air to circulate freely.
7DO NOT use the heater for any purpose other than for which it is designed.
3Allow the unit to cool before storage. When not in use, disconnect from the mains power supply and store in a safe, cool, dry, childproof area.
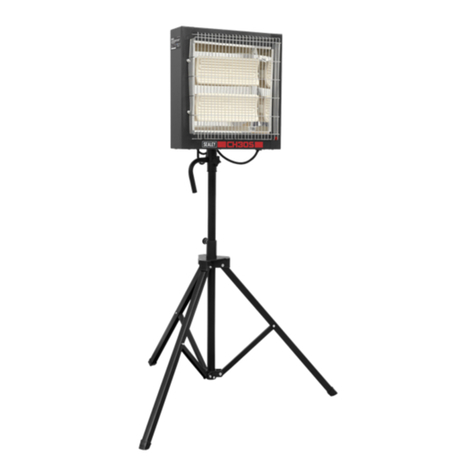
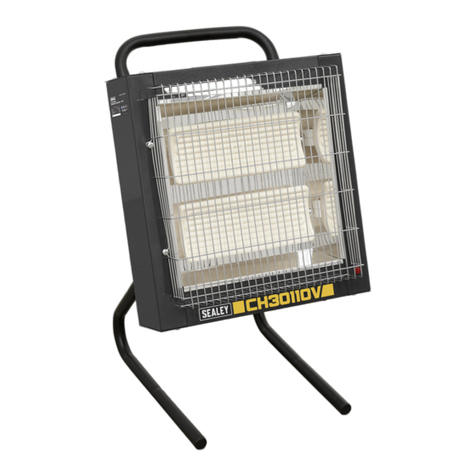
3.2. IRS153.V3 - IRS153.110V.V2 Fig.2.
3.2.1. Fit the handle section of the
support frame to the wheel
section ensuring the fixing holes
align.
3.2.2. Fit the heater to the support frame
using the bolts provided, ensuring the
shaped spacers are fitted either side of
the frame as shown. Tighten the
bolts sufficiently to retain the heater
at the required angle.
3.2.3 Remove the front grille by
unscrewing the retaining screws.
3.2.4 Extract the lamps from the shipping
carton.
NEVER TOUCH LAMP GLASS
DIRECTLY WITH FINGERS, ONLY
TOUCH THE CERAMIC ENDS OR
USE A SOFT CLOTH,
OTHERWISE LAMPS COULD BE
DAMAGED!
3.2.5 Carefully insert each lamp into the
two push-in side fittings with a
gentle pressure.
3.2.6 Check the lamps are properly located.
3.2.7 Reassemble the front grille.
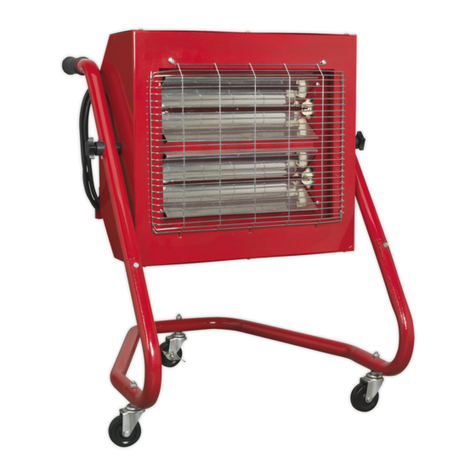
3.1. IRC153.V3 - IRC153.110V.V2 Fig.1.
3.1.1. Attach the wheel sub-assemblies to
the base of the heater using the bolts
provided. Ensure the lockable wheels
are to the rear of the heater.
3.1.2. Attach the handle to the top of the
heater using the boltsprovided,
ensuring the shaped spacers are
fitted between the heater and the
handle as shown.
3.1.3 Remove the front grille by
unscrewing the retaining screws.
3.1.4 Extract the lamps from the shipping
carton.
NEVER TOUCH LAMP GLASS
DIRECTLY WITH FINGERS, ONLY
TOUCH THE CERAMIC ENDS OR
USE A SOFT CLOTH,
OTHERWISE LAMPS COULD BE
DAMAGED!
3.1.5 Carefully insert each lamp into the
two push-in side fittings with a
gentle pressure.
3.1.6 Check the lamps are properly located.
3.1.7 Reassemble front grille.
3. ASSEMBLY
Fig 1 Fig 2
4. HEATER OPERATION
4.1. Operating the heater.
4.1.1. Place the heater on a level floor in a suitable position in the area you require to heat. Allow a minimum of 2mtr between the heater and adjacent objects.
4.1.2. Plug the heater into the mains supply.
4.1.3. Select the required output by using the two rocker switches on the side which switch the lamps on and off. Each lamp has an output of 1500W.
4.1.4. To switch the unit off, select 0 on both the rocker switches and unplug from the mains. Allow the unit to cool before handling or storage.
pWARNING! DO NOT touch the top of the heater when in use as it becomes hot.
p
p
WARNING! Always allow lamps to cool before moving the units. Use only on a smooth even surface. Failure to do so will cause premature wear to
the lamps and reduce their working life.
2.1. Introduction
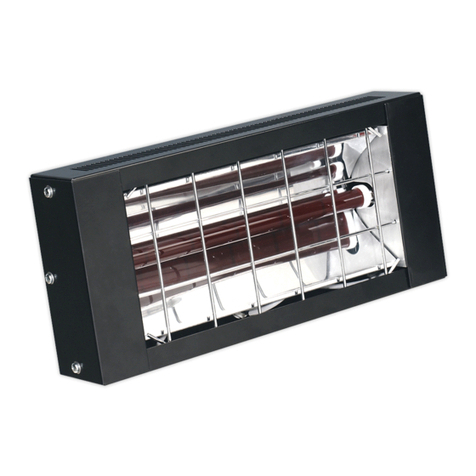
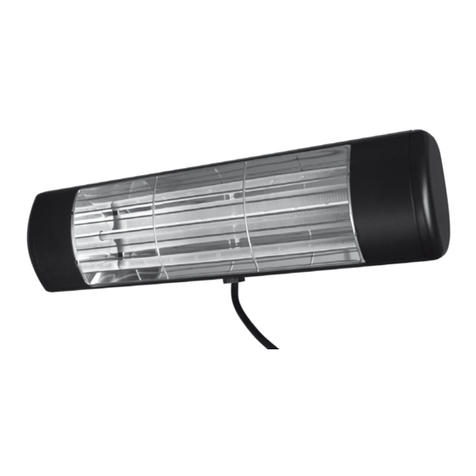
2.1.1. Powder coated metal cabinet with 2 quartz infrared lamps and chemically polished reflectors for maximum heat emission. Controllable power output by
rocker switches on the side of the cabinet. Features easy-rolling swivel castors with 2 locking castors. Suitable for wide range of personnel warming
and restorative applications. Supplied with cable and BS/ASTA approved plug.
2.2. Specification
Models . . . . . . . . . . . . . . . . . . . . . . . . . . . . .IRC153.V3 . . . . . . . . . . .IRC153.110V.V2 . . . . . . . . . . . . . . . .IRS153.V3 . . . . . . . . . . .IRS153.110V.V2
Power output (2 heat settings) . . . . . . .1500/3000 Watt . . . . . . . . . . .1500/3000 Watt . . . . . . . . . . . .1500/3000 Watt . . . . . . . . . . . .1500/3000 Watt
Size W X D X H . . . . . . . . . . . . . .560 x 490 x 880mm . . . . . . . . .560 x 490 x 880mm . . . . . . . . .590 x 500 x 820mm . . . . . . . .590 x 500 x 820mm
Weight . . . . . . . . . . . . . . . . . . . . . . . . . . . . . . . . . .18kg . . . . . . . . . . . . . . . . . . . .18kg . . . . . . . . . . . . . . . . . . . .13kg . . . . . . . . . . . . . . . . . . . .13kg
Supply . . . . . . . . . . . . . . . . . . . . . . . . . . . .230V (50Hz) . . . . . . . . . . . . . .110V (50Hz) . . . . . . . . . . . . . .230V (50Hz) . . . . . . . . . . . . . .110V (50Hz)
Spare lamp Part No. INF64241565
2. INTRODUCTION AND SPECIFICATIONS
IRC153.V2, IRC153.110V, IRS153.V2, IRS153.110V - 1 - 010704
