4. CALIPER OPERATION
WARNING! Ensure that you have read and understood Section 1 safety instructions before commencing.
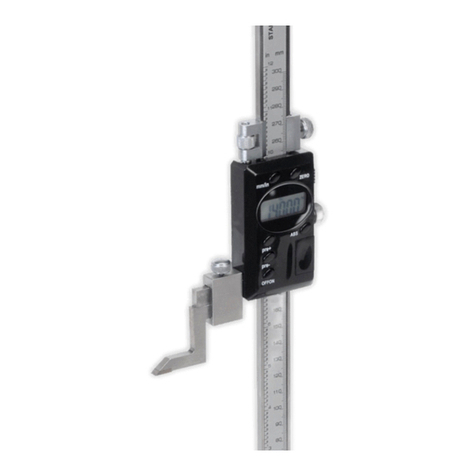
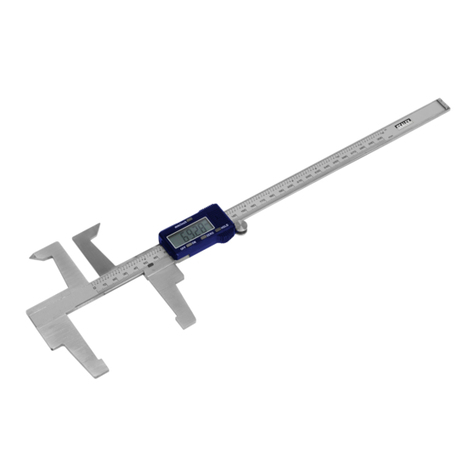
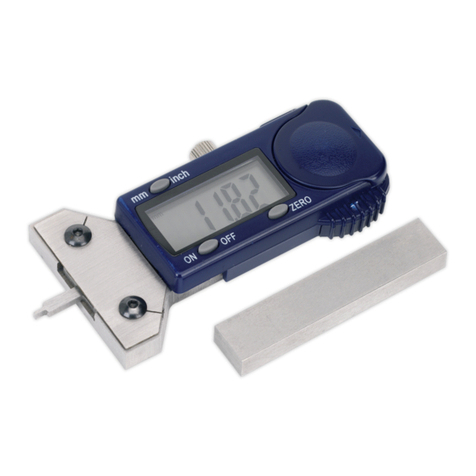
4.1. Ensure all measuring surfaces are clean and then turn on caliper by pressing ‘On-Off’ switch. Wait at least one second before use.
4.2. Loosen locking screw/thumb lock and close caliper; if read-out does not show zero when in closed position, reset by pressing ‘Zero’
switch again.
4.3. Select ‘inch’ or ‘mm’ units, as required, with the ‘Inch/mm’selector switch. Check that display shows the required units.
4.4. Measurements will now be shown directly on the LCD display.
4.5. A new ‘zero’ may be obtained, at any open position of the instrument, by pressing the ‘Zero’ switch.
5. MICROMETER OPERATION
WARNING! Ensure that you have read and understood
Section 1 safety instructions before commencing.
5.1. Ensure all measuring surfaces are clean.
5.2. ORIGIN SETTING. Use this function to preset the origin
value.
(Value can be anything from 0-25mm and can be used for
calibration purposes).
5.2.1. Press (RESET) and (-) buttons together and hold until
“SET” begins to flash on the LCD.
5.2.2. Press the (+) or (-) button to preset the origin value as
required. Now press (RESET) to confirm the setting.
5.3. ORIGIN RESETTING. Use this function to calibrate the
device using the preset origin value entered in step 5.2.
5.3.1. Ensure the measuring faces of the micrometer are in
contact with the object being used to calibrate it and
that the measurement is precisely the distance required
(i.e. identical to the preset origin value) and press (RESET).
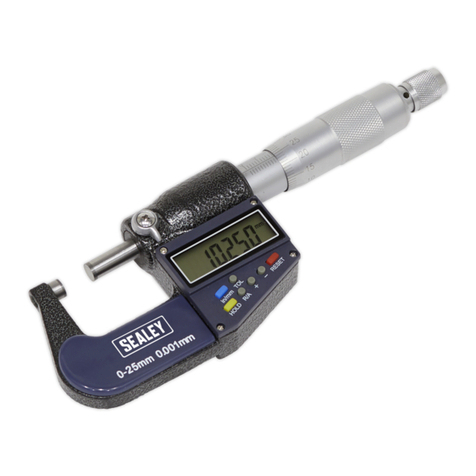
5.4. TO MEASURE AN OBJECT; open the micrometer by
revolving the large barrel, place the object between the
measuring surfaces and close the micrometer using the smaller ratchet barrel (the ratchet is used to prevent over tightening which
could other wise result in inaccurate measurement, damage to the micrometer and damage to the object being measured).
The reading is taken from the LCD display.
5.5. METRIC/IMPERIAL CONVERSION. Press the “in/mm” button (1) to convert the display format from inches to millimetres and visa
versa.
5.6. DATA HOLD. This function is used to temporarily hold or x data on the LCD display for ease of recording.
5.6.1. Once a measurement has been taken, press the HOLD button (2). The letter H will appear at the top of the display and the data
currently shown will become xed. When the data has been recorded, press the HOLD button again to release the display.
5.7. RELATIVE/ABSOLUTE MEASURING. To use relative measuring e.g. to determine the dierence in width of two objects,
measure the rst object (as explained in section 5.4), press the R/A button (the letters “REL” should appear in the LCD)
and immediately measure the second object. The LCD will display the dierence between the two objects. To revert back
to absolute measuring simply press the R/A button once more.
5.8. TOLERANCE SETTING. Use to set a tolerance e.g. for use when measuring a large number of components to check they are
within acceptable size limits.
5.8.1. Press the TOL button. “TOL up” should appear in the LCD. Turn the micrometer to set the upper level.
5.8.2. Press the TOL button again, “TOL down” should now appear in the LCD. Turn the micrometer once more to set the lower level.
Press the TOL button again to conrm the settings, “OK” should appear in the LCD.
5.8.3. To wipe the tolerance setting, press the TOL button three times in quick succession.
6. BATTERY FITTING
6.1. FITTING A NEW BATTERY IN CALIPER
A flashing display indicates that the battery is exhausted - replace as follows:
1. Switch off and then remove battery cover (9) by firmly sliding towards the right.
2. Remove exhausted battery and fit replacement with positive side uppermost (fig.1).
3. Refit battery cover.
4. Dispose of old battery in a safe and approved manner. DO NOT burn.
NOTE: If the display fails to alter when the slide is moved, remove the battery -
wait at least 30 seconds and then refit the battery.
6.2. FITTING A NEW BATTERY IN MICROMETER
A flashing display indicates that the battery is exhausted - replace as follows:
1. Remove battery cover using the semi-circular side of the supplied wrench (fig. 2.).
2. Remove exhausted battery and fit replacement with positive side uppermost, Refit
cover.
3. Dispose of old battery in a safe and approved manner. DO NOT burn.
NOTE: If the display fails to alter when the slide is moved, remove the battery -
wait at least 30 seconds and then refit the battery.
1. Metric/Imperial conversion
2. Data hold
3. Relative/absolute measuring
4. Tolerance setting
5. Positive setting
6. Negative setting
7. Reset
g.1
g.2
AK9637D.V2 Issue 3 02/07/2020
Original Language Version
© Jack Sealey Limited
