Preparing your battery to be charged
Itis important that you read and follow these guidelines
while you are preparing to charge your battery.
• Make sure that you have a 12 volt lead-acid battery.
• Clean the battery terminals. Be careful to keep
corrosion from getting in or around your eyes.
• If you have a battery with removable cell caps, if
required, add distilled water to each cell until the
battery acid reaches the level indicated by the
manufacturer. This will help purge excessive gases
from the cells. Be careful not to overfill. If you
have a sealed battery without cell caps, no action is
necessary. Continue to the next step listed below.
• Take time to read all battery manufacturer's
specific precautions, such as removing or not
removing cell caps while charging, and recom-
mended rates of charge.
• Wear safety glasses. See additional "Personal
Safety Precautions" on page 2.
• Be sure that the area around the battery is well-
ventilated while it is being charged.
• If it is necessary to remove the battery from the
vehicle to charge it, always remove the grounded
terminal from the battery first. A spark may be
caused if all accessories in the vehicle are not
completely turned off.
NOTE: A marine battery installed in a boat must be
removed and charged on shore.
Charging your battery
ALWAYS DISCONNECT CHARGER FROM POWER I
SOURCE WHEN CONNECTING OR I
DISCONNECTING CHARGER TO OR FROM
BATTERY.
Charging a battery in the vehicle:
1. Arrange the power cord and charging leads
carefully to avoid damage that could be caused by
the hood, door, or moving engine parts.
2. Keep your hands, leads and power cord clear of fan
blades, belts, pulleys, and other parts thatcan cause
injury.
3. Check the polarity of the battery posts as indicated
on the battery case: POSITIVE (POS, P, or +) and
NEGATIVE (NEG. N or -). NOTE: The positive post
on top-post batteries is usually larger than the nega-
tive post.
4. Identify which battery post is ground or connected to
the chassis. THE NEGATIVE POST IS
NORMALLY THE ONE THAT IS GROUNDED.
5. On a negative grounded system:
Connect the red (POSITIVE) charger lead to the
ungrounded POSITIVE (POS, P, +) cable connec-
tion to the battery. Then connect the black (NEGA-
TIVE) lead to the grounded NEGATIVE (NEG, N, -)
connection.
On a positive grounded system:
Connect the black (NEGATIVE) battery charger lead
to the NEGATIVE (NEG, N, -) connection to the bat-
tery. Then connect the red (POSITIVE) lead to the
to the grounded POSITVE (POS, P, +) connection.
IMPORTANT: Wear safety glasses and face away
from the battery while making connections.
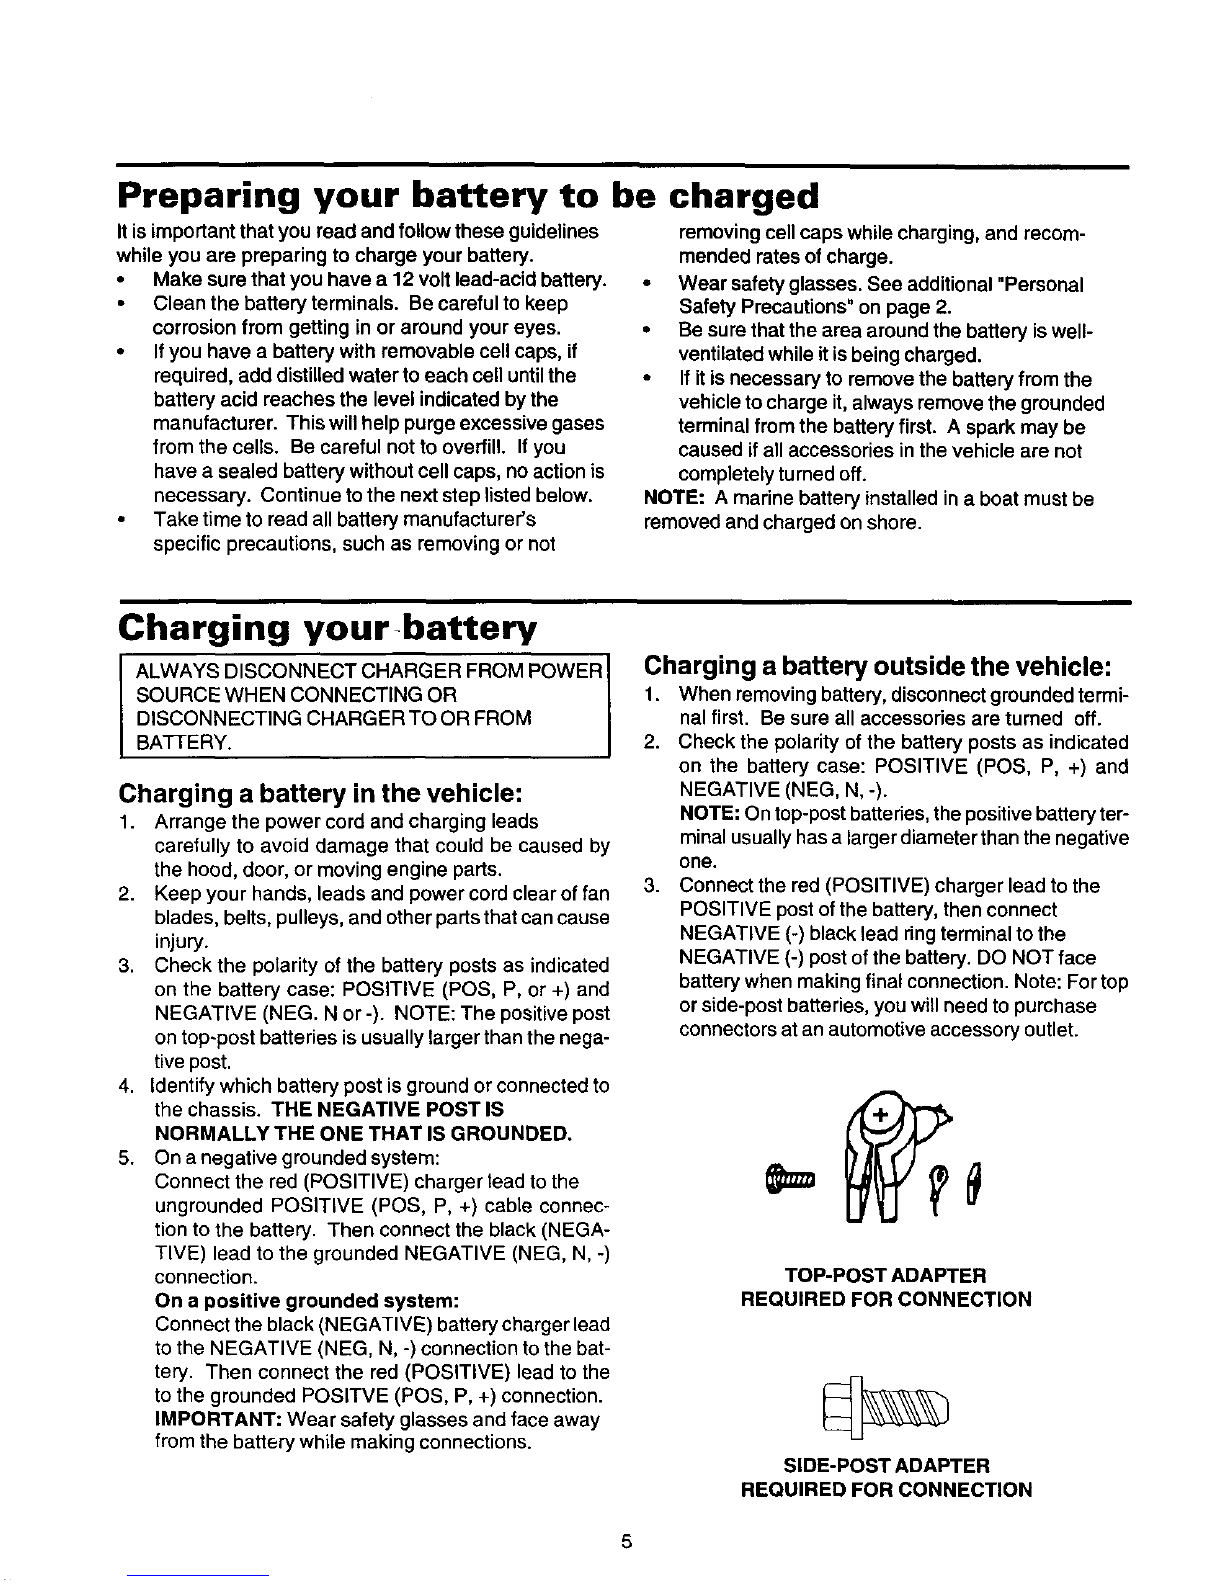
Charging a battery outside the vehicle:
1. When removingbattery, disconnect grounded termi-
nal first. Be sure all accessories are turned off.
2. Check the polarity of the battery posts as indicated
on the battery case: POSITIVE (POS, P, +) and
NEGATIVE (NEG, N, -).
NOTE: On top-post batteries,the positive batteryter-
minalusually has a larger diameter than the negative
one.
3. Connect the red (POSITIVE) charger lead to the
POSITIVE post ofthe battery, then connect
NEGATIVE (-) black lead ringterminal to the
NEGATIVE (-) post of the battery. DO NOT face
battery when making final connection. Note: For top
or side-post batteries, you will need to purchase
connectors at an automotive accessory outlet.
TOP-POST ADAPTER
REQUIRED FOR CONNECTION
SIDE-POST ADAPTER
REQUIRED FOR CONNECTION