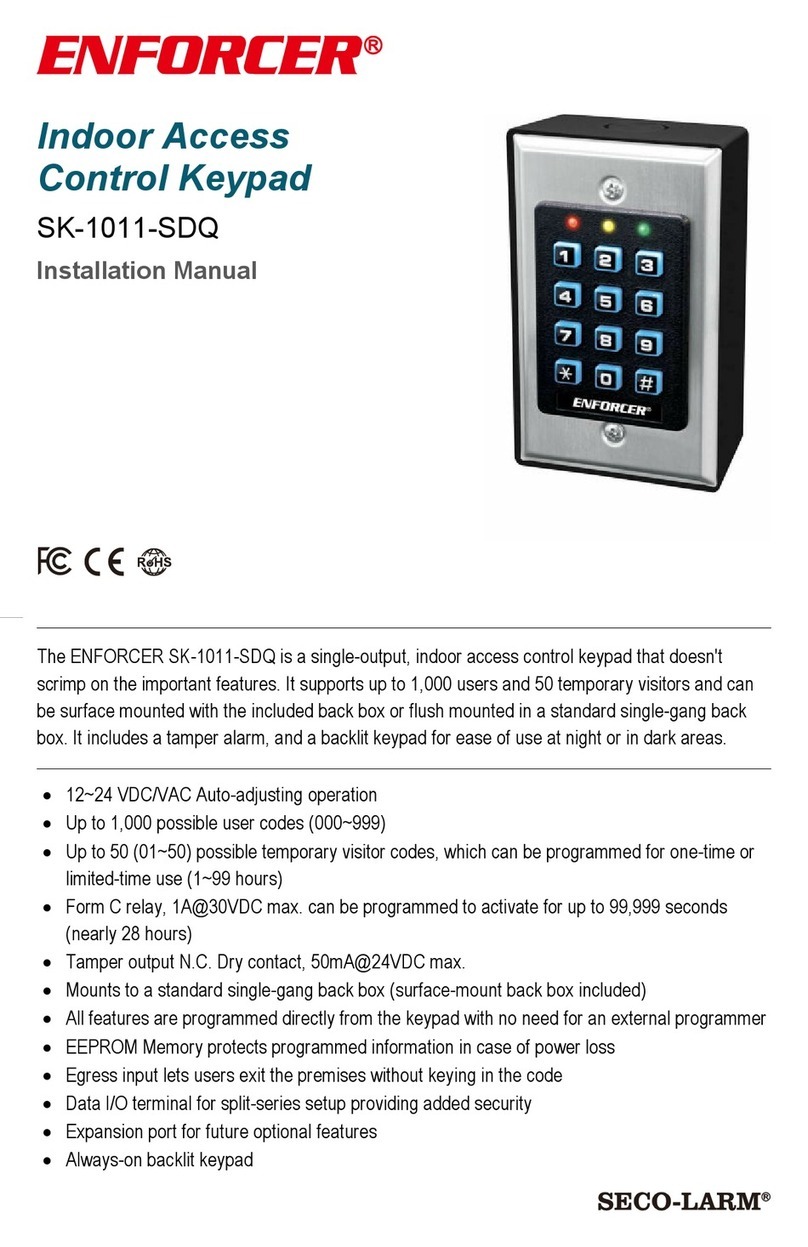
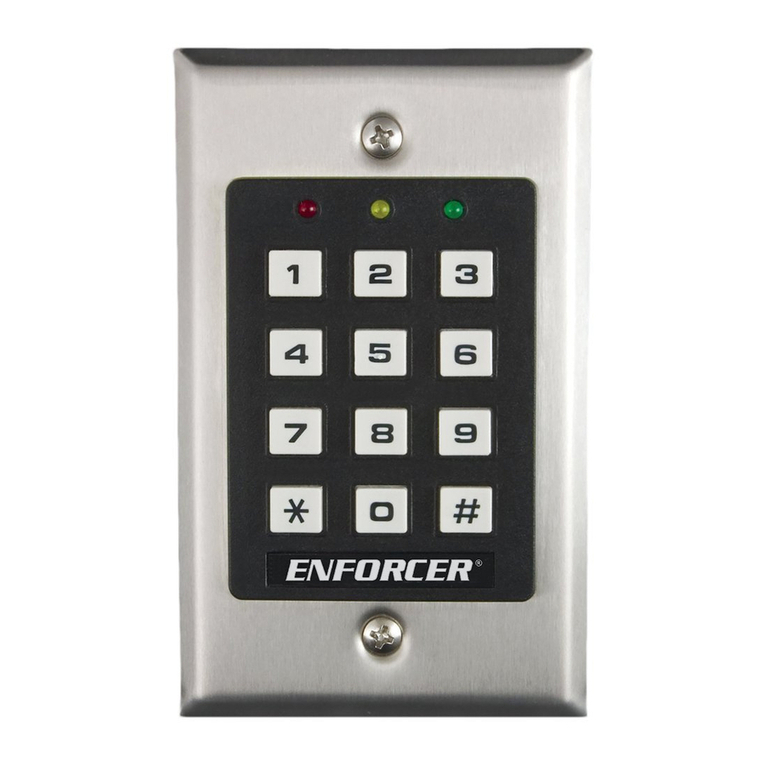
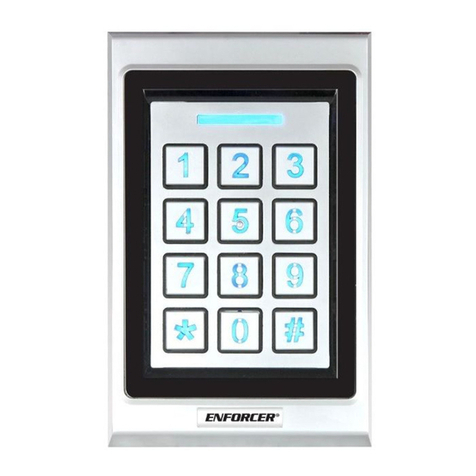
SECO-LARM ENFORCER SK-B241-PQ Service manual

No Codes to Remember
Intuitive, visual, app-based programming and management, 1,000
users, device options, etc.
No Could, No Internet Exposure
All data secured on device, set and monitored by the administrator
More Than Access
Can control doors, gates, lighting, machinery, etc.
Multiple User Types
Permanent, scheduled, temporary, number of times
Output Modes
Timed relock (1~1,800s), remain unlocked, remain locked, toggle,
customizable for each users
Individual User Customization
Individually customizable output mode and time
Authorized User Monitor
Displays total number of users to guard against unauthorized
additions
Multiple Ways to Open a Door or Device
Keypad, proximity card/fob*, or app
Hold Open
Hold door open with code, card, or app (customizable)
Secure, Integrated Bluetooth
Passcode protected, AES128 encryption
Unlimited Devices
Access/manage an unlimited number of devices with one app
Easy Backup and Restore
For off-device storage, restoration, and replication of devices
Intuitive Device and User Names
Front Door, Finance Office, John Smith, Jane Doe, etc.
Downloadable Audit Trail
Last 1,000 events, searchable by user and event type
Multilingual App Interface
English, Spanish, French, Portuguese, German, Russian,
Vietnamese, and Chinese (Traditional or Simplified)
Bluetooth®
Access Controllers
Complete Installation Manual
and Administrator Guide
™
SL Access

ENFORCER Bluetooth®Access Controllers
2SECO-LARM U.S.A., Inc.
Introduction:
ENFORCER Bluetooth Access Controllers use fully integrated Bluetooth® wireless technology for streamlined setup
and management as well as easy user access.
Table of Contents:
Introduction:.............................................................2
Getting Started:........................................................3
Installation:...............................................................4
Mounting ................................................................4
Typical Wiring Diagram..........................................4
LED Indicators and Device Sounds: ......................5
LED Indicators........................................................5
Keypad Sounds and LEDs.....................................5
IMPORTANT NOTES: ...............................................5
Understanding the SL Access Home Screen: .......6
Logging In to Your Device: .....................................7
Understanding the ADMIN Setup Screen:..............8
Changing the ADMIN Passcode: ..........................10
Adding an ADMIN Proximity Card: .......................11
Changing the Device Name:..................................12
Settings to Enable/Disable:...................................13
Enable/Disable the Door Sensor..........................13
Enable/Disable the Key Sounds...........................13
Global Output Mode:..............................................14
Setting the Output Mode (Global) ........................14
Setting the Time for Timed Relock Mode:............15
Understanding the Toggle Mode:.........................15
Door Hold Open......................................................16
Administrator........................................................16
User .....................................................................16
Business Hours......................................................16
Wrong Code/Card Lockout: ..................................17
Setting the Number of Wrong Codes/Cards.........17
Setting the Wrong-Code/Card Lockout Time .......18
Tamper Alarm:........................................................19
Enable and Select the Tamper Alarm Time .........19
Select the Tamper Alarm Sensitivity ....................20
Auto Proximity Unlock: .........................................21
Setting the Auto Proximity Range ........................21
Enable Auto Proximity Unlock..............................22
Settings Screen Miscellaneous Items:.................23
Managing Users: ....................................................24
Adding Users........................................................24
Viewing, Changing Settings, and Deleting a User26
Setting User Access Type....................................27
Setting User Access Type –Visitors ....................28
Setting User Access Type –Scheduled...............29
Setting a Custom Output Mode for a User ...........30
Searching/Filtering Users.....................................32
Other User Management......................................33
Exporting Users....................................................34
Importing Users....................................................35
User Import Error Message..................................36
Understanding User Files.....................................37
The Audit Trail:.......................................................38
Viewing the Audit Trail .........................................38
Searching / Filtering the Audit Trail ......................39
Saving / Exporting the Audit Trail.........................39
Deleting the Audit Trail.........................................40
Understanding the Audit Trail...............................40
Backing Up Device Settings: ................................42
Back Up Device Settings......................................42
Restoring Device Settings or Replicating to
Another Device: ...................................................43
Restore or Replicate Device Settings...................43
Resetting the Device:.............................................44
Resetting Only the ADMIN Passcode ..................44
Resetting the Device to Factory Default...............44
Editing an Exported User File on a Computer:....45
Instructions to Users:............................................50
Firmware Version Updates:...................................50
Troubleshooting:....................................................51
Accessories Available from SECO-LARM: ..........52
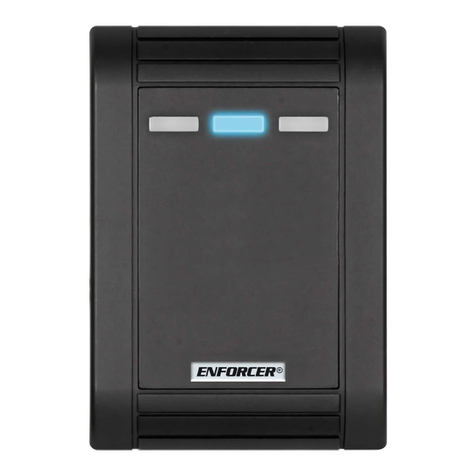
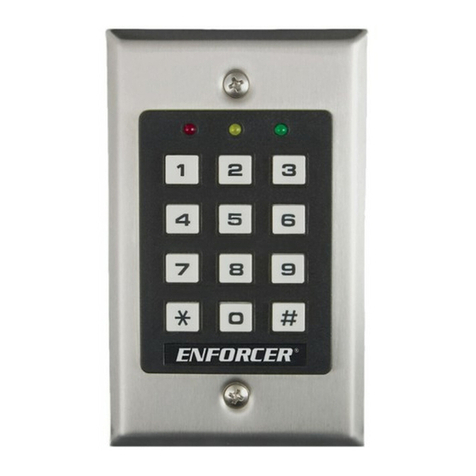
ENFORCER Bluetooth®Access Controllers
SECO-LARM U.S.A., Inc. 3
Getting Started:
To complete the installation and setup, in addition to the device's box contents,
you will also need:
1. A drill with a 5/16" (8mm) drill bit and a larger drill bit and/or hole saw for the
wiring hole.
2. A bit driver for the security screw
3. A Phillips head screwdriver
4. Needle-nose pliers
5. A smartphone with Bluetooth® wireless technology (iOS 11.0 and above,
Android 5.0 and above)
6. The SL Access™ app, downloadable from the App Store or Google Play
NOTES:
a. Be sure to set your smartphone to automatically download app updates so that you always have the latest
version of the app.
b. The app will appear in your device's default language if that language is available (currently English, Spanish,
French, Portuguese, Russian, German, Vietnamese, and Traditional and Simplified Chinese), otherwise, it will
default to English.
c. Page references within the text of this manual are all clickable links which will take you to the page indicated.
Download the SL Access™
app from the corresponding
store for your phone.

ENFORCER Bluetooth®Access Controllers
4SECO-LARM U.S.A., Inc.
Installation:
Mounting
Follow the mounting instructions included in the "Quick Installation / Setup Guide" included with your particular
product. Crimp connectors are included for connecting the wires.
Typical Wiring Diagram
Pictured below is the Single-Gang Keypad, but the installation and wiring for all models are the same.
IMPORTANT NOTES:
*Because the keypad/reader uses a solid state relay, you must use the enclosed diode for DC powered
locks and the varistor (MOV) for AC powered locks and for electromagnetic locks unless your lock has a
diode/MOV built in. Failure to use these as directed will void the warranty.
†Use the blue wire for fail-secure applications and the yellow wire for fail-safe applications. Use electrical tape to
insulate the end of any unused wire.
–+
or†
Lock
Diode/Varistor*
Red –power
(+)
Black –power
(–)
White - COM
Yellow –N.C. fail-safe
Blue –N.O. fail-secure
Green pair –RTE button
Brown pair –door sensor
Orange pair –external alarm
Power Supply
12/24 VDC

ENFORCER Bluetooth®Access Controllers
SECO-LARM U.S.A., Inc. 5
LED Indicators and Device Sounds:
LED Indicators
Keypad Sounds and LEDs
*Keypad sounds can be programmed ON or OFF (see pg. 13) but output sounds will remain activated.
IMPORTANT NOTES:
Green LED
Blue LED
Red LED
Steady
Output activated, door always
unlocked on, or toggle unlocked
activated
Powered on, Standby
Invalid access attempt or door
always locked activated
Flashing
ADMIN settings opened*
*Flashing blue when ADMIN settings is opened overrides other LED indicators
Status
Sounds*
LED
In programming mode
–
Steady ON
Successful key entry
1 Beep
ON for relock duration
Successful code/card entry
1 Beeps
ON for relock duration
Unsuccessful code/card entry
3 Beeps
1 Flash
Wrong code lockout
3 Beeps
1-Second flashes red/blue for lockout duration
1. Always disconnect power before servicing the keypad. Do not apply power until all connection wiring is
completed.
2. The keypad must be properly grounded. Use a minimum 22AWG wire connected to the common ground output.
Failure to do so may damage the keypad.
3.
Allow at least 2ft (60cm) between this and any other keypads to avoid interference.
4. All wiring and programming should be done by a professional installer to reduce the risk of improper installation.
5.
The SL Access App User Manual for this keypad is downloadable from the product page at
www.seco-larm.com.
6.
Be sure to store this manual in a safe place for future reference.
IF USING THE KEYPAD WITH A MECHANICALLY
OPERATED DOOR OR GATE, MOUNT THE KEYPAD AT
LEAST 15' (5m) FROM THE DOOR OR GATE TO PREVENT
USERS FROM BEING CRUSHED OR PINNED. FAILURE TO
DO SO MAY RESULT IN SERIOUS INJURY OR DEATH.

ENFORCER Bluetooth®Access Controllers
6SECO-LARM U.S.A., Inc.
Understanding the SL Access Home Screen:
After you have downloaded the SL Access app (see pg. 3), click on the icon to open the app.
NOTES:
a. On opening the app, you may get a message asking you to enable Bluetooth. Bluetooth must be
enabled to use the app and the device must be in range.
b. You may see the word "Searching…" at the top of the screen (see
right). Bluetooth has a limited range of about 60 feet (20m) under
ideal conditions, but will be much less in practice. Move closer to the
device, but if "Searching…," continues to show you may need to exit
and reopen the app.
"Login" button
"Device Name"
"Settings" button
"Current Device Distance"
with a number showing
"Locked" icon
"Auto Proximity Range"
showing the current
setting
"Auto" selector
❽App version number

ENFORCER Bluetooth®Access Controllers
SECO-LARM U.S.A., Inc. 7
Logging In to Your Device:
NOTES:
a. If more than one device is in range, you may need to choose the correct device from the device name dropdown
at the top of the screen.
b. The administrator's ID is ADMIN and cannot be changed.
c. The factory default passcode should be changed from the "Settings" page immediately for better security (see
pg. 10).
d. Users will use the same app, and will log in in the same manner and these screens will look the same. However,
their functionality will be limited (see pg. 50).
e. Even after logging in, the home screen icon will not change to show that you are now logged in.
f. When you log in on a phone, your credentials are saved to that phone so that you don't have to keep logging in
each time. However, if you log in using another phone, the first phone will have to log in again. Only one phone
can be remembered at a time.
g. You cannot "log out" because Bluetooth LE only connects briefly when a signal is sent. Only logging in from
another phone will cause the first to be "forgotten."
You will need to log in as the
administrator to set up the
device.
1.
From a position near the
device, click "Login" at the
top left of the home screen.
2.
Type "ADMIN" (case
sensitive) in the ID section.
3.
Type the factory default
ADMIN passcode "12345"
as the passcode and click
"Confirm."

ENFORCER Bluetooth®Access Controllers
8SECO-LARM U.S.A., Inc.
Understanding the ADMIN Setup Screen:
From the Home Screen, click on the "Settings" icon in the top right corner to open the settings. At the top
you'll note 4 function buttons above a list of device settings. These will be described on the pages noted
beside each button.
NOTES:
a. This settings screen is available only when logged in as the ADMIN. For the User Settings screen, see pg. 50.
b. While the ADMIN settings screen is open, due to a limitation with Bluetooth LE, users will not be able to access
the device using the app (the keypad, proximity reader, and egress button will function). When finished, return to
the home screen before leaving the app. If you close the app before leaving the Settings screen, it may remain
connected to the device rendering it inaccessible to users via app until it automatically disconnects (around 2
minutes).
Manage Users (pg. 24)
Add and manage users
Export and import user lists
Back Up Settings (pg. 42)
Back up device settings for
archive, restoration, or replication
Audit Trail (pg. 38)
Download the audit trail or delete
the current trail
Restore Settings (pg. 43)
Restore device settings or
replicate from another device

ENFORCER Bluetooth®Access Controllers
SECO-LARM U.S.A., Inc. 9
Understanding the SL Access ADMIN Setup Screen (Continued):
*For devices with a proximity reader
†The Auto Proximity Range refers to the App's Auto Unlock and is unrelated to proximity cards/fobs
‡For keypads only
Device Name (pg. 12)
Rename the device for easy
recognition
Number of Wrong Codes (pg. 17)
Set number of wrong codes before
temporarily locking out the device
Tamper Alarm (pg. 19)
Enable/disable the tamper alarm
(default - enabled)
Tamper Alarm Time (pg. 19)
Set the duration of the tamper
alarm (default –255 minutes)
Device Time (pg. 23)
View the device's date and time
Help (pg. 23)
Go to the SECO-LARM help page
About (pg. 23)
About this app
Output Mode (Global) (pg. 14)
Set the global output mode
ADMIN Card/Fob (pg. 11)
Add ADMIN proximity card/fob*
ADMIN Passcode (pg. 10)
Factory default –12345. Please
change immediately.
Door Sensor (pg. 13)
Enable/disable the door sensor input
Output Time (pg. 15)
Set the length of time before relocking
for Timed Relock Output Mode
Wrong-Code Lockout Time (pg. 18)
Set the locked out duration after too
many wrong codes
Tamper Sensitivity (pg. 20)
Set the sensitivity of the tamper alarm
vibration sensor
Auto Proximity Range (pg. 21)
Set the relative range for the "Auto"
setting†
Key Sounds (pg. 13
Enable/disable the key sounds‡
Legal and Privacy (pg. 23)
Visit the SECO-LARM website for
legal notices and our privacy policy
Firmware Version (pg. 50)
The connected device's firmware
version

ENFORCER Bluetooth®Access Controllers
10 SECO-LARM U.S.A., Inc.
Changing the ADMIN Passcode:
For security, it is important that you immediately change the ADMIN passcode immediately on installation. In
addition, if the eventual administrator is a different person from the installer, or when the administrator changes, it is
important to change the passcode again. The passcode may be 4~8 digits.
NOTES:
a. The passcode should be something you can easily remember but which is unlikely to be guessed by others. If
you forget your password, see pg. 44 for reset instructions.
b. The ADMIN passcode can also be used like a common user to trigger the access device.
Click on ADMIN Passcode
Select the Passcode box
Type the new code (4~8
digits) and click Confirm

ENFORCER Bluetooth®Access Controllers
SECO-LARM U.S.A., Inc. 11
Adding an ADMIN Proximity Card:
If your device includes a proximity reader, the ADMIN can also use a proximity card/fob to log in. Assign a proximity
card/fob to the ADMIN as follows.
NOTES:
a. Like the ADMIN passcode, the proximity card/fob can also be used to trigger the access control device.
b. To delete a card/fob, click ADMIN Car/Fob and then delete the number from the popup box.
Click on ADMIN Card/Fob
Scan the card/fob on the
device or…
… type the card's code in
the popup and click Confirm

ENFORCER Bluetooth®Access Controllers
12 SECO-LARM U.S.A., Inc.
Changing the Device Name:
You can give your access control device a name that can be easily recognized by users and is distinguishable from
other nearby device.
NOTE: The device name can be up to 16 characters including spaces (or 16 bytes for some other languages).
Click on Device Name
Select the Device Name's
entry box
Type the new name and
click Confirm

ENFORCER Bluetooth®Access Controllers
SECO-LARM U.S.A., Inc. 13
Settings to Enable/Disable:
There are two settings that can be enabled (disabled by default).
Enable/Disable the Door Sensor
Enable/Disable the Key Sounds
Enable the door sensor*for a warning when the door is held open
longer than the set relock time (see pg.
15
) or if the door is forced
open. Note that the device cannot distinguish between a door
forced open and a door that is held open beyond its relock time.
In either of these cases a built-in buzzer will sound until the door
is closed.
*Requires a magnetic contact installed at the door or a door lock
with a built-in sensor.
Enable the key sounds for an audible indicator when the keys are
pressed.
†
Disable them for a quieter environment.
Disabling the key sounds does not disable other warning sounds.
†For keypads only

ENFORCER Bluetooth®Access Controllers
14 SECO-LARM U.S.A., Inc.
Global Output Mode:
There are 4 global output modes:
1. Timed Relock –when triggered, the door will unlock and, after a set time, will relock
2. Remain Unlocked –for times when you want to have free access
3. Remain Locked –for times when you do not want any user access.
4. Toggle –will change the current state of the device, will unlock if locked and lock if unlocked.
NOTE: The Toggle mode overrides other Output Modes (see pg. 15 for details).
The default output mode is Timed Relock and the time is programmable (default –5 seconds, see "Setting the Time
for Timed Relock Mode below).
Setting the Output Mode (Global)
NOTES:
a. The global output mode will become the default mode for all users. However, the ADMIN can assign a different
mode to certain users (see pg. 30).
b. Remain Unlocked and Remain Locked will only affect the ADMIN and will immediately unlock or lock the door.
Other users will be unaffected and will not override this setting.
Click on Output Mode
(Global)
Select the desired global
output mode
Click on the back arrow or
the backup button (Android)

ENFORCER Bluetooth®Access Controllers
SECO-LARM U.S.A., Inc. 15
Global Output Mode (Continued):
Setting the Time for Timed Relock Mode:
NOTE: As with the global output mode, the ADMIN can assign a different relock time to certain users (see pg. 30).
Understanding the Toggle Mode:
Because the Toggle Mode overrides other Output Modes, it is important to understand how it works.
1. If the device is unlocked using the Toggle Output Mode (whether set globally or individually), another user set to
the same mode will then relock the device. The same is also true in reverse.
2. If the device is unlocked using the Toggle Output Mode (whether set globally or individually), another user set to
Timed Relock will not have any effect on the unlocked state, however their entry will still be recorded in the Audit
Trail. This is useful for a business where a manager might be set to Toggle in order to open or close the business
to the public, but still wants the employees to use the access control device (whether using the app, keypad, or
card/fob) in order to have a record of entry.
3. If the device is later locked using Toggle Output Mode (whether set globally or individually), other users will be
granted or denied access depending on their individual settings.
4. The Toggle Output Mode is also useful for turning machinery or other devices on or off for a longer, undetermined
period of time.
Click on Output Time
(Seconds)
Enter the desired relock
time from 1~1,800 seconds
Click Confirm to set the time

ENFORCER Bluetooth®Access Controllers
16 SECO-LARM U.S.A., Inc.
Door Hold Open
There are several ways that you can use to hold a door/gate open.
Administrator
The ADMIN may set the Output Mode (Global) to Remain Unlocked. In that case, the device will immediately unlock
and remain unlocked. The device LED will turn green to indicate that the door is unlocked (see pg. 14).
If other users use the app, keypad, or card, the event will be recorded in the audit trail, but will have no effect on the
device, which will remain unlocked until the administrator again changes the Output Mode (Global) setting. Note that
only the ADMIN will be able to relock the door/gate by returning the Output Mode (Global) to its normal setting
User
The ADMIN can allow individual users to hold open with the app, keypad, or card. To do this, the Administrator can
set an individual user's Output Mode to Toggle under their Output Mode setting (see pg. 30) to allow them to hold
open and relock it again later.
When a user "holds open," this action will be reported in the Audit Trail. While a device is held open, if another user
whose Output Mode is not Toggle uses the app, keypad, or card on the device, it will have no effect on the device but
will be recorded in the Audit Trail.
Note that the app gives lots of flexibility in handling this. The hold open privilege can be given to an individual user or
multiple users. Or, the ADMIN can give a second login to a particular user. For example, John could be set to Timed
Relock, but also be given a second UserID such as John –Hold. Or, a UserID called Hold Open could be set up and
the passcode for that shared with several users, allowing them to use the keypad passcode to hold open and relock
later or login as Hold Open to use the app to do the same thing.
Business Hours
Business hours can also be handled in a similar manner as above. The ADMIN can set the Output Mode (Global) to
Remain Unlocked. In that case, the device will immediately unlock and remain unlocked. The device LED will turn
green to indicate that the door is unlocked (see pg. 14). Note that only the ADMIN will be able to relock the door.
An easier way would be handle it in a similar way as the "Door Hold Open" described above. A separate UserID
could be set up (maybe called Toggle or Business Hours)with the Output Mode set to Toggle to unlock the door for
business and relock it again at closing time. Other employees set to Timed Relock could still enter the business
before business hours to prepare for opening.

ENFORCER Bluetooth®Access Controllers
SECO-LARM U.S.A., Inc. 17
Wrong Code/Card Lockout:
If a user enters too many wrong codes or swipes too many unregistered cards, the device will temporarily be
unavailable for use. The ADMIN can set the number of wrong codes/cards before lockout and the length of time the
device will locked out.
Setting the Number of Wrong Codes/Cards
Click on Number of Wrong
Codes
Enter the number of wrong
codes (3~10) for lockout
and click Confirm

ENFORCER Bluetooth®Access Controllers
18 SECO-LARM U.S.A., Inc.
Wrong Code/Card Lockout (Continued):
Setting the Wrong-Code/Card Lockout Time
NOTE: During the lockout time, the ADMIN can interrupt the lockout with the app, but not with the keypad or card.
Click Wrong-Code Lockout
Time
Enter the desired time (1~5
minutes) for the device to
lockout and click Confirm

ENFORCER Bluetooth®Access Controllers
SECO-LARM U.S.A., Inc. 19
Tamper Alarm:
The access controller uses a 3-axis accelerometer to detect vibrations indicative of possible tampering. The ADMIN
can enable/disable the tamper alarm, adjust the sensitivity, and set the duration of the alarm.
Enable and Select the Tamper Alarm Time
NOTE: The tamper alarm will sound an internal buzzer and will output to an external alarm if connected. It will
continue until the time expires or until the ADMIN disables the tamper alarm in the app. The tamper alarm
can be immediately re-enabled for continued protection.
Click on the Tamper Alarm
enable button
Select Tamper Alarm Time
Enter the desired time
(1~255 minutes) and click
Confirm

ENFORCER Bluetooth®Access Controllers
20 SECO-LARM U.S.A., Inc.
Tamper Alarm (Continued):
Select the Tamper Alarm Sensitivity
NOTES:
a. The tamper alarm uses a 3-way accelerometer to detect vibration or movement which could indicate possible
tampering. The default setting is "High Sensitivity" meaning that a smaller vibration or movement will set off the
alarm. Low Sensitivity means that the level of vibration or movement must be much greater to set off the alarm.
b. Vibration can vary depending on the mounting surface. You may need to experiment with different settings if you
find that there are too many false alarms.
Click on Tamper Sensitivity
Select the desired level of
sensitivity
Click the back arrow or the
back button (Android)
Table of contents
Other SECO-LARM IP Access Controllers manuals

SECO-LARM
SECO-LARM ENFORCER SLI PR-B1124-PQ Installation manual

SECO-LARM
SECO-LARM ENFORCER Wireless RF Request-to-Exit Buttons... User manual

SECO-LARM
SECO-LARM ENFORCER SLI SK-B141-PQ Original operating instructions

SECO-LARM
SECO-LARM SK-1011-SDQ User manual

SECO-LARM
SECO-LARM SK-1011-SDQ User manual

SECO-LARM
SECO-LARM SK3133-PPQ User manual

SECO-LARM
SECO-LARM Enforcer SK-1011-SQ User manual

SECO-LARM
SECO-LARM ENFORCER SD-9963-KSGQ User manual