manuals.online logo
Brands
  1. Home
  2. •
  3. Brands
  4. •
  5. Security Brands
  6. •
  7. IP Access Controllers
  8. •
  9. Security Brands RECEIVER 300 User manual

Security Brands RECEIVER 300 User manual

ON
12345678910
13
2
4
INSTRUCTIONS RECEIVER 300
Model14-REC300
1 of 2
IN THE BOX
Make sure you have everything
shown here.
AntennaReceiver 300 1.5-foot Coaxial Cable
DIP Switches on Receiver 300
(default positions)
Receiver 300
(cover removed)
Receiver 300
(cover in place)
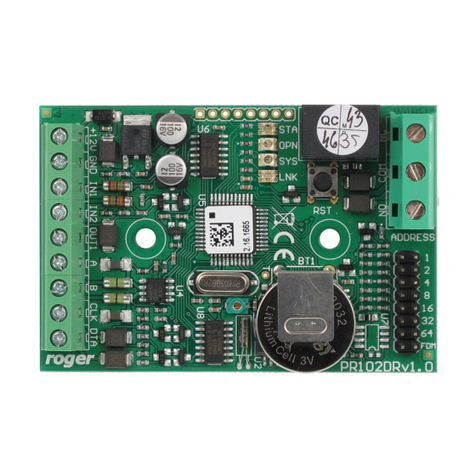
WHAT’S WHAT
1. DIP switches
2. RF status LED
3. Power and relay terminals
4. Coaxial antenna connector
SETUP
1. Remove screws from Receiver 300 unit cover and
remove cover to reveal DIP switches.
CAUTION!Be gentle with coaxial connection
when removing cover. Do not let cover hang
free; doing so may damage unit!
2. Set DIP switches to desired positions.
NOTE:For best results, we recommend using
the Security Brands Remote 300 (14-R300).
NOTE:By default, the DIP switches are matched
to the default DIP switch positions on the
Remote 300 and other 300-MHz remotes.
For security reasons, we recommend using
custom DIP switch positions.
NOTE:Some DIP switches may be labeled
to the position labeled 0, and some DIP switches
Two-Year Limited Warranty
Visit securitybrandsinc.com/warranty/ for details
12–24 VAC/DC
POWER
RELAY A
12 VAC/DC
POWER
POS. (+)
NEG. (–)
COM
REVERSE LOOP
COM
OPEN
STOP
CLOSE
12-24V AC/DC
Power Source
(Not Included)
NEG. (–)
COM
NO
FREE EXIT
COM
COM
RADIO
+–
NC
POS. (+)
Receiver 300 Gate / Door Operator
INSTRUCTIONS
2 of 2
RECEIVER 300
Model 14-REC300
© 2021 Security Brands, Inc. All rights reserved. I-14REC300-EN Rev. A (5/2021)
WARNING! AUTOMATIC GATES CAN CAUSE
SERIOUS INJURY OR DEATH!
ALWAYS CHECK THAT THE GATE PATH IS
CLEAR BEFORE OPERATING!
REVERSING OR OTHER SAFETY DEVICES
SHOULD ALWAYS BE USED!
WIRING AND INSTALLATION
1. Connect power and relay wires to screw terminals
on Receiver 300 unit, and connect other ends to
gate or door operator as instructed by gate or
door operator manual. Tighten screws to secure.
If using an AC/DC adapter, plug in at this time.
CAUTION!Do not exceed 12-24V AC/DC input!
Doing so may damage the receiver unit.
2. Mount Receiver 300 unit nearby gate or door
operator control circuit board with Tek screws or
zip ties using mounting slots on receiver unit.
3. Securely connect included antenna to coaxial
connector on bottom end of Receiver 300 unit.
Slide rubber sleeve over connector to protect.
If mounting the Receiver 300 unit inside a
metal enclosure, such as a gate operator
housing, you will need the Security Brands
Antenna 300 (14-ANT300), which comes
with a 15-foot coaxial cable, antenna, coaxial
connector, a mounting bracket, and hardware
for mounting outside of the metal enclosure.
HOW TO USE
1. Make sure you are in range of Receiver 300 unit.
2. Press button on remote linked to receiver.
3. Receiver will respond and operate gate/door.
NOTE:If the receiver does not respond, make sure it
has power and that the antenna is not inside a metal
box or otherwise blocked. If the receiver still does not
respond, make sure the DIP switch positions on both
the receiver and the remote(s) match.
call
(972) 474-6390
or email
techsupport@securitybrandsinc.com
NEED
HELP
FCC Statement:
Any Changes or modifications not expressly approved by the party responsible for compliance could void the user’s
authority to operate the equipment. This device complies with part 15 of the FCC Rules. Operation is subject to the
following two conditions:
(1) This device may not cause harmful interference, and
(2) This device must accept any interference received, including interference that may cause undesired operation.
Note: This equipment has been tested and found to comply with the limits for a Class B digital device, pursuant to
part 15 of the FCC Rules. These limits are designed to provide reasonable protection against harmful interference
in a residential installation. This equipment generates, uses and can radiate radio frequency energy and, if not
installed and used in accordance with the instructions, may cause harmful interference to radio communications.
However, there is no guarantee that interference will not occur in a particular installation. If this equipment does
cause harmful interference to radio or television reception, which can be determined by turning the equipment off
and on, the user is encouraged to try to correct the interference by one or more of the following measures:
—Reorient or relocate the receiving antenna.
—Increase the separation between the equipment and receiver.
—Connect the equipment into an outlet on a circuit different from that to which the receiver is connected.
—Consult the dealer or an experienced radio/TV technician for help.

This manual suits for next models

1

Other Security Brands IP Access Controllers manuals

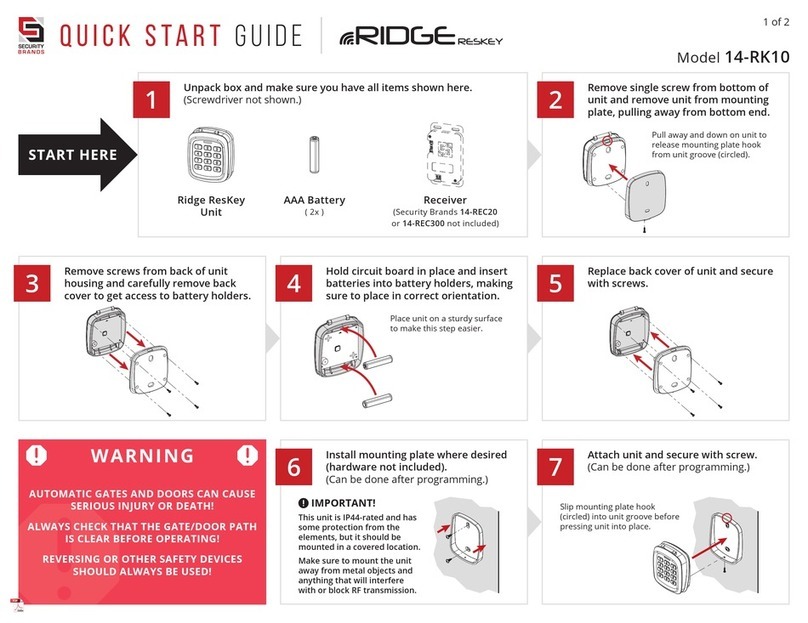
Security Brands RIDGE RESKEY 14-RK10 User manual

Security Brands

Security Brands RIDGE RESKEY 14-RK10 User manual

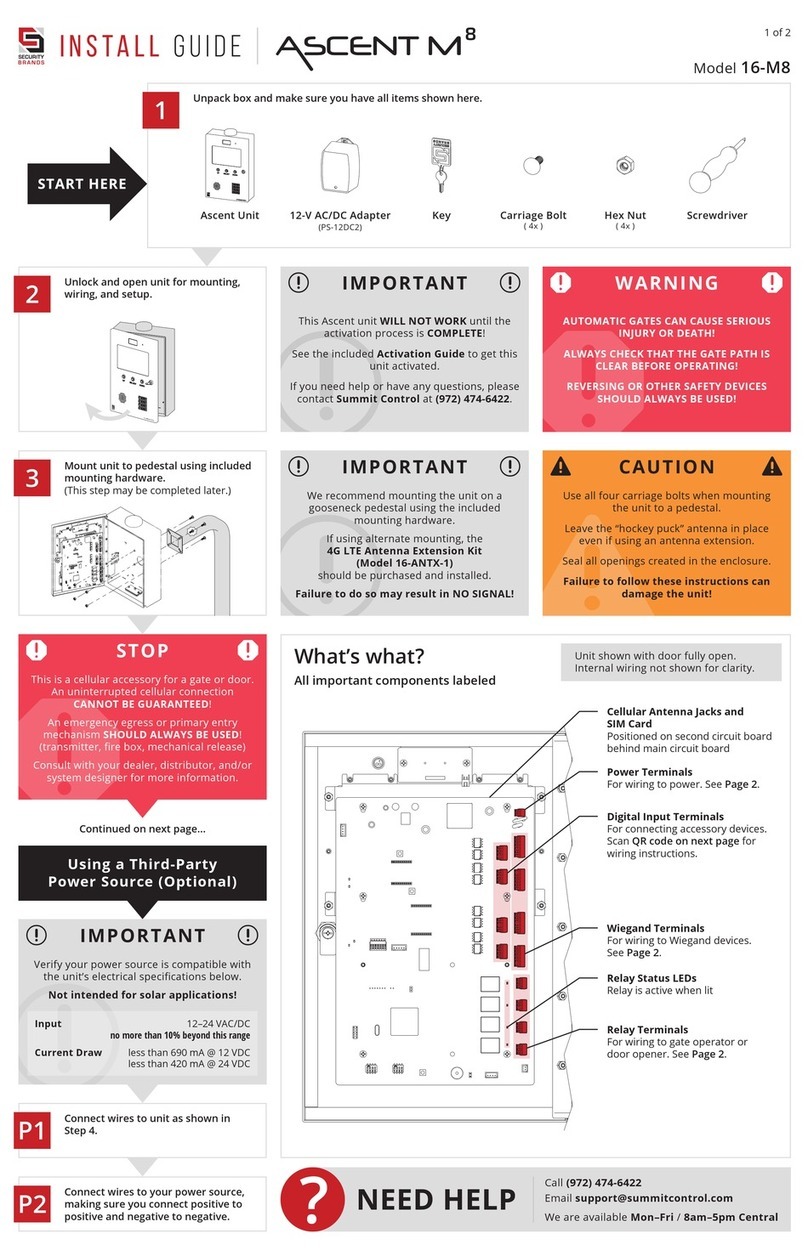
Security Brands ASCENT M8 User manual

Security Brands

Security Brands ASCENT M8 User manual

Security Brands ASCENT M3 User manual

Security Brands

Security Brands ASCENT M3 User manual

Security Brands ASCENT R1 User manual

Security Brands

Security Brands ASCENT R1 User manual

Security Brands Ascent 16-X2 User manual

Security Brands

Security Brands Ascent 16-X2 User manual

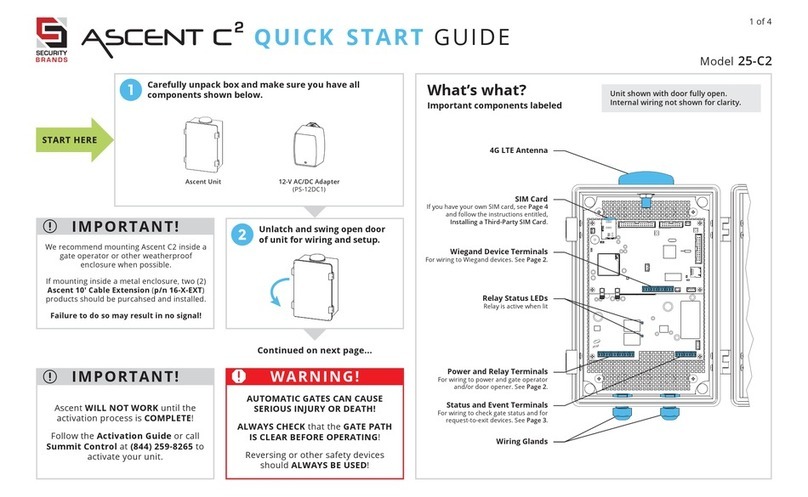
Security Brands Ascent C2 User manual

Security Brands

Security Brands Ascent C2 User manual

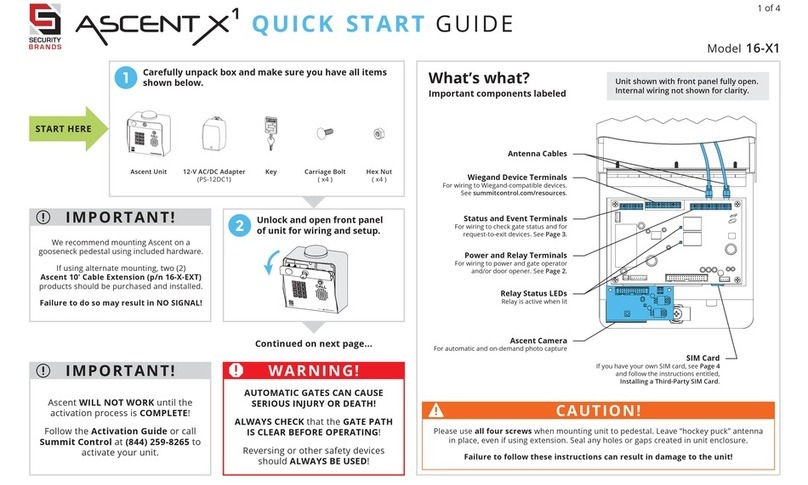
Security Brands 16-X1 User manual

Security Brands

Security Brands 16-X1 User manual

Popular IP Access Controllers manuals by other brands

H3C WX1804H-PWR quick start guide

H3C

H3C WX1804H-PWR quick start guide

Siemens SR35iA/8 Configuration manual

Siemens

Siemens SR35iA/8 Configuration manual

Sebury F007EM-II user manual

Sebury

Sebury F007EM-II user manual

H3C WX Series Command reference

H3C

H3C WX Series Command reference

Spintly Smart Access Uno user manual

Spintly

Spintly Smart Access Uno user manual

Dell IDRAC6 user guide

Dell

Dell IDRAC6 user guide

ViziT KTM602F operating instructions

ViziT

ViziT KTM602F operating instructions

ZKTeco FaceKiosk-H10A quick start guide

ZKTeco

ZKTeco FaceKiosk-H10A quick start guide

Ruijie Networks RG-WLAN Series Configuration guide

Ruijie Networks

Ruijie Networks RG-WLAN Series Configuration guide

CDVI BIOSYS 1 manual

CDVI

CDVI BIOSYS 1 manual

IEI Technology SSW-iLW installation manual

IEI Technology

IEI Technology SSW-iLW installation manual

Citadele DIGIPASS 500 operating instructions

Citadele

Citadele DIGIPASS 500 operating instructions

AHA ASP-19 user manual

AHA

AHA ASP-19 user manual

Control iD iDFlex quick guide

Control iD

Control iD iDFlex quick guide

CDVI Ievo user guide

CDVI

CDVI Ievo user guide

NESS ID TECK Finger007 user manual

NESS ID TECK

NESS ID TECK Finger007 user manual

ZKTeco ZKX5030A user manual

ZKTeco

ZKTeco ZKX5030A user manual

ZKTeco C3 quick start guide

ZKTeco

ZKTeco C3 quick start guide

manuals.online logo
manuals.online logoBrands
  • About & Mission
  • Contact us
  • Privacy Policy
  • Terms and Conditions

Copyright 2025 Manuals.Online. All Rights Reserved.