manuals.online logo
Brands
  1. Home
  2. •
  3. Brands
  4. •
  5. Security Brands
  6. •
  7. IP Access Controllers
  8. •
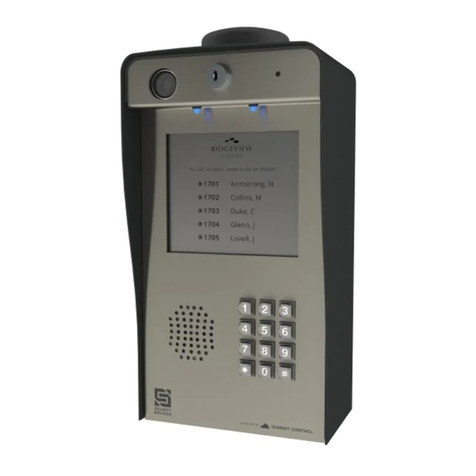
  9. Security Brands ASCENT M8 User manual

Security Brands ASCENT M8 User manual

1 of 2
Model 16-M8
Install GUIDE
Call (972) 474-6422
Email [email protected]
We are available Mon–Fri / 8am–5pm Central
IMPORTANT
r r CAUTION
 
3
2
STOP
 
WARNING
 
IMPORTANT
r r
1
P1
P2
Using a Third-Party
Power Source (Optional)
IMPORTANT
r r
Mount unit to pedestal using included
mounting hardware.
(This step may be completed later.)
Continued on next page...
We recommend mounting the unit on a
gooseneck pedestal using the included
mounting hardware.
If using alternate mounting, the
4G LTE Antenna Extension Kit
(Model 16-ANTX-1)
should be purchased and installed.
Failure to do so may result in NO SIGNAL!
Use all four carriage bolts when mounting
the unit to a pedestal.
Leave the “hockey puck” antenna in place
even if using an antenna extension.
Seal all openings created in the enclosure.
Failure to follow these instructions can
damage the unit!
What’s what?
All important components labeled
Unit shown with door fully open.
Internal wiring not shown for clarity.
Unlock and open unit for mounting,
wiring, and setup.
This is a cellular accessory for a gate or door.
An uninterrupted cellular connection
CANNOT BE GUARANTEED!
An emergency egress or primary entry
mechanism SHOULD ALWAYS BE USED!
(transmitter, fire box, mechanical release)
Consult with your dealer, distributor, and/or
system designer for more information.
AUTOMATIC GATES CAN CAUSE SERIOUS
INJURY OR DEATH!
ALWAYS CHECK THAT THE GATE PATH IS
CLEAR BEFORE OPERATING!
REVERSING OR OTHER SAFETY DEVICES
SHOULD ALWAYS BE USED!
This Ascent unit WILL NOT WORK until the
activation process is COMPLETE!
See the included Activation Guide to get this
unit activated.
If you need help or have any questions, please
contact Summit Control at (972) 474-6422.
Unpack box and make sure you have all items shown here.
Ascent Unit Key Carriage Bolt
( 4x )
Screwdriver12-V AC/DC Adapter
(PS-12DC2)
Hex Nut
( 4x )
Connect wires to unit as shown in
Step 4.
Connect wires to your power source,
making sure you connect positive to
positive and negative to negative.
Wiegand Terminals
For wiring to Wiegand devices.
See Page 2.
Power Terminals
For wiring to power. See Page 2.
Digital Input Terminals
For connecting accessory devices.
Scan QR code on next page for
wiring instructions.
Cellular Antenna Jacks and
SIM Card
Positioned on second circuit board
behind main circuit board
Relay Terminals
For wiring to gate operator or
door opener. See Page 2.
Relay Status LEDs
Relay is active when lit
Verify your power source is compatible with
the unit’s electrical specifications below.
Not intended for solar applications!
Input 12–24 VAC/DC
no more than 10% beyond this range
Current Draw less than 690 mA @ 12 VDC
less than 420 mA @ 24 VDC
2 of 2
Model 16-M8
© 2024 Security Brands, Inc. All rights reserved. IG-16M8-EN Rev. A (2/2024)
Install GUIDE
STOP
  5
4CAUTION
 
A
N
CAUTION
 
If the included 12-V AC/DC adapter will not be
used, please go to Page 1 and follow the
procedure, Using a Third-Party Power Source.
Do not exceed 24 VAC/DC! Failure to choose a
compatible power source can damage the unit!
Connect wires
Feed wires through back of unit,
and connect as shown using
included screwdriver.
Ascent terminals can
be unplugged to
make wire
connections easier.
Ascent Wiegand Terminals
Consult gate/door opener
manual for exact connections.
Terminals vary widely across
manufacturers and models.
Additional wiring diagrams can
be found below and online.
We recommend using 18-gauge
stranded wire for all connections.
Ascent terminals can be unplugged to make wire
connections easier.
Key in temporary code 2012 on
keypad and confirm gate opens. If it
does, close and lock unit.
Before going forward, double check all
wiring and make sure the unit has power!
A wiring diagram for connecting to Wiegand
devices can be found below.
For connecting accessories not mentioned,
please scan the QR code on this page.
Make sure the gate path is clear before
completing Step 5! Adding and deleting codes is done through
Summit Control and NOT from keypad on unit!
2 20 1
Now follow the Activation Guide to create an
account and begin using Ascent.
INSTALLATION COMPLETE!
Disconnect power to the Ascent unit
before connecting Wiegand devices.
Failure to disconnect power can
damage the unit!
Wiegand Device
Feed wires through back of unit, and connect
as shown using included screwdriver.
These terminals are used to connect a Wiegand device
such as a card reader or Wiegand keypad.
Any set of Wiegand terminals can be used for wiring and
then configured in Summit Control.
Need More?
Use the QR code below to
get access to more
resources, including how-to
videos and additional wiring
diagrams for connecting
accessory devices.
Wiegand Device
LED 1
DATA 0
GND
+12V
LED 2
DATA 1
LED 1
DATA 0
GND
+12V
LED 2
DATA 1
LED 1
DATA 0
GND
+12V
LED 2
DATA 1
WIEGAND 2 WIEGAND INPUTS
WIEGAND 1
+–
Ascent Power and Relay Terminals Gate Operator / Door Opener
The GROUND terminal is
optional unless required by local
code(s). If using, please connect
to earth ground or equivalent.
If plugging into duplex outlet,
remove screw from outlet plate,
and secure with included screw.
12-V AC/DC Adapter
(Model PS-12DC1 included)
N/C
POWER (+)
POWER (–)
COM
RADIO
COM
REVERSE LOOP
STOP
CLOSE
COM
OPEN
FREE EXIT
COM
COM
N/O
N/C
COM
N/O
N/C
COM
N/O
RELAY B RELAY A
Third-Party 12–24-VAC/DC
Power Source
OR
Relay B can be connected in same manner.
POS. (+)
NEG. (–)
POWER
12–24 VAC/DC

This manual suits for next models

1

Other Security Brands IP Access Controllers manuals

Security Brands 16-X1 User manual

Security Brands

Security Brands 16-X1 User manual

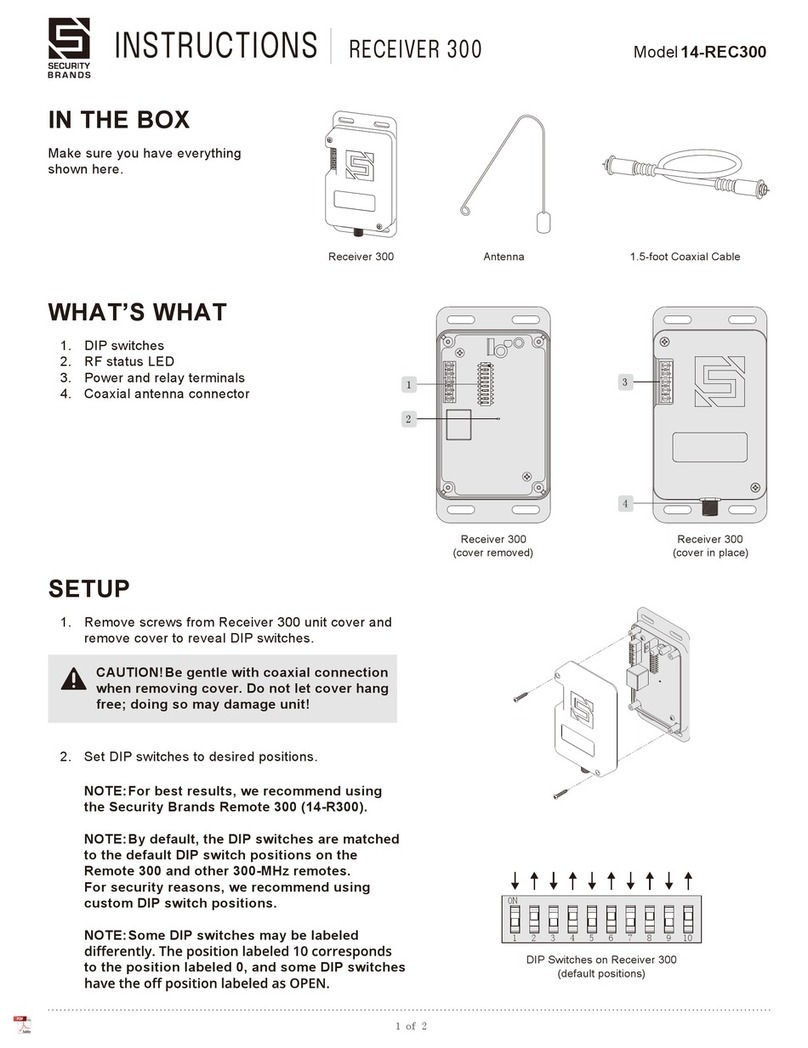
Security Brands RECEIVER 300 User manual

Security Brands

Security Brands RECEIVER 300 User manual

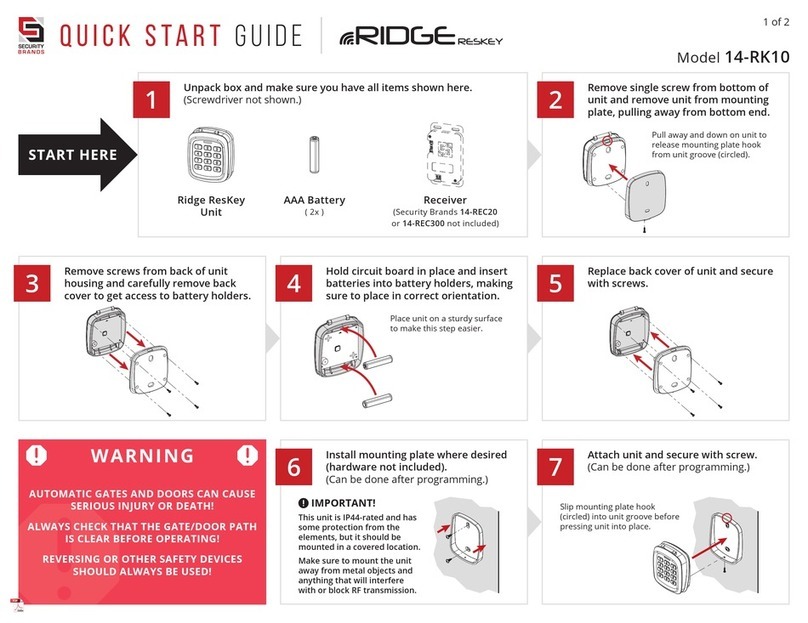
Security Brands RIDGE RESKEY 14-RK10 User manual

Security Brands

Security Brands RIDGE RESKEY 14-RK10 User manual

Security Brands ASCENT M3 User manual

Security Brands

Security Brands ASCENT M3 User manual

Security Brands ASCENT R1 User manual

Security Brands

Security Brands ASCENT R1 User manual

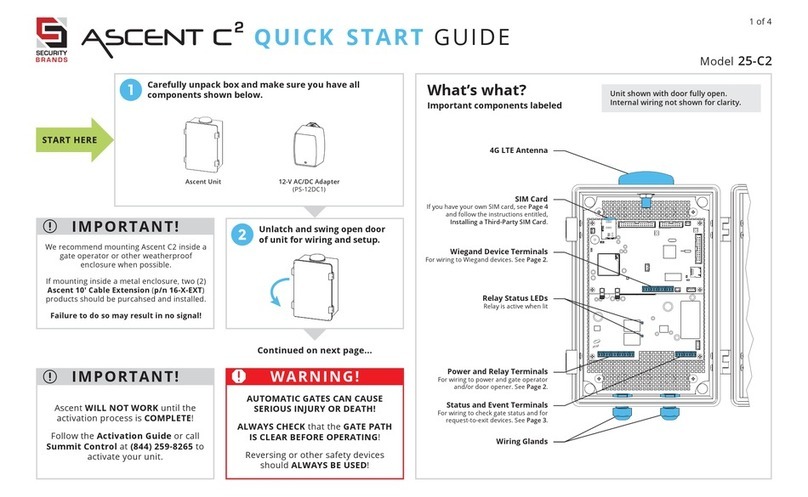
Security Brands Ascent C2 User manual

Security Brands

Security Brands Ascent C2 User manual

Security Brands Ascent 16-X2 User manual

Security Brands

Security Brands Ascent 16-X2 User manual

Popular IP Access Controllers manuals by other brands

BT SIP Quick install guide

BT

BT SIP Quick install guide

Inovonics Wander Management Evaluation Kit quick start guide

Inovonics

Inovonics Wander Management Evaluation Kit quick start guide

Conlan Wiegand CT 1200 Family manual

Conlan

Conlan Wiegand CT 1200 Family manual

ZKTeco BioPro SA20 quick start guide

ZKTeco

ZKTeco BioPro SA20 quick start guide

Cansec SmartLock UltraLite Plus installation manual

Cansec

Cansec SmartLock UltraLite Plus installation manual

Roger MCT12M operating manual

Roger

Roger MCT12M operating manual

ZKTeco MultiBio 700 installation guide

ZKTeco

ZKTeco MultiBio 700 installation guide

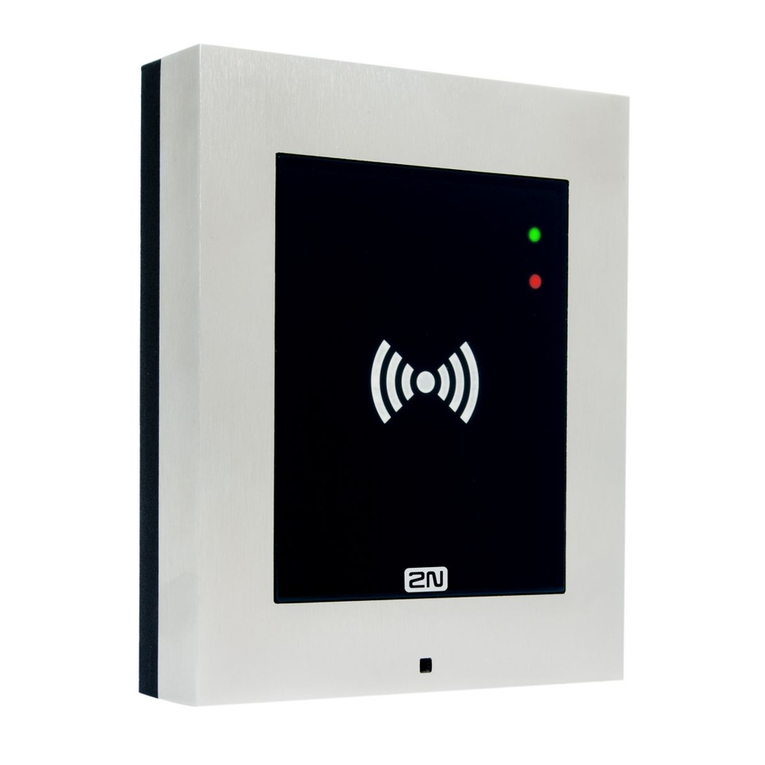
2N Access Unit installation manual

2N

2N Access Unit installation manual

KeyGuard KG/100 quick start guide

KeyGuard

KeyGuard KG/100 quick start guide

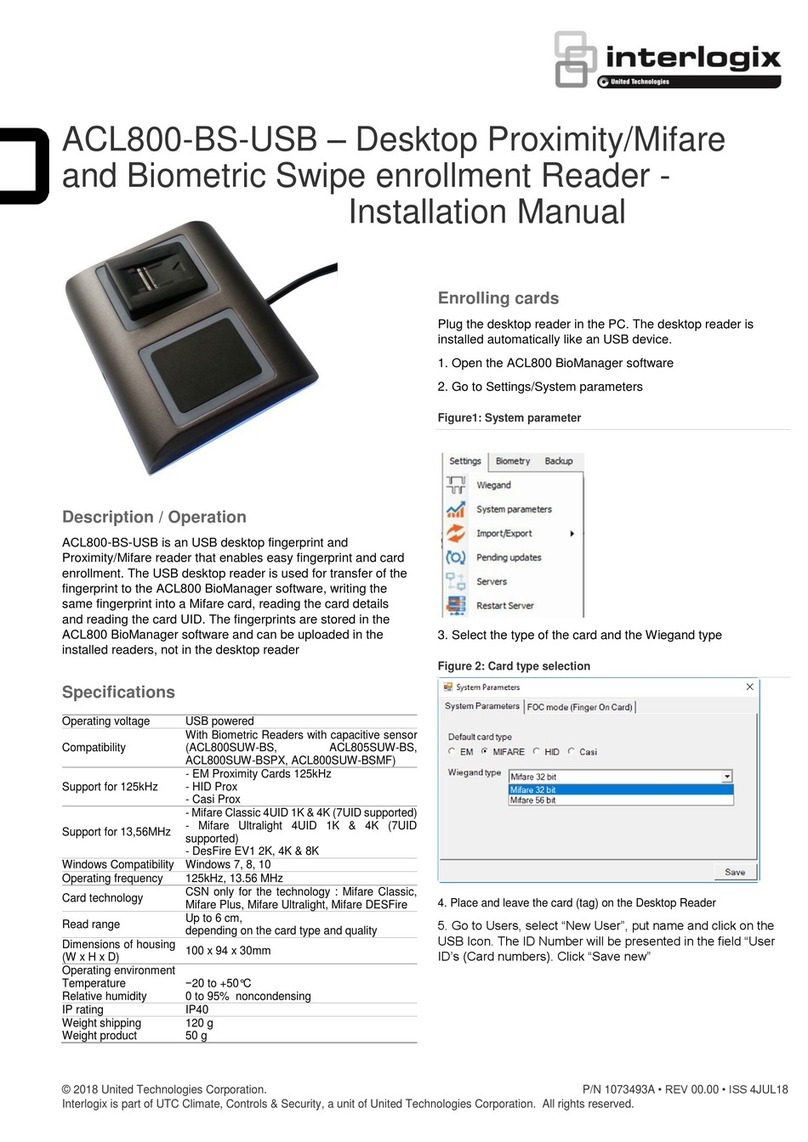
Interlogix ACL800-BS-USB installation manual

Interlogix

Interlogix ACL800-BS-USB installation manual

DMP X1 Series Installation and programming guide

DMP

DMP X1 Series Installation and programming guide

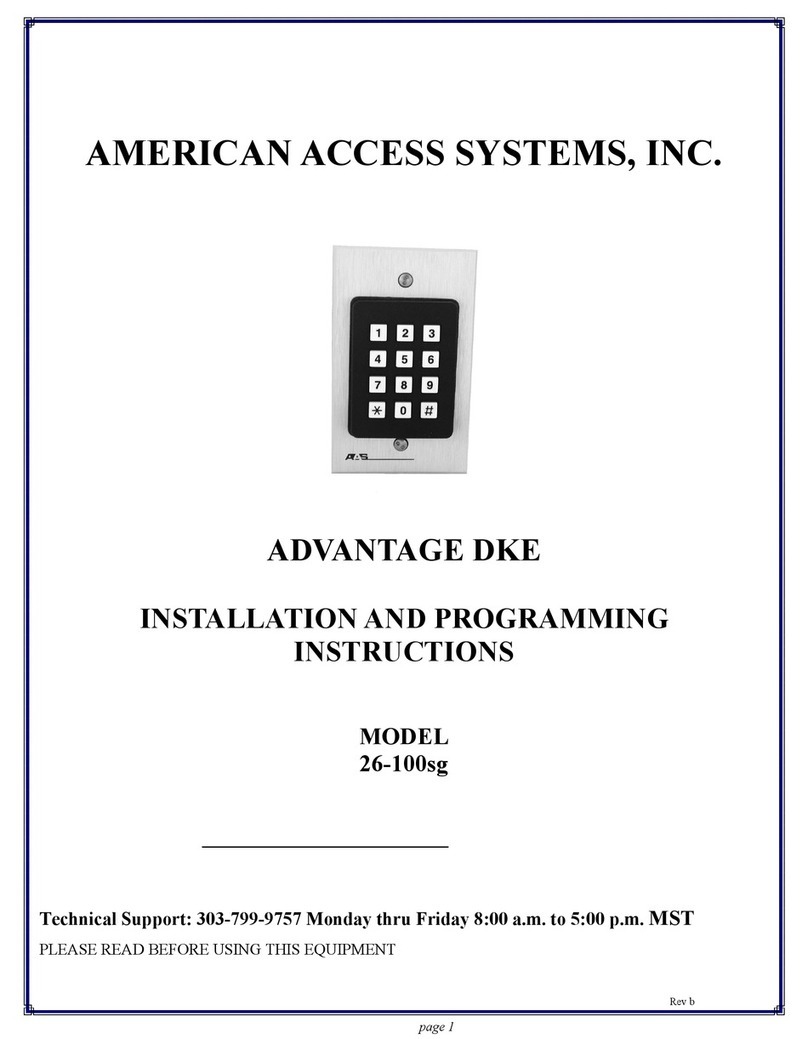
AAS Advantage DKE 26-100sg Installation and programming instructions

AAS

AAS Advantage DKE 26-100sg Installation and programming instructions

Videosec TYW-CODMF1 user manual

Videosec

Videosec TYW-CODMF1 user manual

Dahua ASI6213J-FT user manual

Dahua

Dahua ASI6213J-FT user manual

ZKTeco MA500 Installation guide & user manual

ZKTeco

ZKTeco MA500 Installation guide & user manual

Assa Abloy Profile S2-PA user manual

Assa Abloy

Assa Abloy Profile S2-PA user manual

impro IMPROX SKA installation manual

impro

impro IMPROX SKA installation manual

ZKTeco Atlas Bio Series installation guide

ZKTeco

ZKTeco Atlas Bio Series installation guide

manuals.online logo
manuals.online logoBrands
  • About & Mission
  • Contact us
  • Privacy Policy
  • Terms and Conditions

Copyright 2025 Manuals.Online. All Rights Reserved.