Warranty Card
Note: Please refer to the User Manual for Detail Warranty policy
Model NO.
Serial NO.
Purchase Date
RMA Number
Return Reason
Customer Name
Customer Address
Customer Email
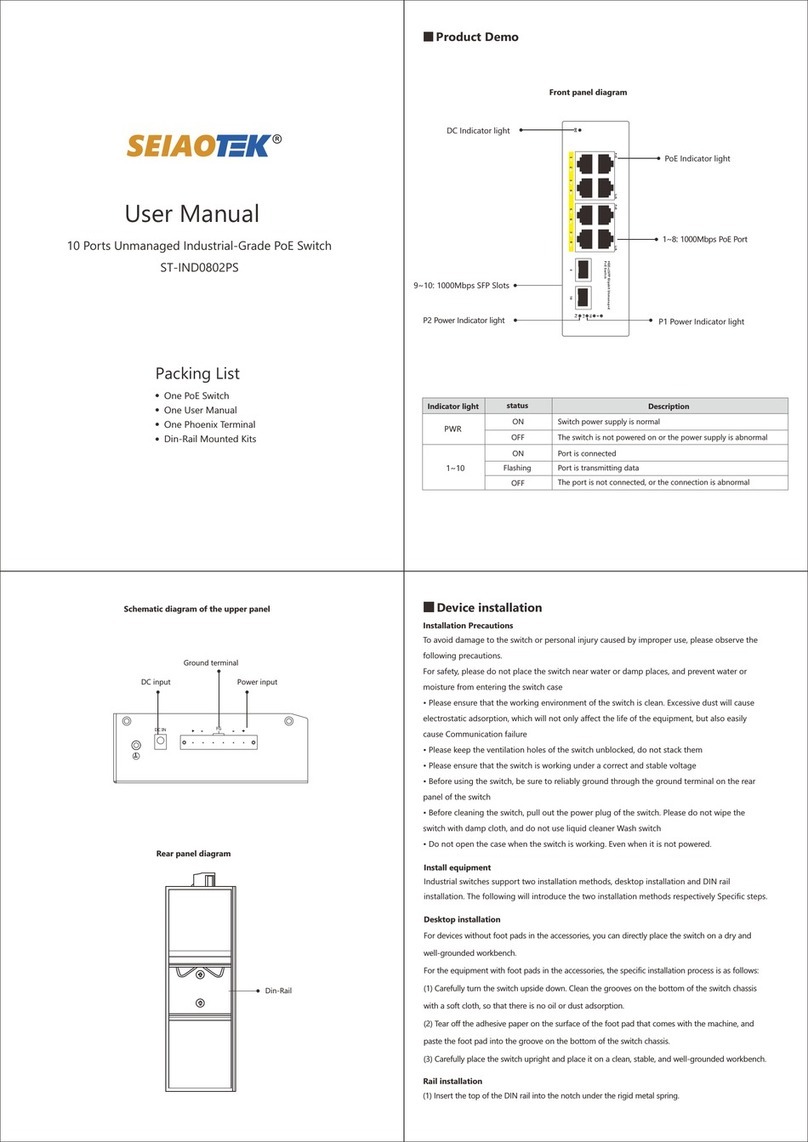
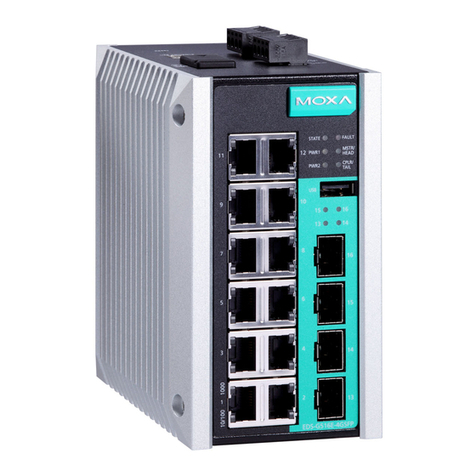
Interface
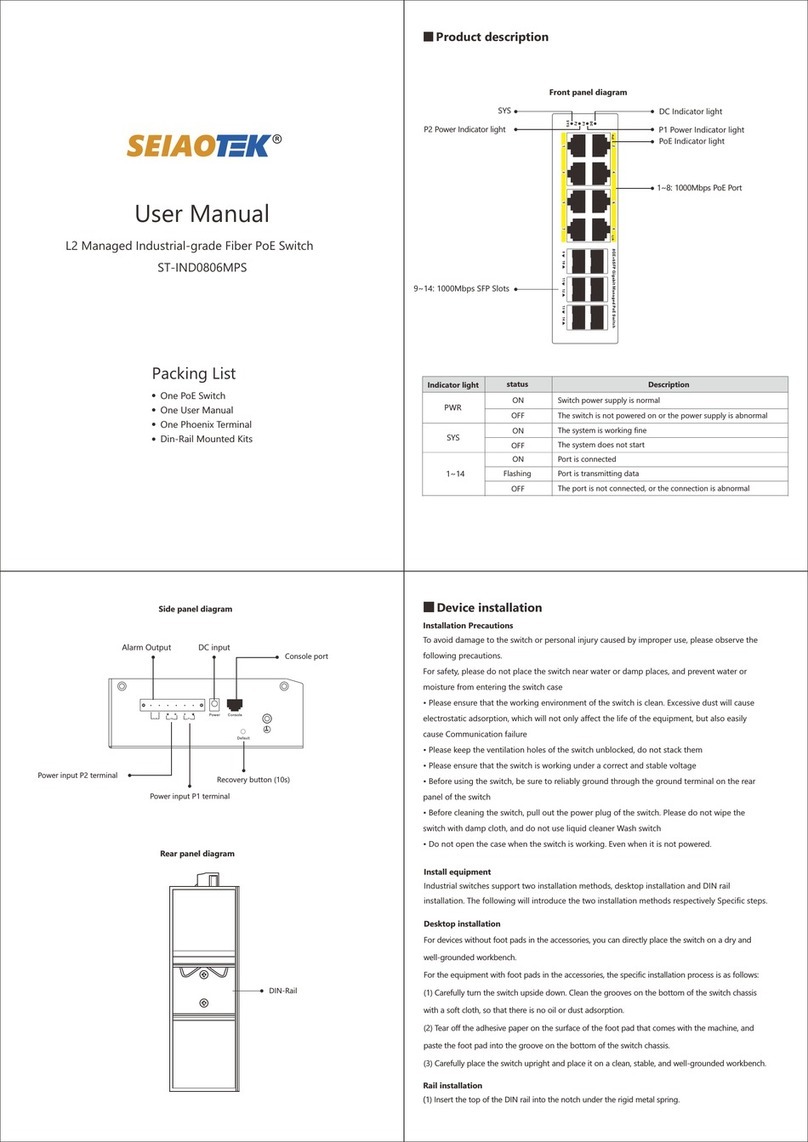
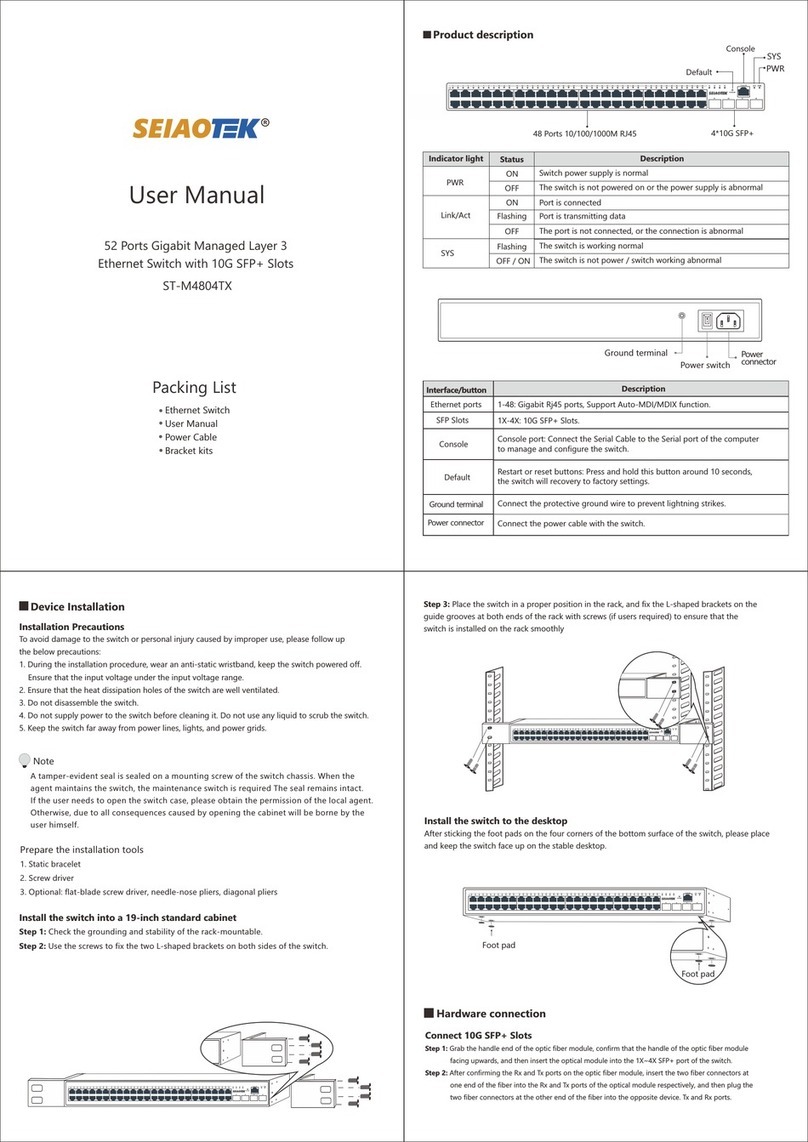
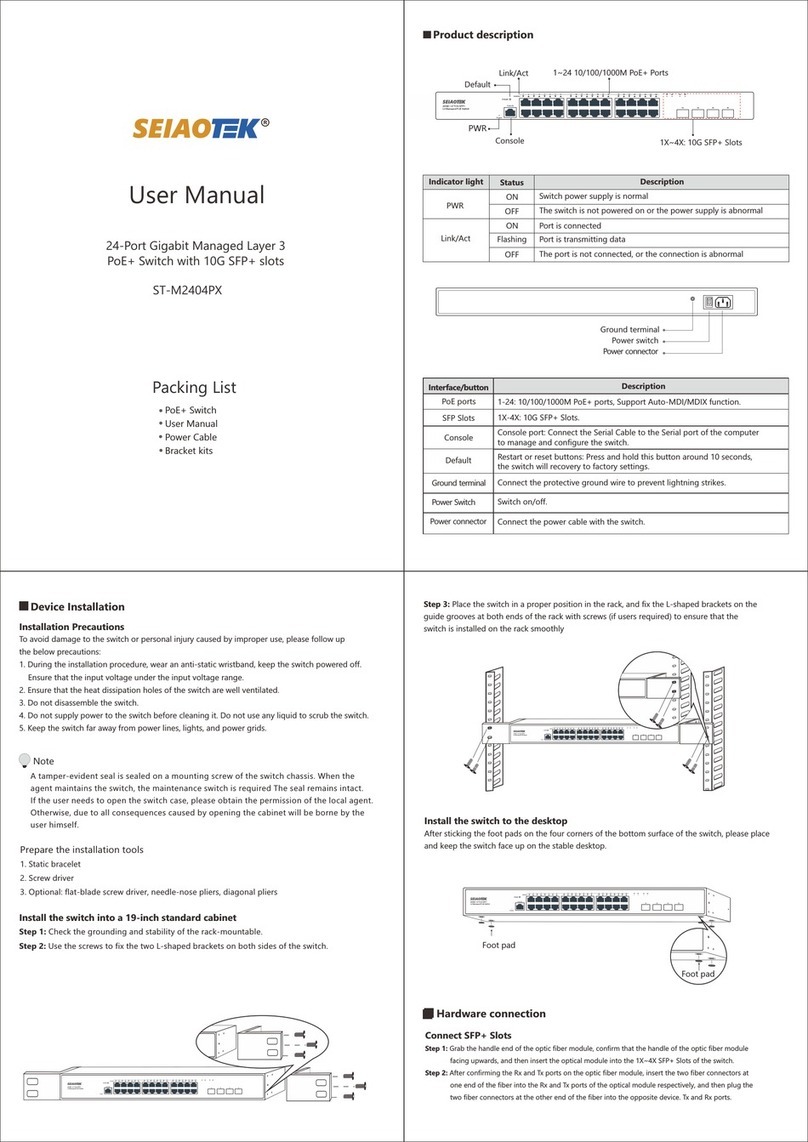
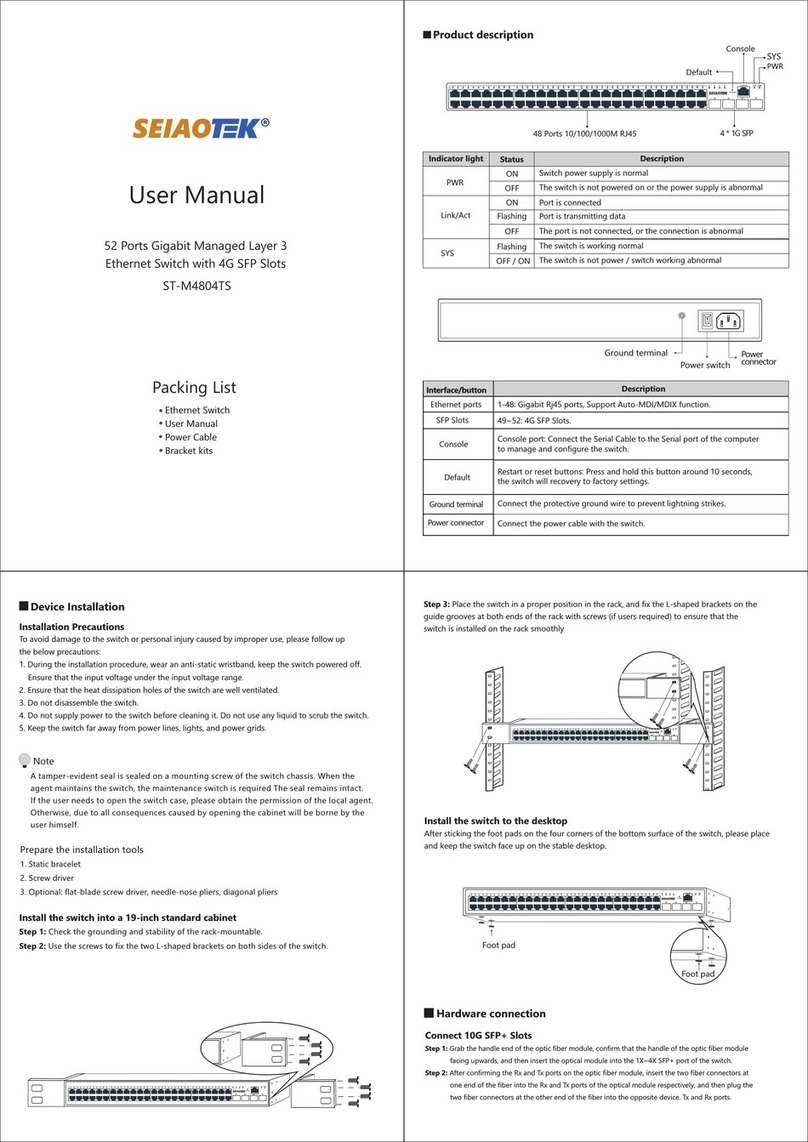
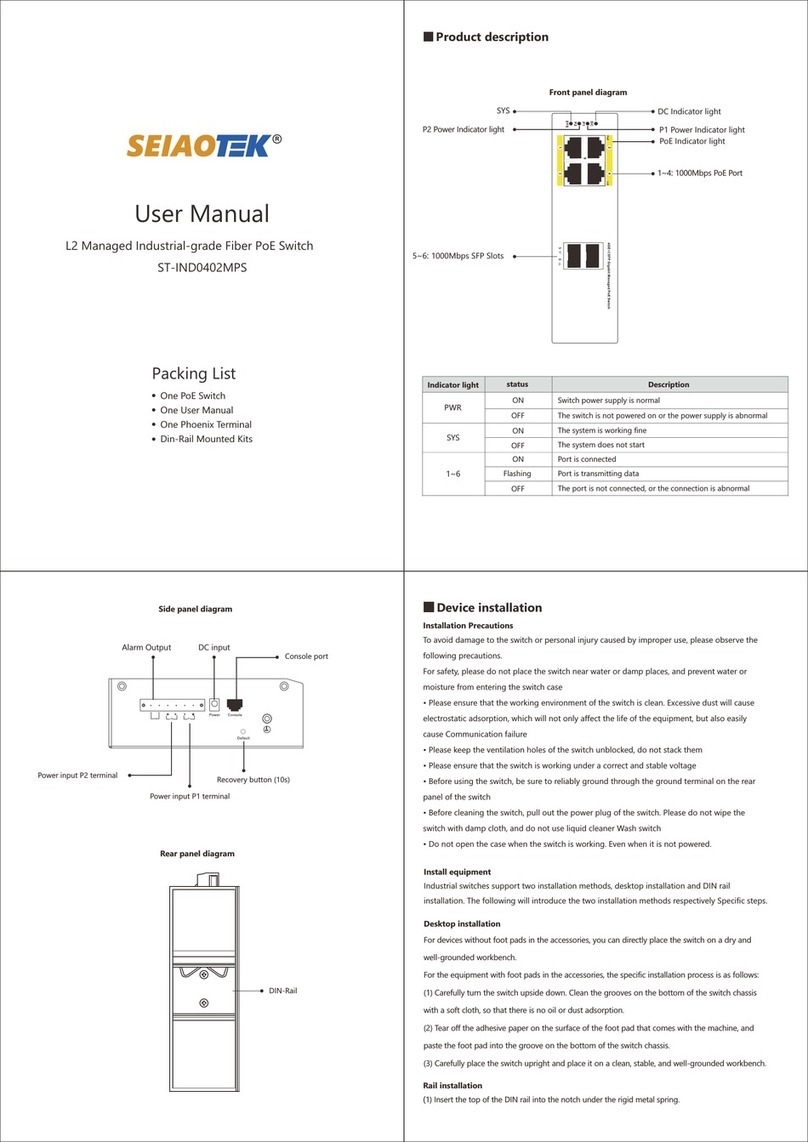
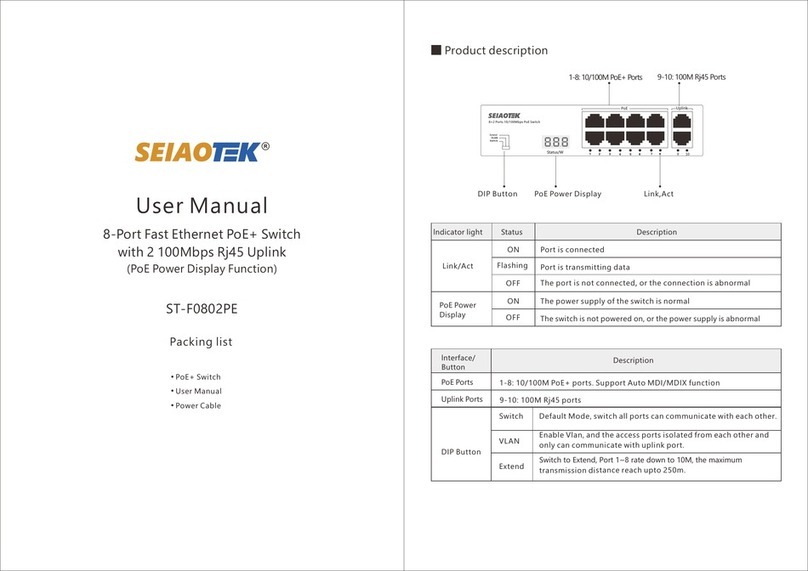
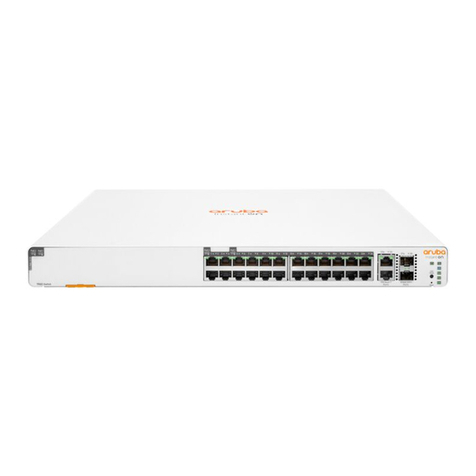
PoE Ports 1~24: 10/100/1000M PoE+ Ports
SFP Slots 25~28: Gigabit Rj45 / SFP Slots (Shared)
Name
Model
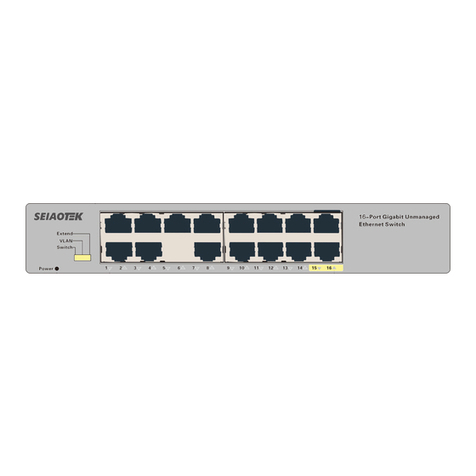
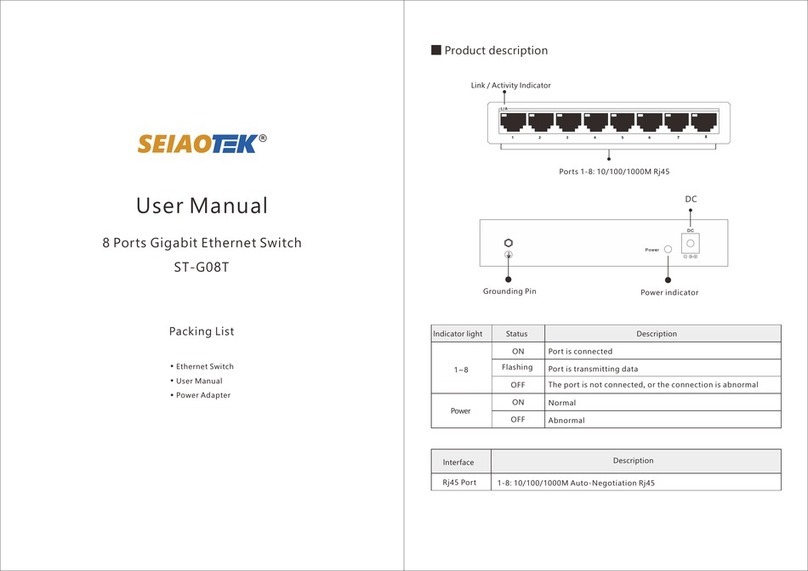
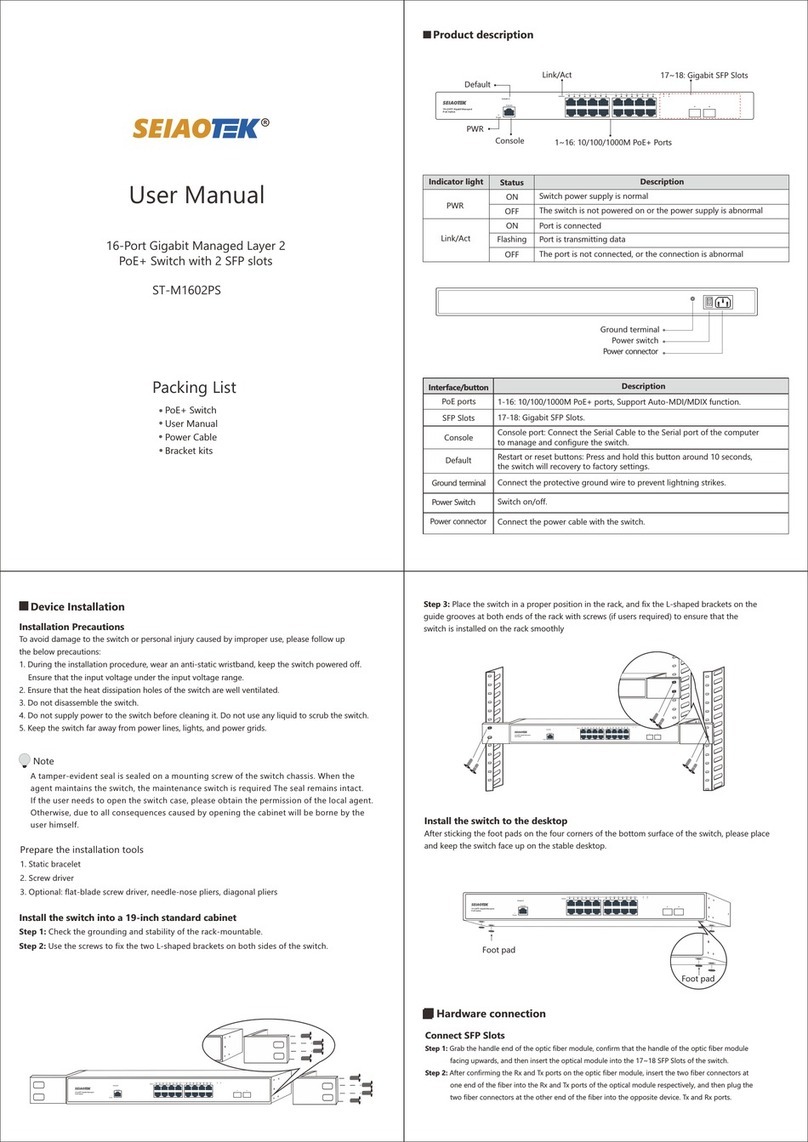
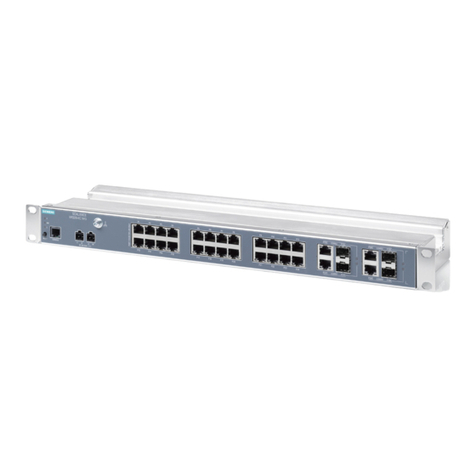
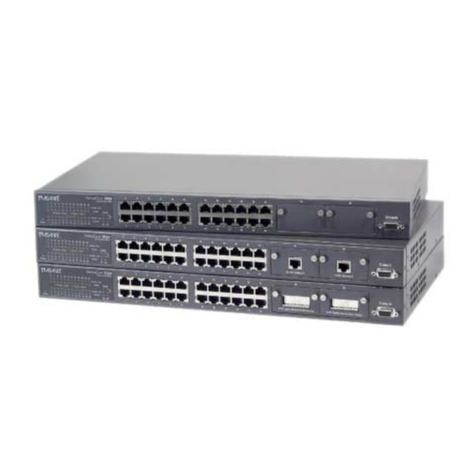
24-Port Gigabit Managed Layer 3 PoE+ Switch with 4 SFP Combo slots
ST-M2404PS
Connect Rj45 port
Connect one end of the network cable to the Rj45 port of the switch, and the other end to the
RJ45 Ethernet port of the opposite network device.
Connect to the console port
Connect the RS232 DB9 male end of the serial cable to the computer, and connect the Rj45end
to the Conport port of the switch.
Connect the ground wire
Step 1: Connect one end of the ground wire to the ground terminal of the switch.
Step 2: Connect the other end of the ground wire to other equipment that has been grounded,
or directly connect it to the ground bar of the equipment room engineering terminal.
Note
Log in to the WEB Management Page
1. Connect the computer to the switch through a network cable.
2. Set the computer's local IP address to 192.168.1.X (X is 2~254, and is not occupied by other
devices), and the subnet mask is 255.255.255.0.
The ground wire of the switch should be connected to the engineering ground of the equipment
room. The grounding fire water pipe and the lightning rod of building are not properly grounded.
3. Open the computer's local browser (take IE as an example), enter http://192.168.1.1 into
the address, and press Enter to log in Switch Web Management page.
http://192.168.1.1
4. Enter the user name and password (the default is admin), and then click the login button.
Username:
Password:
Login
5. Log in to the switch web management page and start to configure the switch.
Specifications
Common Tips
What should I do if I can’t log in to the switch's web management page?
Please try the following solutions:
Confirm that the switch is powered on.
1. Confirm that the computer and the switch network cable are connected properly.
2. Confirm that the computer's Ethernet (or local connection) IP address has been set to
192.168.1.X (X is 2~254, and it is not occupied by other devices).
3. Clear the cache of the browser, or change the browser, and confirm that the connection
method of the browser is never dial connection.
4. Turn off the computer's firewall or replace a computer.
5. Confirmed that there is no other devices whose IP address is also 192.168.1.1.
6. If you still cannot log in after the above operations, please restore the factory settings.
The specific operations as follows:
7. When the Power indicator is on, press and hold the Default button on the front
panel of the switch around 10 seconds.
8. Release when all the indicators are on. When the Power indicator keeps on or the
SYS indicator flashing again, the factory settings recovery successfully.
LED
PWR , Link / Act
Store-and-forward
Half-duplex back pressure and IEEE802.3x full-drplex flow control
Bandwidth 56Gbps
Packet Forwarding Rate 41.66Mpps
MAC Address 16K
Network
Standards
IEEE802.3i 10BASE-T, IEEE802.3u 100BASE-TX,
IEEE802.3ab 1000BASE-T, IEEE802.3z 1000BASE-LX,
IEEE802.3x Flow Control, IEEE802.3az EEE,
IEEE802.1p, IEEE802.1x, IEEE802.1d, IEEE802.1s,
IEEE802.3af Power over Ethernet,
IEEE802.3at Power over Ethernet
Processing
Types
Performance
Specification
Power lnput AC 100~240V 50~60Hz
Dimension 440mm (L) x 285mm (W) x 44mm (H)
Cables UTP Cat 5 or above
Environment
Specification
Working Temperature: 0 C 45 C, Humidity: 10% ~ 90% RH non-condensing
Storage Temperature: 20°C ~ 70°C, Humidity: 5% ~ 95% RH non-condensing
PoE Power Max PoE Output (Channel)
PoE Power Budget
30W
450W
Rs232 DB9 male end
Rj45 end
This switch
Other devices
Or
Ground terminal
Ground wire
Ground bar
Ground terminal
Ground wire
Ground bar
Switch
PC
Cable
