manuals.online logo
Brands
  1. Home
  2. •
  3. Brands
  4. •
  5. Sekonic
  6. •
  7. Measuring Instrument
  8. •
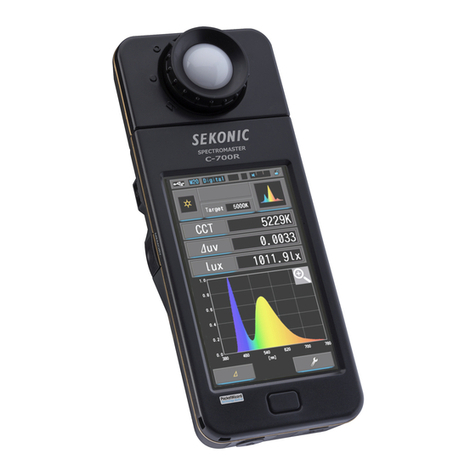
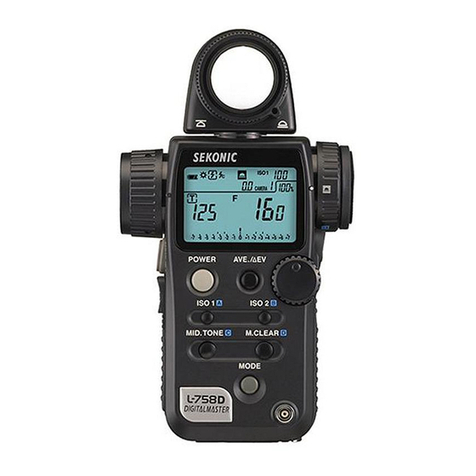
  9. Sekonic SPECTROMASTER C-800 User guide

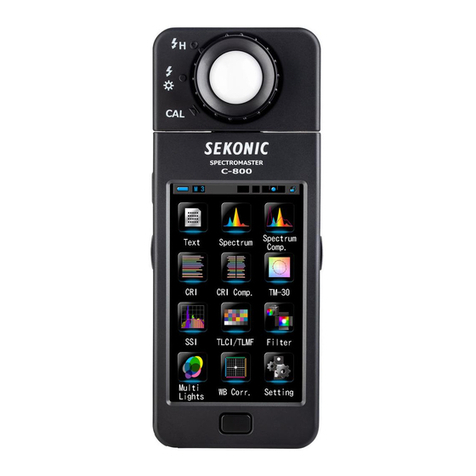
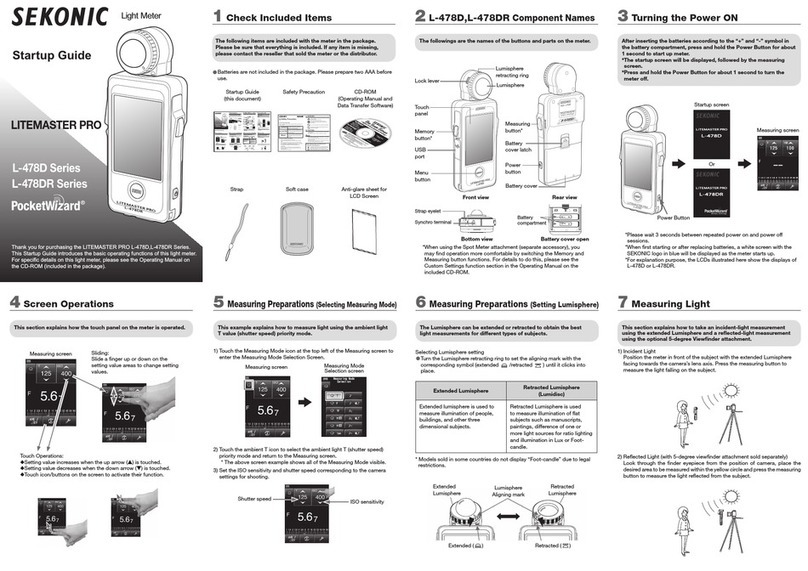
Sekonic SPECTROMASTER C-800 User guide

C-800
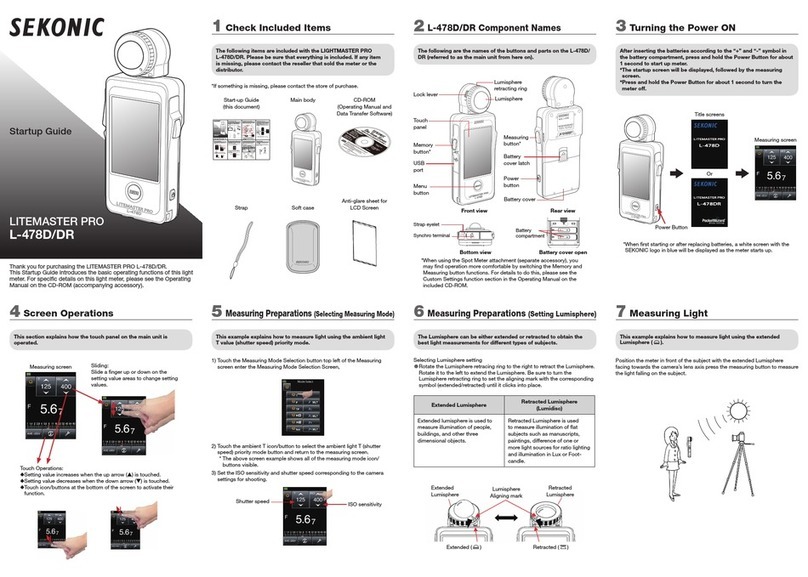
Startup Guide
Thank you for purchasing a spectrometer C-800.
This Startup Guide introduces the basic operations of this product.
For details about how to use this product, please see the Operating
Manual.
1. Download
2. Check Included Items
The following items are included with the meter in the package.
Please be sure to check that all noted items are included.
★
If any items are missing, please contact the distributor or the reseller you
purchased the meter from.
★
The USB Mini-B cable is not included in the package. Please obtain this
separately.
★
Batteries (2 AA) are not included in the package. Please obtain these
separately.
Meter
Startup Guide
(
this document
)
Soft Case Strap Safety
Precaution
&
63(&7520(7(5
日本語
分光式カラーメーター
スタートアップガイド
English
Spectrometer
Startup Guide
Spektrometer
Deutsch Startanleitung
Français
Spectromètre
Guidededémarrage
Español
Espectrómetro
Guíadeinicio
Italiano
Spettrometro
Guidaintroduttiva
中文
光谱仪
使用简介
C-800
Safety Precaution
For Proper Operation
Before using this product, please read this "Safety Precautions" for
proper operation.
WARNING
The WARNINGsymbol indicates the
possibility of death or serious injury if the
product is not used properly.
CAUTION
The CAUTION symbol indicates the
possibility of minor to moderate personal
injury or product damage if the product is
not used properly.
NOTICE
The NOTICE symbol indicates cautions
or restrictions when using the product.
Please read all notes to avoid errors in
operation.
General Safety Information
• Read the Operating Manual before use.
• Keep the Operating Manual on hand for reference at any
time.
• Stop using this product when there are any abnormalities.
•
• Do not attempt to repair this product by yourself.
• This product is intended only for persons with expert
knowledge.
• Monitor children so that they do not touch this product.
• Use this product in a usage environment described in the
Operating Manual.
• This product is not waterproof.
WARNING
There is a danger of electrical shock when using high
voltage strobes.
Avoidcontacting the terminals.
This product emits electromagnetic waves.
Do not bring this product close to persons with
pacemakers.
Do not use this product in an explosive atmosphere.
Use of devices emitting electromagnetic waves is
prohibited in hospitals.
CAUTION
• Check the material of the neck strap to see if there is any
risk of allergy.
• Be careful of sudden emission of lights from strobes.
NOTICE
• Do not leave this product on car dashboards in hot weather.
This may damage the product.
• Remove the batteries when this product is not in use for a
long period of time.
• When the desired performance is not achieved, stop using
this product and contact the service center.
Information for Users on Collection and
Disposal of Old Equipment
Toprotect environment, do not through this device
and batteries away with the normal household waste
at the end of those life, but bring them in at an
English
Spectrometer English
www. .com information@itm.com1.800.561.8187
3. Names of Parts
&
63(&7520(7(5
[Rear View]
[Front View]
❶Light Receptor
❷Light Selection Ring
❿Tripod Socket
❸Power Button
❹Display Panel
❺
Measuring Button
❼Memory Button
❻Menu Button
❽
Battery Cover Latch
❾Battery Cover
[Bottom View]
⓭Strap Eyelet
⓬Sync Terminal
⓫USB Mini-B Connector
[Battery Cover Section]
Battery
Cover Latch
Tabs Battery
Cover
⓮Battery Holder
4. Turning the Power ON/OFF
After installing the batteries, turn the Light Selection Ring ❷to the dark
calibration position (   ) and turn ON this instrument by pressing
the Power Button ❸.
After the Opening screen displays (for 2 seconds) in the Display Panel,
dark calibration starts. After dark calibration properly ends, the Measuring
screen displays.
&
Light Selection Ring ❷
Power Button ❸
[Opening Screen][Measuring Screen]
★
You can reduce start up time by simply tapping the screen when the Opening
screen appears.
★ Please wait 3 or more seconds between turning the power ON/OFF.
★ To turn OFF the power, press and hold the Power Button for more than one
second. The meter is powered o after the display disappears.
www. .com information@itm.com1.800.561.8187
★
If Dark Calibration Position Confirmation screen appears, set the Light Selection
Ring ❷to Dark Calibration position and perform calibration again.
*
If "Please set Light Selection Ring for
dark calibration" is displayed, set the Light
Selection Ring ❷to the dark calibration
position to start calibration.
*When taking measurements, set the Light
Selection Ring ❷to the range L (icon at the
middle) for ALL ambient light.
For flash light, set the ring to "H" (icon at the
top) high-power (brighter than 640lx·s) flash
or "L" (icon at the middle) for low-power flash
(lower than 640lx·s).
Dark Calibration Position
Confirmation Screen
NOTE
Dark calibration is performed when there is a big change in temperature
between turning power OFF and ON.
Except the cases above, dark calibration after power ON is skipped.
5. Measuring Mode and Display Mode
You can change screens after turning the power on as follows. Changes
from the Measuring screen to each screen.
★Pressing Menu Button ❻shifts to the Display Mode Selection screen.
Please set Light Selection
Ring for dark calibration.
[Measuring Mode
Selection
Screen]
[Display Mode
Selection Screen]
1 3
64
97
2
5
8
󱧃󱧁 󱧂
[Measuring Screen
(Text Mode)]
www. .com information@itm.com1.800.561.8187
Measuring Mode Icon Description
Ambient Light Mode
Measures continuous light such as sunlight, tungsten, fluorescent, and LED lights.
Cordless Flash
Mode
Detects flash light without meter-flash connection after Measuring Button
pressed to arm meter (for 90 seconds) and flash fired separately.
Cord (PC) Flash
Mode
Detects flash light with PC (synchro) cord meter-flash connection.
No. Display Mode Name Description
1[Text] Icon Displays user-selected 5 items in numeric values.
2[Spectrum] Icon Displays 3 user-selected values and spectrum distribution graph.
3[Spectrum
Comparison] Icon
Compares the current measurement value and up to 2 memorized values
as yellow and/or red lines in the spectrum distribution graph.
4[CRI] Icon Displays the selected average CRI (Ra) or individual CRI (R1 ~ R15)
numerically. Each CRI is displayed in a bar graph.
5[CRI Comparison] Icon Compares the current measurement value and memoried value to show
the color temperature and average CRI (Ra). Also, individual CRI (R1 to R15)
is displayed in a bar graph.
6[TM-30] Icon Displays three current measurement values (selectable) and color vector
graphic.
7[SSI] Icon Displays the current measurement values (color temperature, ⊿uv and
SSI) and SSI spectrum graph.
8[TLCI/TLMF] Icon Displays the current measurement values and memorized values (in color
temperature and ⊿uv), TLCI and TLMF with spectrum graph.
9[Filter] Icon Displays correction values and camera filter names or light-source
filter names required to adjust measured light source to target color
temperature.
󱧁
[Multi Lights] Icon Displays comparative correction values from multiple measurements.
󱧂
[White Balance
Correction] Icon
Displays the difference between the current measurement value and the
target color temperature in a white balance graph.
󱧃[Setting] Icon Displays Setting screen.
★1 ~ 󱧂 are the Measuring screen.
6. Tool Box
Touching the “Tool Box ( )” icon in any measurement
screen shifts to the Tool Box screen where frequently
used functions are listed.
7. Setting
Touching the “Setting” icon in the Display Mode
Selection screen or pressing the MENU button on
the meter shifts the display to the Setting screen.
Here you can set functions and display methods
required for measurement in advance.
[Tool Box Screen]
[Setting (Page 1, page2) Screen]
JT8197622
www. .com information@itm.com1.800.561.8187
Other manuals for SPECTROMASTER C-800

3

This manual suits for next models

1

Other Sekonic Measuring Instrument manuals

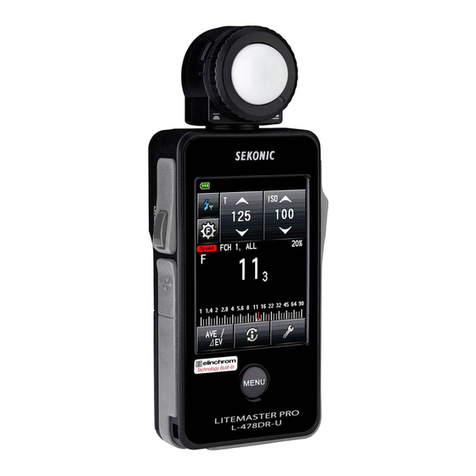
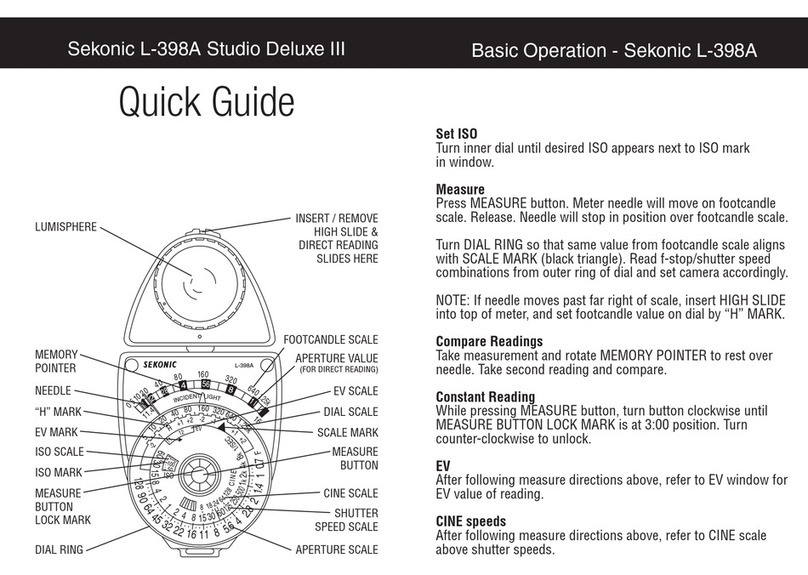
Sekonic STUDIO DELUXE? L-398A User guide

Sekonic

Sekonic STUDIO DELUXE? L-398A User guide

Sekonic Studio Deluxe L-28 C2 User manual

Sekonic

Sekonic Studio Deluxe L-28 C2 User manual

Sekonic SPEEDMASTER L-858D User guide

Sekonic

Sekonic SPEEDMASTER L-858D User guide

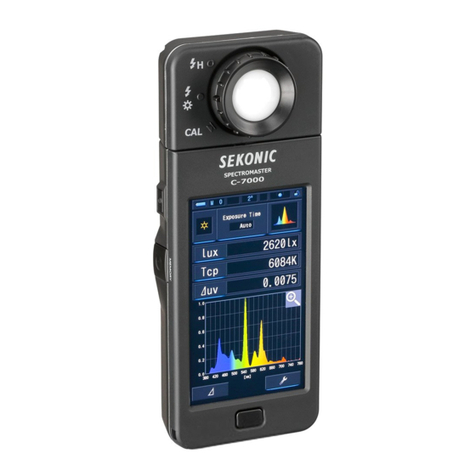
Sekonic SPECTROMASTER C-7000 User guide

Sekonic

Sekonic SPECTROMASTER C-7000 User guide

Sekonic MULTIMASTER L-408 User manual

Sekonic

Sekonic MULTIMASTER L-408 User manual

Sekonic SPEEDMASTER L-858D User manual

Sekonic

Sekonic SPEEDMASTER L-858D User manual

Sekonic FLASHMATE L-308X User manual

Sekonic

Sekonic FLASHMATE L-308X User manual

Sekonic L-608 CINE User manual

Sekonic

Sekonic L-608 CINE User manual

Sekonic DIGI MASTER L-718 User manual

Sekonic

Sekonic DIGI MASTER L-718 User manual

Sekonic LITEMASTER PRO L-478 Series User guide

Sekonic

Sekonic LITEMASTER PRO L-478 Series User guide

Sekonic FLASHMATE L-308BII User manual

Sekonic

Sekonic FLASHMATE L-308BII User manual

Sekonic C-700 User manual

Sekonic

Sekonic C-700 User manual

Sekonic FLASH MASTER L-358 User manual

Sekonic

Sekonic FLASH MASTER L-358 User manual

Sekonic DIGI LITE L-318B Operating instructions

Sekonic

Sekonic DIGI LITE L-318B Operating instructions

Sekonic LITEMASTER PRO L-478DR-A-EL User manual

Sekonic

Sekonic LITEMASTER PRO L-478DR-A-EL User manual

Sekonic L-398 User manual

Sekonic

Sekonic L-398 User manual

Sekonic SPEEDMASTER L-858D User manual

Sekonic

Sekonic SPEEDMASTER L-858D User manual

Sekonic LITEMASTER PRO L-478 Series User manual

Sekonic

Sekonic LITEMASTER PRO L-478 Series User manual

Sekonic L-608 CINE User manual

Sekonic

Sekonic L-608 CINE User manual

Sekonic L-478D Series User guide

Sekonic

Sekonic L-478D Series User guide

Sekonic DUAL MASTER L-558 User manual

Sekonic

Sekonic DUAL MASTER L-558 User manual

Sekonic Litemaster Pro L-478D User manual

Sekonic

Sekonic Litemaster Pro L-478D User manual

Sekonic SPECTROMASTER C-800 User manual

Sekonic

Sekonic SPECTROMASTER C-800 User manual

Sekonic TWINMATE L-208 User manual

Sekonic

Sekonic TWINMATE L-208 User manual

Popular Measuring Instrument manuals by other brands

Sofar solar CHINT DDSU666 Series Quick installation guide

Sofar solar

Sofar solar CHINT DDSU666 Series Quick installation guide

Microgate RACETIME 2 manual

Microgate

Microgate RACETIME 2 manual

Dilog DL6507 operating manual

Dilog

Dilog DL6507 operating manual

Unit UTS1000 Series Service manual

Unit

Unit UTS1000 Series Service manual

Delta LTL-XL manual

Delta

Delta LTL-XL manual

Ono Sokki HT-5500 instruction manual

Ono Sokki

Ono Sokki HT-5500 instruction manual

Tepex LASER PROFILER - PDA instruction manual

Tepex

Tepex LASER PROFILER - PDA instruction manual

KEPCO BATCHtrol II Installing & operating manual

KEPCO

KEPCO BATCHtrol II Installing & operating manual

Tracer PED2 user manual

Tracer

Tracer PED2 user manual

Delta RetroSign GR1 user manual

Delta

Delta RetroSign GR1 user manual

ELAN DIGITAL SYSTEMS USBscope50 user guide

ELAN DIGITAL SYSTEMS

ELAN DIGITAL SYSTEMS USBscope50 user guide

Impact Subsea ISA500 Installation & operation manual

Impact Subsea

Impact Subsea ISA500 Installation & operation manual

Checkpoint Counterpoint iD quick start guide

Checkpoint

Checkpoint Counterpoint iD quick start guide

JW Fishers PROTON 4 Operation and maintenance manual

JW Fishers

JW Fishers PROTON 4 Operation and maintenance manual

globalwater WQ770 manual

globalwater

globalwater WQ770 manual

Promax RANGER Neo Lite user manual

Promax

Promax RANGER Neo Lite user manual

Asahi KASEI AK4493 manual

Asahi KASEI

Asahi KASEI AK4493 manual

red lion PAXLSG manual

red lion

red lion PAXLSG manual

manuals.online logo
manuals.online logoBrands
  • About & Mission
  • Contact us
  • Privacy Policy
  • Terms and Conditions

Copyright 2025 Manuals.Online. All Rights Reserved.