Seltron RT Series User manual

RT.., WT..
User Manual and Installation Instructions
ENEN


| 3
EN
INTRODUCTION
The Seltron room thermostat allows you to eciently and economically heat or cool
your rooms. With a simple user interface, you can easily set the temperature you want,
adjust the operating schedule or activate any of the user functions for a comfortable
temperature, saving mode or holiday mode.
For proper and economical use always set the actual requested temperature. Setting
a higher or lower temperature will not accelerate the heating or cooling of the rooms.
The speed of heating or cooling of rooms depends on the heating system and the
construction of your building.
Seltron smart room thermostats can also be connected to the SeltronHome platform,
which allows you to perform all settings with the Clausius BT mobile app, no matter
where you are. Learn more about the function and services of the SeltronHome
platform at www.seltron.eu and in the chapter "Operating the thermostat with smart
device".
Please read these instructions carefully before using the product and store them for
future reference.
The same applies to any modification or tampering with the device.
Do not disassemble the device! The device does not contain any components that
are serviceable by the user. In the event of an error, return the device to the seller or
contact an authorised service centre.
The power supply must be switched o when installing the thermostat!
The thermostat must be installed by a qualified person!
The electrical circuit must be protected by a fuse that does not exceed the maximum
permissible current load of the wiring. All safety regulations must be observed during
installation!
This device is not a toy, do not allow children to play with the device. Also, do not leave
the packaging accessible to children as it may present a choking hazard.
The device can be used by children of 8 and above under the supervision of their
parents.
This device may only be used indoors and must be protected from moisture, dust, and
from direct sunlight or other heat radiation.
Warnings
Thank you for purchasing the Seltron room thermostat.
Use of this device for any purpose other than that described in these instructions is
not permitted and excludes any liability for damages and warranty.

4 |
EN TABLE OF CONTENTS
Room thermostat display...........................................................................................................................6
Wireless receiver display............................................................................................................................ 7
Description of symbols................................................................................................................................ 8
Overview of data ..........................................................................................................................................12
Changing the settings.................................................................................................................................12
Switching on/o and selecting the operating mode .....................................................................13
Setting the temperature ........................................................................................................................... 14
Setting the requested day and night temperature.................................................................. 14
Setting the temperature for frost or overheating protection...............................................15
Using special functions...............................................................................................................................16
Party function ..........................................................................................................................................16
ECO function............................................................................................................................................17
Holiday function......................................................................................................................................18
Ventilation function ...............................................................................................................................19
Settings menu .............................................................................................................................................. 20
Additional and service settings...............................................................................................................21
Program timer...............................................................................................................................................22
Preset time programmes................................................................................................................... 24
Selecting the requested time programme ................................................................................. 24
Setting the time and date.........................................................................................................................25
Room thermostat information................................................................................................................26
Settings parameters ...................................................................................................................................28
Operating settings P1...........................................................................................................................29
Operating settings P2..........................................................................................................................33
Service settings S1.................................................................................................................................35
Description of operation...........................................................................................................................39
Hysteresis (H)..........................................................................................................................................39
Proportional operation (P) ...............................................................................................................40
Proportional, integral operation (PI) ............................................................................................ 40
Locking buttons ........................................................................................................................................... 41
Reset – thermostat...................................................................................................................................... 41
Reset – receiver............................................................................................................................................ 41
Operating the thermostat with smart device.................................................................................. 42
Malfunction.................................................................................................................................................... 43

| 5
EN
TABLE OF CONTENTS
Connection of the wireless thermostat to the receiver...............................................................47
Connecting wireless sensor....................................................................................................................48
Connecting wireless sensor to thermostat.................................................................................48
Connecting wireless sensor to receiver.......................................................................................48
Receiver – manual operation .................................................................................................................49
Technical data..............................................................................................................................................50
Disposal of old electrical and electronic equipment ..................................................................... 51

6 | User Manual
EN
1
2
3
4 8
5
6
LCD display with illumination.
1
On/o button.
2
Button for reducing a setting or moving backwards.
3
Button for reviewing data and entering settings.
4
Button for increasing a setting or moving forwards.
Button for user functions and connecting to smart device.
Button to connect to the receiver.
USB port, type C, for charging built-in battery.*
5
6
7
8
ROOM THERMOSTAT DISPLAY
* In use only with RT1B, RT2B, and WT1B thermostats.
7

| 7User Manual
EN
LED light that shows the status of the relay output.
1
LED light that shows the connection to the smart device.
2
LED light that shows the connection to the thermostat.
3
LED light that shows operation.
4
Manual operation/connection/reset button.
5
WIRELESS RECEIVER DISPLAY
5
4
3
1
2

8 | User Manual
EN
Symbols to display condition and status.
1
Display of temperatures and other climate data in the room.
2
Operating mode display.
3
DESCRIPTION OF SYMBOLS
3
2
1

| 9User Manual
EN
DESCRIPTION OF SYMBOLS
Event display symbols
Thermostat malfunction.*
See section “Malfunction”.
Locked buttons.
Settings menu.
Wireless connection to the
receiver is established.
The signal is excellent.
Wireless connection to the
receiver is established. The
signal is good.
Wireless connection to the
receiver is established. The
signal is weak.
The wireless connection to the
receiver is being established or
has been interrupted.
Bluetooth connection to the
smart device is established.
Bluetooth connection to
the smart device is being
established.
Manual mode
In the settings menu, this
means that the parameter
value is changed.
Battery is charging.
The battery is 100% charged.
The battery is 50% charged.
The battery is 20% charged.
Battery charging is required.

10 | User Manual
EN
Symbols for displaying time programmes
Operation according to first (1)
or second (2) time programme
– night interval.
Monday
Tuesday
Wednesday
Thursday
Friday
Saturday
Sunday
Operation according to first (1)
or second (2) time programme
– day interval.
Date when the Holiday
function expires.
Time when the Party or Eco
function expires.
Symbols for displaying measured and requested temperatures
and other information
DESCRIPTION OF SYMBOLS
Measured outdoor
temperature.
Measured room
temperature.
Measured temperature of the
auxiliary sensor.
Requested day temperature.
Requested night temperature.
Requested temperature
for frost and overheating
protection.

| 11User Manual
EN
DESCRIPTION OF SYMBOLS
Room heating.
Room cooling.
Turn o room heating or
cooling. Frost or overheating
protection activated.
Eco function active.
Symbols for operation mode indication
Party function active.
Relay output active.
Holiday function active.
Ventilation function active.

12 | User Manual
EN OVERVIEW OF DATA
In addition to room temperature, the room thermostat measures and displays other
information about its operation.
Browsing through data by pressing the button.
What information can be displayed depends on the type of the thermostat
and the setting of parameters from P1.10 to P1.19.
With parameter P1.18, you can set the basic display to automatically display
the requested number of other of data that you selected for viewing along
with the measured room temperature. The displayed information alternates in
3-second intervals.
The value of any setting can be changed while it flashes.
The instruction manual shows this with dashes.
The value will begin to flash when pressing the or button for the
first time. In the menu, the value starts flashing when it is selected
with the button.
CHANGING THE SETTINGS
Each setting is confirmed by pressing the button.
By pressing the button you return to the basic display.
If no button is pressed for 5 seconds, you automatically return to the home
screen.

| 13User Manual
EN
ON/OFF AND OPERATION
MODE SELECTION
Symbols for operation mode indication.
Heating switched on. Cooling switched on.
Operation switching o.
By pressing the button for 1 second, you can turn room thermostat opearation on or
o.
Hold the button for 10 seconds to switch between heating and cooling mode. The
operation mode can only be selected if the thermostat operation is switched o.
Room heating. Cooling.
10 sec.
O. Frost or overheating
protection remains active
Room heating is active.
1 sec.
1
1
1

14 | User Manual
EN SETTING THE TEMPERATURE
1
1
2
2
Setting the requested day and night temperature
By pressing the or button, you activate the requested temperature setting.
The current active temperature (day or night) starts flashing.
With further presses of the or button, you change the value of the requested
temperature.
By pressing the button, you complete the setup.
However, by pressing the button, you move to the setting of the second requested
temperature.
Setting the requested day and night temperature is enabled only when heating
is active and the Party, Eco, or Holiday functions are not active.
The value is flashing. Temperature symbol.
Day temperature.
Night temperature.

| 15User Manual
EN
SETTING THE TEMPERATURE
Setting the temperature for frost protection
The temperature for frost protection can be
set when the controller is switched o.
By pressing the and buttons, the
requested room temperature for frost
protection is displayed.
If the button is now pressed and held for
at least 2 seconds, the setting value starts
flashing and can be changed with the and
buttons.
By pressing the or button, you confirm
the setting and return to the basic display.
Even when the room thermostat is switched o , it activates heating and adjusts the
temperature to the value set for frost protection, or activates cooling and maintains
the temperature at 34°C.

16 | User Manual
EN USING SPECIAL FUNCTIONS
By pressing the button, you select
the requested function and confirm
it with the button.
By pressing the and buttons, you
can change the requested comfort
temperature.
By pressing the button, you move
to time setting.
Buttons and are used to set the
time when the Party function should
stop. By pressing the button again,
you return to the basic display.
When the Party function is on, we can
check or change settings by pressing
button or .
The Party function can be switched
o before the time has expired by
pressing the button again and
selecting the Party function.
Party function enables to switched on operation according to the requested comfort
temperature at any time.
Party function
2
3
1
Requested comfort or
Party temperature.
21 Party function
is selected. 3Time when Party
function expires.

| 17User Manual
EN
USING SPECIAL FUNCTIONS
The Eco function enables you to switch on operations at the requested saving
temperature at any time.
Eco function
1
2
3
Requested saving or
ECO temperature.
21 ECO function
is selected. 3Time when
ECO function
expires.
By pressing the button, you select
the requested function and confirm
it with the button.
By pressing the and buttons,
you can change the requested saving
temperature.
By pressing the button, you move
to time setting.
Buttons and are used to set the
time when the ECO function should
stop. By pressing the button again,
you return to the basic display.
When Eco function is on, we can
check or change settings by pressing
button or .
ECO function can be switched o
before the time has expired by
pressing the button again and
selecting the Party function.

18 | User Manual
EN USING SPECIAL FUNCTIONS
The Holiday function allows you to activate heating with the requested saving
temperature until a specific date at any time.
Holiday function
1
2
3
Requested
Holiday
temperature.
21 The Holiday
function is
selected.
3Date when
Holiday function
expires.
By pressing the button, you select
the requested function and confirm
it with the button.
By pressing the and buttons,
you can change the requested saving
temperature.
By pressing the button, you move
to date setting.
Buttons and are used to set the
date when the Holiday function should
stop. By pressing the button again,
you return to the basic display.
When the Holiday function is on,
we can check or change settings by
pressing button or .
The Holiday function can be switched
o before the time has expired by
pressing the button again and
selecting the Holiday function.

| 19User Manual
EN
USING SPECIAL FUNCTIONS
The Ventilation function disables the influence of the measured room temperature for a
certain duration.
Ventilation function
1
The time up to and including
which day the Ventilation
function will be on.
21 Ventilation function is selected.
By pressing the button, you select
the requested function and confirm
it with the button.
Buttons and are used to set the
time when the Ventilation function
should stop. By pressing the button
again, you return to the basic display.
When the Ventilation function is
active, you can check or change
the settings by pressing the or
button.
The Ventilation function can be
switched o before the time has
expired by pressing the button
again and selecting the Ventilation
function.
The duration of the Ventilation function is set with parameter P.2.9.

20 | User Manual
EN SETTINGS MENU
You enter the menu by pressing the button for 2 seconds.
All data and settings are sorted into seven submenus:
program timer – the first time program,
program timer – the second time program,
program timer – time and date settings,
room thermostat data,
user settings – first group,
user settings – second group,
service settings.
Use the and buttons to move between submenus.
By pressing the button again, you enter the selected submenu.
Service settings are factory-locked.
See “Service settings S1” to access service settings.
Other manuals for RT Series
1
This manual suits for next models
1
Table of contents
Other Seltron Thermostat manuals
Seltron
Seltron RCD3 Setup guide
Seltron
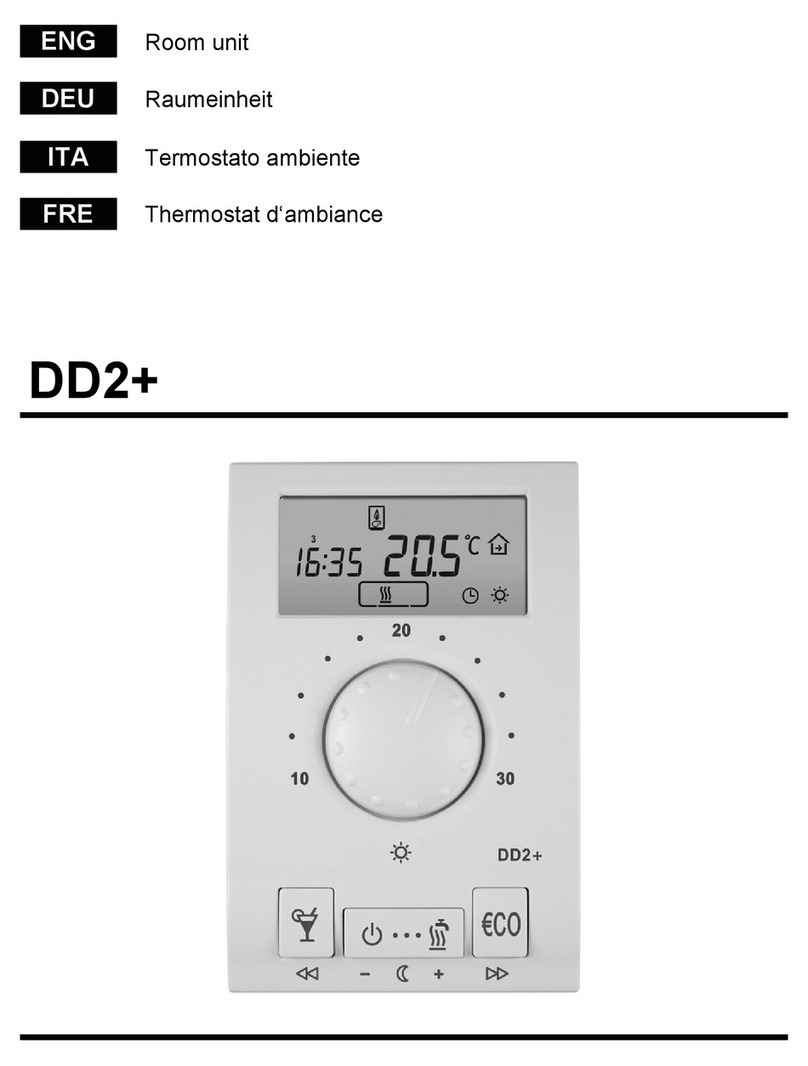
Seltron DD2+ User manual
Seltron
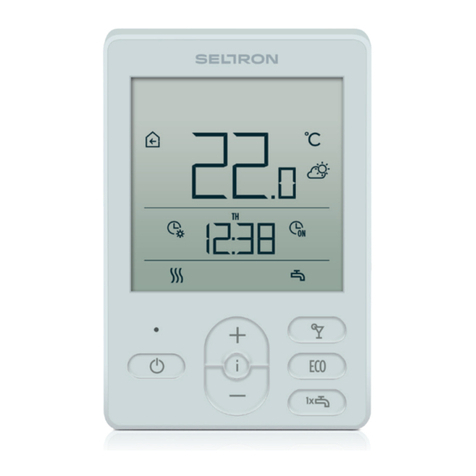
Seltron RCD1 Premium User manual
Seltron
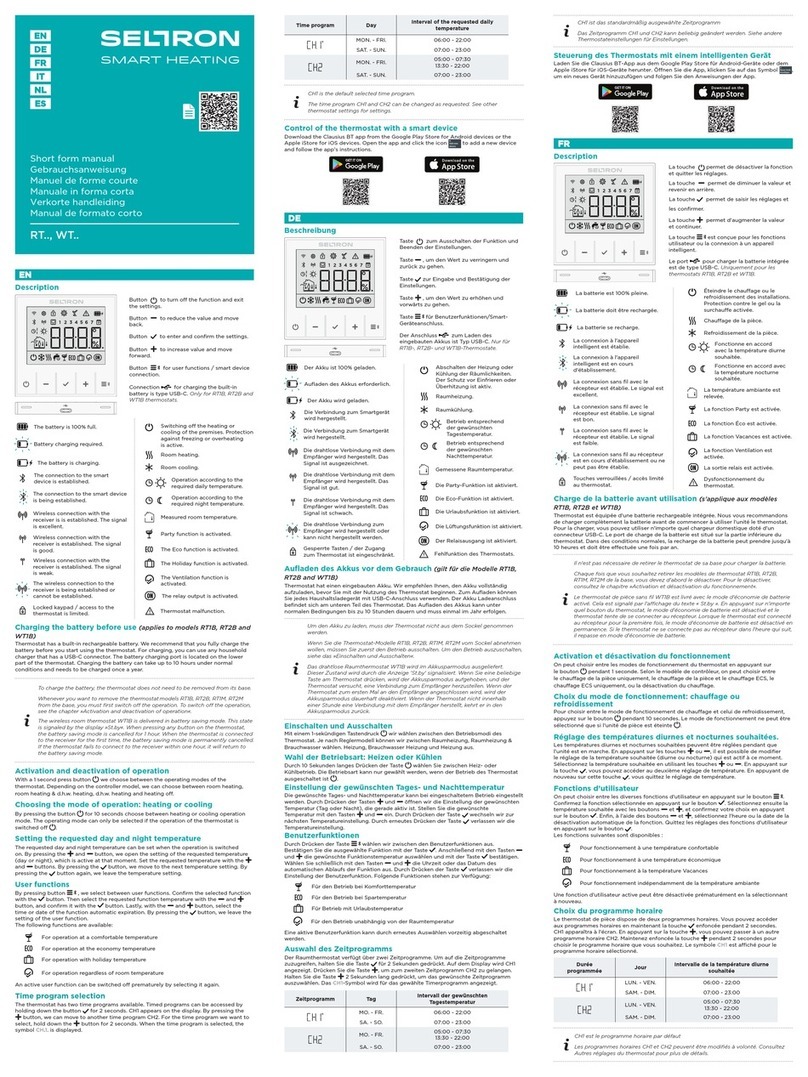
Seltron RT Series How to use
Seltron
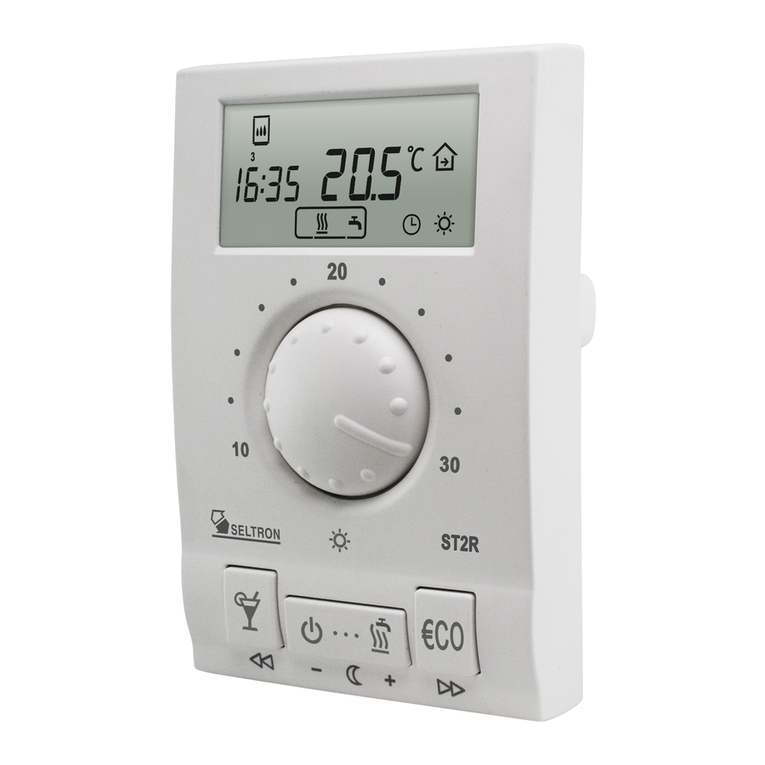
Seltron ST2 User manual
Seltron
Seltron RCD1 Premium User manual
Seltron
Seltron ST User manual
Seltron
Seltron ST User manual
Seltron
Seltron RCD20 How to use
Seltron
Seltron RCD20 User manual
Popular Thermostat manuals by other brands
Nelson
Nelson TH4X325 Installation and maintenance instructions
Danfoss
Danfoss TP75-RF Installation & commissioning guide
Powrmatic
Powrmatic MC300 multi user manual

EBECO
EBECO EB-Therm 500 manual

Lux Products
Lux Products LUXPRO PSDH021Ba Installation and operating instructions

INFLOOR
INFLOOR 29050 owner's manual
