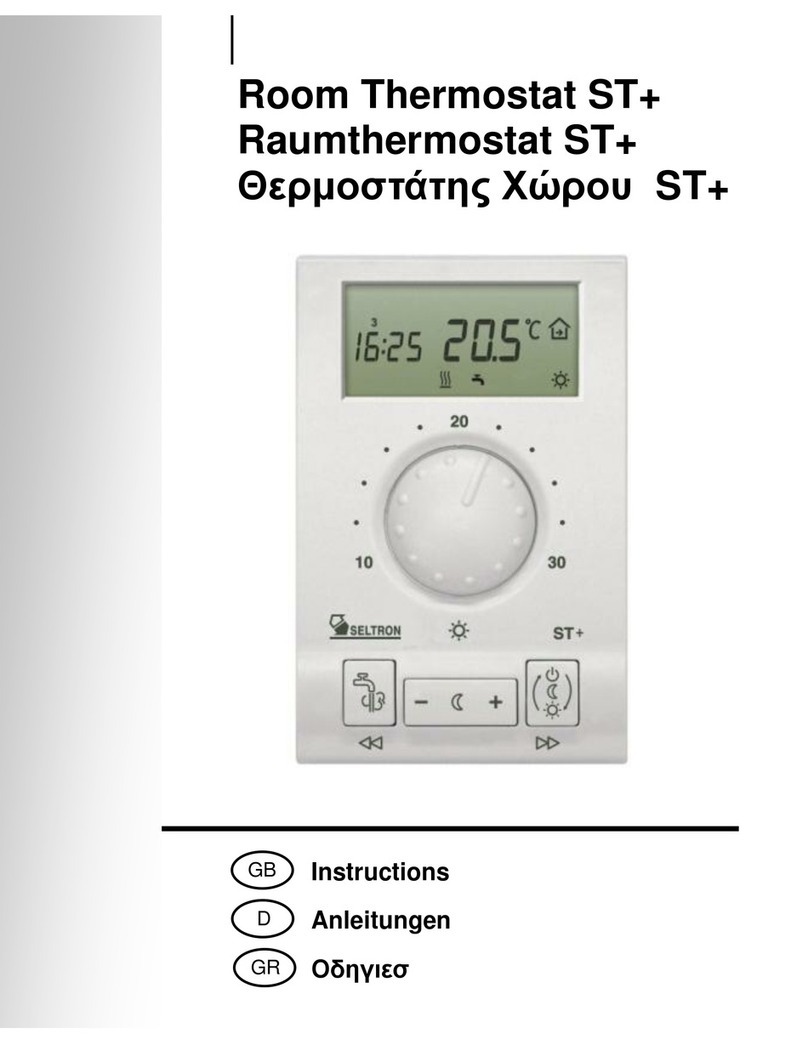
Seltron ST User manual

User manual
Installation manual
Room thermostat ST
Room thermostat ST
- Day temperature heating
- Night temperature heating
- D. h. w. warming
- D. h. w. warming with timer function
Raumthermostat ST
- Tagestemperatur Betriebsart
- Nacthtemperatur Betriebsart
- Brauchwassererwärmung
- Brauchwassererwärmung mit Zeitfuktion
Betriebsanleitung
Montage Anleitung
N/OFF
Boiler

Tel: +386 (0)2 671 96 00
Fax: +386 (0)2 671 96 66
http://www.seltron.info
Email:[email protected]
ENGLISH Room Thermostat ST+
User manual.............................................................................................................................. 3
Installation manual ................................................................................................................... 6
DEUTSCH Raumthermostat ST+
Betriebsanleitung...................................................................................................................... 9
Montage Anleitung................................................................................................................. 12
N/OFF Boiler
........................................ 15

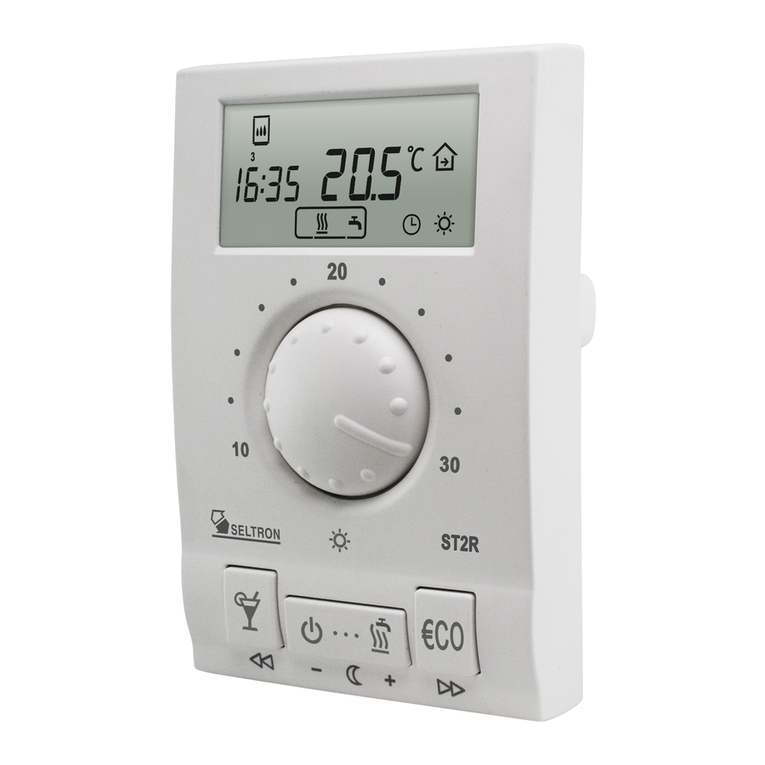
Room thermostat ST
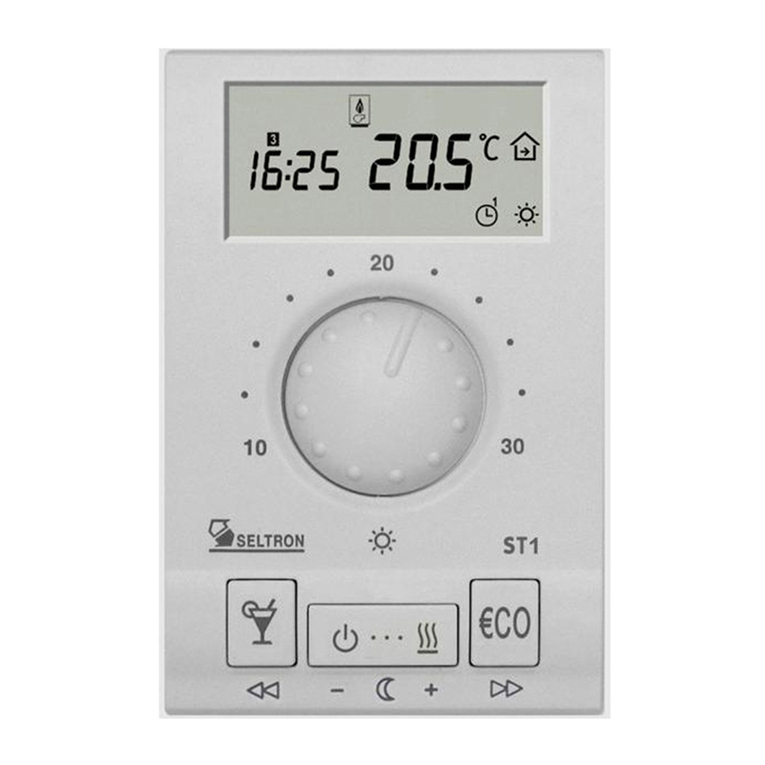
ST is an electronic room thermostat, which allows us to set a requested day and a requested night
temperaure, it also allows the d. h. w. warming activation.
Display: Day of the week (1-7)
Day temperature mode
Night temperature mode
Frost protection
Heating activated
D. h. w. warming activated
Actual room temperature
Setting the day temperature
D. h. w. ON/OFF
Setting the night temperature and setting
the Timer for d. h. w. warming.
Changing the operating mode:
- day temperature
- night tempoerature
- frost protection
Thermostat description
3
3
Seting the accurate time and day
Day
Hold both keys and , then press
key or to set the day. The days
are marked from 1 to 7. Monday is
marked as 1and Sunday as 7.
i If the ST, by battery exchange, isn’t functional for a
while, is the time set to Monday, 20:00.
Hours: Hold key
and press key or .Minutes: Hold key
and press key or .
Thermostat locking
Hold key for 15 seconds. Release the key after you hear a beep. Symbol indicates locked
thermostat. To unlock the ST, again hold key for 15 seconds.
User manual

4
Operating mode selection
Setting the temperatures
Day temperature
To set the day temperature rotate the knob to the requested value between 10 and 30 °C.
Night temperature
Night temperature is set by pressing the keys or .
To change the setting of night temperature can be made only, if the night temperature
mode is activated.
If the room temperature doesn't suit your needs or expectations, you can simply change the setted
temperature:
Empty batteries are indicated with the low contrast display. We suggest the
battery replacement every 2 years. ST is supplied with two alkaline batteries
1.5 V type AAA. Battery socket is inside the ST. To remove thermostat from
the wall plate, do the following. Hold thermostat in height of keys and pull it
towards yourself (look at the picture). After battery exchange, put ST back on
the wall plate, by doing the following. Hook ST on top and push it with bot-
tom towards the wall plate.
Battery exchange should be done within 20 seconds.
In other case you will have to set the accurate time again.
Battery exchange
User manual
By pressing you can change the operating mode.
In normal operation mode (day temperature) the display shows , in energy saving mode
(night temperature), the display shows , and in frost protection mode, the display
shows .
D. h. w. warming
By pressing the button , the d. h. w. warming is activated. The symbol »on« or time between 1
and 12 hours is flashing. Now by the pressing the key or you can change the setting, but if you
don't do anything, then you keep the displayed setting. The setting »on« means that the d. h. w.
warming will be activated until the key is pressed again. If you have chosen the d. h. w. warming
with timer function, then it will be deactivated automatic, when the setted time runs out. When the d.
h. w. warming with timer function is chosen, then the symbol flashes.
To deactivate the d. h. w. warming, press the key .
i Default operating mode after inserting or change of batteries is the »Day temperature«
mode and the d. h. w. is deactivated.
i A flashing symbol on the display means, that the requested room temperature is shown.
10 seconds after the last change of the requested temperature the flashing stops and the
display is showing the measured room temperature.

Remove the ST from the wall plate, by doing the
following. With one hand hold ST in height of
keys and with other hand the wall plate. Now pull
them apart.
Unscrew and temporarily remove the protection
cover (Picture a). Room thermostat is intended for
flush box, tear away the drilling template from the
package and mark drilling holes. Bring the wires
through the opening in bottom of the wall plate
(Picture b-position A) and se enclosed screws to
fasten the wall plate on the wall (Picture b). After
you have done connecting the wires, screw back
the protection cover. Now put ST back onto the
base by doing the following. Hook ST on top of
the wall plate and push it with bottom towards the
wall plate.
sun lighted or exposed to sources of heat and wind. ST should be mounted approximately 150 cm above
the floor.
Place of mount
Wall plate mount
5Installation manual
Picture a Picture b
For the
flushbox For the
wall
Screws

Electrical wiring of room thermostat ST:
Direct heating circuit and domestic hot water warming
Installation manual 6
R2
Module for
d. h. w.
warming
R1
Module for
heating

Electrical wiring of room thermostat ST:
Indirect heating circuit and domestic hot water warming
7Installation manual
R2
Module for
d. h. w.
warming
R1
Module for
heating

8
Seltron d.o.o. declares, with full responsibility, that controller ST meet the requirements and rules for
the electrical equipment, designed to use within certain voltage levels (EC directive for low voltage
(LVD) 73/23 EEC, 93/68 EEC) and requirements and rules for electro-magnetic compatibility (EMC)
(EC directive for electro-magnetic compatibility (EMC) 89/336 EEC, 92/31 EEC, 93/68 EEC).
Product description: Room thermostat Model: ST
Appliedstandards:
SIST EN 60730-1:1995, SIST EN60730-2-9:1997,
SIST EN 50081-1:1995, SIST EN 50082-1:1995,
SIST EN 55014-1:2001, SIST EN 55014-2:1997.
Disposal of Old Electrical & Electronic Equipment (Applicable in the European Union and other
European countries with separate collection systems)
Conformity with standards and directives
Disposal of Old Electrical & Electronic Equipment
This symbol on the product or on its packaging indicates that this product shall not
be treated as household waste. Instead it shall be handed over to the applicable
collection point for the recycling of electrical and electronic equipment. By ensur-
ing this product is disposed of correctly, you will help prevent potential negative
consequences for the environment and human health, which could otherwise be
caused by inappropriate waste handling of this product. The recycling of materials
will help to conserve natural resources. For more detailed information about recy-
cling of this product, please contact your local city office, your household waste
disposal service or the shop where you purchased the product.
Guarantee
This product complies with all the regulations and declared characteristics. We grant 2 years guaran-
tee on the product, commencing on the date of purchase. We will eliminate any defects in the product
resulting from faults in materials, workmanship, malfunctions or imperfection. We retain the right to
repair or completely replace the product as we may choose.
This guarantee does not cover damages as a result of improper use, normal wear and defects that have
no effect on value, functionality and operation safety of the product. This guarantee becomes void if
repairs are done by unauthorized person or original spare parts are not used.
For service within the guarantee period, hand or send the complete product, together with the sales
receipt to authorised service or dealer. This guarantee is valid in every country, where the product was
supplied by company SELTRON or its authorised dealer.

Die minuten:
Sie halten die Taste
gedrückt und drücken die
Taste oder .
Ungefähr 15 Sekunden halten Sie die Taste gedrückt. Nach den Ton Taste auslassen. Symbol
auf der Anzeige bedeutet, dass der Thermostat geschlossen ist. Thermostat können Sie aufschließen
wenn Sie ungefähr 15 Sekunden die Taste gedrückt halten.
Raumthermostat ST
ST ist ein elektronischer Raumthermostat, der uns erlaubt, eine Tag- und Nacht- Solltemperatur
einzustellen, es erlaubt auch die Brauchwassererwärmung.
Anzeige: Tag der Woche (1-7)
Tagestemperatur
NachtTemperatur
Frostschutz
Heizung aktiv
Brauchwassererwärmung
Gemessene Raumtemperatur
Tagestemperatur Einstellung
Brauchwassererwärmung ON/OFF
Einstellung der Nachtemperatur
Auswahl der Betriebsart:
- Tagestemperatur
- Nachttemperatur
- Frostschutz
Thermostat Beschreibung:
9
3
Einstellung der genauen Zeit
i
Die Stunden:
Sie halten die Taste
gedrückt und drücken die
Taste oder .
Der Tag
Sie halten die Taste und
gedrückt, und mit drücken der Taste
oder stellen Sie den Tag ein, wobei
der Montag 1und der Sonntag 7ist.
Schließung der Raumthermostat
Wenn Sie die Batterie wieder einsetzen, nachdem der Ther-
mostat eine Zeit lang nicht aktiv war, stellt sich die Zeit auf
Montag, 20:00 Uhr.

Auswahl der Betriebsart:
Einstellung der Tages–und Nachttemperatur
Tagestempertur:
Sie stellen die Tagestemperatur mit dem Einstellknopf zwischen 10 °C und 30 °C ein.
Nachttemperatur:
Sie stellen die Nachttemperatur mit der Taste oder die gewünschte Temperatur ein.
Zum änderung das Nachttemperatur muß der Thermostat in Nachttemperatur Betrieb
sein.
Wenn die Raumtemperatur Ihren Erwartungen nicht Entspricht, dann können Sie die Eingestellte
Temperatur Einfach ändern:
Für die Versorgung des Raumthermostaten werden zwei Batterien 1.5V Typ
AAA gebraucht. Der Batteriebehälter befindet sich im Thermostat. Den Ther-
mostat nehmen Sie von dem Untergestell so, dass Sie ihn in der Höhe der Tasten
greifen und zu sich ziehen (ÖFFNEN- Bild 17). Nach dem Wechsel setzen Sie
den Thermostat zurück an das Untergestell so, dass Sie ihn am oberen Teil ein-
stecken und am unteren Teil an das Untergestell drücken (SCHLIEßEN).
Die Batterie muss innerhalb 20 Sekunden gewechselt werden.
Einsetzen und Wechsel der Batterie
Bedienungsanleitung
Brauchwassererwärmung
i
i
Mit drücken der Taste wählen Sie den gewünschten Betriebsart. Ausgewählte Betriebsart
wird auf der Anzeige dargestellt.
- Tagestemperatur
- Nachttemperatur
- Heizung AUS (Frostschutz)
Werkseingestellte betriebsart beim Baterrienwechsell ist »Tagestemperatur« und
Brauchwassererwärmung AUS.
Blinkendes symbol an der Anzeige bedeutet, das der Solltemperatur gezeigt wird. 10
sekunden nach der letzte veränderung hört das blinken auf und die Anzeige zeigt wieder die
gemessene Raumtemperatur an.
Mit drücken der Taste das Brauchwassererwärmung wird Eingeschaltet. Das Symbol »on« oder
Zeit zwischen 1 und 12 Stunden blinkt. Jetzt mit drücken der Taste oder können Sie das Einstel-
lung Verändern, wenn Sie aber keine Veränderung vornähmen, dann wird die Angezeigte Einstellung
beibehalten. Einstellung »on« bedeutet das Brauchwassererwärmung aktiv bleibt bis die Taste noch
Einmal gedrückt wird. Wenn das Brauchwassererwärmung mit Zeitfunktion Ausgewählt wird, dann
wird Brauchwassererwärmung Automatisch Abgeschaltet wenn die Eingestellte Zeit Abgelaufen ist.
Wenn die Zeitfunktion Ausgewählt ist dan wird das Symbol an der Anzeige blinken.
Um die Brauchwassererwärmung mit Zeitfunktion Abschalten drücken Sie die Taste wieder.
10
OFFNEN
SCHLIEßEN

Nehmen Sie den Raum-Thermostaten auseinan-
der. Dass machen Sie so, dass Sie in der Höhe der
Tasten mit einer Hand den Thermostaten halten,
mit der anderen Hand halten Sie das Untergestell
und ziehen Sie die beiden auseinander.
Lösen Sie die Schraube am Schutzdeckel und neh-
men Sie vorübergehend den Deckel ab (Bild a).
Der Raumthermostat ist für die Aufputzmontage an
die Wand bestimmt. Falls Sie keine Unterputzdose
eingebaut haben, reißen Sie von der Verpackung
die Schablone ab und markieren Sie damit die
Bohrlöcher. Mit den beigelegten Schrauben befes-
tigen Sie das Untergestell an die Wand. Nach dem
beendeten Elektroanschluss (Sehen Sie das Kapitel
Elektroanschluss) schrauben Sie erneut den
Schutzdeckel auf und stellen Sie den Thermostat
zurück an das Untergestell. Das machen Sie so,
dass Sie ihm am oberen Teil anlegen und am
unteren Teil an das Untergestell drücken
(SCHLIEßEN).
Die Auswahl der Montagestelle ist wichtig für den richtigen Betrieb des Raumthermostaten. Die dem-
entsprechende Stellen sind an Innenwänden, die nicht von der Sonne angestrahlt sind und nicht den
lokalen Wärmequellen und dem Durchzug ausgesetzt sind. Die Höhe der Montage soll etwa 150 cm
über dem Boden sein.
Montage des Untergestells
11 Montageanleitung
Bild a Bild b
Für Unter-
putzdose
Für die
Wand
Schrauben
Auswahl der Montagestelle

Elektrischer Anschluss von Raumthermostat ST:
Direkt- Heizkreis und Brauchwassererwärmung
Montageanleitung 12
R2
Modul für
Brauchwasserer-
wärmung
R1
Modul für
Heizung

Elektrischer Anschluss von Raumthermostat ST:
Misch- Heizkreis und Brauchwassererwärmung
13 Montageanleitung
R2
Modul für
Brauchwasserer-
wärmung
R1
Modul für
Heizung

14
Der Raumthermostat entspricht:
Der Verordnung für Elektrogeräte die für den gebrauch im Niederspannungsbereich (EC Niederspan-
nungsdirektive (LVD) 73/23 EEC, 93/68 EEC) vorgesehen sind. Den Anforderungen für die Elektro-
magnetische Verträglichkeit (EMC) (EC Direktive der Elektromagnetischen Verträglichkeit (EMC)
89/336 EEC, 92/31 EEC, 93/68 EEC).
Der ST entspricht folgenden Standards:
EN 60730-1:1995, EN60730-2-9:1997,
EN 50081-1:1995, EN 50082-1:1995,
EN 55014-1:2001, EN 55014-2:1997.
Entsorgung von gebrauchten elektrischen und elektronischen Geräten (Anzuwenden in den Län-
dern der Europäischen Union und anderen europäischen Ländern mit einem separaten Sammelsystem
für diese Geräte)
Einhaltung vorgeschriebener normen und Standards
Entsorgung von gebrauchten elektrischen und elektronischen Geräten
Das Symbol auf dem Produkt oder seiner Verpackung weist darauf hin, dass die-
ses Produkt nicht als normaler Haushaltsabfall zu behandeln ist, sondern an einer
Annahmestelle für das Recycling von elektrischen und elektronischen Geräten
abgegeben werden muss. Durch Ihren Beitrag zum korrekten Entsorgen dieses
Produkts schützen Sie die Umwelt und die Gesundheit Ihrer Mitmenschen. Um-
welt und Gesundheit werden durch falsches Entsorgen gefährdet. Materialrecyc-
ling hilft den Verbrauch von Rohstoffen zu verringern. Weitere Informationen
über das Recycling dieses Produkts erhalten Sie von Ihrer Gemeinde, den kommu-
nalen Entsorgungsbetrieben, oder dem Geschäft, in dem Sie das Produkt gekauft
Guarantie
Das Gerät erfüllt alle vorgeschriebenen Vorschriften und Verordnungen. Wir gewähren eine Garantie
von zwei Jahren ab Verkaufsdatum. In der Garantiezeit werden alle Fehler, die folge schlechten Mate-
rials, Fertigung oder Mängel sind, behoben. Das Gerät wird, nach unserem ermessen, entweder repa-
riert oder mit einem neuen ersetzt.
Diese Garantie deckt nicht normale Abnutzungserscheinungen und Fehler die durch unsachgemäße
Behandlung, Installation oder Bedienung hervorgerufen wurden. Die Garantie tritt außer kraft wenn
das Gerät von einer nicht autorisierten Person durchgeführt wurde, oder keine original Ersatzteile zur
Reparatur verwendet wurden.
Für die Reparatur in der Garantiezeit wenden sie sich an einen autorisierten Verkäufer oder Service-
stelle mit der Originalrechnung oder Ausgefühltem Garantiezertifikat.
Die Garantie gilt in allen Ländern wo das Gerät seitens Seltron, oder eines autorisierten Fachhandels
verkauft wird.

15
:
m
o
:
1.2
( Module R),
(Module DR),
(BOILER).
- V
-
-
2.1).

2. :
.
:
- )
- )
ST
- &
3.
:
,
CC).
1234567
16

.
:
.
6CC-
4CC
20C.
:
.
:
.
Stand By :
Stand yOFF
Stand y
C.
3.4 boiler
ON
(on
17

(on)
«»
OFFBOILER
.
Boiler
18

Seltron d.o.o. declares, with full responsibility, that controller ST meet the requirements and rules for
the electrical equipment, designed to use within certain voltage levels (EC directive for low voltage
(LVD) 73/23 EEC, 93/68 EEC) and requirements and rules for electro-magnetic compatibility (EMC)
(EC directive for electro-magnetic compatibility (EMC) 89/336 EEC, 92/31 EEC, 93/68 EEC).
Product description: Room thermostat Model: ST
Appliedstandards:
SIST EN 60730-1:1995, SIST EN60730-2-9:1997,
SIST EN 50081-1:1995, SIST EN 50082-1:1995,
SIST EN 55014-1:2001, SIST EN 55014-2:1997.
Disposal of Old Electrical & Electronic Equipment (Applicable in the European Union and other
European countries with separate collection systems)
Conformity with standards and directives
Disposal of Old Electrical & Electronic Equipment
This symbol on the product or on its packaging indicates that this product shall not
be treated as household waste. Instead it shall be handed over to the applicable
collection point for the recycling of electrical and electronic equipment. By ensur-
ing this product is disposed of correctly, you will help prevent potential negative
consequences for the environment and human health, which could otherwise be
caused by inappropriate waste handling of this product. The recycling of materials
will help to conserve natural resources. For more detailed information about recy-
cling of this product, please contact your local city office, your household waste
disposal service or the shop where you purchased the product.
Guarantee
This product complies with all the regulations and declared characteristics. We grant 2 years guaran-
tee on the product, commencing on the date of purchase. We will eliminate any defects in the product
resulting from faults in materials, workmanship, malfunctions or imperfection. We retain the right to
repair or completely replace the product as we may choose.
This guarantee does not cover damages as a result of improper use, normal wear and defects that have
no effect on value, functionality and operation safety of the product. This guarantee becomes void if
repairs are done by unauthorized person or original spare parts are not used.
For service within the guarantee period, hand or send the complete product, together with the sales
receipt to authorised service or dealer. This guarantee is valid in every country, where the product was
supplied by company SELTRON or its authorised dealer.
19

SELTRON d.o.o.
Ruška cesta 96
2345 Bistrica ob Dravi
Slovenia
tel: +386 (0)2 671 96 00
fax: +386 (0)2 671 96 66
http://www.seltron.eu
program V 1.1.r3
We retain the right of changes.
Other manuals for ST
1
Table of contents
Languages:
Other Seltron Thermostat manuals

Seltron
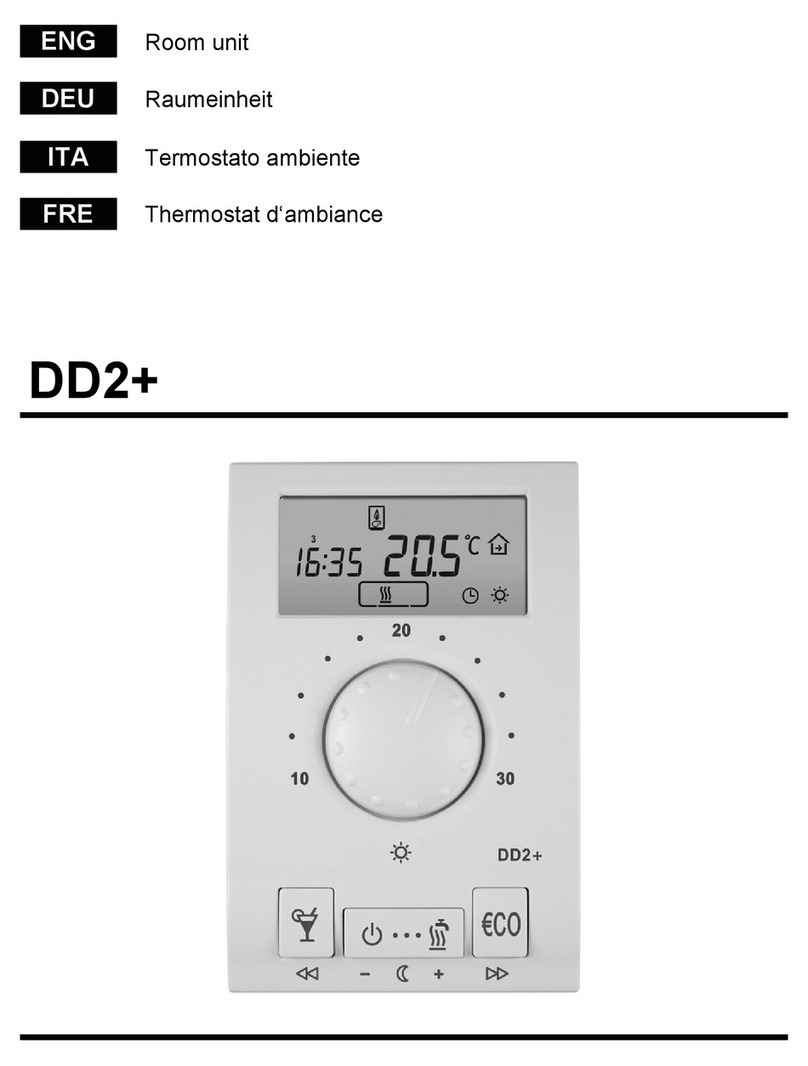
Seltron DD2+ User manual

Seltron
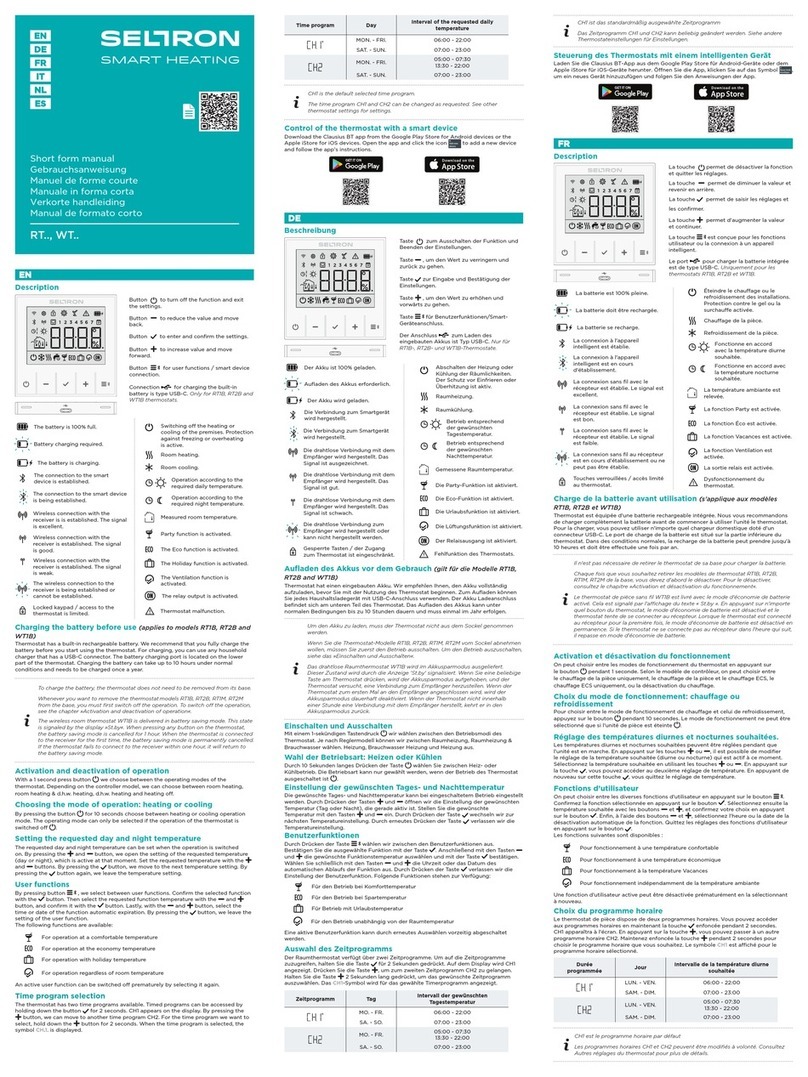
Seltron RT Series User manual

Seltron
Seltron RCD20 How to use

Seltron
Seltron RCD1 Premium User manual

Seltron
Seltron T1 User manual

Seltron
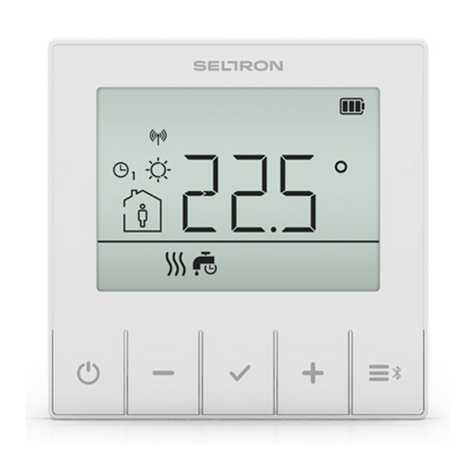
Seltron RCD20 User manual

Seltron
Seltron RT Series How to use

Seltron
Seltron RCD3 Setup guide

Seltron
Seltron RCD1 Premium User manual

Seltron
Seltron ST User manual