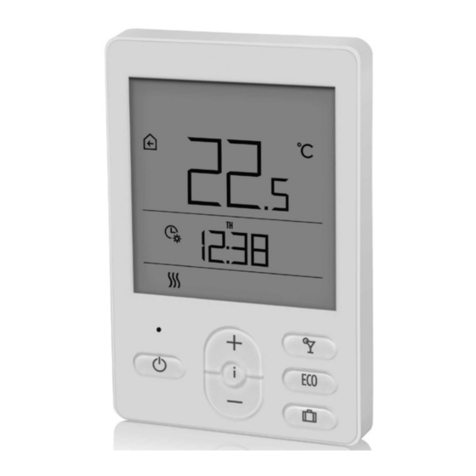
Seltron ST User manual

Room Thermostat ST+
Raumthermostat ST+
ST+
Anleitungen
D
GB
Instructions
GR


DGR GB
3
D Bedienungsanleitungen ............................23
Betriebsanleitungen..................................28
Montageanleitungen .................................34
Technische Daten, Stellungsnahme.........38
User manual..............................................4
Setting manual..........................................10
Installation manual....................................16
Technical data, statements.......................20
GB
......................................40
...........53
GR

GB
USER MANUAL
4
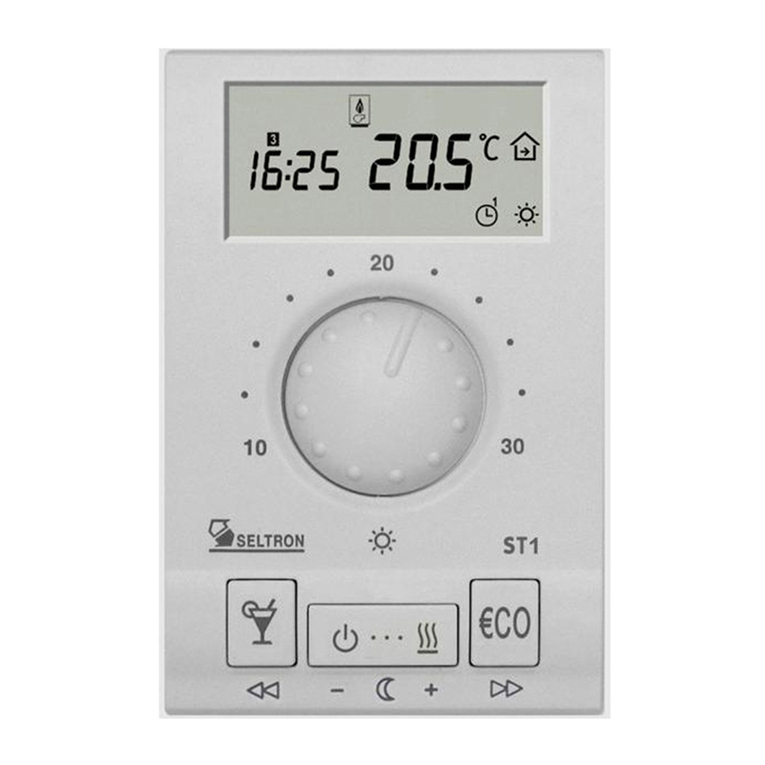
ST+ is a powerful and modern designed room thermostat. Heating opera-
tion can be managed manually (day or night temperature mode) or by a
weekly time program. ST+ also allows d. h. w. warming control, which is set
independently from room heating.
LEGEND
Room Thermostat ST+
Hold key while pressing other keys.
Hold key until you hear a beep sound.
Press and release key.
Press key to increase or decrease value.
USER MANUAL

GB
USER MANUAL 5
Thermostat description
Display:
Day of the week (1-7)
Program timer activated
Day temperature mode
Night temperature mode
Frost protection
Heating is active
D. h. w. warming is active
Operating mode manual change
Measured room temperature display
Day temperature setting
D. h. w. warming ON/OFF
Night temperature or d. h. w.
warming duration setting Operating mode selection:
- Day temperature
- Night temperature
- Frost protection
3
Hold key for 15 seconds. Release the key after you hear a beep. Symbol
indicates locked thermostat. To unlock the ST, again hold key
for 15 seconds.
Thermostat locking

GB
USER MANUAL
6
Day
Hold both keys and , then press
key or to set the day. The days
are marked from 1 to 7. Monday is
marked as 1and Sunday as 7.
i If the ST, by battery exchange, isn’t functional for a while, is the
time set to Monday, 20:00.
Hours: Hold key
and press key or . Minutes: Hold key
and press key or .
Setting the accurate time and day

GB
USER MANUAL 7
By pressing you can change the operating mode.
- comfort mode (day temperature),
display shows
- economic mode (night temperature),
display shows
- operating by selected time program,
display shows and or , depends on active
mode (day/night) set in the program
- frost protection (OFF) display shows .
Night temperature
Night temperature is set by pressing the keys or .
If the room temperature doesn't suit your needs or expectations, you can
simply change the setted temperature:
Day temperature
To set the day temperature rotate the knob to the
requested value between 10 and 30 °C.
i Default operating mode after inserting or change of batteries is the
»Day temperature« mode and the d. h. w. is deactivated.
Operating mode selection
Setting the temperatures

GB
USER MANUAL
8
A flashing symbol on the display means, that the requested room
temperature is shown. 10 seconds after the last change of the re-
quested temperature the flashing stops and the display is showing the
measured room temperature.
i
By pressing the button , the d. h. w. warming is activated. The symbol
»on« or time between 1 and 12 hours is flashing. Now by the pressing the
key or you can change the setting, but if you don't do anything, then
you keep the displayed setting. The setting »on« means that the d. h. w.
warming will be activated until the key is pressed again.
If you have chosen the d. h. w. warming with timer function, then it will be
deactivated automatic, when the setted time runs out.
When the d. h. w. warming with timer function is chosen,
then the symbol flashes.
To deactivate the d. h. w. warming, press the key .
If a time program is active, you can manually change the operating mode
from day temperature to night temperature mode and vice versa. Simply
bol .
Domestic hot water warming
Ogrevanje sanitarne vode
Operating mode (time program) - manual change

GB
USER MANUAL 9
Empty batteries are indicated with the low
contrast display. We suggest the battery re-
placement every 2 years. ST is supplied with
two alkaline batteries 1.5 V type AAA. Bat-
tery socket is inside the ST. To remove ther-
mostat from the wall plate, do the following.
Hold thermostat in height of keys and pull it
towards yourself (look at the picture). After
battery exchange, put ST back on the wall
plate, by doing the following. Hook ST on top
and push it with bottom towards the wall
plate.
Battery exchange should be done within 20 seconds.
In other case you will have to set the accurate time again.
ODPRI
ZAPRI
Batterie exchange
OPEN
CLOSE

GB
SETTING MANUAL
10
Pre- setted time program tables.
Program selection
Hold the key and by pressing the key select the wanted program. You
can choose between Pr1, Pr2, Pr3, Pr4, Pr5, Pr6 and - - -.
Selected time program always replaces the active program.
Pre- setted time programs
SETTING MANUAL

GB
SETTING MANUAL 11
Time program Pr6 can be individualy altered and suited to your needs.
This can be done like that: hold the key and press the key for so
many times that the display shows Pr6.
Modifying the time program Pr6
Time
command
Succsesive number
of the program place.
Program timer
- night temperature
- day temperature
Press key or to select the program place that you wish to modify. The
display simultaneously writes out the time command, the successive
number of the program space and switch-on/off command.

GB
SETTING MANUAL
12
Unused time
command
All data and settings are joined into 2 groups:
Group d1 contains data about the thermostat and group P1 is used for the
thermostat user settings. .
Entering the menu:
To enter menu, hold key and press key . Release keys after you hear
a beep. The display writes out first group d1.
Menu
Now press key . On the display starts to flash day. Press key or to
set day, then press key . On the display starts to flash hours. Press key
or to set hours, then press key . On the display starts to flash min-
utes. Press key or to set minutes, then press key .
The display stops flashing. Now is possible to move to the next program
space. Press to move to the next program space or press to move to
the previous program space.
There are 16 program places available. Time commands for day and night temperature
mode are successively followed. Unused time commands are marked as --:--.

GB
SETTING MANUAL 13
Move
left
Move
right
Move up -
increase
Picture a
Move down -
decrease
Picture c
Succsesive
line number
Group
name Parameter
Menu navigation
In menu, keys have new meaning, marked bellow them (Picture a). To
move between the groups press key to move to the left and key
to move to the right (Picture b). To move within the group press key to
move down between the lines and key to move up between the lines.
For your better understanding all the lines are marked. First two symbols
mark the group and the third symbol successive number of the line in
group (Picture c).
Entrance
Picture b

GB
SETTING MANUAL
14
Room thermostat data d1
This group is sort of ST+ ID. In this group are information about ST+,
order:
- [d1.1] Room thermostat type (ST.)
- [d1.2] program version
- [d1.3] heating (HEA)
- [d1.4] value of ED constant
- [d1.5] temperature sensor calibration
- [d1.6] reserved
Group P1 contains the following parameters, (factory default):
- (6 °C)
- (20 min)
- [P1.3] Temperature sensor calibration (-(0 °C)
- [P1.4] direct setting of night temperature (--- - no, 1 - yes); (1)
- (0,5 °C)
Program group P1
Program group P1 is used for the thermostat user settings. To change the
selected parameter, hold key for approximately 5 seconds. Parameter
starts to flash. Press key or to set the parameter value. To store the
setted value, again hold key for approximately 5 seconds.

GB
SETTING MANUAL 15
Every time you wish to quick store and quit set-up, hold key and press
key . Release both keys after you hear a beep.
i All modifications made, are stored.
To make a correction to the measured temperature display, hold the key
for about 10 seconds. After the beep release the keys and then alter
the display value with and .
10 seconds after the last made change to the temperature display value
the flashing stops and the display shows the measured room temperature
again.
Temperature sensor calibration
Command to quick save and quit (Escape)

GB
INSTALLATION MANUAL
16
Wall plate mount
Place of mount
Remove the ST+ from the wall
plate, by doing the following.
With one hand hold ST+ in
eight of keys and with other
hand the wall plate. Now pull
them apart.
Place of mount is very important for proper ST+ operation. Suitable places
wind. ST2 should be mounted approximately 150 cm above the floor.
INSTALLATION MANUAL

GB
INSTALLATION MANUAL 17
Unscrew and temporarily remove the protection cover (Picture a). Room
flush box, tear away the drilling template from the package and mark drilling
holes. Use enclosed screws to fasten the wall plate on the wall (Picture b).
After you have done connecting the wires (see chapter Connecting the
wires), screw back the protection cover. Now put ST+ back onto the base
by doing the following. Hook ST+ on top of the wall plate and push it with
bottom towards the wall plate.
WARNING: Mounting and wiring connections must be done by a qualified
installer or authorized company. Local regulations or VDE 0100 and EN IEC
60364 regulations for electrical installations must be considered by doing
the wiring connections.
Bring the wires through the opening in bottom of the wall plate (Picture b-
position A). How to connect module is detailed described on pages 18 and
19
Wires connection
Picture bPicture a

GB
INSTALLATION MANUAL
18
R2
Module for
d. h w. warming
R1
Module for
room heating
Direct heating circuit and d. h. w. warming

GB
INSTALLATION MANUAL 19
R2
Module for
d. h. w. warming.
R1
Module for
room heating
Indirect heating circuit and d. h. w. warming

GB
USER MANUAL
20
Seltron d.o.o. declares, with full responsibility, that room thermostat ST+
meet the requirements and rules for the electrical equipment, designed to
use within certain voltage levels (EC directive for low voltage (LVD) 73/23
EEC, 93/68 EEC) and requirements and rules for electro-magnetic com-
patibility (EMC) (EC directive for electro-magnetic compatibility (EMC)
89/336 EEC, 92/31 EEC, 93/68 EEC).
Product description: Room thermostat ST+
Model: ST+
Applied standards:
EN 60730-1:1995, EN60730-2-9:1997,
EN 50081-1:1995, EN 50082-1:1995,
EN 55014-1:2001, EN 55014-2:1997.
Model:...................................................ST+
Operation mode:...................................P - regulator (ON / OFF),
Power supply:.......................................2 batteries LR03, size AAA
Relay output: ........................................230 V ~ / 6 (3) A
Consumption: .......................................I= 0,022 mA; P= 0,066 mW
Temp. sensor type:...............................Murata NTC
Degree of protection:............................IP 30 by EN 60529
Safety class:.........................................II by EN 60730-1
Housing:...............................................ABS thermoplast, white
.........................
Weight:.................................................150 g
Technical data
Conformity with standards and directives
Other manuals for ST
1
Table of contents
Languages:
Other Seltron Thermostat manuals
Seltron
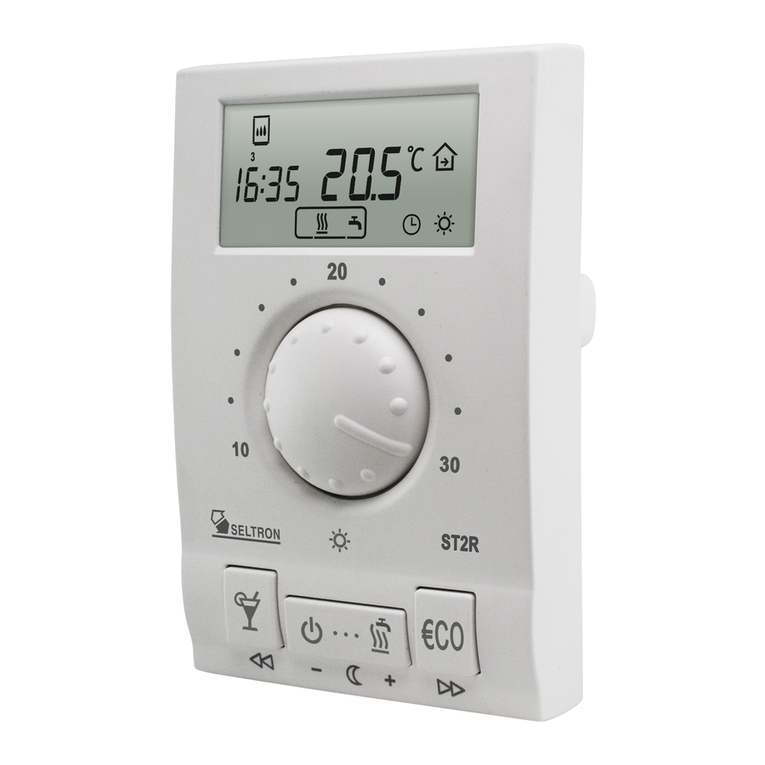
Seltron T1 User manual
Seltron
Seltron ST2 User manual
Seltron
Seltron RCD20 User manual
Seltron
Seltron RCD1 Premium User manual
Seltron
Seltron RT Series How to use
Seltron
Seltron RCD20 How to use
Seltron
Seltron DD2+ User manual
Seltron
Seltron RT Series User manual
Seltron
Seltron ST User manual
Seltron
Seltron RCD1 Premium User manual
Popular Thermostat manuals by other brands
Beretta
Beretta 20050692 Installation and user instructions
Honeywell
Honeywell TROL-A-TEMP Q674B installation instructions
RBM
RBM Kilma Set Touch 2.0 user guide
Honeywell
Honeywell Super Tradeline Q674F installation instructions

Vitrex
Vitrex FloorWarm FWC300 quick guide
McPower
McPower TCU-230 Reference manual
