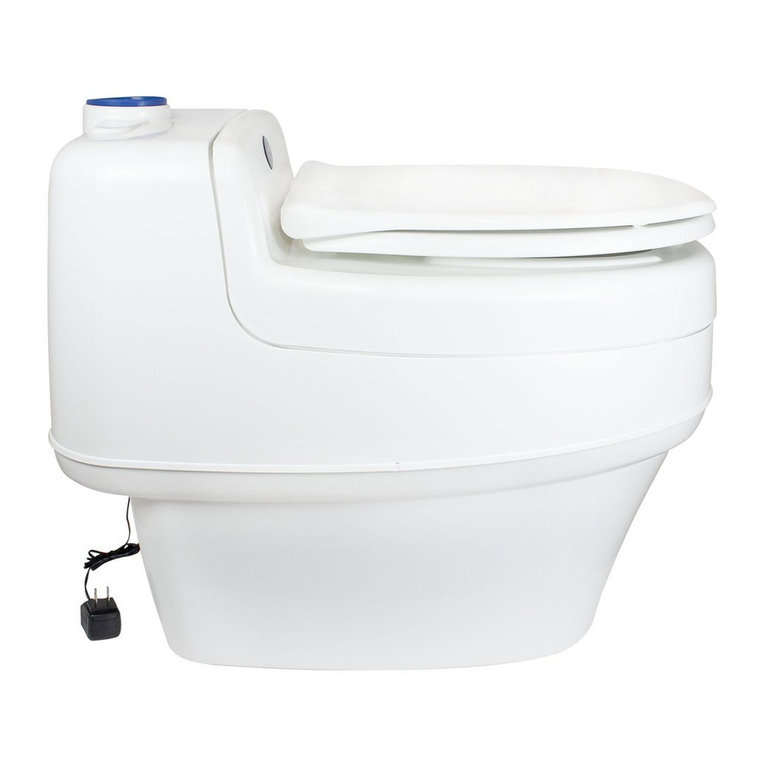
Separett®Waterless Toilets www.separett.com
Instruction Manual - Separett Villa 9200, Type 5000. © SEPARETT 2007 SEPARETT is a registered trademark of Separett AB 10518-03
Switch fan off only when container is empty, removed or
has its lid in place. Otherwise, it is easy for flies to enter
and lay eggs.
Regularly remove and clean the insect mesh on the fan
intake. The mesh keeps insects out of your bathroom and
protects the fan from dust.
Cleaning
Clean with non-abrasive detergents and cleaning products
in order to avoid scratching the surface.
Storage
Separett toilets are not temperature dependent and can
also be stored in cold temperatures. However, at very
low temperatures you need to be extra careful, as the
plastic becomes more brittle.
Cord should be stored in a clean, dry location.
Service
Any servicing other than that mentioned herein should be
performed by an authorized service representative.
Installation (Figures 1-12)
Key requirements include a venting pipe and a suitable outlet
for the urine waste pipe. A 120V power supply is necessary for
the Villa 9200.
Place the toilet where it is to be installed. Measure and make
holes for the urine waste pipe and venting pipe. Attach the toilet
to the floor using three (3) screws through holes in the rotor
disc, or to the wall using angle brackets or directly into the wall
beam (Figures 1, 2, & 3).
Urine outlet: (Figures 4-6, & 12)
IMPORTANT: You should contact the local authorities to find
out which building and environmental regulations apply in your
region.
Disposal via the greywater system: (Figure 4)
If the urine is to flow into the greywater system (e.g. beneath a
washbasin or shower; see Figure 4), the waste pipe must have
an adequate drop through its entire length, so that the normal
flow will prevent the build-up of salt deposits inside this drain.
If the hose/pipe is joined to the waste pipe below a washbasin,
make sure that the water from the basin flows out properly and
does not block the urine waste pipe. A water seal will only need
to be fitted if an unpleasant odour from the greywater system is
emanating from the toilet or the venting pipe outside the house.
As this very seldom happens, it is best to wait until the problem
occurs before adding a water seal. If a water seal is installed, it
is important to rinse the toilet every time it has been used in
order to prevent the build-up of salt deposits in the trap.
Disposal via a leaching bed/sand bed/soak-away: (Figure 5)
The urine disposal should favorably have a layer of stone or
suitable gravel at the bottom where the urine pipe ends, and the
urine pipe should have a steady drop from the toilet to its end to
ensure adequate flow.
If the toilet is to be used, below -6°C (21.2°F) when urine
begins to freeze,, the hose will need to be insulated and or use
Ø2-3 inch/50-75 mm piping. In very harsh winter climates some
form of heating device for the pipe will be needed to prevent ice
from forming and blocking the pipe.
Disposal via a urine tank: (Figure 6)
(e.g. the ‘Separett Ejektortank’) A suitable tank can be
positioned outdoors. It must be at a lower level than the toilet
to ensure an adequate flow throughout the length of the hose.
The urine can be used as an excellent plant fertilizer.
NOTE: If the urine hose needs to be routed close to radiators
or through insulated floors or walls, we recommend using
standard plastic pipes (Ø 1-inch/32 mm) instead of the hose
supplied.
Ventilation: (Figures 7-11)
Venting is done through an outer wall or the roof. The venting
kit supplied with the toilet is shown in Figure 7.
IMPORTANT: You should contact the local authorities to
find out which building regulations apply in your region.
If Figure 10 applies to your situation, additional piping and
pipe joints need to be purchased. If there is already a venting
pipe from a previously installed toilet, you may connect the
Separett Villa to it.
All joints in the venting pipe must be sealed with silicone or
the equivalent, but the pipe does not need to be insulated. The
condensing baffle by the toilet pipe connection will intercept
any condensation and route it via the condensation hose to the
urine waste pipe.
If the ventilation pipe is installed in a horizontal position, make
sure that it slopes sufficiently to allow any condensation to run
back to the toilet. This is particularly important when installing
the pipe according to Figure 10.
NOTE: Only use venting pipes made of plastic.
NOTE: Applying soap will make it easier to join the
ventilation and urine waste pipes to the toilet. (Figure 11 & 12)
NOTE: The fan should be allowed to run constantly. This
increases the fan’s service life (by reducing build-up of
deposits on rotor shaft and other moving parts) and also helps
to divert moisture outdoors.
Connect the plug to the wall socket. Check that the fan is
operating and that the venting system is fully functional. Press
down on the seat to ensure that the view screen slides open and
that the container rotates as intended. Your new toilet is now
ready for use.
Storage and Composting
IMPORTANT: You should contact the local authorities to
find out which health and environmental regulations apply in
your region.
When the container is full, put its lid on, remove it from the
toilet, mix some soil into the container and cover the contents
with a layer of soil. Place the lid on the container but leave it
slightly open to allow the air to circulate in the compost. The
container and its contents must be left to stand for six (6)
months in order to inactivate all human pathogens (this is the
storage period currently required under health and safety
regulations in Sweden where Separett is manufactured).
Once the storage period is over, the contents of the container
can be dug into the garden or compost. Traces of toilet paper,
etc. quickly decompose and the end product makes an excellent
garden soil improver.