the blades are very sharp. When handling
the blades, always hold them by the upper
protective plastic covering.
– Position the lid securely on the bowl.
– Attach the drive unit to the lid of the bowl.
– Insert the plug into the wall socket and
press the operating button in brief bursts
until the mixture has reached the desired
consistency. During processing, the lid
and bowl should be securely held in place.
– Avoid overlling the bowl. It may be lled
with herbs etc. up to half. Before the bowl
is lled, the food to be processed should
be cut into pieces of about 1 cm.
– Do not ll the bowl with hot liquid or hard
material such as ice cubes, nutmegs, hard
grain, coee beans, rice or spices. Other
food items such as chocolate or raw meat
are also unsuitable for processing.
–Aer processing, always remove the plug
from the wall socket before removing
the lid and detaching the drive unit by
pressing the release button. e processed
food and the blade unit can now be taken
out.
– When processing further food aer the
rst cycle, make sure that the receptacle
for the blade unit at the bottom of the
bowl is free of food residue before retting
the unit.
Wall bracket
e wall bracket can be mounted on any wall
by using the screws provided.
General care and cleaning
Always remove the plug from the wall
socket before cleaning the appliance.
To avoid the risk of electric shock, do not
clean the drive unit or the power cord
with water and do not immerse them in
water. e drive unit may be wiped with a
slightly damp, lint-free cloth.
Do not use abrasives, harsh cleaning
solutions or sharp or pointed objects for
cleaning.
–e lid of the chopping attachment can
be cleaned with a slightly damp, lint-free
cloth and a mild detergent. To prevent
water from getting into the interior, do
not immerse in water.
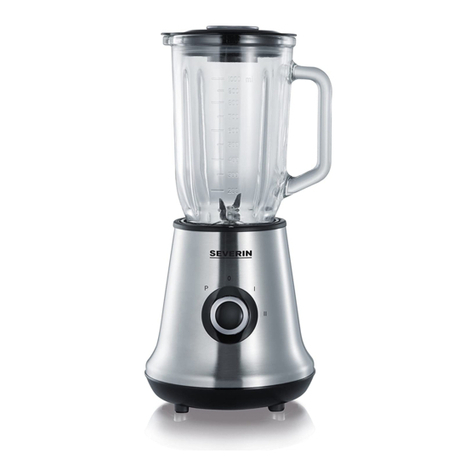
– For cleaning purposes, the blender
can be detached from the drive unit by
depressing the release button. When re-
attaching the blender, make sure that it
locks rmly into place.
–e blade unit and blender disc can be
taken o for cleaning. Before removing,
ensure that the drive pin on the sha
of the blender unit sits properly in its
recess; then use a suitable cloth to grip
the attachment, turning it clockwise to
unscrew and remove. Caution: the blades
are extremely sharp. Use a suitable brush to
clean the attachment. When re-tting the
attachment, use a cloth to grip and turn it
anti-clockwise to tighten.
– All other attachments can be cleaned
using hot water and a mild detergent.
Make sure that water does not enter the
drive sha from above.
– Note: e blender unit and accessory
parts are not dish-washer safe.
Disposal
Do not dispose of old or defective
appliances in domestic garbage;
this should only be done through
public collection points.
Guarantee
is product is guaranteed against defects
in materials and workmanship for a period
of two years from the date of purchase.
Under this guarantee the manufacturer
undertakes to repair or replace any parts
found to be defective, providing the product
is returned to one of our authorised service
centres. is guarantee is only valid if the
appliance has been used in accordance with
the instructions, and provided that it has not
been modied, repaired or interfered with
by any unauthorised person, or damaged
through misuse.
is guarantee naturally does not cover wear
and tear, nor breakables such as glass and
10
