manuals.online logo
Brands
  1. Home
  2. •
  3. Brands
  4. •
  5. Shanty 2 CHIC
  6. •
  7. Indoor Furnishing
  8. •
  9. Shanty 2 CHIC Turned Leg Console Table User manual

Shanty 2 CHIC Turned Leg Console Table User manual

Turned Leg Console Table
Copyright © 2014 Shanty-2-Chic.com
Supply List
Item Quantity Description
4’ x 8’ x 3/4” plywood 1
Project Panel 2 At least 18-1/4” wide and 60-1/2” long
1 x 6 x 6’ 4 Pine or whitewood board
1 x 2 x 6’ 5 Pine or whitewood board
1 x 4 x 8’ 3 Pine or whitewood board
1 x 4 x 10’ 1 Pine or whitewood board
Turned legs 4 Visit our website for a link to the legs we used
1-1/4” pocket hole screws 225
Wood glue
Brad nails handful Optional for the shelf trim
Drawer pulls 2
Finish of choice
DIY TurneD Leg ConsoLe TabLe - Page | 2shanTY-2-ChIC.Com
Drill pocket holes for 1-1/4” pocket hole screws as indicated by the arrows. It is always
best to measure and cut as you go as your measurements may be slight different.
DIY TurneD Leg ConsoLe TabLe - Page | 3shanTY-2-ChIC.Com
Drill pocket holes for 1-1/4” pocket hole screws as indicated by the arrows. It
is always best to measure and cut as you go as your measurements may
be slight different.
DIY TurneD Leg ConsoLe TabLe - Page | 4shanTY-2-ChIC.Com
Drill pocket holes on the legs as indicated
by the arrows. These pocket holes are
going to be on the back sides of the legs
so they won’t be visible. Make sure you
have a left and right facing top leg. Attach
the lower legs to the top legs with glue and
1-1/4” pocket hole screws.
Attach the trim to the shelves.
If you don’t want to use pocket
holes here you can attach the
trim with glue and brad nails.
Assemble the back by attaching
the plywood panel to the legs
with glue and 1-1/4” pocket hole
screws.
DIY TurneD Leg ConsoLe TabLe - Page | 5shanTY-2-ChIC.Com
Assemble the top panels with
glue and 1-1/4” pocket hole
screws.
Add the appropriate 1 x 2 strips to
the bottom of the 1 x 4 side panels
with wood glue and 1-1/4” pocket hole
screws. The 1 x 2 should stick out by
1/4” on the non pocket hole side of the
1 x 4. The 1 x 2 should also have it’s
pocket holes on the bottom.
Make the drawer guides by attaching the
appropriate 1 x 4 and 1 x 2 strips with wood
glue and 1-1/4” pocket hole screws. The 1 x
2 should be flush with the 1 x 4 on the side
that does not have any pocket holes. The 1
x 2 should be attached with its pocket holes
on bottom. The 1 x 4 should extend past the
1 x 2 by 1/2” on one end. Make two left and
two right assemblies of these.
DIY TurneD Leg ConsoLe TabLe - Page | 6shanTY-2-ChIC.Com
Add the 1 x 4 blocks to the long 1 x 2 strip as shown below. The
pocket holes on the 1 x 2 should be on the bottom side and should
be positioned so that it sticks out by 1/4” from the non pocket hole
side of the blocks. The center block should be perfectly centered.
Attach these with 1-1/4” pocket hole screws.
With the sub-assemblies done add the two
shelves to the legs. The lower shelf should be
attached so that the top surface of the shelf is
level with the bottom of the turned part of the
lower leg. The middle shelf should be attached so
that the bottom side of the shelf is flush with the
bottom of the top leg. Use glue and 1-1/4” pocket
hole screws to attach them.
DIY TurneD Leg ConsoLe TabLe - Page | 7shanTY-2-ChIC.Com
With legs still laying flat add
the side panels and the front
frame. The 1 x 4 side panels
should be 1/2” in from the side
of the legs and the blocks in
the front frame should be 1/2”
in from the front of the legs. The
top of all off the 1 x 4 pieces
should be flush with the top of
both legs. Use glue and 1-1/4”
pocket hole screws to secure
these pieces.
Next add the drawer
guides. The 1/2” front
spacing of the drawer
guides should fit perfectly
around the front frame.
Secure the guides to the
front frame blocks with
wood glue and 1-1/4”
pocket hole screws.
DIY TurneD Leg ConsoLe TabLe - Page | 8shanTY-2-ChIC.Com
Add the back panel so that the pocket
holes will be in back when it is stood up.
Secure the back panel with wood glue
and 1-1/4” pocket hole screws at every
pocket hole location. When securing the
back of the drawer guides remember to
maintain the same spacing as indicated
in Step 7. The bottom of the back panel
should be flush with the bottom of the
bottom shelf. The top of the back panel
should be flush with the top of the legs.
Lay the top planked panel on the ground with
the pocket holes facing up. Rotate the assembly
on top of the top panel and center it left to right
and position it front to back as you wish. This
model shows a 1/2’ spacing in back but you
may choose to center the top front to back.
Secure it with 1-1/4” pocket hole screws at
every pocket hole location.
This plan has the drawers sized to be 1/8” less
than the width of the opening for the drawers.
Adjust your measurments as needed to fit your
project. Assemble the drawer frames with wood
glue and 1-1/4” pocket hole screws. Make
sure the pocket holes are on the outside of the
drawer. These will never be seen in the back and
the fronts will be covered up in just a minute.
DIY TurneD Leg ConsoLe TabLe - Page | 9shanTY-2-ChIC.Com
Cut and fit the drawer bottom to the
exact size of the inside of the drawer.
Attach it with 1-1/4” pocket hole screws.
Cut the front panel to length and and secure
it with glue and 1-1/4” wood screws from
the inside of the drawer. You can use 1-1/4”
pocket hole screws just as you would regular
screws for this step. Add your drawer pull.
The drawers are the same height as the front
frame so you will have to sand down the top
of the drawer sides slightly to get it to slide in. It
shouldn’t take much. Sand the entire piece, stain
and finish as you wish. If you decide to make
one of these be sure to stop by our website
and let us know!

Other manuals for Turned Leg Console Table

1

Other Shanty 2 CHIC Indoor Furnishing manuals

Shanty 2 CHIC Bun Feet Nightstand User manual

Shanty 2 CHIC

Shanty 2 CHIC Bun Feet Nightstand User manual

Shanty 2 CHIC Nightstand User manual

Shanty 2 CHIC

Shanty 2 CHIC Nightstand User manual

Shanty 2 CHIC Three Leg Bench User manual
Shanty 2 CHIC

Shanty 2 CHIC Three Leg Bench User manual

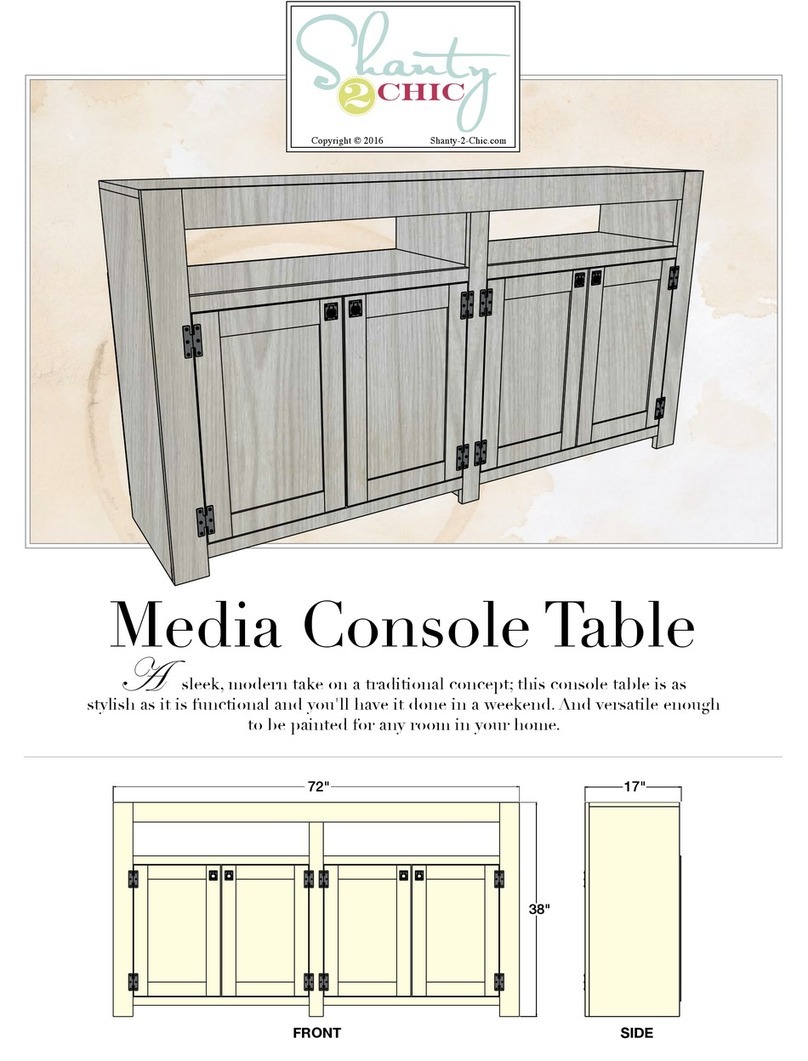
Shanty 2 CHIC Media Console Table User manual
Shanty 2 CHIC

Shanty 2 CHIC Media Console Table User manual

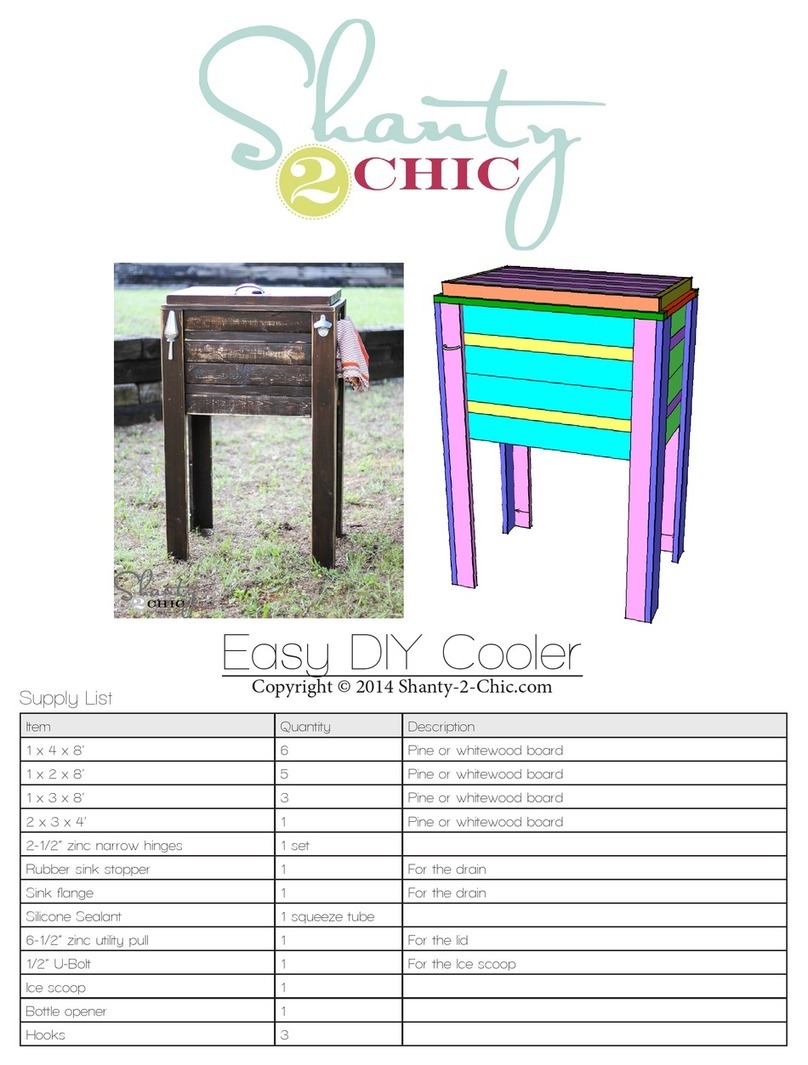
Shanty 2 CHIC Easy DIY Cooler User manual

Shanty 2 CHIC

Shanty 2 CHIC Easy DIY Cooler User manual

Shanty 2 CHIC Turned Leg Console Table User manual

Shanty 2 CHIC

Shanty 2 CHIC Turned Leg Console Table User manual

Shanty 2 CHIC Kid's Floating Nightstand User manual
Shanty 2 CHIC

Shanty 2 CHIC Kid's Floating Nightstand User manual

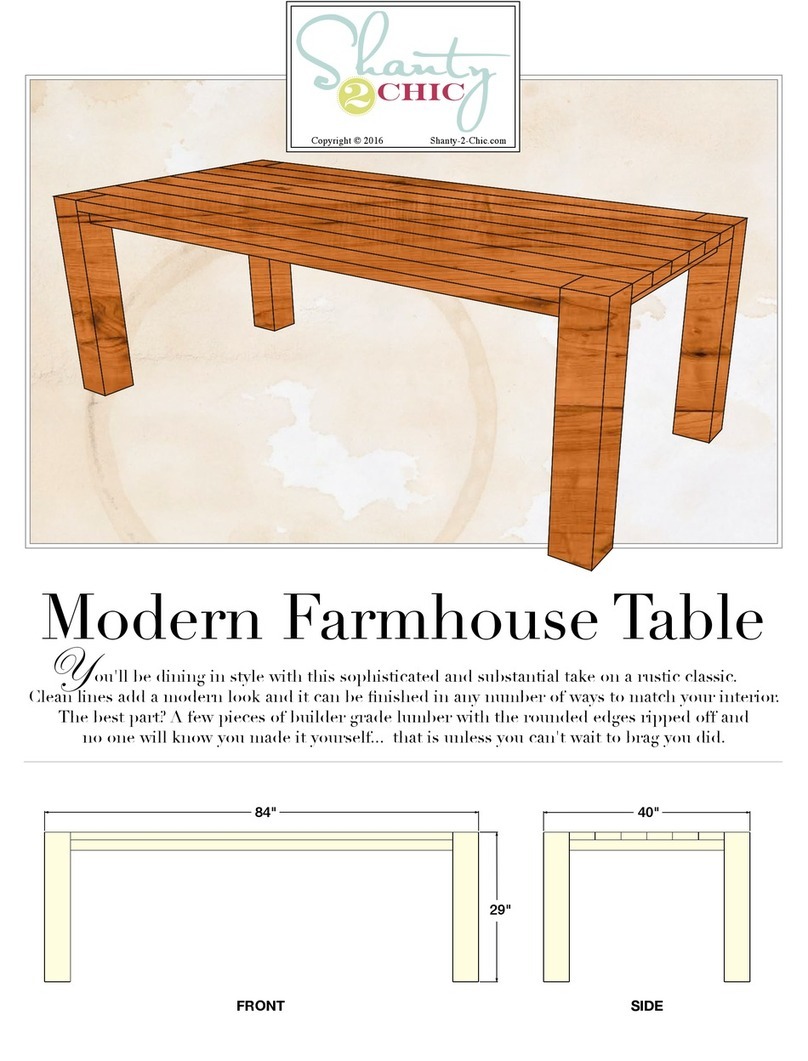
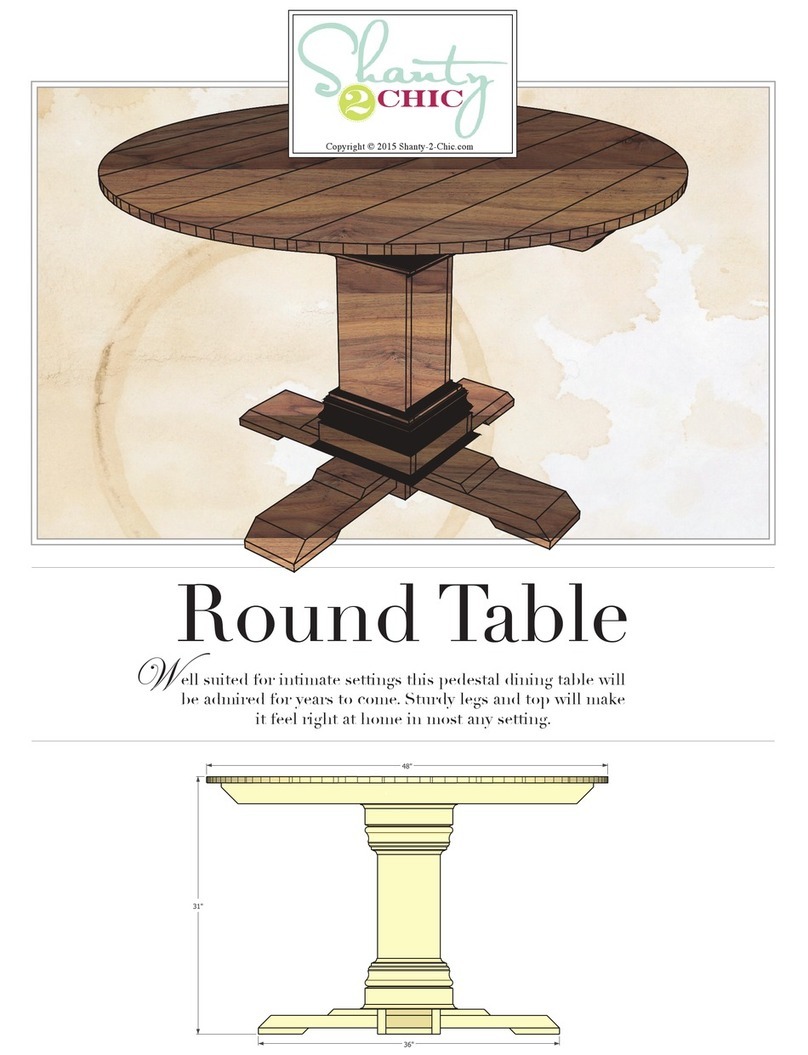
Shanty 2 CHIC Modern Farmhouse Table User manual
Shanty 2 CHIC

Shanty 2 CHIC Modern Farmhouse Table User manual

Shanty 2 CHIC Round Table User manual

Shanty 2 CHIC

Shanty 2 CHIC Round Table User manual
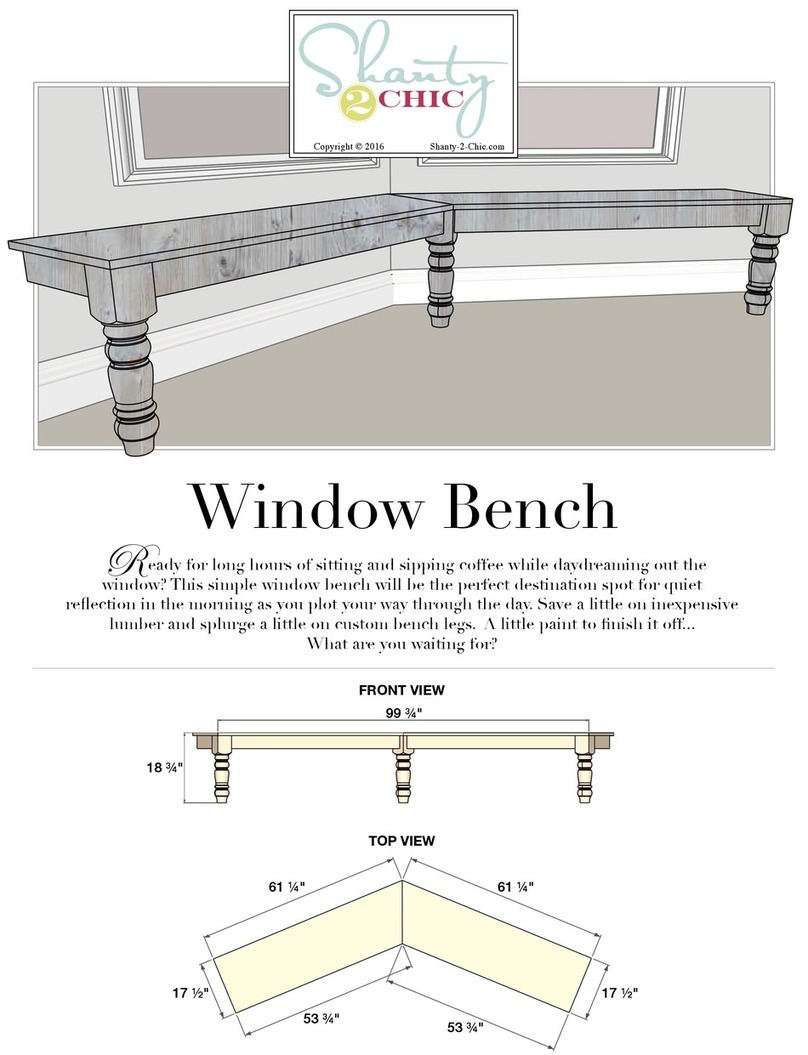
Shanty 2 CHIC Window Bench User manual

Shanty 2 CHIC

Shanty 2 CHIC Window Bench User manual

Shanty 2 CHIC DIY FARMHOUSE DINING BENCH User manual

Shanty 2 CHIC

Shanty 2 CHIC DIY FARMHOUSE DINING BENCH User manual

Shanty 2 CHIC DIY Turned Leg Bench User manual

Shanty 2 CHIC

Shanty 2 CHIC DIY Turned Leg Bench User manual

Shanty 2 CHIC DIY Dining Table Bench User manual

Shanty 2 CHIC

Shanty 2 CHIC DIY Dining Table Bench User manual

Shanty 2 CHIC Kids Sand Table User manual

Shanty 2 CHIC

Shanty 2 CHIC Kids Sand Table User manual

Popular Indoor Furnishing manuals by other brands
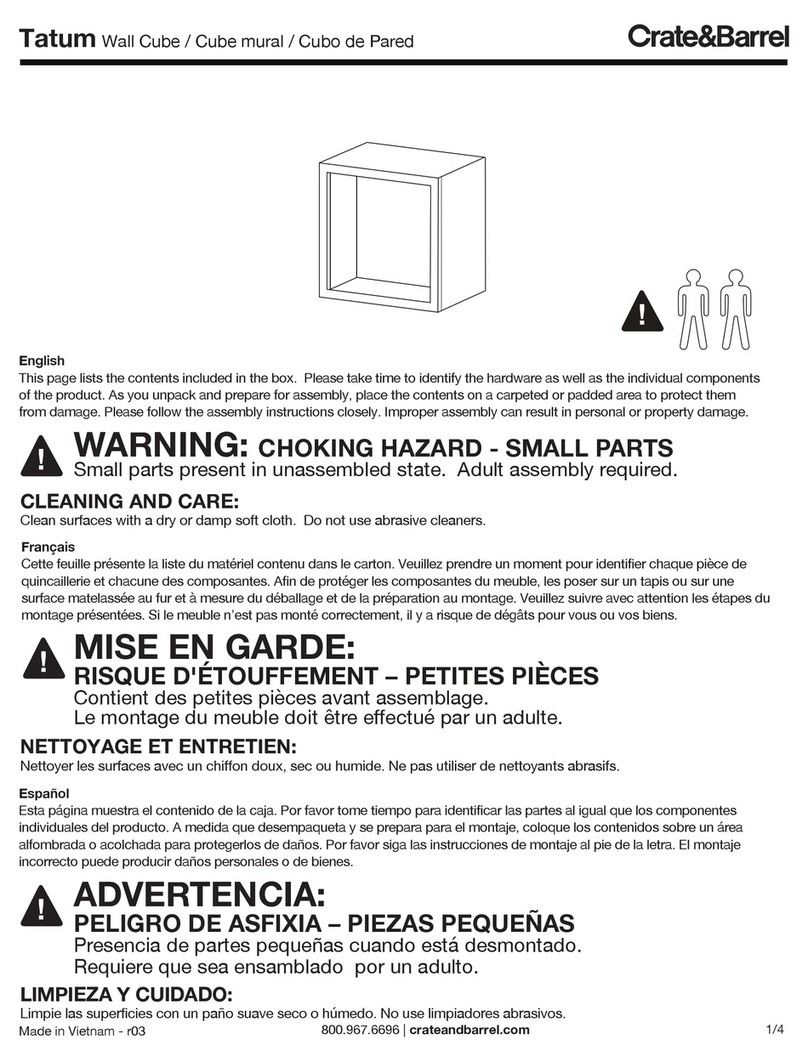
Crate&Barrel Tatum Assembly instructions

Crate&Barrel

Crate&Barrel Tatum Assembly instructions

Home Decorators 181-935-20ET Use and care guide

Home Decorators

Home Decorators 181-935-20ET Use and care guide

Madison Park Elmwood Dining Chair Assembly instructions
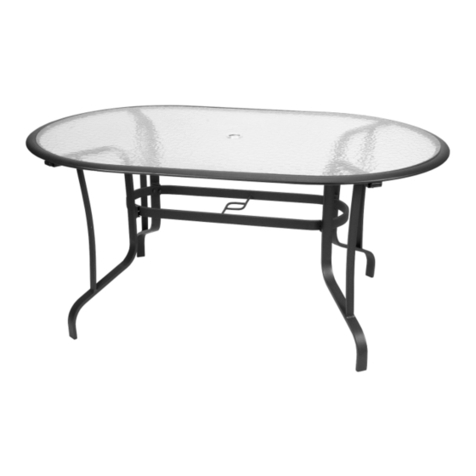
Madison Park

Madison Park Elmwood Dining Chair Assembly instructions

Astonica 50105019 instruction manual

Astonica

Astonica 50105019 instruction manual
Mocka Aspen Assembly instructions

Mocka

Mocka Aspen Assembly instructions
OSP Home Furnishings SIERRA SRA08 Assembly instructions

OSP Home Furnishings

OSP Home Furnishings SIERRA SRA08 Assembly instructions

Allen + Roth WSWS-SS1621-1C instruction manual

Allen + Roth

Allen + Roth WSWS-SS1621-1C instruction manual

Bonaldo NARCISO manual

Bonaldo

Bonaldo NARCISO manual

Habitat Enzo Desk ENZO-DK-AW17-A Assembly instructions

Habitat

Habitat Enzo Desk ENZO-DK-AW17-A Assembly instructions
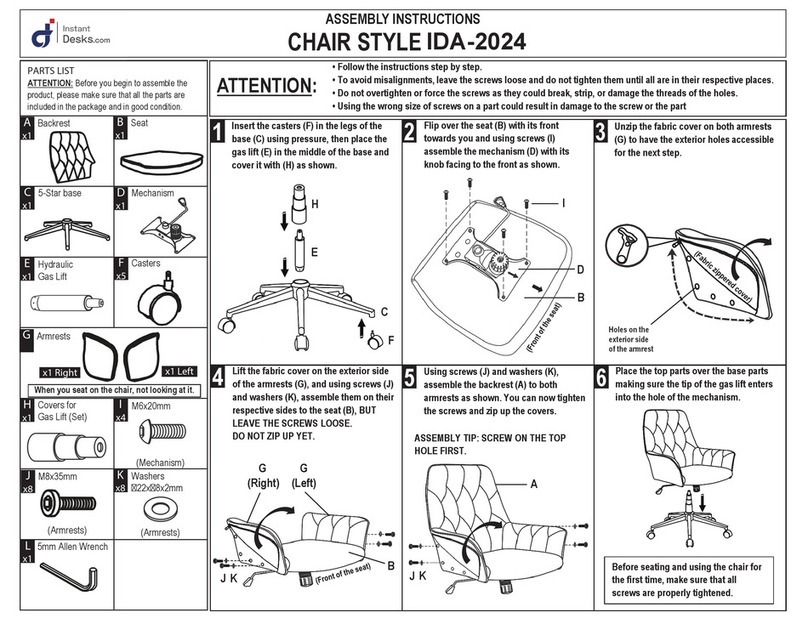
Instant Desks IDA-2024 instruction manual

Instant Desks

Instant Desks IDA-2024 instruction manual

NEXERa 340439 Assembly instructions
NEXERa

NEXERa 340439 Assembly instructions

Newpo GLWB123 Guide to Assembly & Usage

Newpo

Newpo GLWB123 Guide to Assembly & Usage

Next 189705 Assembly instructions
Next

Next 189705 Assembly instructions
Bob's Furniture Tremont 20054252 Assembly instructions
Bob's Furniture

Bob's Furniture Tremont 20054252 Assembly instructions

FourStarGroup 11210630V manual

FourStarGroup

FourStarGroup 11210630V manual

Allseating Mantra Disassembly instructions

Allseating

Allseating Mantra Disassembly instructions

Graco Benton manual

Graco

Graco Benton manual

UPC 7134A Assembly instructions

UPC

UPC 7134A Assembly instructions

manuals.online logo
manuals.online logoBrands
  • About & Mission
  • Contact us
  • Privacy Policy
  • Terms and Conditions

Copyright 2025 Manuals.Online. All Rights Reserved.