manuals.online logo
Brands
  1. Home
  2. •
  3. Brands
  4. •
  5. Shanty 2 CHIC
  6. •
  7. Indoor Furnishing
  8. •
  9. Shanty 2 CHIC Easy DIY Cooler User manual

Shanty 2 CHIC Easy DIY Cooler User manual

Easy DIY Cooler
Copyright © 2014 Shanty-2-Chic.com
Supply List
Item Quantity Description
1 x 4 x 8’ 6 Pine or whitewood board
1 x 2 x 8’ 5 Pine or whitewood board
1 x 3 x 8’ 3 Pine or whitewood board
2 x 3 x 4’ 1 Pine or whitewood board
2-1/2” zinc narrow hinges 1 set
Rubber sink stopper 1 For the drain
Sink flange 1 For the drain
Silicone Sealant 1 squeeze tube
6-1/2” zinc utility pull 1 For the lid
1/2” U-Bolt 1 For the Ice scoop
Ice scoop 1
Bottle opener 1
Hooks 3
DIY Cooler - Page | 2Shanty-2-ChiC.Com
Drill pocket holes as indicated by the arrows
for 1-1/4” pocket hole screws.
DIY Cooler - Page | 3Shanty-2-ChiC.Com
Build the two side panels and
the front and back panels with
1-1/4” pocket hole screws. The
measurements in this model
are for my cooler. Adjust these
measurements to your cooler.
Join the two side panels to the
front and back. I used 1-1/4”
pocket hole screws and Gorilla
Wood Glue.
Assemble the four legs with
1-1/4” pocket hole screws and
a line of wood glue.
DIY Cooler - Page | 4Shanty-2-ChiC.Com
Attach the legs to the body. I used
my Ryobi AirStrike Cordless Brad
Nailer for this step.
Drop your cooler in from the top and
line it up with the top of the legs and
surround. Then, from below add your
three 2 x 3 braces to support the
cooler at the correct height.
With the cooler installed add your trim
pieces around the top. Use glue and
brad nials to secure these pieces. Now
is a good time to add a drain to your
cooler. I used a cheap sink flange and
a rubber stopper with a chain. I cut a
hole in the bottom of my cooler and sil-
iconed the flange in place. It’s so easy!
(see the website article for pictures)
DIY Cooler - Page | 5Shanty-2-ChiC.Com
Assemble the lid slats and
the lid frame with glue and
1-1/4” pocket hole screws
Slide the slats into the frame and secure
it with brad nails from the outside every
4” or so. Next I secured my cooler lid
to my new wooden lid with a generous
amount of silicone.
Attach the lid to the base with two hinges
in the back. Sand and finish as you wish.
I added a few optional accessories to
mine. On the left side I used a U-bolt as
a ice scoop holder. Simply drill two holes
that are the same diameter as the bolt
and hammered the U-bolt into the holes.
I also added a bottle opener to the other
front leg, some hooks on the side, and
the pull handle on top of the lid. If you
decide to make one of these don’t forget
to stop by our website and let us know!

Other Shanty 2 CHIC Indoor Furnishing manuals

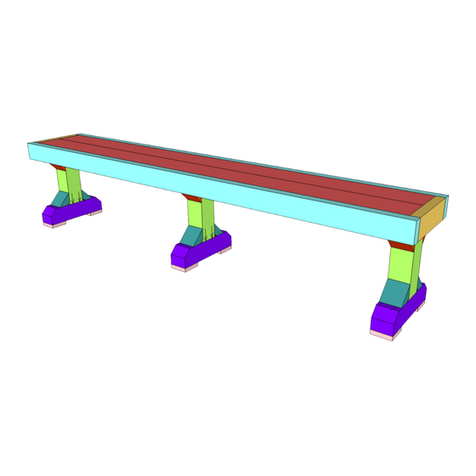
Shanty 2 CHIC Three Leg Bench User manual

Shanty 2 CHIC

Shanty 2 CHIC Three Leg Bench User manual

Shanty 2 CHIC Kids Sand Table User manual
Shanty 2 CHIC

Shanty 2 CHIC Kids Sand Table User manual

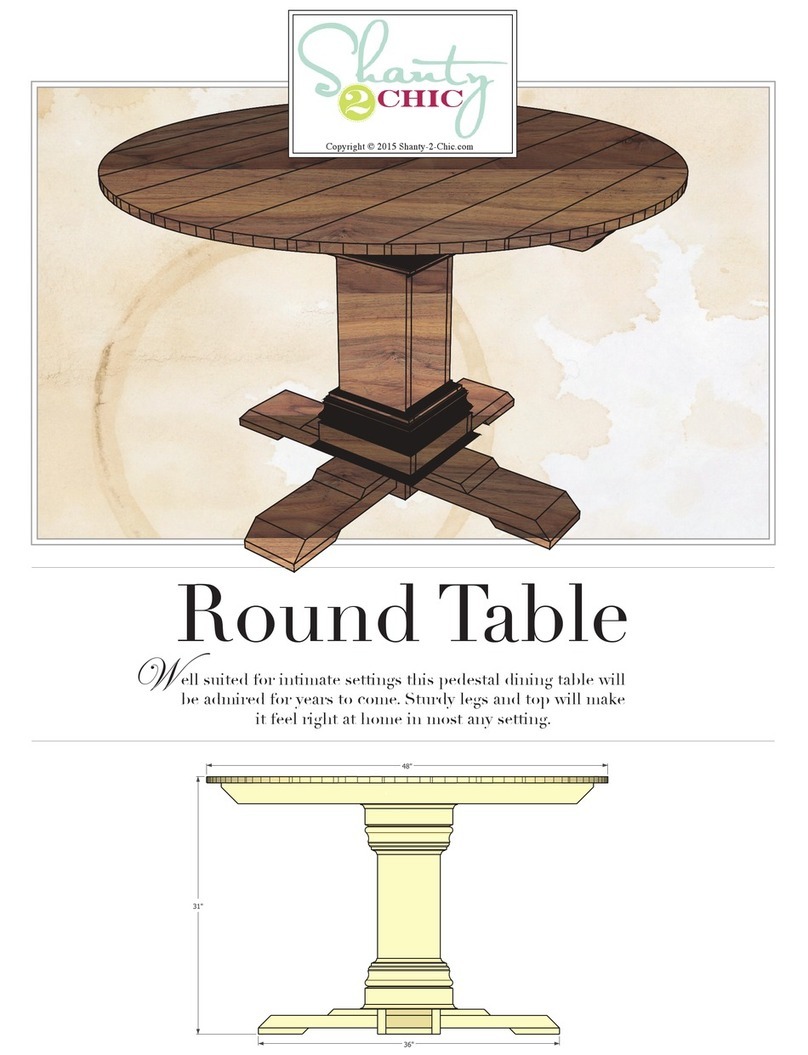
Shanty 2 CHIC Round Table User manual

Shanty 2 CHIC

Shanty 2 CHIC Round Table User manual

Shanty 2 CHIC Bun Feet Nightstand User manual
Shanty 2 CHIC

Shanty 2 CHIC Bun Feet Nightstand User manual

Shanty 2 CHIC DIY Dining Table Bench User manual
Shanty 2 CHIC

Shanty 2 CHIC DIY Dining Table Bench User manual

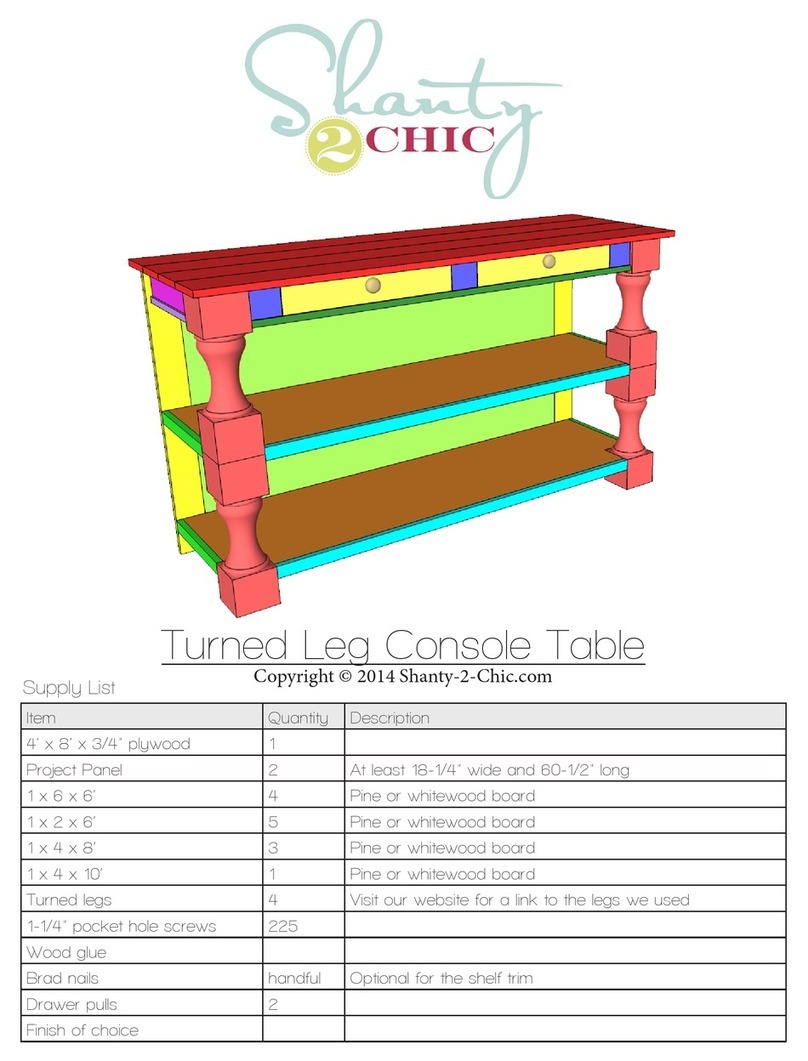
Shanty 2 CHIC Turned Leg Console Table User manual

Shanty 2 CHIC

Shanty 2 CHIC Turned Leg Console Table User manual
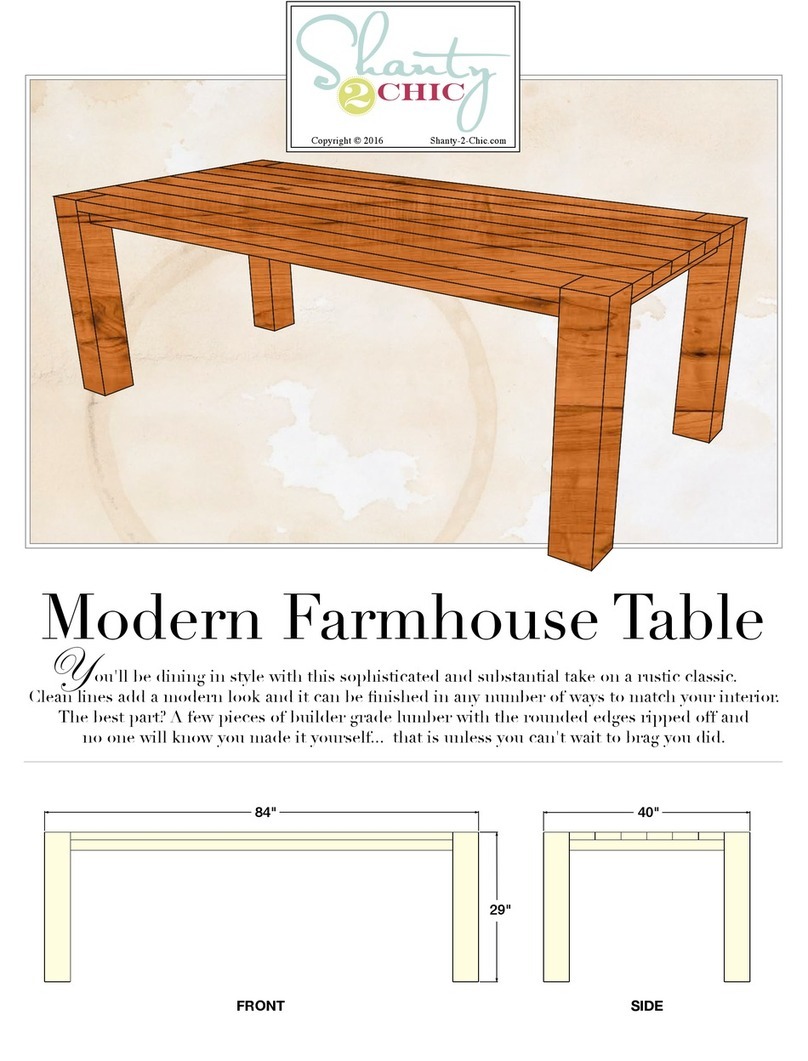
Shanty 2 CHIC Turned Leg Console Table User manual

Shanty 2 CHIC

Shanty 2 CHIC Turned Leg Console Table User manual

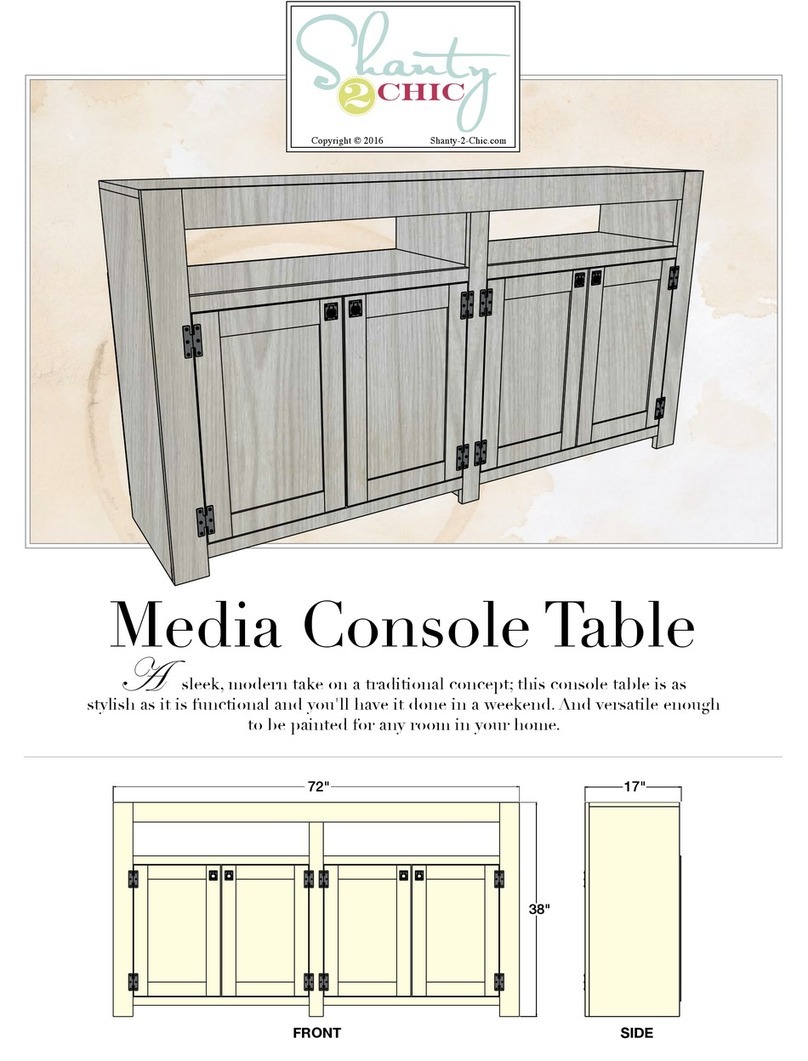
Shanty 2 CHIC Modern Farmhouse Table User manual
Shanty 2 CHIC

Shanty 2 CHIC Modern Farmhouse Table User manual

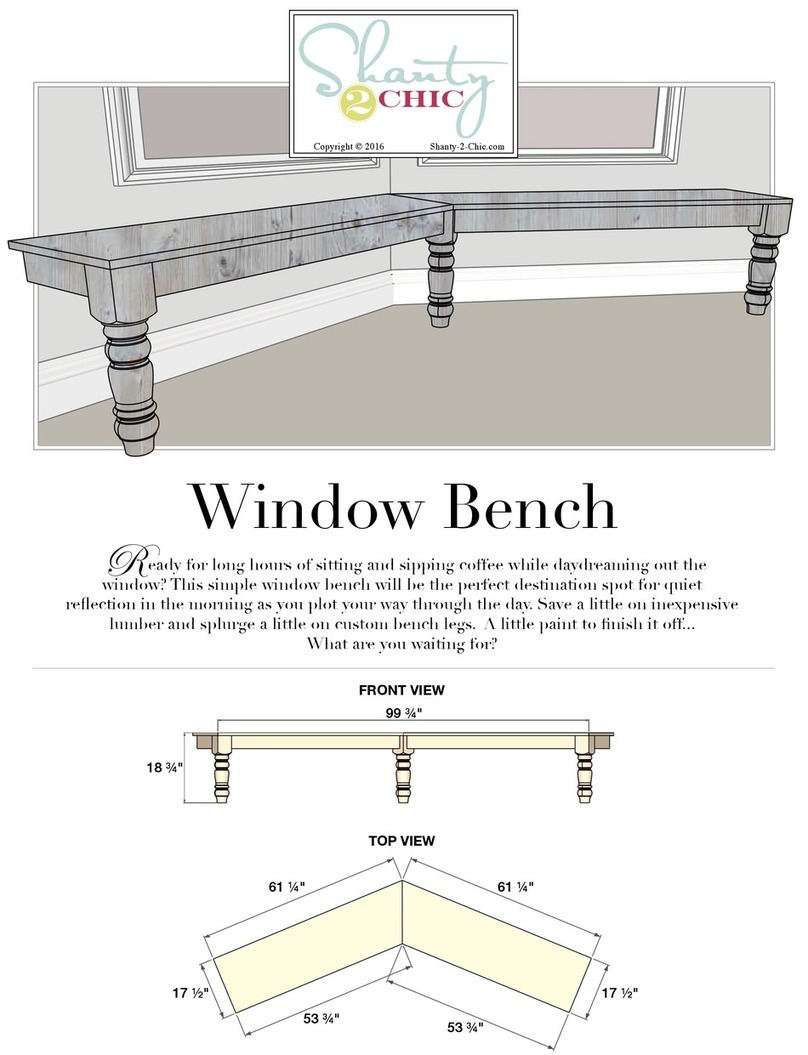
Shanty 2 CHIC Media Console Table User manual
Shanty 2 CHIC

Shanty 2 CHIC Media Console Table User manual

Shanty 2 CHIC Window Bench User manual

Shanty 2 CHIC

Shanty 2 CHIC Window Bench User manual

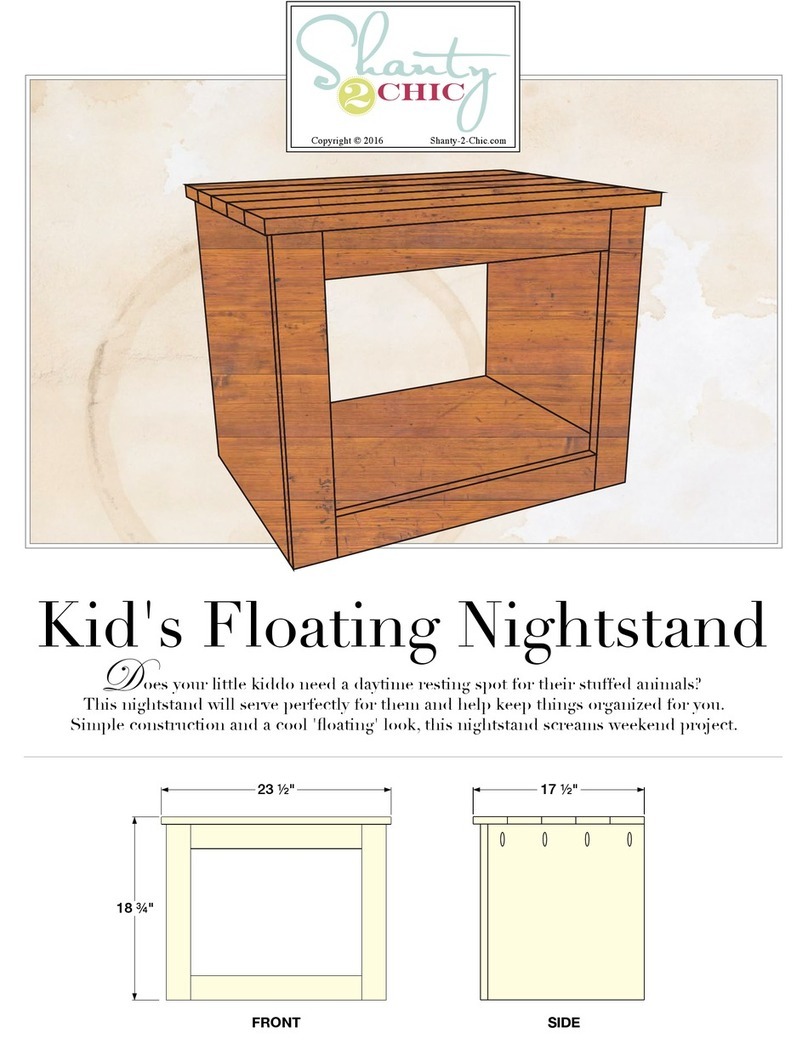
Shanty 2 CHIC Kid's Floating Nightstand User manual

Shanty 2 CHIC

Shanty 2 CHIC Kid's Floating Nightstand User manual

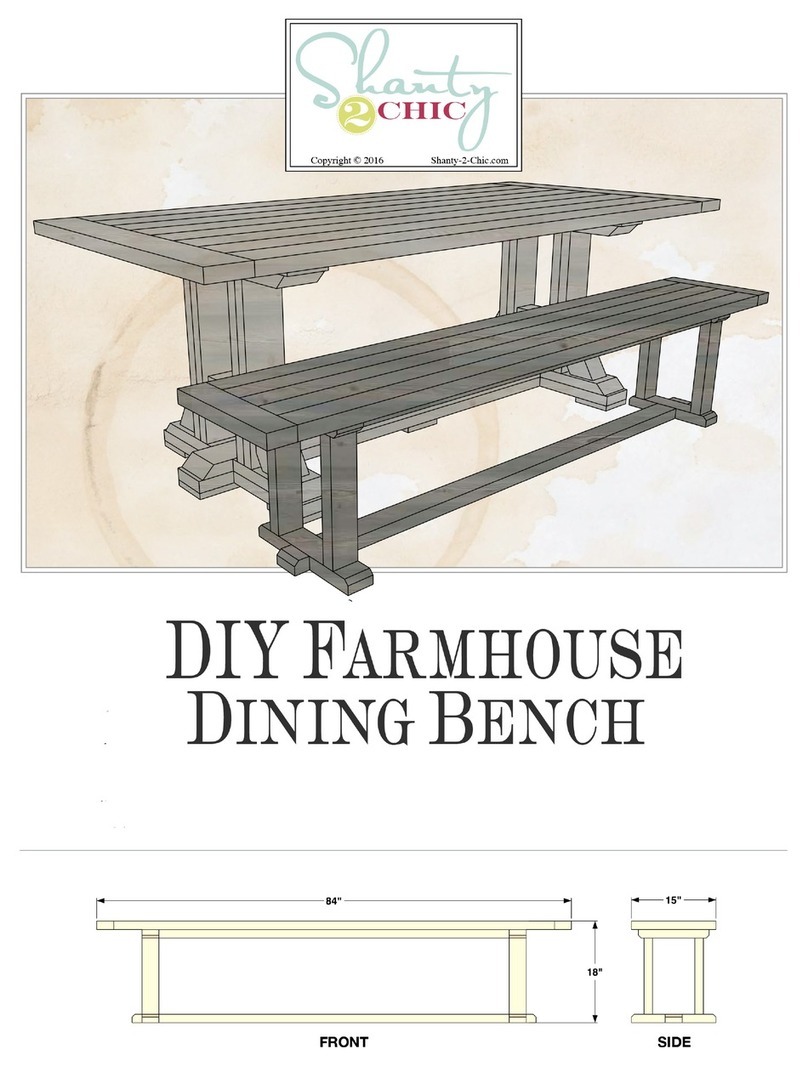
Shanty 2 CHIC DIY FARMHOUSE DINING BENCH User manual

Shanty 2 CHIC

Shanty 2 CHIC DIY FARMHOUSE DINING BENCH User manual

Shanty 2 CHIC Nightstand User manual

Shanty 2 CHIC

Shanty 2 CHIC Nightstand User manual

Shanty 2 CHIC DIY Turned Leg Bench User manual

Shanty 2 CHIC

Shanty 2 CHIC DIY Turned Leg Bench User manual

Popular Indoor Furnishing manuals by other brands

Regency LWMS3015 Assembly instructions

Regency

Regency LWMS3015 Assembly instructions

Furniture of America CM7751C Assembly instructions

Furniture of America

Furniture of America CM7751C Assembly instructions

Safavieh Furniture Estella CNS5731 manual

Safavieh Furniture

Safavieh Furniture Estella CNS5731 manual

PLACES OF STYLE Ovalfuss Assembly instruction

PLACES OF STYLE

PLACES OF STYLE Ovalfuss Assembly instruction

Trasman 1138 Bo1 Assembly manual

Trasman

Trasman 1138 Bo1 Assembly manual

Costway JV10856 manual

Costway

Costway JV10856 manual

moss DESIGN Caisson Credenza Assembly instructions

moss DESIGN

moss DESIGN Caisson Credenza Assembly instructions

Aquaglide FULL DECK 15.0 owner's manual

Aquaglide

Aquaglide FULL DECK 15.0 owner's manual

AREBOS AR-HE-SW30 user manual

AREBOS

AREBOS AR-HE-SW30 user manual

Till-Hilft Fulda 87005.330 Assembly instructions

Till-Hilft

Till-Hilft Fulda 87005.330 Assembly instructions

Twoey Outside 2010 quick start guide

Twoey Outside

Twoey Outside 2010 quick start guide

Hettich Easys 200 operating instructions

Hettich

Hettich Easys 200 operating instructions

The bedboss RELAX 404 Series owner's manual

The bedboss

The bedboss RELAX 404 Series owner's manual

Oeseder Möbelindustrie Bern 991 720 Assembly instructions

Oeseder Möbelindustrie

Oeseder Möbelindustrie Bern 991 720 Assembly instructions

Costway HW68469 user manual

Costway

Costway HW68469 user manual

Next ALIX A27743 Assembly instructions

Next

Next ALIX A27743 Assembly instructions

BROSA Hans Assembly guide

BROSA

BROSA Hans Assembly guide

Prodigg MINIKA PBA015T-FUR installation manual

Prodigg

Prodigg MINIKA PBA015T-FUR installation manual

manuals.online logo
manuals.online logoBrands
  • About & Mission
  • Contact us
  • Privacy Policy
  • Terms and Conditions

Copyright 2025 Manuals.Online. All Rights Reserved.