Sharkoon X-REST 7.1 User manual

Manual

TABLE OF CONTENTS
1. Features 3
2. Specifications 3
2.1 General 3
2.2 Cable and Connectors 3
2.3 Software Properties 4
2.4 Compatibility 4
3. Package Contents 4
4. X-Rest 7.1 Overview 4
5. Connecting to Devices 5
5.1 PC and Mac 5
5.2 PlayStation 4 5
5.3 Headset with Two Stereo Jacks 5
5.4 Headset with One Stereo Jack 5
6. Functions 6
6.1 Microphone Mute 6
6.2 Equalizer Button 6
6.3 Volume Control 7
7. Installing the Software 8
8. Software 8
9. FAQ 11
X-REST 7.1

X-REST 7.1 3
Dear Customer,
Thank you for your purchase of this Sharkoon product. To ensure a long service life and full functionality, we
recommend that you read this manual thoroughly.
We hope you enjoy your time using our product!
SHARKOON Technologies
www.sharkoon.com
1. Features:
Illuminated headset stand with integrated 7.1 USB sound card for realistic surround sound
Compatible with all headsets and headphones with 3.5 mm stereo jacks
Easily accessible controls for the equalizer, microphone mute and volume control
Ideal complement for the PC sound card and suitable as a second sound source for use of speakers
and headsets
Angular gaming style design; organizes headsets on every type of gamer desktop
Weighted base with anti-sliding rubber feet for better stability and a more secure stand
Textile braided cable
7.1 audio software with profiles, effect settings and microphone boost
Stereo mode via USB possible without driver installation
2. Specifications:
2.1 General
Type Headset Stand with USB Sound Card
Sound Chip SSS1629A5
Surround Mode Virtual 7.1*
Connector USB
Volume Control
Microphone Mute
Hardware Equalizer
Illumination
Power Supply USB
Weight without Cable 380 g
Dimensions (L x W x H) 120 x 120 x 260 mm
Supported Operating Systems Windows 7/8/10, MacOS X**
2.2 Cable and Connectors
Interfaces 2x 3.5 mm Stereo Jacks
Textile Braided Cable
Cable Length 200 cm

X-REST 7.1 4
2.3 Software Properties
Profile 4
Equalizer
Effect Settings Off, Theater, Bathroom, Living Room, Corridor
3D Sound
Virtual 7.1 Sound
Microphone Boost
2.4 Compatibility
PCs/Notebooks
PlayStation 4 **
* Only with installed software through Windows
** Mac OS X/PlayStation 4: Only stereo
3. Package Contents
X-Rest 7.1
Manual
CD with software and manual
Note:
Should any of the above items be missing,
please contact our customer service imme-
diately:
support@sharkoon.com
(Germany and Europe)
support@sharkoon.com.tw
(International)
4. X-Rest 7.1 Overview
Headset stand with base
Microphone mute
Microphone port
Headset port, also TRRS port
Equalizer Button
Volume control
B
A
C
D
E
F
C
D
E
F
B
A

X-REST 7.1 5
5. Connecting to Devices
5.1 PC and Mac
Insert the USB plug of the X-Rest 7.1 into an available USB port on your PC. The base LED light will illuminate
blue. Your operating system will automatically recognize the X-Rest 7.1 and install all needed drivers.
Note:
If the X-Rest 7.1 is not recognized, disconnect it and try a different USB port on your PC.
Stereo headset use is now possible. For virtual 7.1 sound, as well as other numerous features, install the inclu-
ded software; see section “8. Software” (only Windows PC).
5.2 PlayStation 4
Insert the USB plug of the X-Rest 7.1 into an available USB port on the PlayStation 4. The X-Rest 7.1 will be
automatically recognized, and the headset and microphone will be activated. To adjust the microphone level,
go to the “Settings” menu – Equipment – Audio Equipment.
5.3 Headset with Two Stereo Jacks
Insert the headset stereo jacks into the designated ports on the X-Rest 7.1. Plug the headset jack into the port
with the headset symbol. Plug the microphone jack into the microphone port.
5.4 Headset with One Stereo Jack
If the headset has only a single TRRS plug (CTIA configuration), insert it into the headset port.

X-REST 7.1 6
6. Functions
6.1 Microphone Mute
The microphone mute button (B) mutes your microphone, after which the X-Rest 7.1 base illumination will
switch from blue to red. Press the button again to reactivate the microphone, whereupon the illumination will
change back to blue (only during activated LED illumination).
6.2 Equalizer Button
The X-Rest 7.1 comes with eight pre-programmed equalizer presets. By repeatedly pressing the equalizer
button, these presets cycle through in succession.
Note:
The most recently used preset is saved and selected once the computer is restarted. If desiring a different
preset, simply press the EQ button. When pressing the EQ button after the eighth preset, the preset list will
simply go back to the first preset and then cycle through all presents again.
Example: If the fourth preset is active and you want to switch to the seventh preset, press the EQ button three
times. Again, if the fourth preset is active and you want to switch to the first preset, press the EQ button five times.
1
12 db
6 db
0 db
-6 db
-12 db
60 Hz 300 Hz 1.2 KHz 3.6 KHz 12 KHz
3D Enable
12 db
6 db
0 db
-6 db
-12 db
60 Hz 300 Hz 1.2 KHz 3.6 KHz 12 KHz
3D Enable
3
12 db
6 db
0 db
-6 db
-12 db
60 Hz 300 Hz 1.2 KHz 3.6 KHz 12 KHz
3D Enable
2
12 db
6 db
0 db
-6 db
-12 db
60 Hz 300 Hz 1.2 KHz 3.6 KHz 12 KHz
3D Enable
4
Neutral tone, no 3D effect
Accentuated highs and lows
(Loudness), no 3D effect
Neutral tone, with 3D effect
Accentuated highs and lows
(Loudness), with 3D effect

X-REST 7.1 7
This function is also available without the installed software. If using the Windows software, four individual
equalizer profiles are available instead.
6.3 Volume Control
Use the volume control knob to adjust the volume of the connected headset. To decrease the volume, turn the
knob to the left. To increase the volume, turn the knob to the right.
Note:
If the volume is too low, check the overall volume on your operating system and set it to the maximum volume.
12 db
6 db
0 db
-6 db
-12 db
60 Hz 300 Hz 1.2 KHz 3.6 KHz 12 KHz
3D Enable
5
12 db
6 db
0 db
-6 db
-12 db
60 Hz 300 Hz 1.2 KHz 3.6 KHz 12 KHz
3D Enable
7
12 db
6 db
0 db
-6 db
-12 db
60 Hz 300 Hz 1.2 KHz 3.6 KHz 12 KHz
3D Enable
6
12 db
6 db
0 db
-6 db
-12 db
60 Hz 300 Hz 1.2 KHz 3.6 KHz 12 KHz
3D Enable
8
Accentuated highs and
neutral lows, no 3D effect
Accentuated lows and neutral
highs, no 3D effect
Accentuated highs, neutral
lows and 3D effect
Accentuated lows, neutral
highs and 3D effect

X-REST 7.1 8
7. Installing the Software (only Windows PC)
1. Insert the CD into your CD/DVD/BD drive.
2. The software will open automatically for installation. Select “Software Installation” on the menu.
If the window does not automatically open, please proceed as follows:
2.1 Open the drive for the CD/DVD/BD drive (i.e. D:\).
2.2 Open the folder “Software“.
2.3 Start the application “X-Rest 7.1 Setup.exe“.
3. Follow the instructions on the installation wizard.
4. Once complete, click “Finish”.
Alternatively, the latest software version is available for download directly from our website at www.sharkoon.com.
8. Software
The software allows:
Creating, saving and loading four individual equalizer sets
Use of four preset effects
Microphone boost settings
Virtual 7.1 sound configuration
Turning on/off the LED illumination
Note:
Right-click on the X-Rest taskbar icon to change the language under the “Language” option. Likewise, select
“Skins” to change the frame around the menu to either light or dark. The changes take effect immediately. A
restart or reinstallation of the software is not necessary.
Open the software by double-clicking on the X-Rest 7.1 icon on the taskbar.

X-REST 7.1 9
Save, Load, About
“Save” allows the current file configuration to be stored on the hard drive. “Open” allows a file to be loaded.
All four profiles are saved as well as the selected effects, microphone setting and the 7.1 setting.
To save a configuration file, proceed as follows:
Click on “Save”. A new window will appear
Select the desired location and enter a file name
Click “Save”. The file has now been created
Save, Load, About
Device Active/Deactivated
EQ (on/off)
3D (on/off)
B
A
C
D
Reset
Profile 1 - 4
LED
Virtual 7.1
E
F
Microphone
Effect
EQ
I
B
A
A
C
D
E
F
I

X-REST 7.1 10
To load a configuration file, proceed as follows:
Click on “Load”. A new window will appear
Select the desired file and then click “Open”
The configuration has now been loaded
Through these steps, multiple configurations can be saved and loaded. The box “About” displays the program
version.
Device Active/Deactivated
At this point, the X-Rest 7.1 status is displayed. If “Device Deactivated” appears in red text, the X-Rest 7.1 is
not detected. In this situation, please check the USB connection. “Device Active” in green text means that the
device is found and now ready for use.
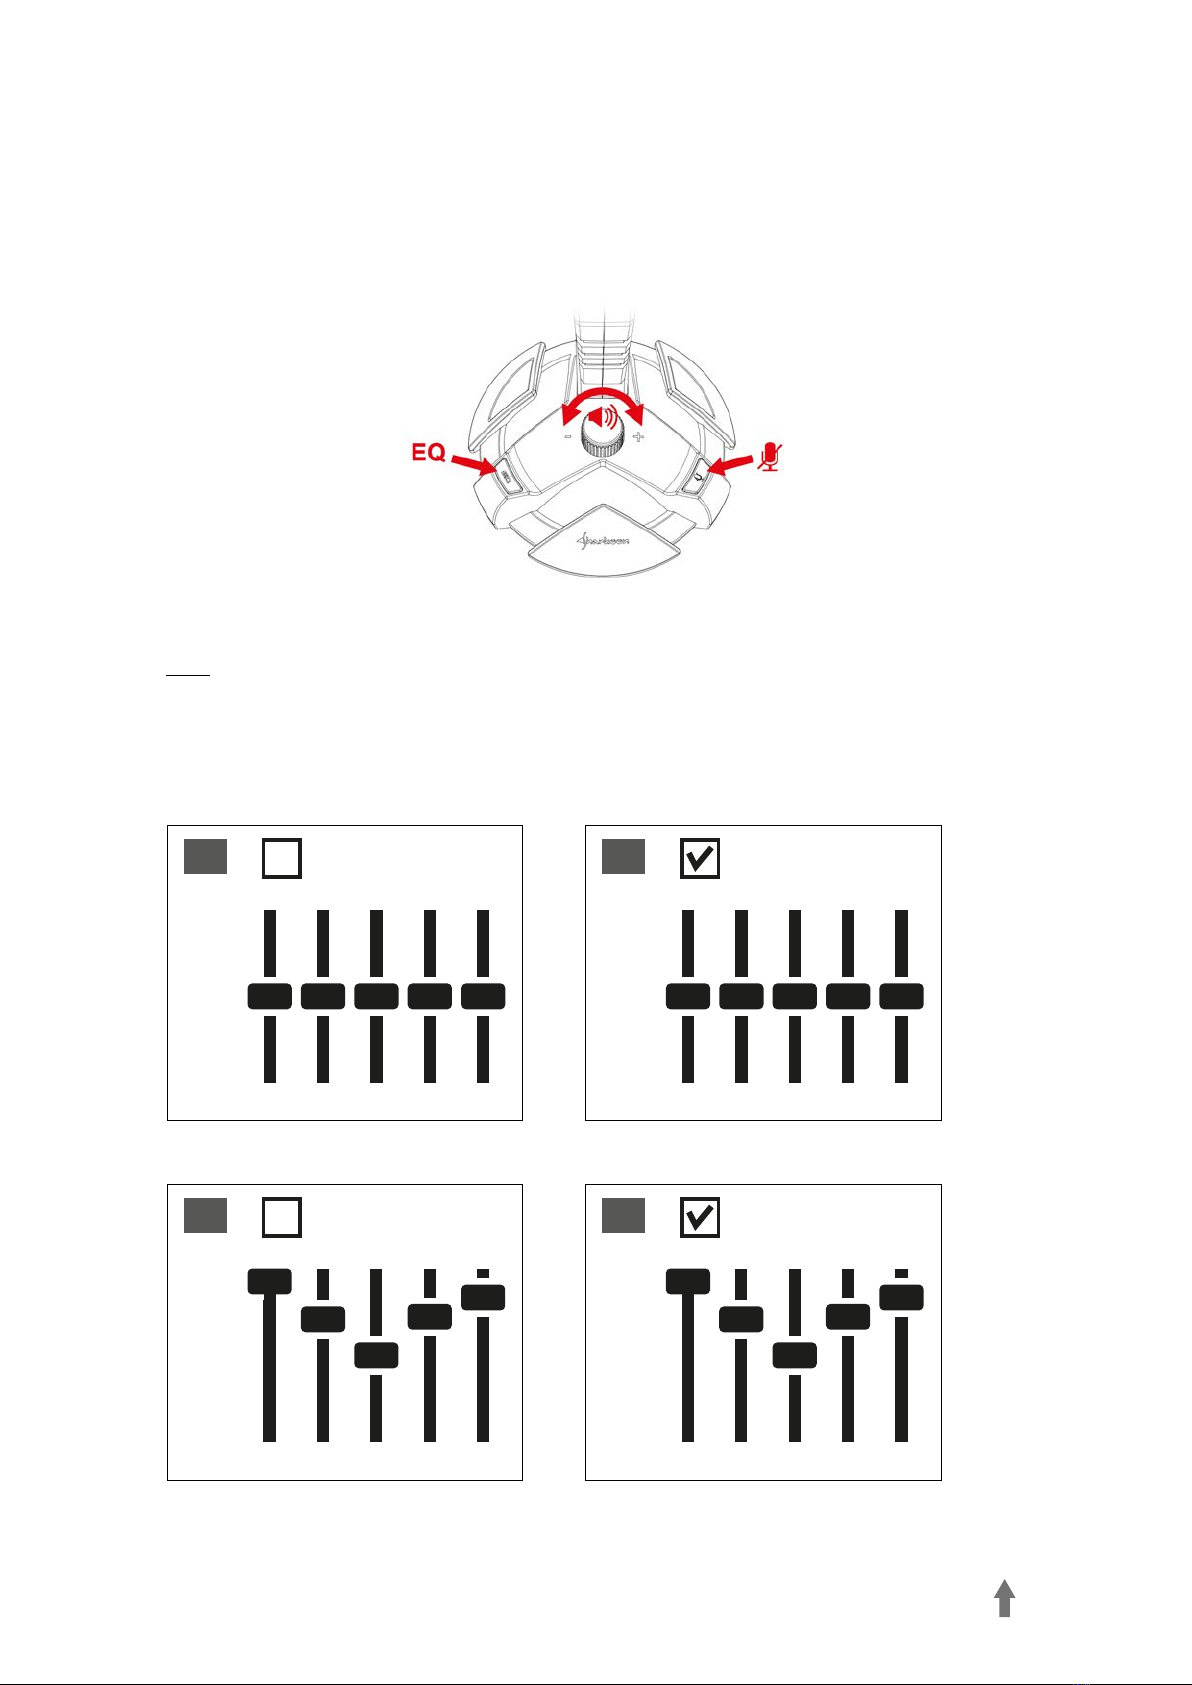
EQ (on/off)
Click here to turn the equalizer on/off. When the equalizer is active, the field is highlighted blue.
3D (on/off)
Click here to turn the 3D effect on/off. When 3D is active, the field is highlighted blue.
Reset
Click here to reset the equalizer within the currently selected profile back to the default setting.
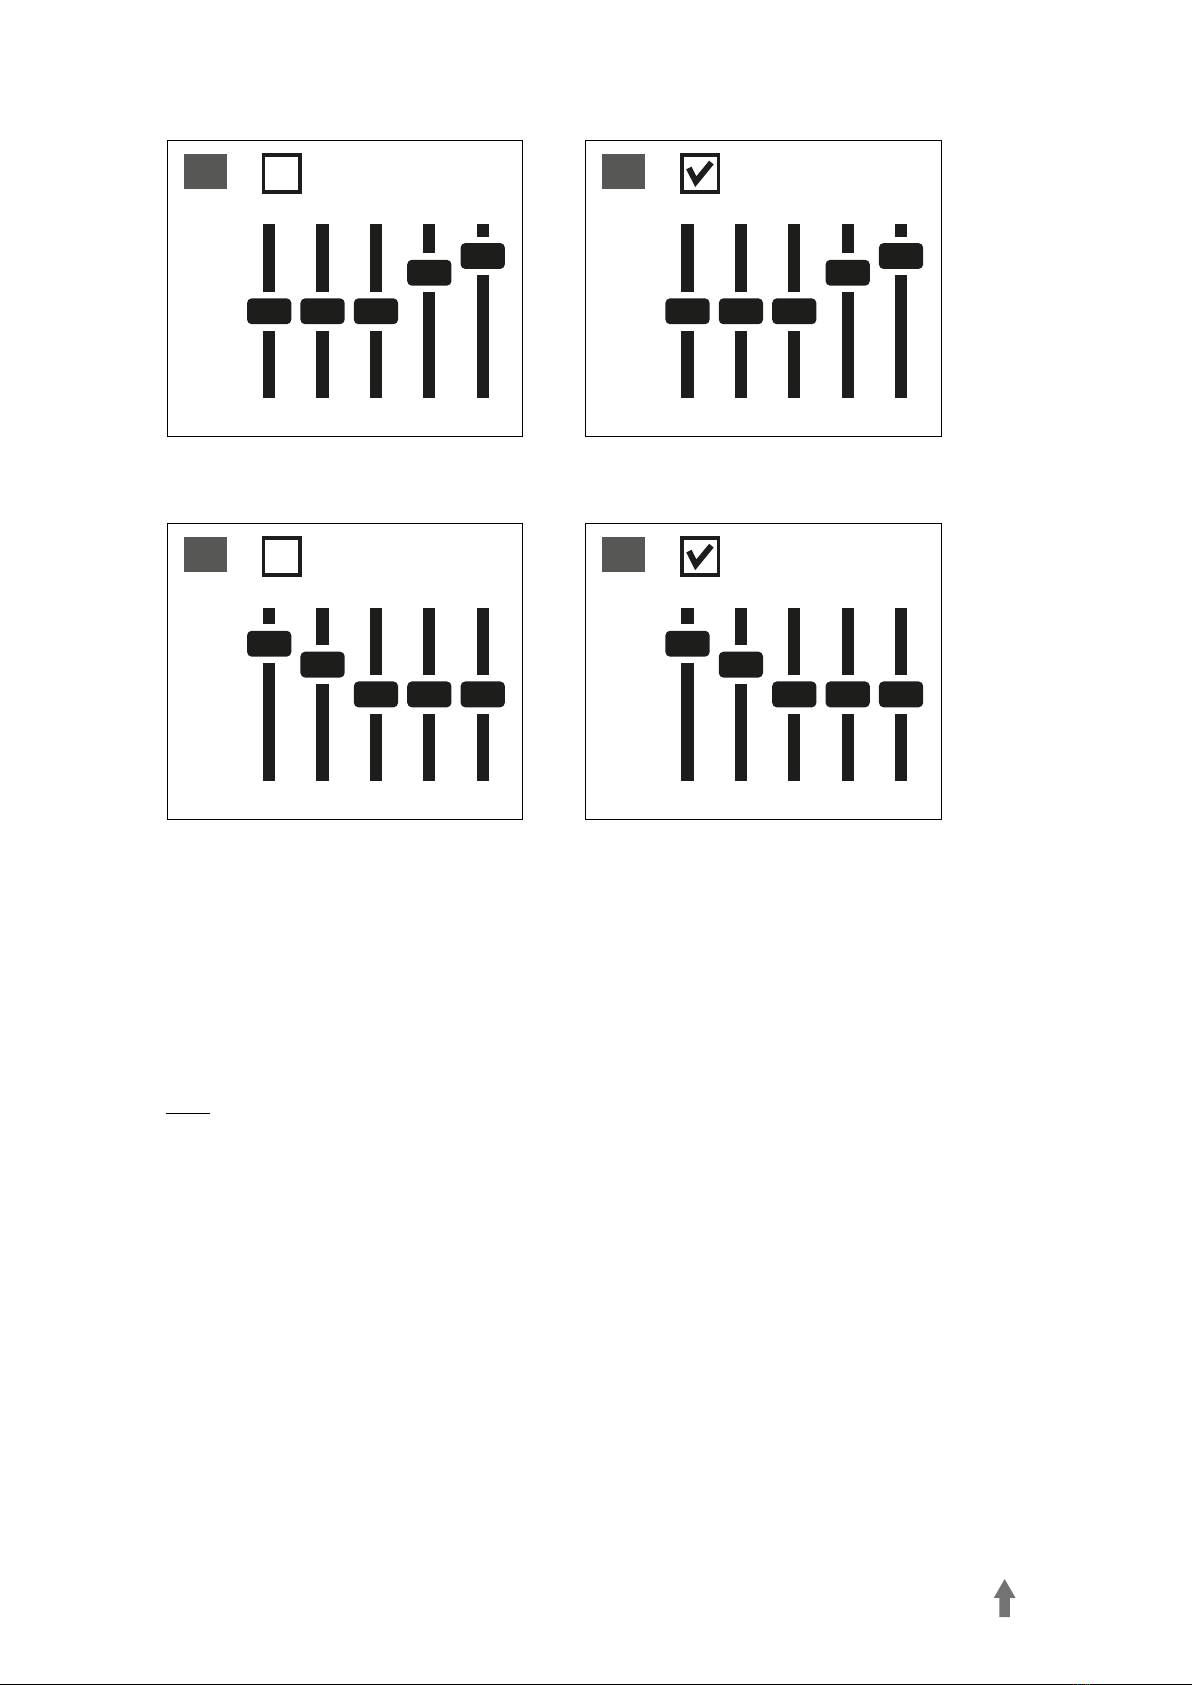
Profiles 1 - 4
Select the desired profile here. Changes al-
ways affect the currently selected profile.
Adjust the sound by using the 5-band equa-
lizer. To do this, using your mouse, move the
slider either up or down. The following fre-
quencies are available: 60, 300, 1200, 3600
and 12000 Hz.
LED
Click here to turn on/off the X-Rest 7.1 LED illumination. The LED illuminated is active when the button is
highlighted blue.
Virtual 7.1
Under “Virtual 7.1” each of the eight virtual speakers can be individually repositioned. To do so, click on the
desired speaker and then drag it into position.
To test the room effect, rotate the selected
configuration either clockwise or coun-
terclockwise. To do this, click on the corre-
sponding arrow above the graph. Music or
sound effects played are adjusted based on
where the speakers were placed. Click “Re-
set” to restore back to default configuration.
B
C
D
E
F

X-REST 7.1 11
Microphone
Within the “Mic” menu, adjust the micropho-
ne sensitivity by increments up to 100. The
“Boost” function amplifies the signal. Click
“Mute” to mute the microphone.
Effect
Adjust the sound for the four preset effects
here.
Possible settings are:
No Effect
Theater
Bathroom
Living Room
Corridor
EQ
Clicking on this field to launch the “Equalizer” menu.
9. FAQ
The software CD has been lost
The latest version of the software and manual is available for download on our website at www.sharkoon.com.
I adjusted the equalizer, how do I turn it off?
Through the EQ button:
The most recently used preset is saved and will be selected once the computer is restarted. If you want to call
up a different preset, simply press the EQ button. After the eighth preset, the first preset starts again and the
equalizer is turned off.
Through the Software:
Double-click on the X-Rest 7.1 icon on the taskbar to launch the software. Then click on the “EQ” field to turn
off the equalizer. The sound settings are now neutral.
To reset the equalizer setting, click on “EQ” and then click “Reset” on the top right.
The volume is too low
If the volume is too low, please check the overall volume of your operating system and set it to maximum
volume.
The microphone is too quiet
Double-click on the X-Rest 7.1 icon on the taskbar to launch the software. Click on “Mic” and then, using your
mouse, maneuver the slider until the desired microphone volume is reached. The boost function can also be
activated.
I

X-REST 7.1 12
Legal Disclaimer:
For potential loss of data, especially due to inappropriate handling, Sharkoon assumes no liability. All na-
med products and descriptions are trademarks and/or registered trademarks of the respective manufacturers
and are accepted as protected. As a continuing policy of product improvement at Sharkoon, the design and
specifications are subject to change without prior notice. National product specifications may vary. The
legal rights of the enclosed software belong to the respective owner. Please observe the license terms of
the manufacturer before using the software. All rights reserved especially (also in extracts) for translation,
reprinting, reproduction by copying or other technical means. Infringements will lead to compensation. All
rights reserved especially in case of assignation of patent or utility patent. Means of delivery and technical
modifications reserved.
Disposal of your old product:
Your product is designed and manufactured with high quality materials and components, which can be recy-
cled and reused.
When this crossed-out wheeled bin symbol is attached to a product, it means the product is covered
by the European Directive 2012/19/EU gild. Please be informed about the local separate collection sys-
tem for electrical and electronic products. Please act according to your local rules and do not dispose
of your old products with your normal household waste. The correct disposal of your old product will help
prevent potential negative consequences to the environment and human health.
Sharkoon Technologies GmbH
Grüninger Weg 48
35415 Pohlheim
Germany
© Sharkoon Technologies 2019
Table of contents
Other Sharkoon Headset manuals

Sharkoon
Sharkoon Xtratic S7 Instruction manual

Sharkoon
Sharkoon SKILLER SGH30 User manual

Sharkoon
Sharkoon X-Tatic S7 User manual

Sharkoon
Sharkoon B2 User manual

Sharkoon
Sharkoon Skiller SGH3 User manual

Sharkoon
Sharkoon RUSH ER40 User manual

Sharkoon
Sharkoon RUSH ER40 User manual

Sharkoon
Sharkoon Xtatic analog User manual

Sharkoon
Sharkoon B2 User manual

Sharkoon
Sharkoon SKILLER SGH2 User manual