Sharp PN-V601 Instruction sheet

CONFIDENTIAL
<Rev1.4>
2010/09/30
Business Solutions Equipment Division
Business Solutions Dept.
SHARP Corporation
PN-V601 Installation Guidelines

CONFIDENTIAL
PN-V601 Installation Guidelines <Rev1.4 > September.30, 2010
CONFIDENTIAL 1
About the handling of this material / Contents
- This document is made to explain the installation
know-how of large size displays for our business partners.
Therefore, please handle this material very carefully.
- This document describes basic notes to install and use the
display for long term reliable service.
Contents
[Warning]
This document is to explain the installation
know-how to our business partners. Please
be careful not to distribute this document or
its contents to other companies, or divert
(use) it towards competitors’ models.
In addition, please be reminded that values
and expressions on this document are
subject to change without notice.
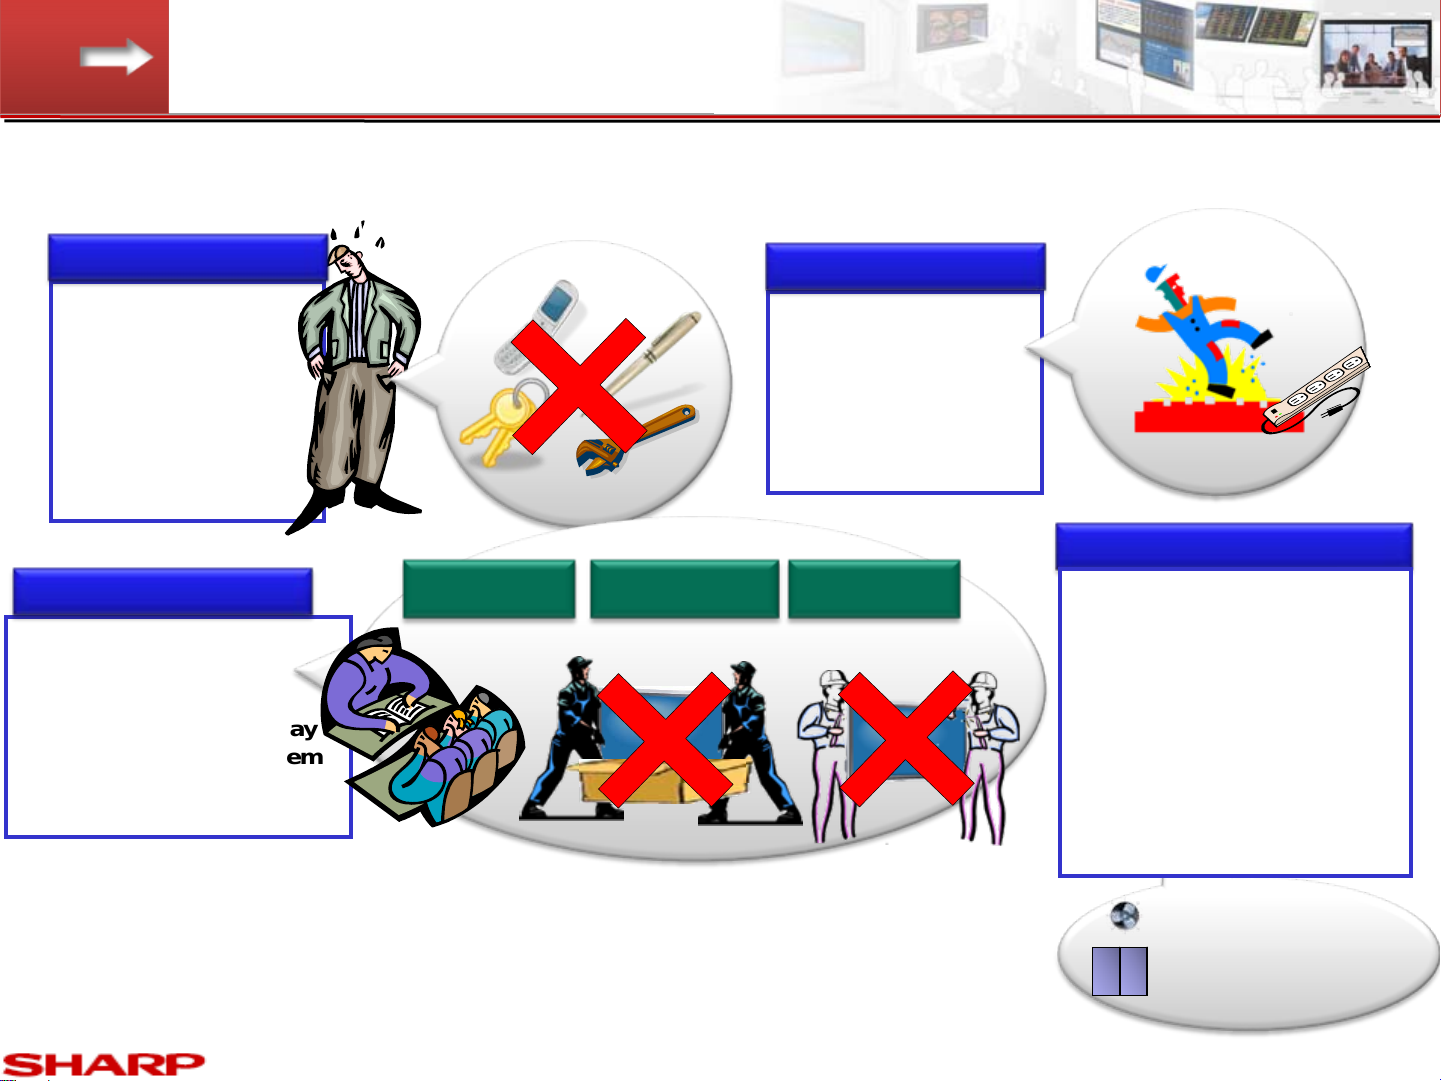
•Procedures of installation
•Overall precautions
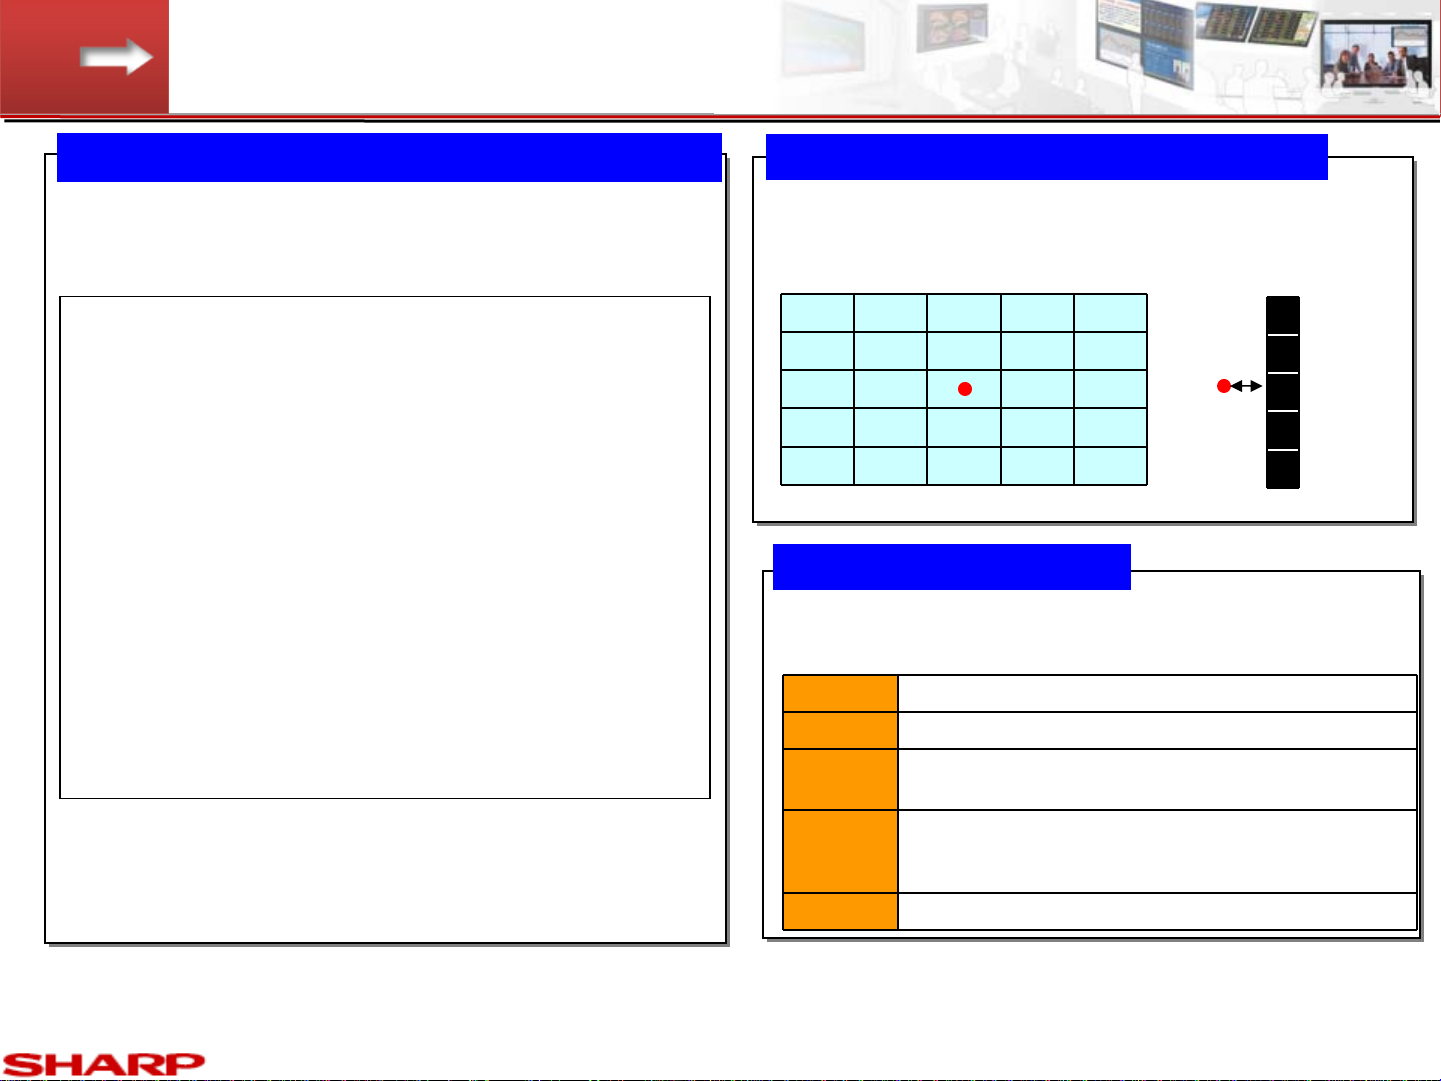
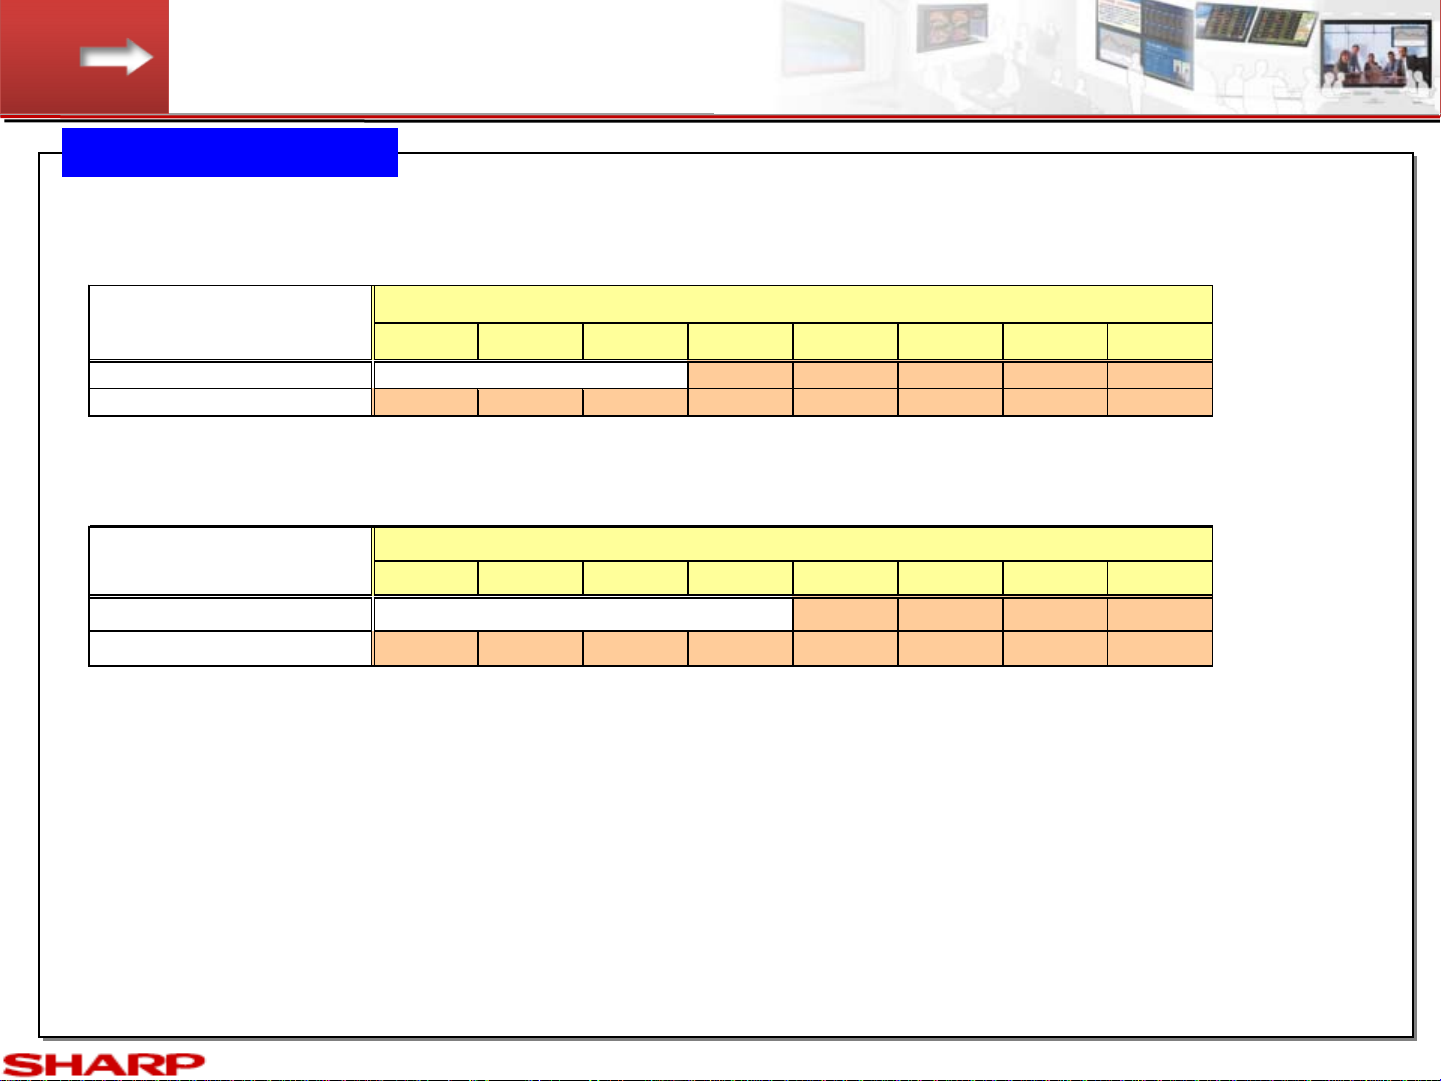
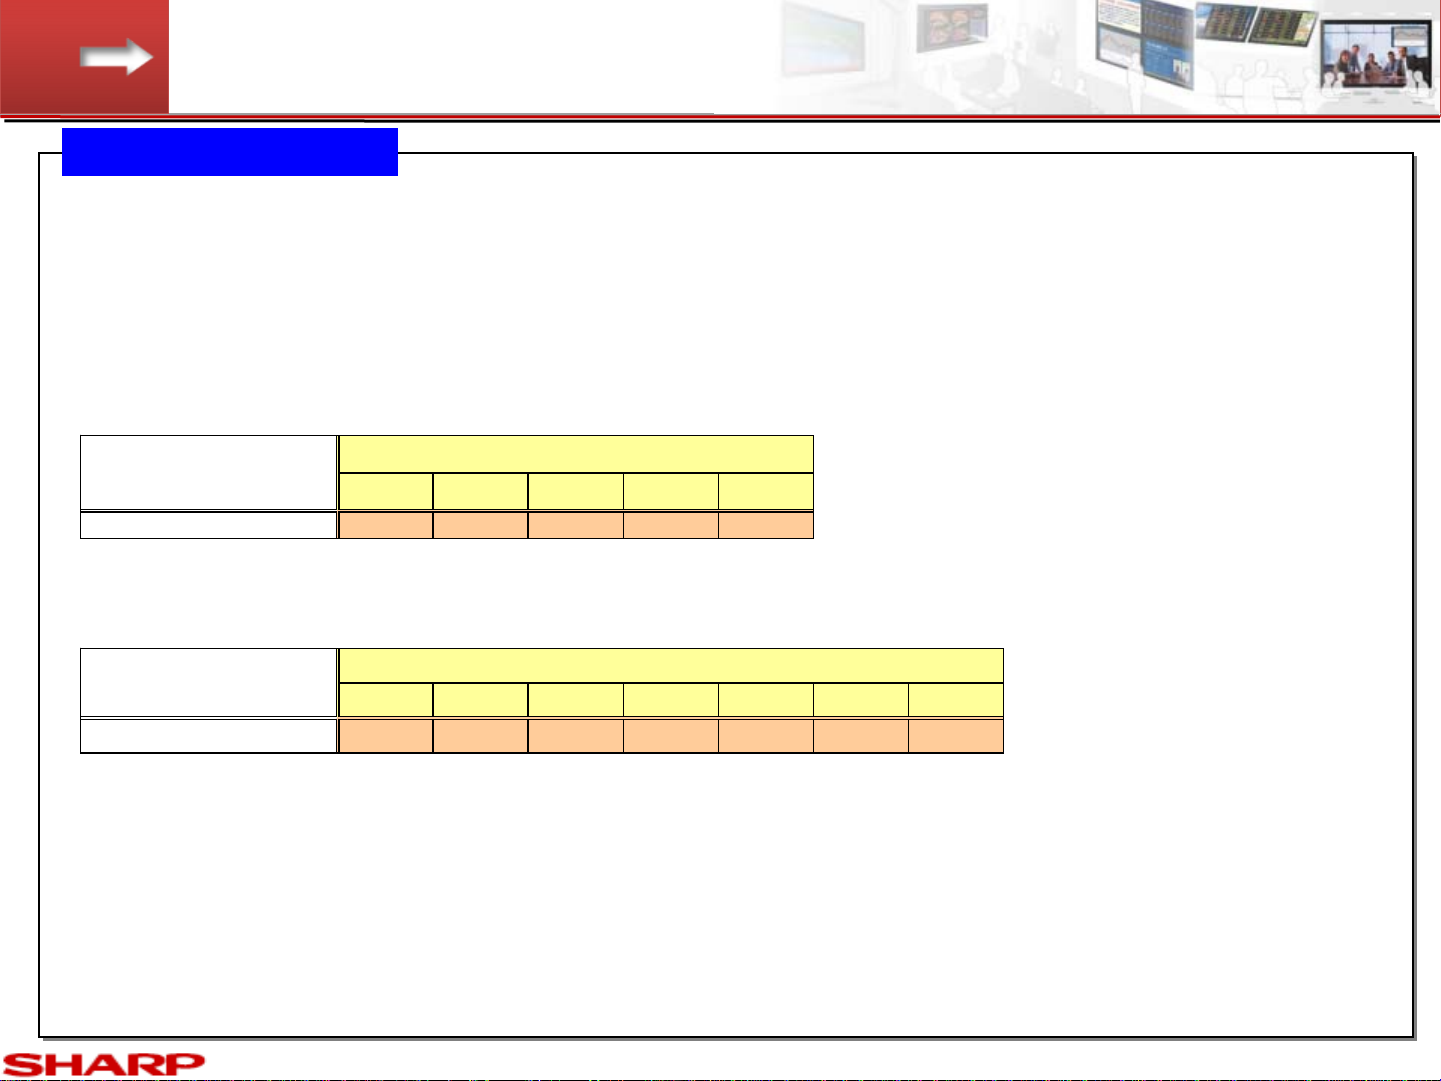
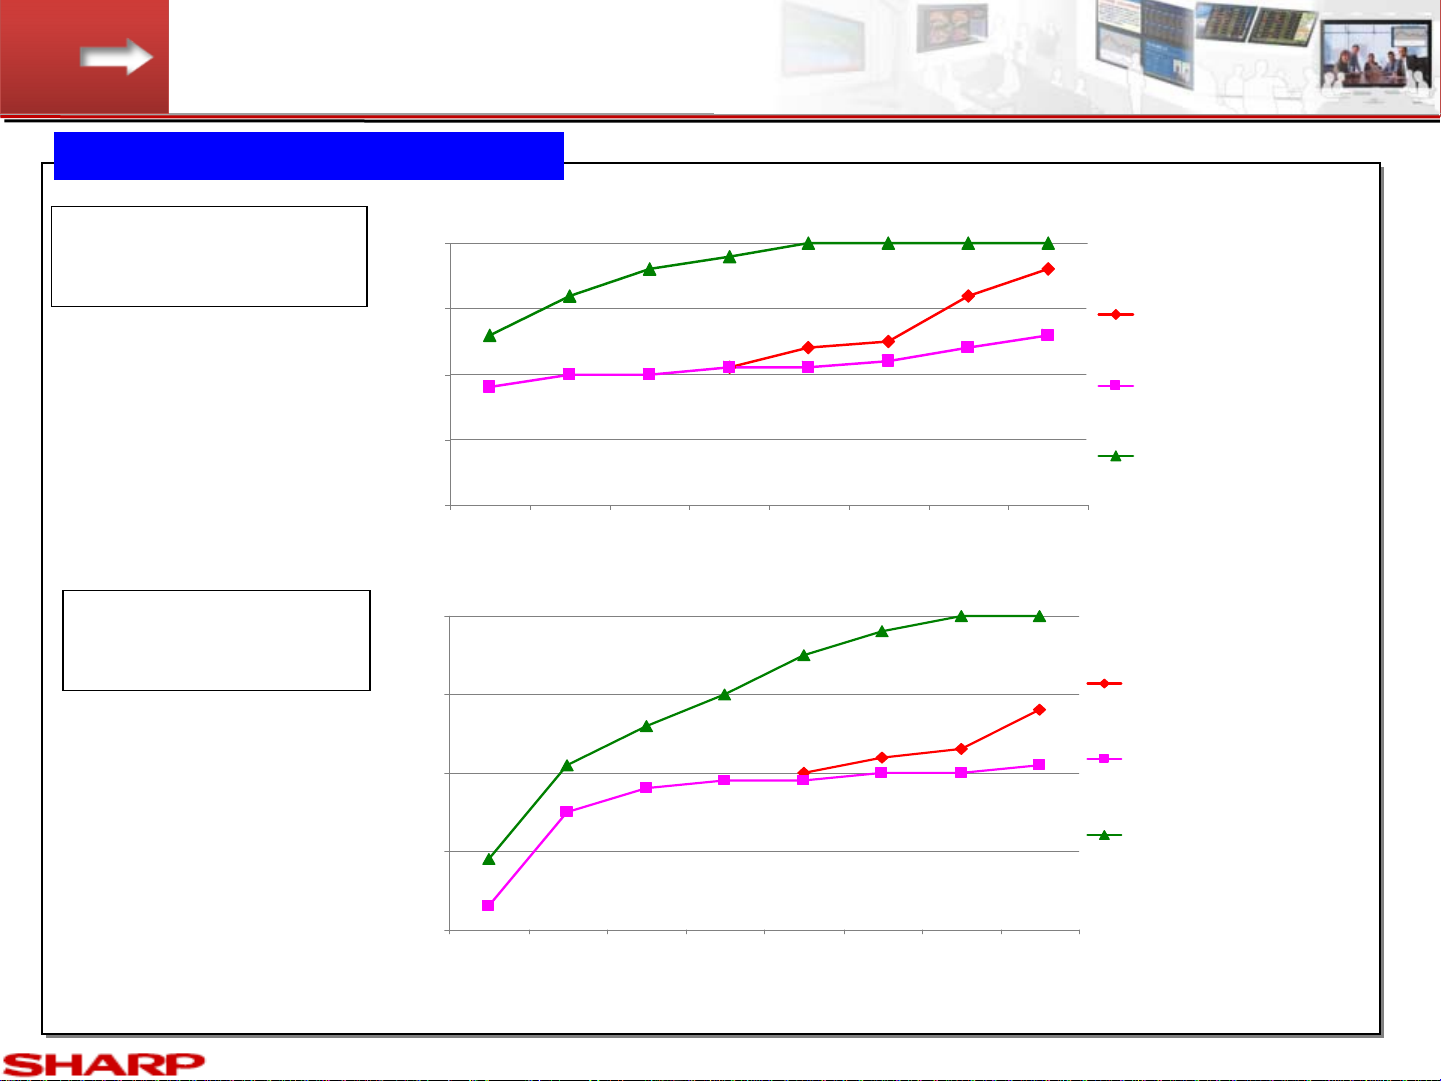
•Precautions for temperature and clearance space 1, 2, 3, 4, 5
•Precautions for sunlight exposure
•Precautions against dust
•Position of exhaust fan and intake port
•Precautions for dew condensation, water drops, and salt damage
•Precautions for orientation, power supply and voltage
•Precautions for vibration and residual images
•Operation check before installation
•Precautions for installation space dimensions
•Precautions for space between displays
•Precautions on stand installation
•Precautions of wall mounting
•Precautions in installing and handling 1, 2, 3
•Attachment precaution 1 , 2
•Installation tool 1, 2 , 3, 4, 5, 6
•Precautions on PC installation
•Color Adjustment 1, 2
•Software tool
•Software applications
•Maintenance & check items
•Periodical maintenance
Handling this material

CONFIDENTIAL
PN-V601 Installation Guidelines <Rev1.4 > September.30, 2010
CONFIDENTIAL
Make enough
space before
starting the job.
Check power cable
and/or floor levelness.
2
Procedures of Installation
(Please thoroughly observe these recommendations)
Check worker’s
clothes and their
belongings.
Wear simple clothes and
do NOT put their mobile
phone and/or pen in a
pocket.
We recommend that the following procedures are entrusted to Sharp sales
subsidiaries or dealers/contractors trained by Sharp.
12
The person responsible
of installation directly
explains to the workers
how to handle the display
securely and shows them
examples.
Then, start the job.
3Prior
Explanation
How to open the box for display.
How to take the display from the box.
How to hold the display and the holding position(s) for workers [Attachment precaution 2]
How to temporarily store the display after taking it from the box.
We recommend temporarily storing the display on a temporary stand. If you inevitably put
the surface of LCD monitor on the ground when there is no temporary stand, check whether
there is dust and/or projection, and place on a clean board larger than the display.
How to check and/or store the accessories of display.
4
Installation with stand and
wall-mounting bracket
Unlike Sharp “PN-E” standard models,
the PN-V601 requires close attention to
handling due to its thin bezel.
Even dealers or workers familiar with the
conventional models must confirm
precautions beforehand Please study
the installation guide of the PN-V601 and
recommended stands as much as
possible, and please entrust the
installation work to Sharp sales
subsidiaries or dealers /contractors
trained by Sharp.
Precautions for fan
Precautions for adjacent
positioning
Do Not touch
LCD surface
Attention to
bezel handling

CONFIDENTIAL
PN-V601 Installation Guidelines <Rev1.4 > September.30, 2010
CONFIDENTIAL
1. Check worker’s clothes and their belongings. Wear simple clothes and do NOT put their
mobile phone and/or pen in a pocket.
2. Make enough space before starting the job. Check power cable and/or floor for levelness.
3. The person responsible for the installation directly explains to the workers how to handle the
display securely and shows them examples. Then, start the job.
3
Setting board larger
than PN-V601
protecting sheet
like blanket
PN-V601
-Do not set the PN-V601 on a setting
board smaller than itself to avoid the
contact with corner of the board.
- Use a protecting sheet like blanket
- Do not add force from the above.
- Do not drag only the PN-V601
How-tos for PN-V601 installation
Please set the PN-V601 in the centre
of the setting board/protecting sheet
and be careful to avoid the contact
with corner of the board.
4. Installation with Wall-mounting Bracket and Stand
- Unlike Sharp “PN-E” standard models, the PN-V601 requires close attention for handling due to its thin bezel.
- Even the dealers or worker familiar with the conventional models must confirm precautions beforehand.
Please study the installation of the Sharp recommended stand as much as possible, and please entrust the
installation work to Sharp sales subsidiaries or dealers /contractors trained by Sharp.
Procedures of Installation
(Please thoroughly observe these recommendations)
How to open the box for display.
How to take the display from the box.
How to hold the display and the holding position(s) for worker [Attachment precaution 2]
How to temporarily store the display after taking it from the box.
We recommend temporarily storing the display on a temporary stand. If you inevitably put
the surface of LCD monitor on the ground when there is no temporary stand, check whether there
is dust and/or projection, and place on a clean board larger than the display.
How to check and/or store the accessories of display.
We recommend that the following procedures are entrusted to Sharp sales
subsidiaries or dealers/contractors trained by Sharp.

CONFIDENTIAL
PN-V601 Installation Guidelines <Rev1.4 > September.30, 2010
CONFIDENTIAL 4
Overall precautions
Precautions for Usage, Installation
- Do not use the information display under following conditions ;
1) Usage beyond its capability, feature/function, accuracy/precision
2) Usage that could develop into injury or life-threatening situation under product breakdown
3) Usage that could lead to major monetary damage
We will not take any responsibility if the product was used under above conditions.
<Example>
Control of all types of safety related usage of transportation equipment (air plane, train, car, etc.), aerospace
equipment, communication equipment, nuclear control equipment, medical equipment, disaster-prevention/security
equipment, all types of safety equipment, etc.
- We will not take any responsibility for any failure, damage, loss, etc. which arise from particular installation
(high-ceiling mounting etc.) and/or installation by non-Sharp related parties. Prior to the installation, please
examine the potential problems by the installation location and installation method, and only operate within the
appropriate environment.
In case of product failure, regardless of warranty period, removal and installation expenses incurred will be the
customer’s responsibility.
Repairing may take a certain time period. For that reason, arranging of a back-up is recommended.
- Installation environment of the information display differs by individual cases. Please make appropriate installation by
referring to this material. If you have any difficulty in making judgment about installation or have any
comments/questions about the contents of this material, please ask SHARP Business Solution factory via your local
Sharp sales window.

CONFIDENTIAL
PN-V601 Installation Guidelines <Rev1.4 > September.30, 2010
CONFIDENTIAL 5
Temperature inside the display will heat up if the air clearance space is not enough.
- If the temperature is too high Electronic components and the fan’s life time will be shortened or breakdown.
- If the heat gets trapped inside the display, the temperature will rise. Hence, the brightness of back-light will be
lowered and the screen will be darkened
Moreover, if the temperature gets too high, the power of LCD display will be turned off and the display will be set
to the standby mode.
The thermal influence
The heat impact on LCD surface
The effect of high temperature Monitors will break down or uniformity issue will occur
Precautions for temperature and clearance space 1

CONFIDENTIAL
PN-V601 Installation Guidelines <Rev1.4 > September.30, 2010
CONFIDENTIAL 6
Space requirement 1
Top 20 cm
Bottom 10 cm
Left/
Right 10 cm
Behind Clearance space and surrounding
temperature should be maintained (refer to
next page)
Surface Consult us separately
Temperature control and clearance space conditions
PN-V601(Main unit), PN-ZR01(Remote-control signal
receiving kit) temperature condition requirement
- Usable temperature range
0 degree C to 40 degree C *
*: Maximum temperature when multi-display system is operating
- Clearance space
1)Space should be taken between front/ back/
above/ below/right/left side of the display
2) Due to configurations of multi-display and
clearance space at the back side,
surrounding temperature must be carefully
controlled.
- Temperature of LCD surface
Under 60 degree C
Please follow these requirements when setting multi- display.
Refer to the measures and install the display according to its
requirements. (Same with peripheral devices, please follow the
specifications )
Securing space at the Top/ Bottom/ Left/ Right/ Behind /
Surface of display is necessary regardless of wall-hanging or
stand type installation.
A point for measuring temperature
Please measure the temperature at 1m away from the
centre of LCD surface.
Surface of LCD multi-display
1m
Side view
Precautions for temperature and clearance space 2
Note: However, please separately inquire in following cases:
1)when you install with outer casing, 2)When using protection panel,
or 3) Closed installation like In-wall installation, etc. that
surroundings are not opened.

CONFIDENTIAL
PN-V601 Installation Guidelines <Rev1.4 > September.30, 2010
CONFIDENTIAL 7
Space requirement 2
*1 In the case of clearance space at the back side, Use “Setting 1” without using “Auto” at the “Fan rotation speed”.
When the clearance space of back side is small, if the fan works at the setting 4, the heat release effect becomes worse than that at
Setting 2. Because heat accumulates between LCD monitor and wall.
*2 The timing of fan replacement is used as a guideline.
The actual life may vary depending the operating time, change of ambient temperature, environment such as amount of dust, or regular
maintenance.
Even if a fan on the LCD monitor has trouble, the neighbor fan supplements its operation. Therefore, the LCD monitor correctly works.
Above life is described as rough guide and it shall not warrant the life. Even within the warranty period, the replacement of fan caused
by failure is charged. The warranty does not include pre-mature fan failure.
3.5cm or more 10cmor more 20cmor more 30cmor more 40cmor more 50cmor more 60cmor more 70cmor more
Auto (Variable: default setting) 30.5 32 32.5 36 38
Setting 1 (Rotation speed: 50%) 29 30 30 30.5 30.5 31 32 33
3.5cmor more 10cmor more 20cmor more 30cmor more 40cmor more 50cmor more 60cmor more 70cmor more
Auto (Variable: default setting) 30 31 31.5 34
Setting 1 (Rotation speed: 50%) 21.5 27.5 29 29.5 29.5 30 30 30.5
For case of 5 x 5 multi-screen displays
Use at Setting 1.*1
For case of 3 x 3 multi-screen displays (Unit: degree celsius)
Clearance space at the back side
"Fan rotation speed" Setting
"Fan rotation speed" Setting Clearance space at the back side
Use at Setting 1.*1
Note: The necessary clearance space is set when the front side (front cover) is opened.
Remarks: The following shows the fan rotation speed. Setting 1: 50 %, Setting 2; 60%, Setting 3: 70%, Setting 4: 100%
Precautions for temperature and clearance space 3
1.Relationship between the rear clearance space and operating temperature
The timing of fan replacement (*2) is 5 years in the above condition of clearance space and operating temperature.

CONFIDENTIAL
PN-V601 Installation Guidelines <Rev1.4 > September.30, 2010
CONFIDENTIAL 8
Space requirement 3
*2 The timing of fan replacement is used as a guideline.
The actual life may vary depending the operating time, change of ambient temperature, environment such as amount of dust, or regular
maintenance.
Even if a fan on the LCD monitor has trouble, the neighbor fan supplements its operation. Therefore, the LCD monitor correctly works.
Above life is described as rough guide and it shall not warrant the life. Even within the warranty period, the replacement of fan caused
by failure is charged. The warranty does not include pre-mature fan failure.
3.5cm or more
10cm or more 20cmor more 30cmor more 40cmor more
Auto (Variable: default setting)
33 26 38 39 40
3.5cmor more 10cmor more 20cmor more 30cmor more 40cmor more 50cmor more 60cmor more
Auto (Variable: default setting)
24.5 30.5 33 35 37.5 39 40
For case of 3 x 3 multi-screen displays (Unit: degree celsius )
"Fan rotation speed" Setting
"Fan rotation speed" Setting Clearance space at the back side
For case of 5 x 5 multi-screen displays
Clearance space at the back side
Precautions for temperature and clearance space 4
2.The case of reducing clearance space and operating temperature
The timing of fan replacement (*2) becomes shorter to 2.5 years in the following condition of clearance space and operating
temperature.

CONFIDENTIAL
PN-V601 Installation Guidelines <Rev1.4 > September.30, 2010
CONFIDENTIAL 9
Space requirement at the back-side
3X3 multi-display
Temperature under operation
VS. Clearance space
Clearance space
Temperature
Note : Space requirements for this displays is reported under the condition where
there is open space in front of the surface.
5X5 multi-display
Temperature under operation
VS. Clearance space
Temperature
Clearance space
Precautions for temperature and clearance space 4
20.0℃
25.0℃
30.0℃
35.0℃
40.0℃
3.5cm 10cm 20cm 30cm 40cm 50cm 60cm 70cm
Life time of fan: 5 years
Setting: Automatic
Life time of fan: 5 years
Setting: Setting 1
Life time of fan: 2.5 years
Setting: Automatic
20.0℃
25.0℃
30.0℃
35.0℃
40.0℃
3.5cm 10cm 20cm 30cm 40cm 50cm 60cm 70cm
Life time of fan: 5 years
Setting: Automatic
Life time of fan: 5 years
Setting: Setting 1
Life time of fan: 2.5 years
Setting: Automatic

CONFIDENTIAL
PN-V601 Installation Guidelines <Rev1.4 > September.30, 2010
CONFIDENTIAL 10
- If the display is placed inside a case or at the condition where surrounding temperature goes beyond the
0 degree C to 40 degree C range, please set the air-conditioner or take some measures to control the
surrounding temperature around 0 degree C to 40 degree C.
- Adding a cooling fan
- Improve the ventilation by widening its space
- Using an air-conditioner or fan
- Lowering the brightness of display
*The effectiveness of each measure differs depending on the
environment. Please choose the best measure for respective
environment.
Countermeasure for lack of clearance space
Example of fan installation
Heat prevention unit
(Apiste co.)
Precautions for temperature and clearance space 5

CONFIDENTIAL
PN-V601 Installation Guidelines <Rev1.4 > September.30, 2010
CONFIDENTIAL 11
About sunlight Countermeasure
A shade above
the product
Utilizin the shade of the
building
Setting the monitor back to the place
where there is no direct sunlight
This monitor is indoor use only. Please set this monitor to avoid the direct sunlight, wind, or rain. These conditions may cause failure and/or
deterioration.
Precautions for the sunlight
The product must not be exposed to the direct sunlight
Please keep the product away from direct sunlight. Please
install the product in shaded areas especially when using in
an outdoor or semi-outdoor environment.
- Set a sun-shade above the monitor
- Utilize the shade of the building
- Place the monitor where there is no direct sunlight
- Change the direction of the monitor to avoid sunlight
- Using some object which can block out the direct sunlight
(You should pay attention to strong winds like hurricanes.)
The effect of direct sunlight
If the product is being used under direct sunlight
- The effect of brightness
--> Display would look much darker than the normal use
- The effect of ultraviolet rays
--> LCD or color filter will deteriorate
- The effect of the heat
(Even though the environmental temperature is fairly low, the
temperature of the area under direct sunlight could be high)
--> Monitor will break down or uniformity issue will occur.

CONFIDENTIAL
PN-V601 Installation Guidelines <Rev1.4 > September.30, 2010
CONFIDENTIAL 12
The effect of dust
PN-V601’s Cooling Structure (Cross-section drawing)
LCD surface
Various kinds of circuits
(Electronics, display circuits etc)
Duct
Fan
LED
Backlight
Back-side
Flow of Air
Flow of Air
Counter-Measure against dust in
the PN-V601
It is necessary to take measures against dust such as regular cleaning of fan and vent in a dusty area.
About dust
Precautions for Dust
Fundamentally, LCD monitor is designed for indoor usage.
When it is being used outdoor, or at dusty places, such as
railway station or close to the traffic, the solutions against dust
must be considered.
If the anti-dust solutions are not being considered -->
The dust will enter into the LCD panel through the gaps and
will cause the distorted image (see example below), and will
break down in the end.
In general, a fan causes dust to enter inside, which
eventually will cause the unit to breakdown. This monitor,
however, reduces dust to entering inside by allowing air
to flow through a duct. This remedies the disadvantages
of fan operation (such as clogging of dust in the display)

CONFIDENTIAL
PN-V601 Installation Guidelines <Rev1.4 > September.30, 2010
CONFIDENTIAL
Position of
cooling fan.
4 places at
backside.
Fan-cover is
attached
firmly with
screws.
(1180
)
(754.2)
(232)
Cover removal
Intake port of cooling fan.
Do NOT cover this area.
Do NOT cover vent hole and intake-port. If the temperature of the inside of the monitor is rising, it may cause the failure of the
monitor.
Do NOT
cover engine
grille.
Do NOT cover this area for
replacing of cooling fan
Position of exhaust fan and intake-port
13

CONFIDENTIAL
PN-V601 Installation Guidelines <Rev1.4 > September.30, 2010
CONFIDENTIAL 14
Precautions for dew condensation, water drops,
and salt damage
Precautions for dew condensation, water drops, and salt damage
- Humidity condition for IDP
Range of humidity condition for IDP: From 20% to 80% (no condensation)
- This monitor is indoor use only. Please set this monitor to avoid the direct sunlight, wind, or rain. These may cause
failure and/or deterioration.
- Dew condensation and/ or liquid drops will cause the breakdown of the circuit and/or LCD panel.
Please install LCD away from condensation and liquid drops.
- The environment which has high possibility of condensation
The place where temperature is generally low but has frequent warm air flow.
(Example: the place in front of the vents of radiators. When the radiator is turn on in a cold winter morning, condensation
occurs.)
Near near the sea or lakes, where there is high humidity.
- The environment which has high possibility of liquid drops
“Semi-outdoor” place where strong winded-rain (typhoon) could potentially reach the monitor.
The place which is below the pipes inside the ceiling. When the pipes have leaking problems, there is a possibility for water
drops to enter the monitor through the vents.
(When installing in these places, countermeasures should be taken to avoid water drops to reach the monitors. For example,
covering the LCD monitor with box. In such a case, consideration should be given for direction of vent.)
- Damage from wind such as typhoon
Do NOT set the monitor in the place where may be affected by wind.
- Damage from salt water/ salty breezes
When installing close to sea, consult us for potentiality of damage from salt water.
- Damage from sulfur
Do NOT set the monitor in the place where may be affected by sulfur such as the place near hot spring or volcano.
- Damage of organic gas or flammable gas
Do NOT set the monitor in the place where may be affected by organic gas or flammable gas.

CONFIDENTIAL
PN-V601 Installation Guidelines <Rev1.4 > September.30, 2010
CONFIDENTIAL 15
About orientation
About power supply and voltage Circuit
breaker box
Display
Display
Display
Display
Display
Display
Circuit A Circuit B
Precautions for inclination and power supply and voltage
- When aligning multiple displays, only vertical installation is recommended.
-The limitation of the inclination angle is between 0 to 20 degrees downward. Even within 20 degrees
range, please consult individually when installing with inclination.
- Please consult for facing up installation.
- PN-V601 is designed to be used under commercial
100V - 240V power supply.* When aligning multiple screens,
shortage of power supply may occur. Consideration should be
taken to collect several circuits and supply power evenly.
- Avoid over power consumption such as by delaying the
wake-up time using power-on delay function.
* Attached electronic plug for Japan and US models are for 100V and 120V.
For 200V level, provided as service parts (with charge)

CONFIDENTIAL
PN-V601 Installation Guidelines <Rev1.4 > September.30, 2010
CONFIDENTIAL 16
About vibration
About residual images
Precautions for vibration and residual images
-This information display is not designed for the usage in any places which have strong vibrations, such as inside motor
vehicles.
- If the monitors will be used in the place which has the possibility of even small vibration like railway station’s platform,
shock absorber must be considered.
- When a still image is being displayed for a long period, image retention might occur.
- Image retention can be removed by displaying motion images or turning off the monitor. However, the longer the
still image is being displayed, the harder to remove the image retention, therefore, the solutions mentioned above
should be taken periodically.

CONFIDENTIAL
PN-V601 Installation Guidelines <Rev1.4 > September.30, 2010
CONFIDENTIAL 17
When using remote controller When using key on the rear pane
Ref.: You can check the PN-V601’s panel status (color, brightness, damage, or existence or nonexistence of
bright point/black point in accordance with the following procedure.
Note that you can’t check all the features of PN-V601 with the following procedure.
Operation checking before installation
Operation check before installation
- Please confirm if each set of the PN-V601 can operate properly prior to the multi-screen positioning.
If trouble is found after the installation, the labor for time detaching is required. In that context,
we strongly recommend the operation check before installation.
- When using interface expansion board, PN-ZB02, confirm its input/output signal.
- Please confirm if the installation tools (e.g. bezel sheet) are set correctly before installation.
1. Press the “SIZE” key (over 5 sec.) and “F” is
displayed at the upper left of screen.
2. Press in turn the keys
3. The screen display changes in following sequence,
with every pressing of the key
Black, Dark blue, Dark green, Dark red,
Blue, Green, Red, White, Gray1, Gray2.
4. Turn off the power after confirming the above.
1. Pres the “MENU” and “INPUT” keys (over 5 sec.)
and “F” is displayed at the upper left of screen
2. Press the [VOL(-)] , [VOL(+)], [VOL(-)], [VOL(+)] key.
3. The screen display changes in following sequence,
with every pressing of the [BRIGHT(+)] key.
Black, Dark blue, Dark green, Dark red,
Blue, Green, Red, White, Gray1, Gray2.
4. Turn off the power after confirming the above.

CONFIDENTIAL
PN-V601 Installation Guidelines <Rev1.4 > September.30, 2010
CONFIDENTIAL
About dimensions
18
Precautions for display dimensions
PN-V601’s outer dimension shown below.
Long-side outer dimension 1335.9 mm, short-side outer dimension 754.2 mm
long-side/short-side tolerance is +2.0 mm/-0.5 mm (table on the right)
Considering display allowance (+2.0 mm/-0.5 mm), please leave space beforehand for adjustment when installing.
Planned outer
dimension
(mm) Outer tolerance
(mm)
Long-side 1335.9 +2.0/-0.5
Short-side 754.2 +2.0/-0.5
<Weight>
PN-V601 approx. 44kg
PN-ZB02 approx.0.5kg

CONFIDENTIAL
PN-V601 Installation Guidelines <Rev1.4 > September.30, 2010
CONFIDENTIAL 19
About expansion
If the gap between displays spoils the appearance (e.g. back of
the display can been seen through), please hide it by affixing
black tape at the rear.
Note: Do NOT seal the “exhalation fan and intake-nozzle” by
black tape.
Recommended width of the tape is 16mm. If you use the tape
whose width is 19mm, please do not cover engine grille.
Please attach the tape before connecting cables.
It is necessary to check the tape periodically to make sure that
the tape isn’t detached from the display as time goes by.
Black tape etc.
Monitor
Hiding the gap between the bezels
Note: If the space between displays is small, the monitor can’t clearly display images. Because the weight is
loaded to LCD panel by heat expansion, it may cause a white spot. Spacing installation device
Precautions for space between displays
•Considering thermal expansion, please reserve enough space when installing.
Requirement for minimum space can be calculated as follows:
Space for long-side length = (Maximum surrounding temperature under operation - surrounding temperature when installed
+20)x 0.016 (mm) or more
Space for short-side length = (Maximum surrounding temperature under operation - surrounding temperature when installed + 20)
x 0.009 (mm) or more
For example, when installing at environmental temperature at 20 degrees, and its maximum peripheral temperature goes up to 40
degrees, space required for long-side length is 0.64 mm or more and short-side, 0.36 mm or more.
•Space installment device (For 1mm) is provided as option, thus please utilize this if necessary. When aligning displays together, please
install this spacer device between the displays and take this out after displays are set firmly.
Other manuals for PN-V601
5
Table of contents
Other Sharp Cash Register manuals

Sharp
Sharp UP-820N User manual

Sharp
Sharp ER-2722A User manual

Sharp
Sharp XE-A137 User manual

Sharp
Sharp XE-A206 Parts list manual

Sharp
Sharp XE-A506 Parts list manual

Sharp
Sharp XE-A120 User manual

Sharp
Sharp XEA21S - Thermal Fax Machine User manual

Sharp
Sharp XE-A107 Quick manual

Sharp
Sharp UP-800F Quick manual

Sharp
Sharp ER-A320 Owner's manual

Sharp
Sharp ER-A220 User manual

Sharp
Sharp UP-3301 User manual

Sharp
Sharp ER-A440S User manual

Sharp
Sharp ER-A520 Owner's manual

Sharp
Sharp UP-800F User manual

Sharp
Sharp ER-1873 User manual

Sharp
Sharp ER-A520 User manual

Sharp
Sharp XE-A120 Quick start guide

Sharp
Sharp ER-1910 User manual

Sharp
Sharp CS-4194H User manual