5/16/2018 Sharp operation manual
file:///W:/11_IM%20GROUP/Oversea%20Group/SHARP%20JAPAN/2018/JC180177_8KTV_html/HTML/html_E1/index.html?page=0-02.html 1/1
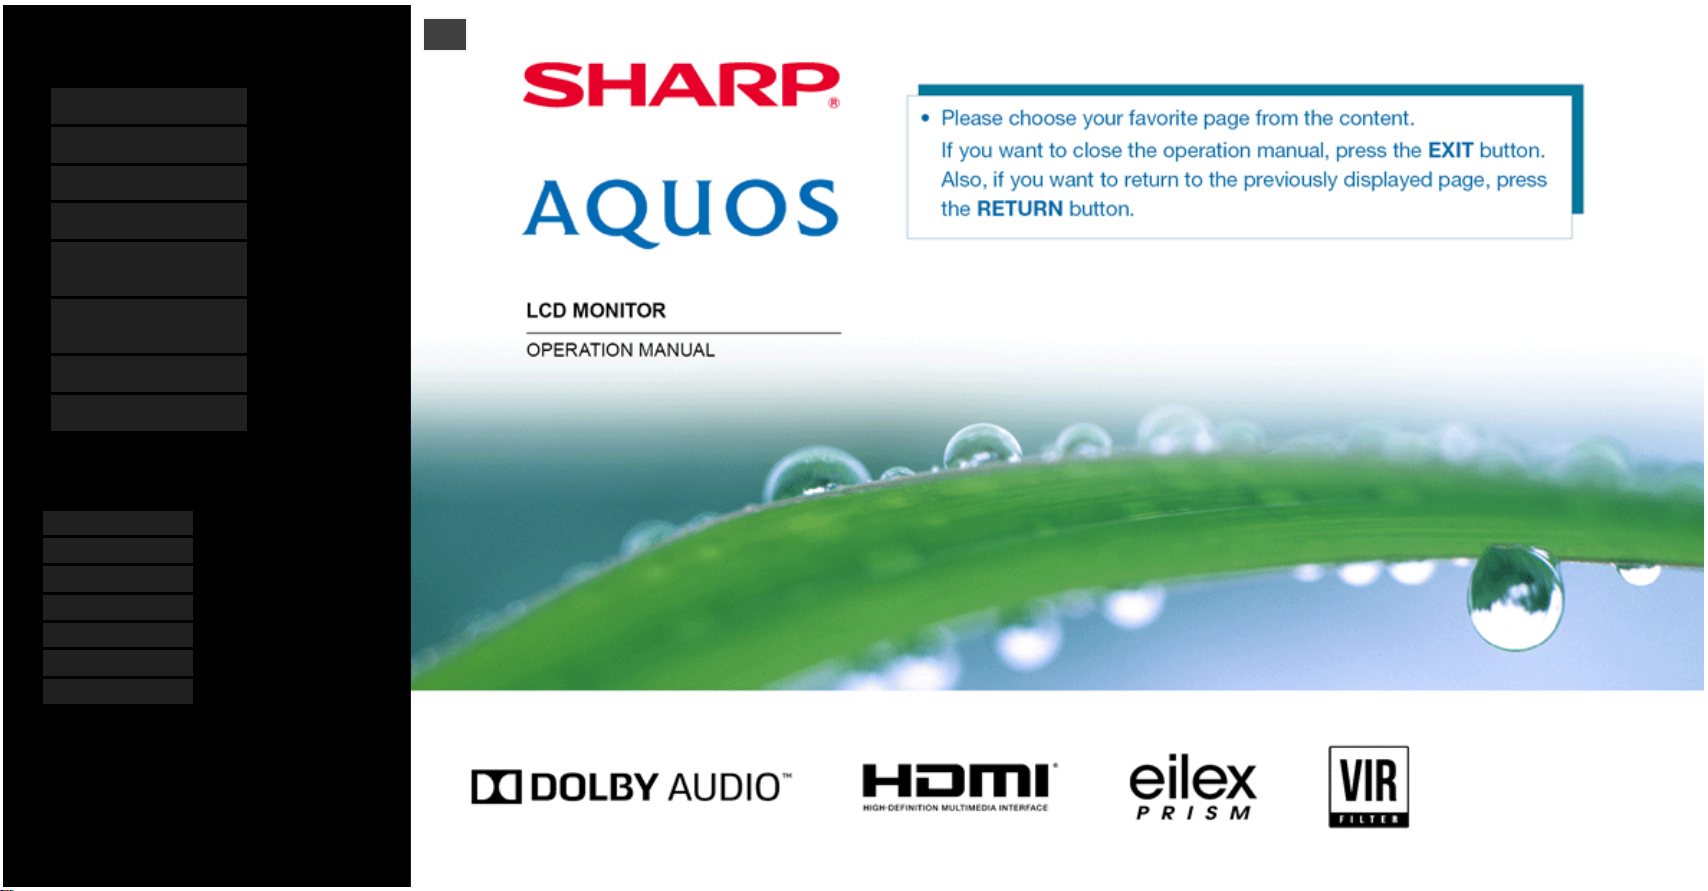
Contents
1. Part Names
2. Basic Operation
3. Menu Operation
4. USB Media
5. AQUOS LINK and Other
Devices
6. Operating the Monitor
Using a PC (IP control)
7. Troubleshooting
8. Specifications, etc.
You can select an OSD language from among 7
languages.
English >>
Deutsch >>
Français >>
Italiano >>
Español >>
Русский >>
Polski >>
Ver. 1.01
1. Part Names
1-1. Monitor
1-7. Name of Remote Control Buttons
2. Basic Operation
2-1. Initial Installation
2-3. Basic Operation
2-4. Using Timer
2-6. Listening with Headphones
3. Menu Operation
3-1. How to Use Menu
3-2. How to Use Setup Menu
3-3. List of Setup Menu Items
3-44. How to Use Application Menu
3-45. Entering Letters (Software Keyboard)
4. USB Media
4-1. Before Using USB Media
4-7. Enjoying Photo
4-22. Enjoying Music
4-25. Enjoying Video
5. AQUOS LINK and Other Devices
5-1. Connecting 8K output compatible Device
5-5. Connecting 4K output compatible Device
5-7. Viewing HDR Video (INPUT1, INPUT7)
5-9. Using the AQUOS LINK
5-15. Connecting Recorder, Player, etc.
5-25. Connecting Recorder, Player or Game Player
5-26. Connecting Audio Device
5-27. Connecting PC
6. Operating the Monitor Using a PC (IP control)
6-1. Connecting the Monitor and PC
6-3. Settings to operate the Monitor
6-4. Command list
7. Troubleshooting
7-1. If You Suspect a Problem
7-9. If Error Message Appears
7-11. What If
8. Specifications, etc.
8-1. specifications
8-2. PC Supported signal timing
8-3. AV Supported signal timing
8-4. PC/AV HDMI input terminal pin configuration
8-5. PC/AV D-sub input terminal pin configuration
8-6. Dimensional Drawing
8-7. Setting the Monitor on the Wall
8-8. Software License