6
70FW-57E
81FW-57E
9− 9−
9− 9−
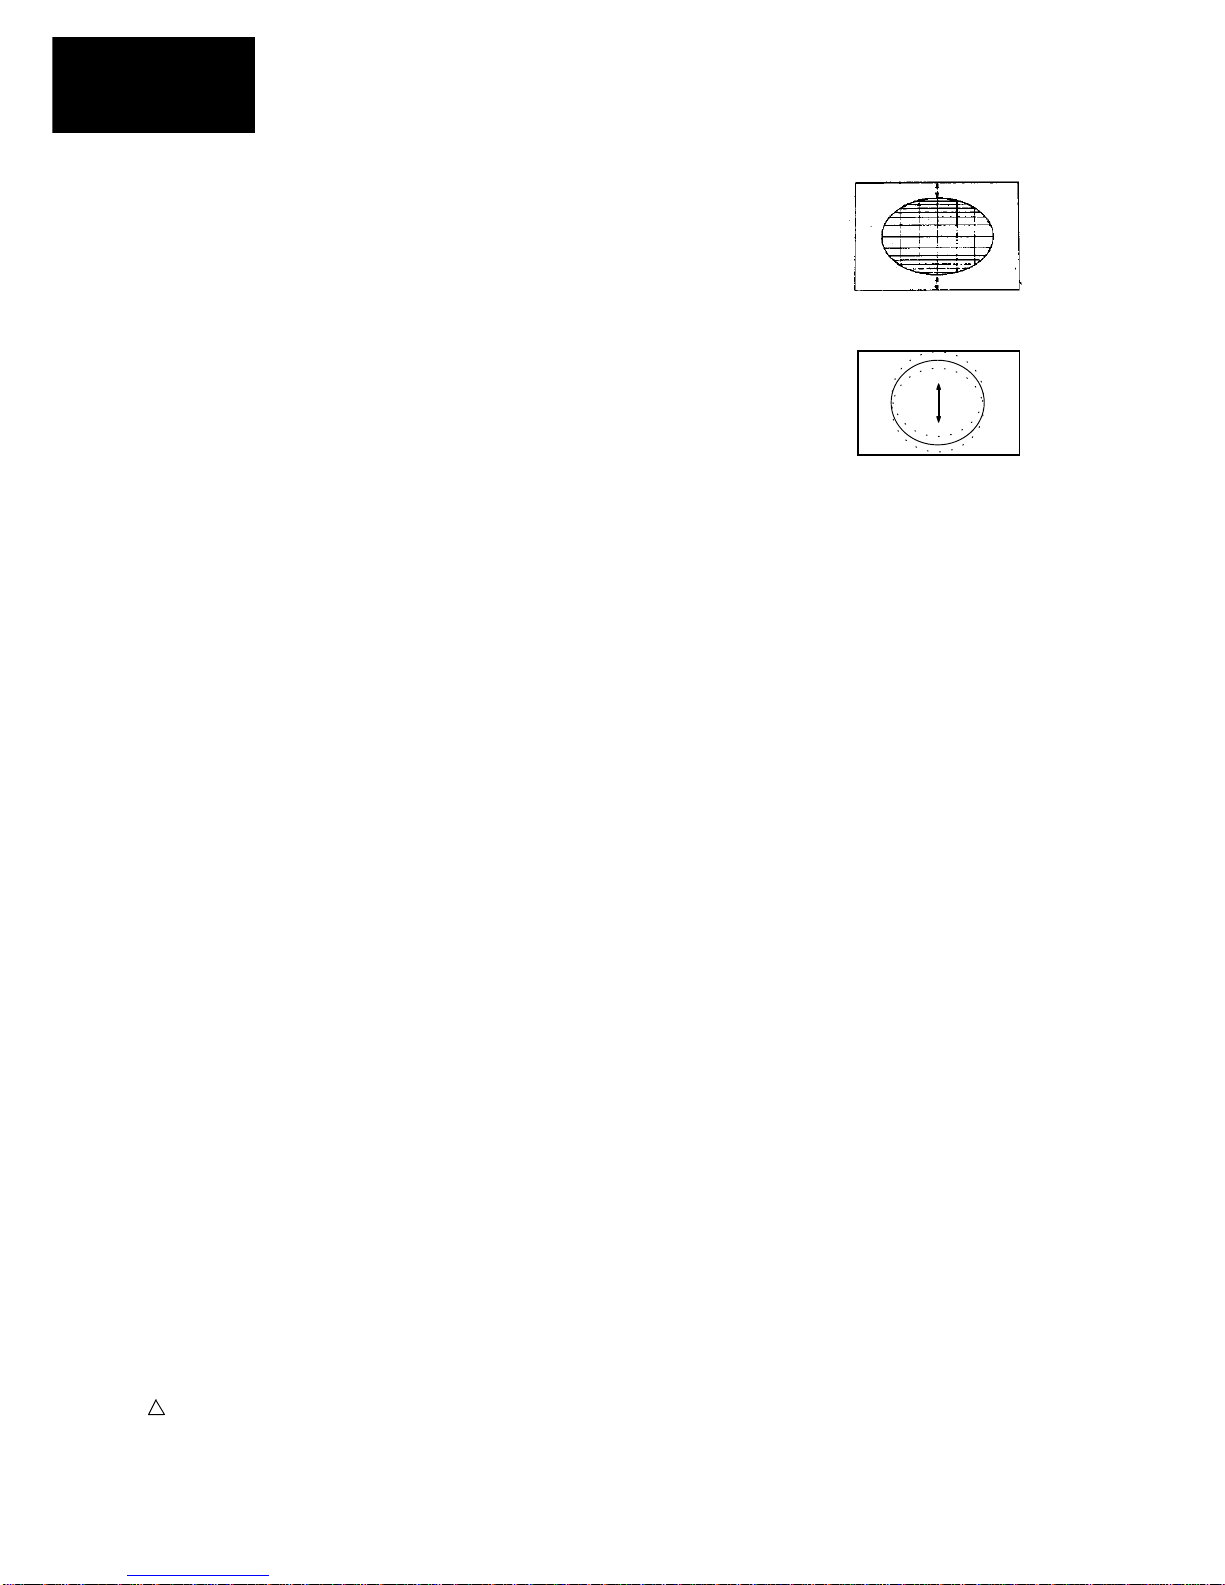
9− S-CORRECTION
a) Internal pattern signal will be displayed.
b) When volume-up button is pressed, upper and lower scanning decreases, and
center scanning increases.
c) When volume-down button is pressed, upper and lower scanning increases,
and center scanning decreases.
d) Adjust the -CORRECTION to obtain a balance between upper, lower and
center (fig. 10).
10− 10−
10− 10−
10− VERTICAL SHIFT
a) Internal pattern signal will be displayed.
b) When volume-up button is pressed, picture moves up.
c) When volume-down button is pressed, picture moves down.
d) Adjust the horizontal location to obtain picture centering (fig. 11).
COLOUR A JUSTMENT
The following adjustments are only required when Picture Tube,
IC801 or IC1801 are changed:
1. RE CUT OFF / GREEN CUT OFF / BLUE CUT OFF
2. RE GAIN / GREEN GAIN / BLUE BAIN
ACCESS TO NVM
a) Receive Philips pattern signal.
b) When tand-by button is pressed (Remote Control
Unit), start
VCO A JUSTMENT (PAL)
Up/Down volume buttons are used to adjust the
contrast of the following items:
-TELETEXT MIX MODE CONTRA T.
-TELETEXT CONTRA T.
-O D CONTRA T.
CONTRAST A JUSTMENT
VCO A JUSTMENT (NTSC)
Adjust not required.
AUTO INSTALLATION OFF/ON
When ON is selected, the TV will perform the
autoinstallation sequence as soon as service mode is
removed.
a) Connect Test Pattern signal to antenna terminal.
b) Press main switch to OFF.
c) Press volume-down and channel-up buttons and
main switch to ON simultaneously.
d)» ervice oftware Vxx.xx» appears o screen.
e)Press main switch to OFF.
PROTECTIONS CANCEL
AGC A JUSTMENT
a) Tune the TV into CH10 (pattern generator).
b) Adjust the signal strength to 57dB µV
c) Press the stand-by button on the Remote Control
(red button).
The TV will perform automatically the AGC.
AFT A JUSTMENT PAL BG - I, SECAM L
a) Tune the TV into CH69 (pattern generator).
b) Press the stand-by button on the Remote Control
(red button).
The TV will perform automatically the AFT.
1.1 Adjust G2.
1.2 Tune a white card.
1.3 Adjust colour to minimum.
1.4 Position colourimeter in the center of screen.
1.5 Adjust brightness and contrast to obtain a luminance of
≈20 NIT .
1.6 Operate in ervice Mode and select location RED CUT
OFF / GREEN CUT OFF / BLUE CUT OFF, to obtain colour
coordinates:
X=0.290 ± 0.015 Y=0.300 ± 0.015
To increase press volume-up button and to decrease press
volume down button.
RED CUT OFF alter «X» coordinate.
GREEN CUT OFF alter «Y» coordinate.
BLUE CUT OFF alter «X» and «Y» coordinate.
2.1 Using brightness and contrast buttons, select a
luminance of ≈120 NIT .
2.2 Operate in ervice Mode and select location RED GAIN
/ GREEN GAIN / BLUE GAIN, to obtain colour coordinates:
X=0.290 ± 0.015 Y=0.300 ± 0.015
To increase press volume-up button and to decrease press
volume down button.
RED CUT OFF alter «X» coordinate.
GREEN CUT OFF alter «Y» coordinate.
BLUE CUT OFF alter «X» and «Y» coordinate.
2.3 Exit ervice Mode and check colour coordinates «X»
and «Y» at 20 and 120 NIT . It may be necessary to repeat
procedure 1 and 2 of COLOUR ADJU TMENT.
Fig. 10
Fig. 11
Press CH ∧ to move in the following sequence:
ALTER NVM PAG⇒ALTER NVM PO ⇒ALTER VNM
VAL to alter presseting adjustments, press up/down-
volume buttons on ALTER NVM VAL.