- 2 -
STEP 3: PAIRING THE TRANSMITTER AND DRONE
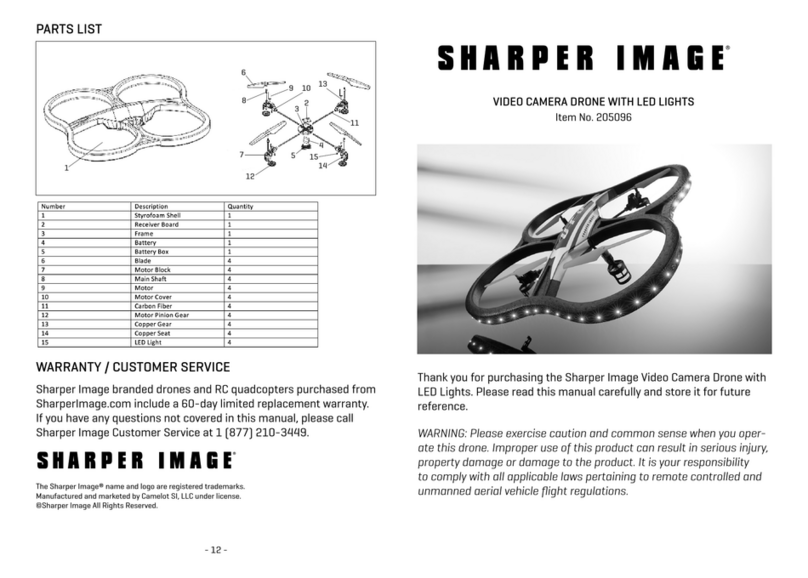
WARRANTY / CUSTOMER SERVICE
1. Make sure the transmitter and drone have full battery power.
2. Inspect the flying area to make sure you are away from crowds, trees, airports, etc.
3. Place the drone on a flat surface, tail end pointing toward you.
4. Power on the drone by connecting the battery wire to the power supply wire.
5. Turn on the transmitter.
6. Push the throttle stick quickly up once, then pull it back down again. You will know it is paired
as the drone will stop blinking and the lights will remain on steadily. You now ready to fly.
NOTE: This pairing procedure must be performed every time the drone is turned on.
NOTE: Your Lighted Drone has many advanced features, including one-button 360° flips. Please
read the full User’s Guide to get the most fun and enjoyment from your drone.
WARNING: Please exercise caution and common sense when you operate this drone. Improper use
of this product can result in serious injury, property damage or damage to the product. It is your
responsibility to comply with all applicable laws pertaining to remote controlled and unmanned
aerial vehicle flight regulations.
Sharper Image branded drones and RC quadcopters purchased
from SharperImage.com include a 90-day limited replacement
warranty. If you have any questions, please call Customer Service
at 1 (877) 210-3449.
The Sharper Image® name and logo are registered trademarks.
Manufactured and marketed by Camelot SI, LLC under license.
©Sharper Image All Rights Reserved.
