POWER
1
VGA OUT
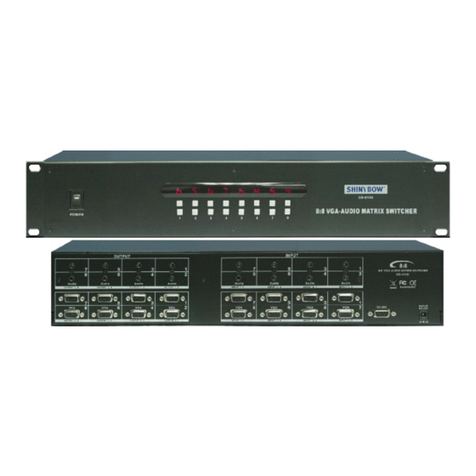
8:8 VGA SWITCHER
SW-8188
234
MONITORMONITOR
VGA-1
VGA-2
VGA-3
VGA-4
VGA-5
VGA-6
VGA-7
VGA-8
5678
ON OFF
00/04 00/05
01FE
02FD
03FC
04FB
05FA
06F9
07F8
08F7
31CE
35CA
32CD
36C9
33CC
37C8
34CB
38C7
PAGE 6 SB-8188CT INSTRUCTION & OPERATION MANUAL
Before making any connections to the . Observe the following:SB-8188CT
> Ensure the mains voltage supply matches the label on the supplied plug-
Pack (+/- 10%)
> Ensure that the power switch is OFF
> Ensure that all system grounds (earth) are connected to a common point.
> Avoid powering equipment within a system from multiple power sources
that may be separated by large distance
REMOTE CONTROL
REMOTE CONTROL
> Connect all audio video sources and destination equipment
> power up all source and destination audio-visual sources
> For each destination output select the appropriate input source by using
> Upon power up the switcher will return to its last used setting before
The front panel input 1~8 select buttons. The supplied IR remote control.
Or through the RS 232 serial communications port.
Powered down.
1 2
3
SWITCH POWER ON or OFF
1
Controller with a separate power ON and OFF
OUTPUT 1~8 : VGA SOURCES OUTPUT SETUP
2
4
4
INPUT 1~8 : VGA MONITOR INPUTS SELECTION
3
Input - : CAT5 connect to VGA+Audio Display / Monitor1
CONNECTING THE HARDWARE
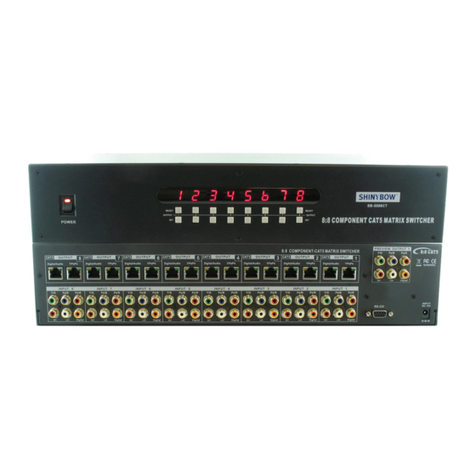
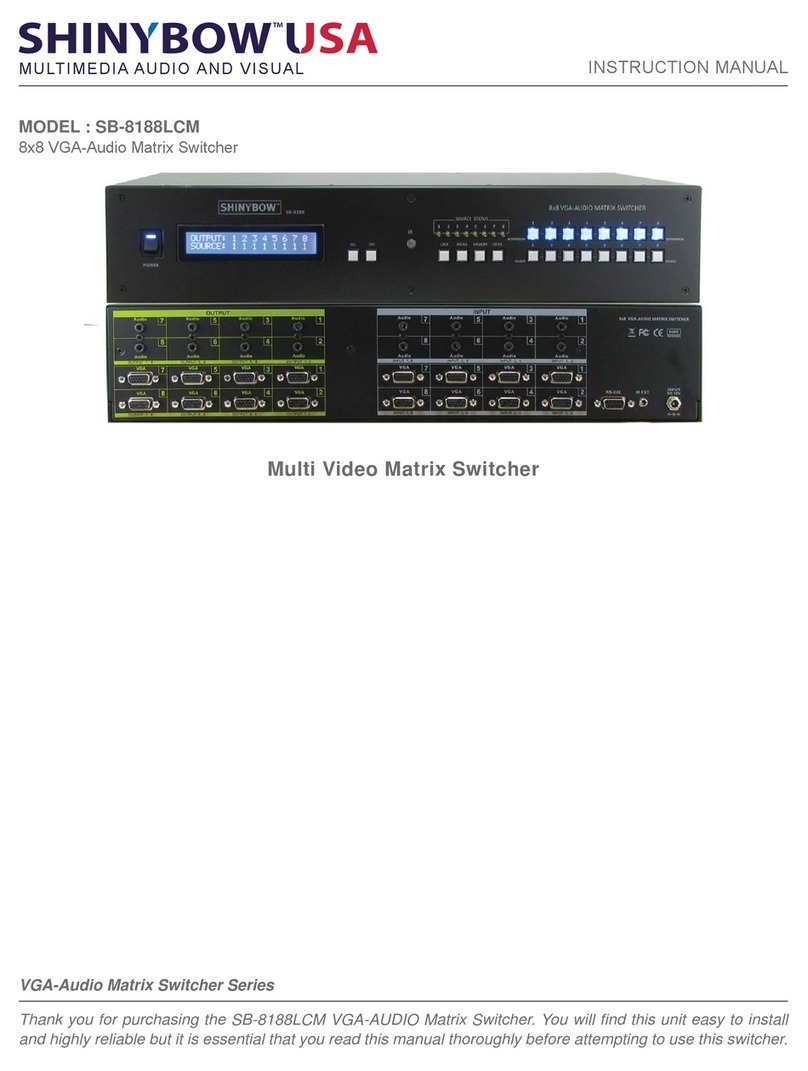
Please study the panel drawings below and become familiar with the signal input-output, Power requirements plus any controls
present.
Before using the switcher, please take the time to make certain that the device you wish to connect to its inputs is functioning
properly in all respects. Verify that the video and audio signals are present and are being displayed properly on a suitable device.
If all is well connect the appropriate cables between the output of the device you wish to distribute to output(s) of the switcher to
the carious devices you wish to feed a signal to. Lastly, connect the AC to DC adaptor, connect the DC connector to the switcher
first and then plug the adaptor into a functional AC outlet.
Input - : CAT5 connect to VGA+Audio Display / Monitor2
Input - : CAT5 connect to VGA+Audio Display / Monitor3
Input - : CAT5 connect to VGA+Audio Display / Monitor4
Input - : CAT5 connect to VGA+Audio Display / Monitor5
Input - : CAT5 connect to VGA+Audio Display / Monitor6
Input - : CAT5 connect to VGA+Audio Display / Monitor7
Input - : CAT5 connect to VGA+Audio Display / Monitor8
Output -1 : VGA+Audio Signal from source deviceVGA-1
Output -2 : VGA+Audio Signal from source deviceVGA-2
Output -3 : VGA+Audio Signal from source deviceVGA-3
Output -4 : VGA+Audio Signal from source deviceVGA-4
Output -5 : VGA+Audio Signal from source deviceVGA-5
Output -6 : VGA+Audio Signal from source deviceVGA-6
Output -7 : VGA+Audio Signal from source deviceVGA-7
Output -8 : VGA+Audio Signal from source deviceVGA-8
HOW TO SETUP IR CODES :
POWER ON : 00FF 04FB
POWER OFF : 00FF 05FA
INPUT#1 / OUTPUT#1 : 01FE 31CE
INPUT#1 / OUTPUT#2 : 01FE 32CD
INPUT#1 / OUTPUT#3 : 01FE 33CC
INPUT#1 / OUTPUT#4 : 01FE 34CB
INPUT#1 / OUTPUT#5 : 01FE 35CA
INPUT#1 / OUTPUT#6 : 01FE 36C9
INPUT#1 / OUTPUT#7 : 01FE 37C8
INPUT#1 / OUTPUT#8 : 01FE 38C7
INPUT#2 / OUTPUT#1 : 02FD 31CE
INPUT#2 / OUTPUT#2 : 02FD 32CD
INPUT#2 / OUTPUT#3 : 02FD 33CC
INPUT#2 / OUTPUT#4 : 02FD 34CB
INPUT#2 / OUTPUT#5 : 02FD 35CA
INPUT#2 / OUTPUT#6 : 02FD 36C9
INPUT#2 / OUTPUT#7 : 02FD 37C8
INPUT#2 / OUTPUT#8 : 02FD 38C7
INPUT#4 / OUTPUT#1 : 04FB 31CE
INPUT#4 / OUTPUT#2 : 04FB 32CD
INPUT#4 / OUTPUT#3 : 04FB 33CC
INPUT#4 / OUTPUT#4 : 04FB 34CB
INPUT#4 / OUTPUT#5 : 04FB 35CA
INPUT#4 / OUTPUT#6 : 04FB 36C9
INPUT#4 / OUTPUT#7 : 04FB 37C8
INPUT#4 / OUTPUT#8 : 04FB 38C7
INPUT#3 / OUTPUT#1 : 03FC 31CE
INPUT#3 / OUTPUT#2 : 03FC 32CD
INPUT#3 / OUTPUT#3 : 03FC 33CC
INPUT#3 / OUTPUT#4 : 03FC 34CB
INPUT#3 / OUTPUT#5 : 03FC 35CA
INPUT#3 / OUTPUT#6 : 03FC 36C9
INPUT#3 / OUTPUT#7 : 03FC 37C8
INPUT#3 / OUTPUT#8 : 03FC 38C7
Monitor IN / VGA Sources OUT
