Midwest Industries, Inc. Ida Grove, IA 51445 800.859.3028 www.shorestation.com 0003539
Page 1
HA0050
Bunk Loadguide for the SSV45120
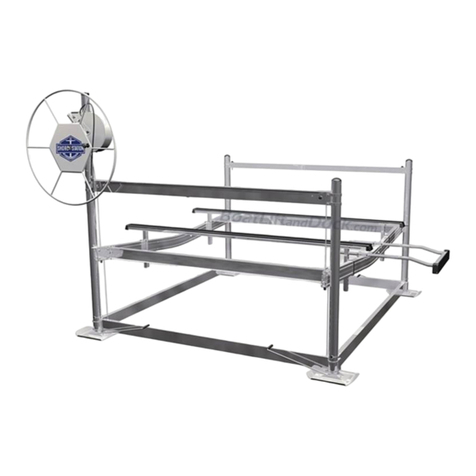
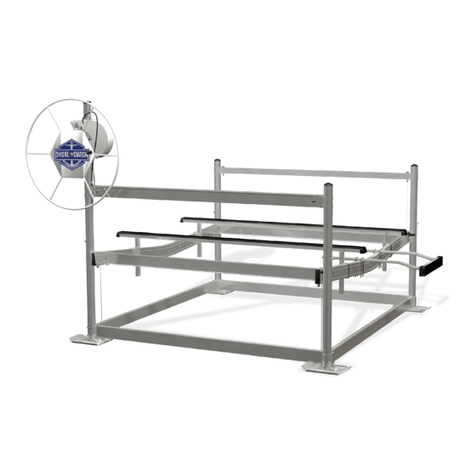
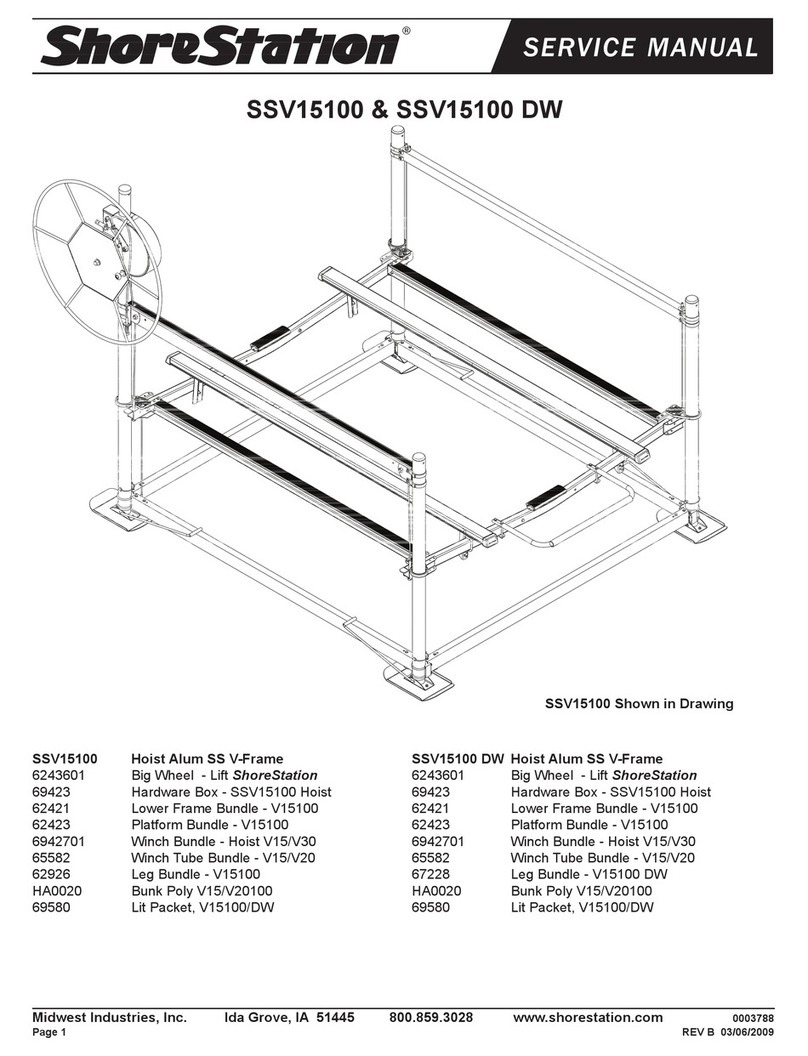
The HA0050 bunk style load guide is designed to fit the SSV45120
Hoist. The bunks are pre-drilled so that it can be mounted on the
hoist platform by assembling in the holes provided.
Assembly Instructions
Break the bundles and sort all items by size.
Locate the four load guide mounting brackets shown in Detail
A (Item No. 2). Slide the mounting channel down over the hoist
platform as shown. Secure with 2- 3/8” x 2-3/4” carriage bolts and
flange lock nuts. Do not tighten until final adjustments are made.
Repeat on the remaining brackets.
Locate the four load guide adjustment channels shown in Detail A.
Place the channel portion of a load guide adjustment bracket over
the upright tube of a load guide mounting bracket as shown in De-
tail A. Secure the two together with 3/8” x 2-1/2” carriage bolts and
flange lock nuts. Do not tighten until final adjustments are made.
Repeat on the remaining brackets.
Position a load guide bunk assembly on top of the load guide ad-
justment brackets just assembled on one side of the hoist. Note
that the bunks are pre-drilled. Align the holes in the bunks with the
holes in the load guide mounting brackets and secure by placing
3/8” x 2-1/2” carriage bolts down through the bunk assembly and
then through the holes provided in the load guide adjustment brack-
ets. Secure using a 3/8” flat washer, lock washer and 3/8” hex nut.
Repeat on other bolts. Repeat the above process on the remaining
bunk assembly.
Adjustment
The HA0050 Bunk Load Guide Assembly is fully adjustable both for
width and height. Once installed slide the load guides as far apart
as possible. Carefully place your boat on the hoist in its normal
position.
The height of the load guide is directly proportional to how far
you lower the platform in the water when unloading and loading
your boat. A recommended practice is to lower your platform only
enough to allow your boat to be removed from the hoist. Doing so
will allow your boat to be centered with the bunks on the hoist plat-
form as well and the load guides just installed. It will also keep your
load guides as low as possible.
Determine the height of the load guide that will best fit your boat.
They should be positioned if possible so that they are not at the
same height as any decals that may be on your boat. The height
can be changed by changing the hole combination used when
mounting the load guide adjustment brackets to the load guide
mounting brackets.
Once the height is established slide the load guides in until they
are approximately 1” away from the boat on each side. Note that on
certain style boats it may be beneficial to have the spacing between
the front of the load guide bunks closer together than what they are
at the rear. This will also help in centering your boat. Tighten in this
position.
Once tightened, hand load your boat to make sure that they are
positioned correctly and will not cause potential damage to the de-
cals or the boat. Once the proper height and width are established,
make sure all fasteners are tightened.
Assembly is complete.
