1
General Description
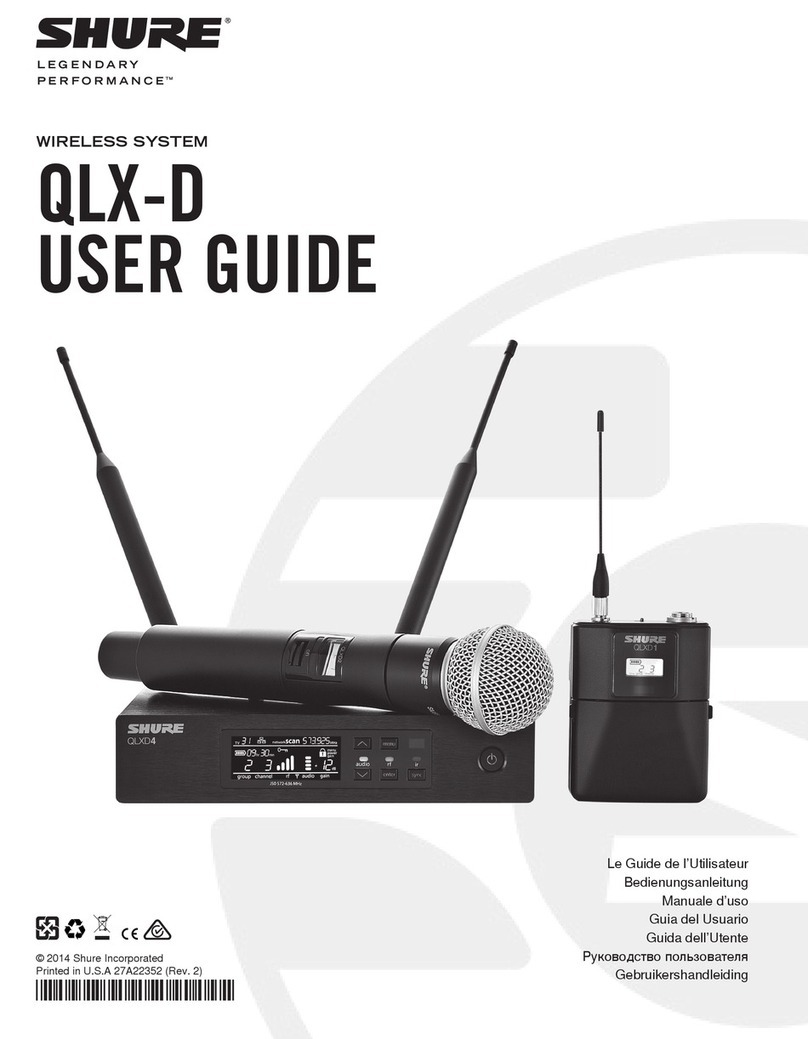
Shure ULX-D Digital Wireless offers uncompromising audio quality and RF performance, with intelligent, encryption-enabled hardware and advanced re-
chargeability options for professional sound reinforcement.
A breakthrough in wireless audio quality, Shure digital processing enables ULX-D to deliver the purest reproduction of source material ever available in a
wireless system. Extended 20 Hz – 20 KHz frequency range and totally flat response captures every detail with clarity, presence, and incredibly accurate low-
end and transient response. At greater than 120 dB, ULX-D delivers wide dynamic range for excellent signal-to-noise performance. For added convenience,
proprietary Shure Gain Ranging optimizes the system’s dynamic range for any input source, eliminating the need for transmitter gain adjustments.
In RF performance, ULX-D sets the bar for wireless channel efficiency and signal stability. Minimized intermodulation allows more transmitters to operate si-
multaneously over one TV channel than any other system. Rock-solid RF signal with no audio artifacts extends over the entire 100 meter line-of-sight range,
even using standard dipole antennas. For applications where secure transmission is required, ULX-D offers Advanced Encryption Standard (AES) 256-bit
encrypted signal for unbreachable privacy.
Advanced Lithium-ion rechargeability provides extended transmitter battery life over alkaline batteries, battery life metering in hours and minutes accurate to
within 15 minutes, and detailed tracking of battery health status.
Generations ahead of any other available system in its class, ULX-D brings a new level of performance to professional sound reinforcement.
Features
Uncompromising Professional Digital Wireless
• 24-bit/48 KHz digital audio that exceeds all other systems in accurate
reproduction of the source material
• 20 Hz – 20 KHz frequency range with flat response
• Greater than 120 dB dynamic range for excellent signal-to-noise
performance
• Encryption-enabled for any application where secure transmission is
needed:
•Advanced Encryption Standard (AES-256) conforming to the US
Government National Institute of Standards and Technology (NIST)
publication FIPS-197
•Enabled via front panel menu and IR sync
•Added benefit of eliminating stray RF interference by allowing only
encrypted signal through to the receiver
• Wide selection of trusted Shure Microphones
Extremely Efficient and Reliable RF Performance
• Up to 64 MHz overall tuning range (region dependent)
• Minimized intermodulation distortion results in significantly more
channels on air, setting the bar for wireless performance in crowded RF
environments
•14 active transmitters in one 6 MHz TV channel
•17 active transmitters in one 8 MHz TV channel
•Over 60 compatible channels on one frequency band
• Rock-solid signal stability with no audio artifacts extends over the entire
100 meter line-of-sight range using standard supplied dipole antennas
Rugged, Intelligent Hardware
• Optimized scanning automatically finds and deploys the cleanest
frequencies available
• Proprietary Shure Gain Ranging optimizes the system’s dynamic range for
any input source, eliminating the need for transmitter gain adjustments
• Up to 60 dB of adjustable system gain is easily accessible from the
receiver front panel
• Networkable receiver simplifies setup across multiple channels
• AMX/Crestron control-compatible
• Rugged metal housing on both transmitters and receiver
• Interference detection and alerts provide instant confirmation when
interference is present
• Upgraded LCD screens with adjustable contrast and brightness on both
transmitters and receivers
Advanced Rechargeability - SB900 Shure
Rechargeable Battery
• Lithium-Ion chemistry and intelligent Shure battery circuitry results
in rechargeable batteries with no memory effect. The battery can be
recharged at any time; a complete discharge is never necessary
• Provides ULX-D transmitters with greater than 12 hours of continuous use
• Transmitters and receivers display remaining battery life in hours and
minutes accurate to within 15 minutes
• The SBC200 Dual Docking Charger recharges batteries while in
transmitters or out
• Up to four SBC200s can be linked together to provide docked charging of
eight transmitters from one power supply
• The SBC800 Eight-Bay Charger brings up to eight SB900 batteries to full
charge within three hours and 50% charge in one hour, with charge status
LEDs for each battery
• AA alkaline backwards compatibility
• Both chargers fit in a standard-size rack drawer for easy transport and
storage
