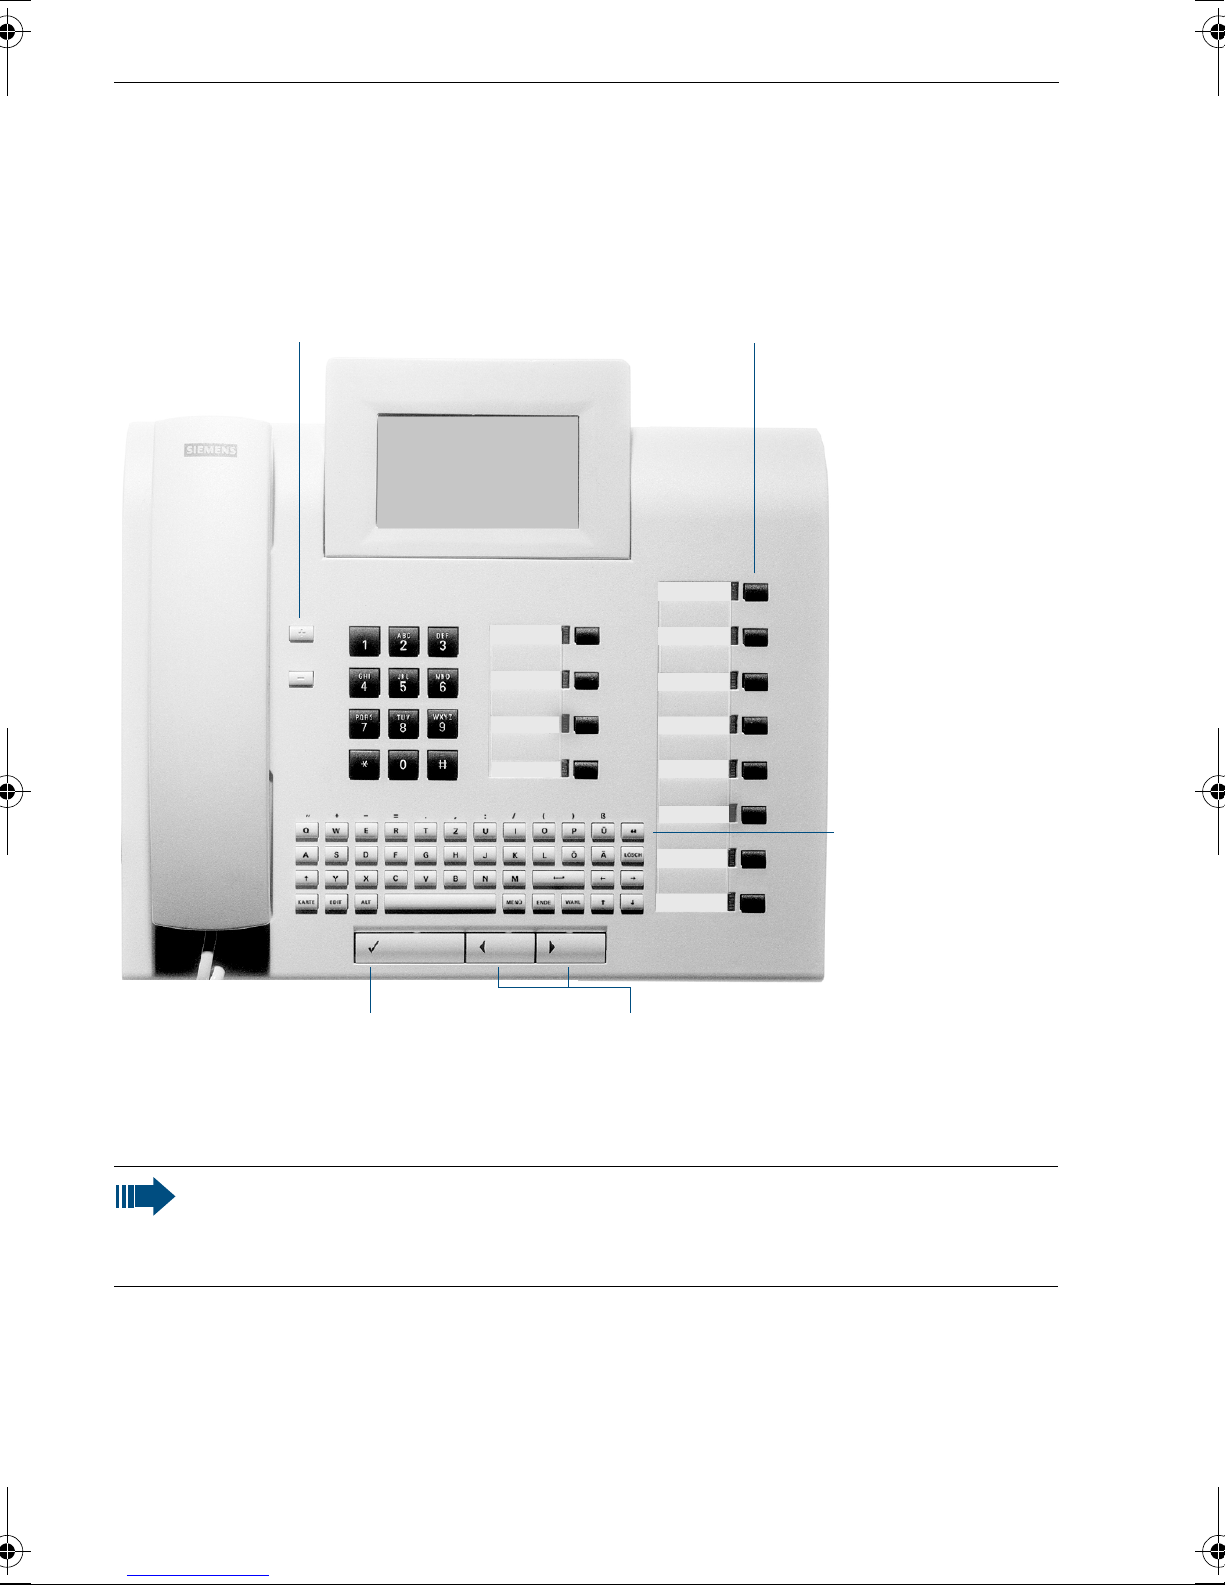
Siemens hicom 150 H optiset E standard User manual
Other Siemens Telephone manuals

Siemens
Siemens HiPath 4000 User manual

Siemens
Siemens HiPath 3000 V3.0 or later Gigaset M1... User manual

Siemens
Siemens euroset 2005 User manual

Siemens
Siemens OpenStage 60 G User manual

Siemens
Siemens Gigaset S450 User manual

Siemens
Siemens optiPoint 410 S Use and care manual

Siemens
Siemens OpenStage 15 User manual

Siemens
Siemens OpenStage 60/60 G User manual

Siemens
Siemens HiPath 8000 Use and care manual

Siemens
Siemens OpenStage 60 T User manual

Siemens
Siemens Hicom 150 E Office User manual

Siemens
Siemens EUROSET 805S User manual

Siemens
Siemens OpenStage 15 T User manual

Siemens
Siemens OPTIPOINT 500 User manual

Siemens
Siemens Gigaset C590 User manual

Siemens
Siemens OpenStage 10 T User manual

Siemens
Siemens HIPATH 2000 User manual

Siemens
Siemens HiPath 3000 V3.0 or later Gigaset M1... User manual

Siemens
Siemens GIGASET AL145 TRIO User manual

Siemens
Siemens Gigaset SX303isdn User manual