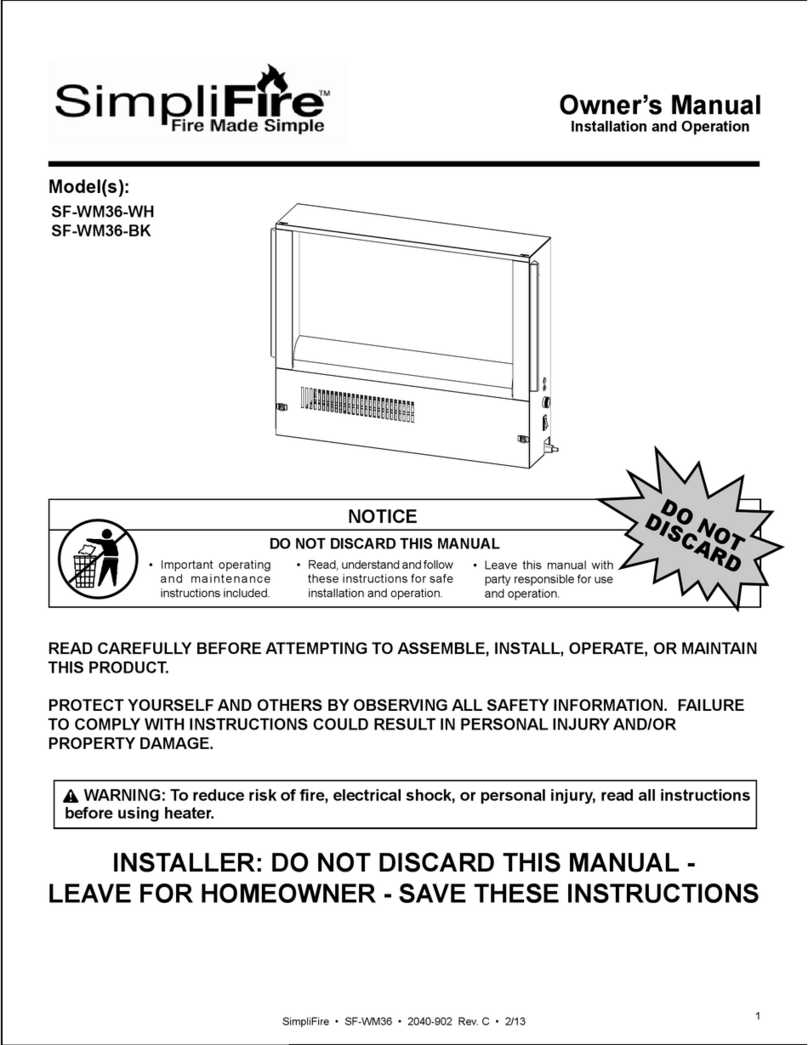
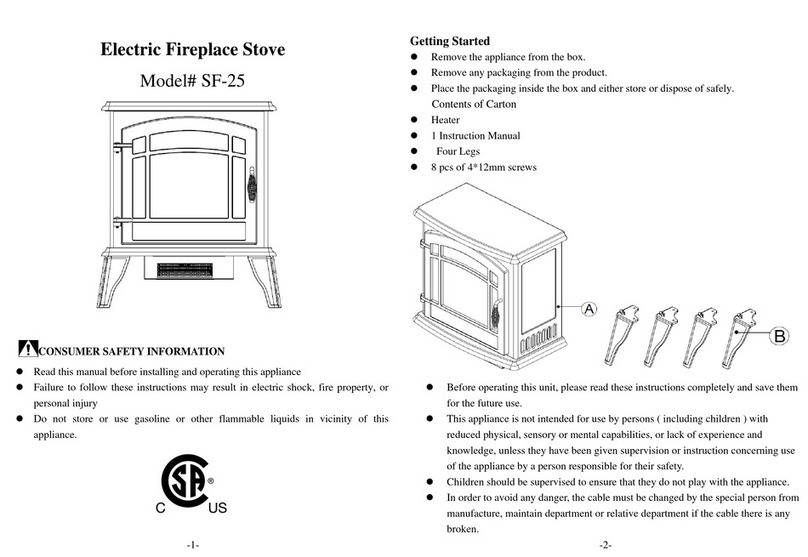
manuals.online logo
Brands
  1. Home
  2. •
  3. Brands
  4. •
  5. SimpliFire
  6. •
  7. Indoor Fireplace
  8. •
  9. SimpliFire GI-32-GZ User manual

SimpliFire GI-32-GZ User manual

1
SimpliFire • GI-32-GZ Service Manual • 2048-960 Rev. B • 10/22
SERVICE MANUAL
Model: GI-32-GZ
- Instructions -
This manual will assist a qualied service technician in the
replacement of parts. Contact your dealer to arrange a
service call by a qualied service technician.
CAUTION! Risk of Cuts, Abrasions or Flying Debris.
Wear protective gloves and safety glasses during
installation and service. Sheet metal edges are sharp.
WARNING: If the information in these
instructions is not followed exactly
it may result in personal injury and/or
property damage.
Tools and Supplies Needed
Before beginning the installation be sure that the following
tools and building supplies are available.
Safety Glasses
Gloves
#2 Phillips Screwdriver
Needle-nose Pliers
Wire Cutters
1. Remove the appliance front by pulling the bottom of
the front away from the appliance, then lifting up and
away from appliance.
2. Remove screws attaching appliance to framing. See
Figure 1. Slide appliance out of opening and remove
surround, by lifting it up and o󰀨.
NOTICE! DO NOT discard any hardware while
servicing. It must be reused. WARNING! Risk of Shock!
Always disconnect power before
disassembly or servicing.
Replacement parts include:
Description Part Number(s)
Glass GLASS-GI32
Control Board PCB-GI32
Heater Assembly HEATER-GI32
Preparation for Component Installation
Disconnect electrical service to the appliance. For re-
cessed electrical installations that are hardwired, nd and
shut-o󰀨 service at the breaker. For installations that use
a corded plug, disconnect the cord from the receptacle.
Removing Appliance from Wall
Figure 1 Framing Screw Removal
SimpliFire • GI-32-GZ Service Manual • 2048-960 Rev. B • 10/222
Glass Replacement (GLASS-GI32)
1. Lay appliance onto its back.
2. Remove screws securing glass retainer bracket to
appliance, on the bottom side of the appliance. See
Figure 2. Remove glass by sliding it down and out of
top channel.
3. Install glass by sliding it into top channel and center-
ing it into glass opening.
4. Secure glass with retaining bracket and screws.
Stand up appliance.
5. Slide surround back onto appliance, and push appli-
ance back into place.
6. Secure appliance to wall with screws.
7. Attach front by hooking the top onto the two tabs and
pushing the bottom in to engage the spring clips.
Figure 2 Glass Retainer Bracket
CAUTION! Use caution when handling glass. Failure
to do so could resul in personal injury or property damage.
7. Carefully plug wires back in, making sure to get them
in the same location as original control board.
8. Reinstall the appliance top panel.
9. Slide surround back onto appliance, and push appli-
ance back into place.
10. Secure appliance to wall with screws, where appli-
cable.
11. Attach front by hooking the top onto the two tabs
and pushing the bottom in to engage the spring clips.
Figure 3 Appliance Top Removal
Control Board Replacement (PCB-GI32)
1. Remove screws from appliance outer top and re-
move the appliance top panel. See Figure 3.
2. Label or take a picture of wires running to control
board to ensure they are properly installed on the
new control board. See Figure 5 for wire connector
locations.
3. Carefully remove 3 wire connectors indicated in
Figure 4. Remove the red wire with spade connector
from the rocker switch that connects to the PCB. Use
a wire cutter to remove the wire tie. See Figure 4.
4. Remove screws that are securing control board to
appliance. See Figure 5.
5. With a needle nose pliers, pinch the barbed pins
together to be able to lift the control board away from
the appliance. See Figure 5.
6. Install new control board by aligning onto the barbed
pins and pushing it into place. Replace screws.
Figure 4 Control Board Wire Removal
Figure 5 Control Board Removal
BARBED PINSBARBED PINS
REMOVE2SCREWSREMOVE2SCREWS
REMOVE 6REMOVE 6
CONNECTORSCONNECTORS
UNUSEDUNUSED
REMOVESPADETERMINALS
FROM ROCKER SWITCH
DISCONNECTWIRECONNECTORS(3)
3
SimpliFire • GI-32-GZ Service Manual • 2048-960 Rev. B • 10/22
Heater Assembly Replacement (HEATER-GI32)
1. Remove screws from appliance outer top and remove
the appliance top panel. See Figure 3.
2. Remove screws securing heater shroud to appliance.
See Figure 6.
3. Remove screws securing the heater to the back of
the appliance. See Figure 7.
4. Disconnect the 4-wire connector and the single blue
wire connector. See Figure 8.
5. Once disconnected, remove the heater assembly
from the appliance.
6. Remove the mounting bracket from the heater asse-
mbly by removing 4 screws as shown in Figure 9.
Attach the mounting bracket to the replacement
heater assembly.
7. Align the heater shroud and the replacement heater
assembly in place on the appliance. Secure the
heater mounting bracket with the four screws re-
moved from the back of the appliance. See Figure 7.
8. Reattach the heater shroud using the screws re-
moved shown in Figure 6.
9. Attach the 4-wire connector and blue single wire
connector from the new heater assembly to the Con-
trol Board.
10. Secure top to appliance with screws.
11. Slide surround back onto appliance, and push appli-
ance back into place.
12. Secure appliance to wall with screws when appli-
cable.
13. Attach front by hooking the top onto the two tabs and
pushing the bottom in to engage the spring clips.
Figure 6 Heater Shroud Removal
Figure 7 Heater Removal
Figure 8 Heater Wire Assembly
Figure 9 Remove Heater Mounting Bracket
REMOVE 4 SCREWS FROM MOUNTINGREMOVE 4 SCREWS FROM MOUNTING
BRACKET AND INSTALL ONTOBRACKET AND INSTALL ONTO
REPLACEMENT HEATER ASSEMBLYREPLACEMENT HEATER ASSEMBLY
SimpliFire • GI-32-GZ Service Manual • 2048-960 Rev. B • 10/224
SimpliFire Troubleshooting Guide
Symptom Possible Cause Corrective Action
Circuit breaker trips or fuse
blows when appliance is
turned on
Exceeding current rating of the
circuit breaker or fuse, perhaps from
operating other appliances on the
same circuit as the replace
Install appliance onto a dedicated 15 amp circuit.
Lights in room dim while the
appliance is on
Appliance is drawing close to circuit
current rating Install appliance onto a dedicated 15 amp circuit.
Fireplace will not come on
when using the manual
controls on the appliance
Appliance is not plugged into an
electrical outlet Ensure plug is connected to a working outlet.
No incoming power from the electrical
outlet or electrical box Check fuse/breaker panel.
Defect in control board (PCB) Replace the control board (PCB).
Remote control does not work
Low/dead batteries Replace batteries in the remote.
Remote receiver is blocked, or remote
is not pointed directly at the receiver.
Ensure receiver is not blocked. Move closer to the
appliance.
Appliance power switch is in the o󰀨
"O" position (if equipped) Turn the power switch on, to the "I" position (if equipped).
Control board (PCB) malfunction? Replace control board (PCB).
Heater will not turn on, but
ame is functioning
Thermostat knob on the appliance
is adjusted to a set point lower than
room temperture (temperature at the
appliance thermistor).
Increase the Thermostat knob on the appliance to a set
point higher than room temperature (temperature at the
appliance thermistor). See “Room Temperature and
Thermosateat Function” section of the appliance manual.
Appliance has overheated and safety
thermal switch has tripped
Unplug or turn o󰀨 power at circuit breaker and allow it to
cool for 15 minutes. Then plug in the appliance or turn
power back on at circuit breaker and turn appliance back
on.
Defective main control board Replace control board (PCB).
Defective heater assembly Replace heater assembly.
Heater shuts o󰀨 automatically
or won’t stay on
Room temperature (temperature at
the appliance thermistor) is higher
than the set point.
Increase thermostat set point. See "Room Temperature
and Thermostat Function" section of the appliance manual.
Appliance has overheated and safety
thermal switch has tripped
Unplug or turn o󰀨 power at circuit breaker and allow it to
cool for 15 minutes. Then plug in the appliance or turn
power back on at circuit breaker and turn appliance back
on.
Heater emits an odor Normal operation
It is normal for the heater to emit an odor for a brief
amount of time after turning on. It is burning o󰀨 dust that
has accumulated on the heater.
Flame does not move at all Flame rotisserie motor is stalled or
malfunctioning
Cycle appliance on or o󰀨. If problem persists inspect
rotisserie and motor for blockage or interference. If no
interference, replace the control board (PCB).
Portion of the ame not moving
or deformed ame e󰀨ect
Flame LEDs out of place or dislodged
from the LED mounting bracket Contact Dealer
Flame shudder
Flame rotisserie contacting other
internal components when spinning
Ensure rod is straight and mounted properly and is
spinning freely without spindles hitting other components.
Defective ame rotisserie motor Contact Dealer.
Ember bed does not light up
Ember bed is turned o󰀨 Refer to operation section of the user manual.
Loose wiring Contact Dealer
Defective control board (PCB) Replace control board (PCB).
Defective LED lights Contact Dealer
5
SimpliFire • GI-32-GZ Service Manual • 2048-960 Rev. B • 10/22
SimpliFire, a brand of Hearth & Home Technologies
7571 215th Street West, Lakeville, MN 55044
www.hearthnhome.com
SimpliFire Troubleshooting Guide (continued)
Symptom Possible Cause Corrective Action
Fireplace turns on by itself
Defective control board (PCB) Replace control board (PCB.)
Similar infrared (IR) signal from
another remote causing appliance to
turn on
Some TV remotes may cause the replace to turn on
remove IR interference.
Excessive noise with heater on Interference with fan blade Inspect heater assembly and fan for obstructions or
interference.
Defective blower motor Replace heater assembly.
Grinding or rubbing noise
(when heater is o󰀨)
Rotisserie hitting or rubbing against
internal components Contact Dealer

Other SimpliFire Indoor Fireplace manuals
SimpliFire SF-INS25 User manual

SimpliFire

SimpliFire SF-INS25 User manual

SimpliFire SF-25 User manual

SimpliFire

SimpliFire SF-25 User manual

SimpliFire SF-INS25 User manual

SimpliFire

SimpliFire SF-INS25 User manual

SimpliFire SF-ALLP50-BK User manual

SimpliFire

SimpliFire SF-ALLP50-BK User manual

SimpliFire SF-WM38-BK User manual

SimpliFire

SimpliFire SF-WM38-BK User manual

SimpliFire SF-ALLP50-BK User manual

SimpliFire

SimpliFire SF-ALLP50-BK User manual

SimpliFire SF-WM36-WH User manual

SimpliFire

SimpliFire SF-WM36-WH User manual

SimpliFire Allusion Series User manual

SimpliFire

SimpliFire Allusion Series User manual

SimpliFire ASHLEYC23-ESP User manual

SimpliFire

SimpliFire ASHLEYC23-ESP User manual

SimpliFire SF-BI30-EB User manual

SimpliFire

SimpliFire SF-BI30-EB User manual

SimpliFire VENTURE26-MA User manual

SimpliFire

SimpliFire VENTURE26-MA User manual

SimpliFire GI-32-ZC User manual

SimpliFire

SimpliFire GI-32-ZC User manual

SimpliFire SF-BI30-E User manual

SimpliFire

SimpliFire SF-BI30-E User manual

SimpliFire SF-ALL48-BK User manual

SimpliFire

SimpliFire SF-ALL48-BK User manual

SimpliFire SF-BI30-E User manual

SimpliFire

SimpliFire SF-BI30-E User manual

SimpliFire SF-ALL40-BK User manual

SimpliFire

SimpliFire SF-ALL40-BK User manual

SimpliFire SF-WM58-WH User manual

SimpliFire

SimpliFire SF-WM58-WH User manual

SimpliFire MONARCH26-WA User manual

SimpliFire

SimpliFire MONARCH26-WA User manual

SimpliFire SF-BI30-E User manual

SimpliFire

SimpliFire SF-BI30-E User manual

SimpliFire SF-SC43-BK User manual

SimpliFire

SimpliFire SF-SC43-BK User manual
SimpliFire SF-BI30-E User manual

SimpliFire

SimpliFire SF-BI30-E User manual

SimpliFire SF-WMS38-BK User manual

SimpliFire

SimpliFire SF-WMS38-BK User manual

SimpliFire SF-INS30-BK User manual

SimpliFire

SimpliFire SF-INS30-BK User manual
SimpliFire SF-PP23-E User manual

SimpliFire

SimpliFire SF-PP23-E User manual
Popular Indoor Fireplace manuals by other brands

Williams 4222 Brochure & specs

Williams

Williams 4222 Brochure & specs

Lennox EBVSTNM-B Care and operation instructions

Lennox

Lennox EBVSTNM-B Care and operation instructions

Firenzo Lady Kitchener manual

Firenzo

Firenzo Lady Kitchener manual

LOHBERGER COOK ME Operating manual with installation instructions

LOHBERGER

LOHBERGER COOK ME Operating manual with installation instructions

HOMCOM 820-358V80 owner's manual

HOMCOM

HOMCOM 820-358V80 owner's manual

neverdark The LOG Brass Technical documentation

neverdark

neverdark The LOG Brass Technical documentation

Enviro C34I owner's manual

Enviro

Enviro C34I owner's manual

Enviro EX32 owner's manual

Enviro

Enviro EX32 owner's manual

Nordpeis Lisboa Installation and user manual

Nordpeis

Nordpeis Lisboa Installation and user manual

Astria Fireplaces Alpha32ZMP Assembly, installation and operation instructions

Astria Fireplaces

Astria Fireplaces Alpha32ZMP Assembly, installation and operation instructions

Flamerite Fires 400 Series Installation, Precautions & Servicing

Flamerite Fires

Flamerite Fires 400 Series Installation, Precautions & Servicing

Regency Fireplace Products Greenfire GF1500L Owners & installation manual

Regency Fireplace Products

Regency Fireplace Products Greenfire GF1500L Owners & installation manual

Dimplex DFB4047 owner's manual

Dimplex

Dimplex DFB4047 owner's manual

Vermont Castings Group ICFDV Series Installation and operating instructions

Vermont Castings Group

Vermont Castings Group ICFDV Series Installation and operating instructions

Sirocco 16" User, installation and service manual

Sirocco

Sirocco 16" User, installation and service manual

Valor L2 1700KN installation manual

Valor

Valor L2 1700KN installation manual

Hearth and Home Technologies Simplifyre SFE-35 Installation & operating manual

Hearth and Home Technologies

Hearth and Home Technologies Simplifyre SFE-35 Installation & operating manual

J. A. Roby volcan b12 vesuve user manual

J. A. Roby

J. A. Roby volcan b12 vesuve user manual

manuals.online logo
manuals.online logoBrands
  • About & Mission
  • Contact us
  • Privacy Policy
  • Terms and Conditions

Copyright 2025 Manuals.Online. All Rights Reserved.