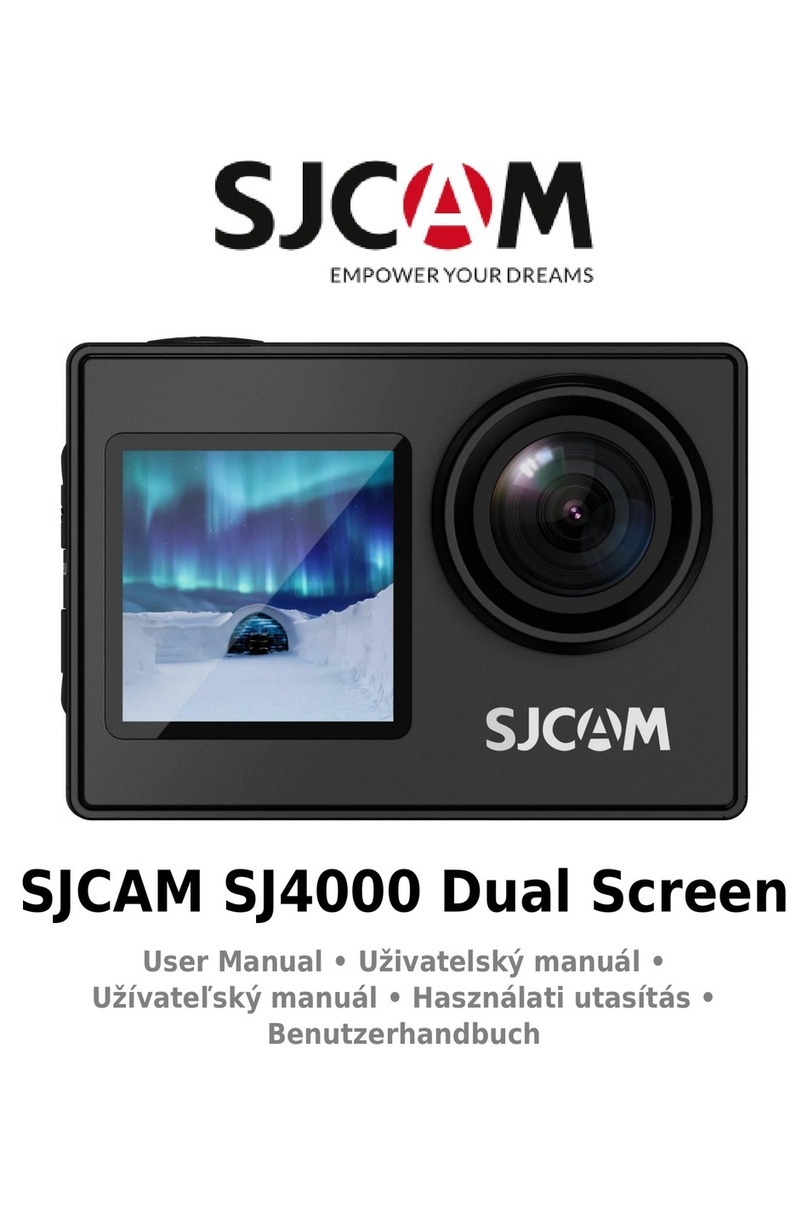
SJCAM SJ10 Pro User manual

SJCAM SJ10 PRO Dual
Screen
User Manual • Uživatelský manuál •
Užívateľský manuál • Használati utasítás •
Benutzerhandbuch

2
English
3 –19
Čeština
20 –36
Slovenčina
37 –53
Magyar
54 –70
Deutsch
71 –87

3
Dear customer,
Thank you for purchasing our product. Please read the following instructions carefully
before first use and keep this user manual for future reference. Pay particular attention to
the safety instructions. If you have any questions or comments about the device, please
contact the customer line.
✉www.alza.co.uk/kontakt
✆+44 (0)203 514 4411
Importer Alza.cz a.s., Jankovcova 1522/53, Holešovice, 170 00 Praha 7, www.alza.cz

4
Introduction
The SJCAM SJ10PRO Dual Screen Action Camera is expertly crafted to meet market
demands and trends. It boasts a rich array of features, including high-definition digital
video recording, audio capture, photography, and seamless Wi-Fi wireless remote control.
Equipped with a detachable battery, waterproof case, and a comprehensive set of
accessories, the SJ10PRO dual-screen camera is ideal for diverse outdoor activities such as
sports, motorcycle rides, and recording while driving.

5
Safety Guidelines
1. Avoid placing the product near objects with strong magnetic fields, such as magnets or
motors. Additionally, refrain from positioning the product close to sources that emit
strong radio waves to prevent potential product malfunctions or damage to
image/audio quality caused by magnetic fields and radio waves.
2. Ensure you use micro SD cards from reputable brands. We recommend using SD cards
that meet the U3 standard or higher, with supported capacities of 32 GB, 64 GB, and
128 GB.
3. Regarding waterproof capabilities, the product supports a depth of 5 meters without a
case and up to 30 meters with a waterproof case.
4. To safeguard the data stored on the micro SD card, avoid exposing it to strong
magnetic fields.
5. In the event that the product becomes excessively hot, emits smoke, or produces
unusual odors while charging, promptly disconnect the charging device to prevent
potential fire hazards.
6. While charging, keep the product out of reach of children to mitigate the risk of
accidents.
7. Store the product in a cool, dry, and dust-free environment. Clean the lens using a soft
cloth. Properly recycle the product or its battery at authorized recycling facilities and
refrain from discarding it as waste.
8. This product boasts high precision; therefore, avoid dropping or subjecting it to
impacts. Additionally, prevent exposure to high temperatures and direct sunlight.
Avoid dismantling the camera, as this action can lead to harm to internal parts
and will result in the automatic nullification of your warranty. If you require
technical assistance, please initiate the process by generating a support ticket
at support.sjcam.com.
6
Diagram
Functionality Instructions:
Power Button/OK Button: Press and hold for 3 seconds to power the camera on/off.
A short press is used for taking photos, recording videos, or confirming actions.
Front Screen: The camera features a 1,3-inch LCD front screen.
Charging Interface: Utilizes a Type-C charging interface.
Back/Main Screen: Equipped with a 2,33-inch LCD touchscreen.
Memory Card Slot: To use the camera, a memory card is required. You'll find the
memory card slot in the USB compartment.
Troubleshooting for Memory Card Reading Failure:
1. Ensure to format the micro SD card before initial use.
2. Regularly format the memory card to maintain its functionality.
Formatting Memory Card:
Access the settings interface.
Locate the formatting option and confirm the action.
Power/Ok Button
Indicator Light
Display (Front
screen)
Microphone
Lens
Speaker
¼ Tripod Screw Hole
Battery Location
Main Screen
USB Port

7
Waterproof Housing Operating Instructions
Open the Waterproof Housing
1. Waterproofing: The camera offers 5 meters of waterproofing without the need for a
case, and it can withstand depths of up to 30 meters with the waterproof case.
2. When opening the waterproof case for the first time, please refer to the provided
graphic tutorial to prevent any damage (as detailed in the instructions above).
3. Prior to submerging the camera, conduct a water-tightness test by placing a piece of
paper inside the waterproof case.
4. Before immersing the camera, always
check the waterproof case's seal to
ensure it remains leakproof.
5. To prevent water from entering, wipe
away any water droplets on the
exterior of the waterproof case before
opening it.
6. After use, refrain from exposing the
waterproof case to direct sunlight.
Instead, either wipe away any
remaining water droplets or allow it to
air-dry naturally.
B: Elevate the front portion of the clasp as indicated to unlock it.
A: Slide and maintain pressure on the buckle.
Waterproof Housing Buckle
Lens
Base
Power/Ok Button
Waterproof Case Buckle
Lens
Base

8
Battery Compartment and Memory Card Operating
Instructions
1. Accessing the Battery Compartment
To open the battery cover, simply press the button and slide it to the side. You will find the
memory card slot, and we recommend using a high-quality micro SD card from reputable
brands.
2. Installing the Memory Card
Locate the designated memory card slot. It is advisable to utilize a memory card from well-
known brands or provided by SJCAM for optimal performance.

9
Specifications
Master Chip
Ambarella H22
Image Sensor
SONY IMX377
Aperture
F2,8
Focal Length
3,3 mm
Screen (Dual)
2,33" LCD Touch screen/1,3" LCD display screen (front screen)
Video
Resolution
4K (3840×2160) at 24/25/30/50/60 fps, 4K Ultra (3840×2160) at 24/30 fps, 2,7K
(2720×1520) at 24/25/30/50/60 fps, 1440 (2560×1440) at 24/25/30/50/60 fps,
1080P (1920×1080) at 24/25/30/50/60/120 fps, 1080 Ultra (1920×1080) at
30/60 fps,720 (1280×720) at 240 fps
Audio
Single microphone and stereophonic speaker
External
Microphone
Supported
Video Format
MP4
Video
Encoding
Format
H.264/H.265
Photo
Resolution
20M (5472×3648 3:2), 16M (4608×3408 3:2), 10M (3648×2736 4:3 ), 12M
(4000×3000 4:3, 8M (3840×2160 16:9), 8M(3264×2448 4:3), 5M (2592×1944
4:3), 3M(2048×1536 4:3), 2M (1920×1080 16:9)
Photo Format
JPG
WIFI
Frequency
2,4 Ghz/5 Ghz
Light
Frequency
50 Hz/60 Hz
Battery
Capacity
1300 mAh (removable)
USB Interface
Type-C
Storage
Micro SD card, supports 32 GB, 64 GB, 128 GB
Power
5V 2A
Video Output
AV
Battery Life
Approximately 80 minutes at 4K/30 fps
Charging Time
About 3 hours
Size
64,45×44,5×30,6 mm
Weight
112,5 g
Operating
System
Windows 7, 8, 10/OS X ® version 10.8 or advanced
Language
Support
English, Simplified Chinese, Traditional Chinese, French, German, Spanish,
Italian, Portuguese, Japanese, Russian, Polish, Czech, Slovene, Hungarian,
Danish, Dutch, Turkish, Finnish, Romanian

10
Front and Back Screen Switching
1. To toggle between the front and back screens, press the power button twice.
2. Switch to the small screen by double-clicking the touch screen.
Operating Instructions
Drop Down Screen
Swift Settings: Wi-Fi connectivity, remote control, FPV, screen lock feature.
Pull Up Screen
Rapid Configuration: Video, Photo Modes

11
Video Recording
To initiate video recording, power on the camera and press the OK button. Alternatively,
swipe up on the screen to access the mode menu, select the video icon, and press the OK
button to start recording. Please note that the camera retains the last mode used even
after turning it off.
Photo Capture
To capture photos, power on the camera to enter standby mode. Swipe the screen left or
right to switch to photo mode. Alternatively, swipe up on the screen to enter the mode
menu, choose the photo icon , and press the OK button to take a picture.
Playback
While the camera is in standby mode, select the playback icon located in the lower-left
corner of the screen to view previously recorded videos or photos.
Media Settings Menu: When the camera is in standby mode, tap the icon below the screen
to access the current mode's Media Settings menu. Here, you can configure relevant
parameters.
System Settings Menu: To access the camera's system settings, select the settings icon
located in the lower right corner.
Remote Controller
When the camera is in standby mode, swipe down on the screen, click on the remote
control icon in the menu, and accept the pairing request. While the camera is in pairing
mode, simultaneously press the photo and video buttons on the remote controller.
Successful pairing will be indicated on the camera screen.
Please note that the remote controller is not included as a standard accessory and must
be purchased separately.

12
Remote Control Buttons
1. Power Button: Used to power down the camera.
2. Photo Button: Enables capturing photos.
3. Wi-Fi Button: Activates or deactivates the camera's Wi-Fi functionality.
4. Video Button: Initiates or halts video recording.
Note: The SJCAM Remote Control is available for separate purchase.

13
Wi-Fi Connection
This product offers the convenience of connecting to a smartphone or tablet, whether it's
running on Android or iOS. To set up this connection, please follow these steps:
1. Begin by installing the "SJCAM Zone" software on your smartphone or tablet. You can
achieve this by scanning the QR code provided in this manual or by visiting the official
website at WWW.SJCAM.COM for downloading.
2. Power on the camera, then slide down the screen. Next, tap the Wi-Fi icon to enable
the Wi-Fi feature.
3. On your smartphone or tablet, activate the Wi-Fi function and search for the camera's
Wi-Fi network name to establish a connection.
a. Wi-Fi Name: SJ10Pro DualScreen_XXXXXXXX
b. Initial Password: 12345678
4. Once the connection is successfully established, you can access and operate the
camera via the dedicated app.
Downloading the APP
Scan the code and download the APP.
You can download and install the app by either scanning the QR code on your mobile
phone or by visiting the Apple Store or Google Play and searching for "SJCAM zone".

14
Packaging
Waterproof Case
Stand Base
Frame Bracket
Lens Protective Cover
3M Sticker
Helmet Base (flat)
USB Type-C Cable
Lens Cleaning Cloth
SJCAM Sticker
Helmet Base (arc)
User’s Manual

15
Introduction to Accessories
Included in the package are various accessories designed to enhance your camera's
functionality and convenience:
1. 3M Sticker: This is a spare sticker designed for helmet base installation. It can
also serve to provide reinforcement in situations where the helmet's curvature is
substantial.
2. Wiper: Use the wiper to clean the camera lens, camera body, and other surfaces.
3. Lens Protector: The lens protector is used to cover the camera lens when it's not
in use, offering protection against accidental scratches.
4. Data/Charging Cable: This cable serves the dual purpose of charging the camera
and connecting it to a computer for data transfer.
These thoughtfully provided accessories extend your camera's capabilities and contribute
to a more enjoyable and productive user experience.
Accessories Installation
Accessories are suitable for SJCAM sports cameras.)
Selfie Stick Installation

16
Car Mode Installation
Helmet Side Installation
Floater Bobber Installation
Handlebar Installation
Headband Installation
Kindly make separate purchases based on your specific usage requirements.

17
Wristband Installation
Chest Strap Installation
Single Shoulder Strap Installation
Product Information and Support
Product attributes are subject to potential alterations due to upgrades or updates. For
precise and up-to-date details, kindly consult the actual product specifications.
For any supplementary support inquiries or technical concerns, please do not hesitate to
reach out to SJCAM's dedicated customer service team.
Feel free to explore the official SJCAM website at www.sjcam.com or contact the service
hotline at +086-18118714563. Your satisfaction and assistance are our priorities.
18
Warranty Conditions
A new product purchased in the Alza.cz sales network is guaranteed for 2 years. If you
need repair or other services during the warranty period, contact the product seller
directly, you must provide the original proof of purchase with the date of purchase.
The following are considered to be a conflict with the warranty conditions, for
which the claimed claim may not be recognized:
Using the product for any purpose other than that for which the product is intended or
failing to follow the instructions for maintenance, operation, and service of the product.
Damage to the product by a natural disaster, the intervention of an unauthorized
person or mechanically through the fault of the buyer (e.g., during transport, cleaning
by inappropriate means, etc.).
Natural wear and aging of consumables or components during use (such as batteries,
etc.).
Exposure to adverse external influences, such as sunlight and other radiation or
electromagnetic fields, fluid intrusion, object intrusion, mains overvoltage, electrostatic
discharge voltage (including lightning), faulty supply or input voltage and inappropriate
polarity of this voltage, chemical processes such as used power supplies, etc.
If anyone has made modifications, modifications, alterations to the design or
adaptation to change or extend the functions of the product compared to the
purchased design or use of non-original components.

19
EU Declaration of Conformity
This equipment is in compliance with the essential requirements and other relevant
provisions of Directive 2014/53/EU and Directive 2011/65/EU amended (EU) 2015/863.
WEEE
This product must not be disposed of as normal household waste in accordance with the
EU Directive on Waste Electrical and Electronic Equipment (WEEE - 2012/19 / EU). Instead,
it shall be returned to the place of purchase or handed over to a public collection point for
the recyclable waste. By ensuring this product is disposed of correctly, you will help
prevent potential negative consequences for the environment and human health, which
could otherwise be caused by inappropriate waste handling of this product. Contact your
local authority or the nearest collection point for further details. Improper disposal of this
type of waste may result in fines in accordance with national regulations.

20
Vážený zákazníku,
Děkujeme vám za zakoupení našeho produktu. Před prvním použitím si prosím pečlivě
přečtěte následující pokyny a uschovejte si tento návod k použití pro budoucí použití.
Zvláštní pozornost věnujte bezpečnostním pokynům. Pokud máte k přístroji jakékoli dotazy
nebo připomínky, obraťte se na zákaznickou linku.
✉www.alza.cz/kontakt
✆+420 225 340 111
Dovozce Alza.cz a.s., Jankovcova 1522/53, Holešovice, 170 00 Praha 7, www.alza.cz
Table of contents
Languages:
Other SJCAM Action Camera manuals

SJCAM
SJCAM SJ5000X ELITE User manual

SJCAM
SJCAM SJ4000 SERIES User manual

SJCAM
SJCAM SJ7 STAR User manual

SJCAM
SJCAM SJ10PRO User manual

SJCAM
SJCAM C200 User manual

SJCAM
SJCAM SJ8 AIR User manual

SJCAM
SJCAM X1000 WIFI User manual

SJCAM
SJCAM SJ4000 SERIES User manual

SJCAM
SJCAM SJ4000 SERIES User manual

SJCAM
SJCAM M10 Series User manual

SJCAM
SJCAM SJ4000B User manual

SJCAM
SJCAM M10+ User manual

SJCAM
SJCAM SJ4000 SERIES User manual

SJCAM
SJCAM M10 Series User manual

SJCAM
SJCAM SJ5000 wifi User manual

SJCAM
SJCAM SJ11 Active User manual

SJCAM
SJCAM M10 Series User manual

SJCAM
SJCAM SJ8 Series User manual

SJCAM
SJCAM SJ5000 wifi User manual

SJCAM
SJCAM SJ4000 SERIES User manual