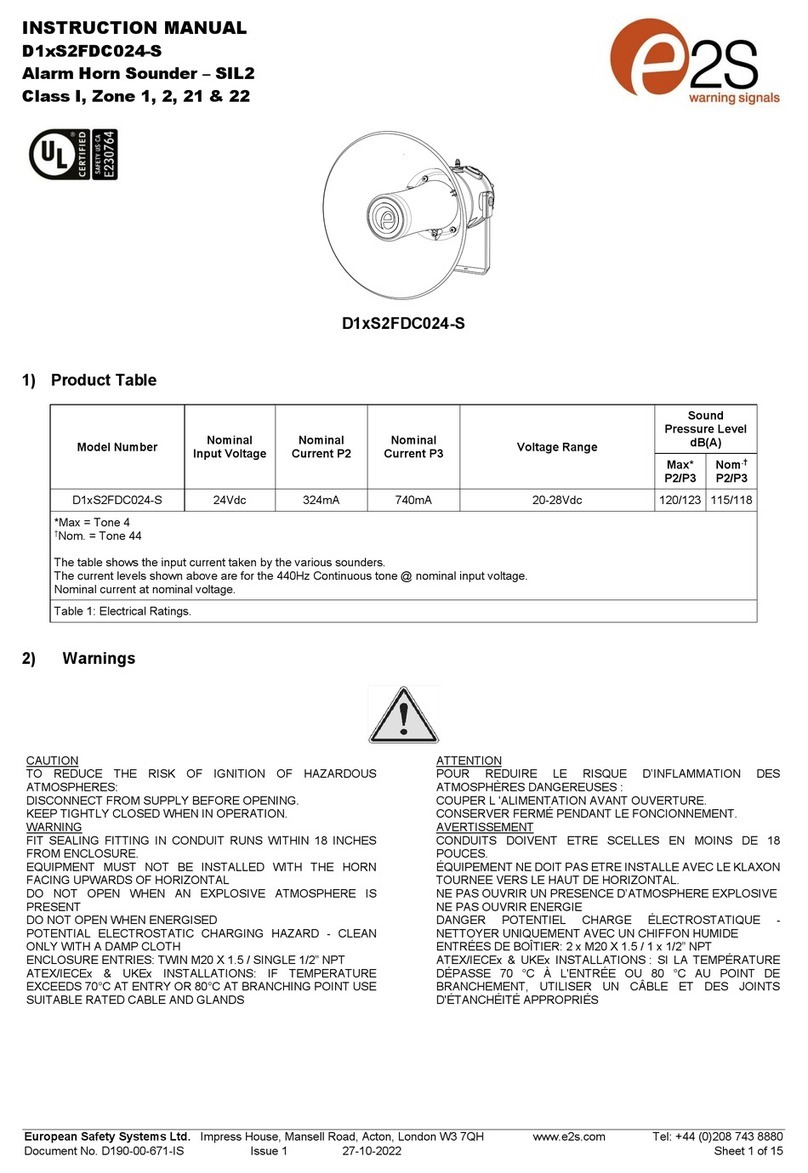
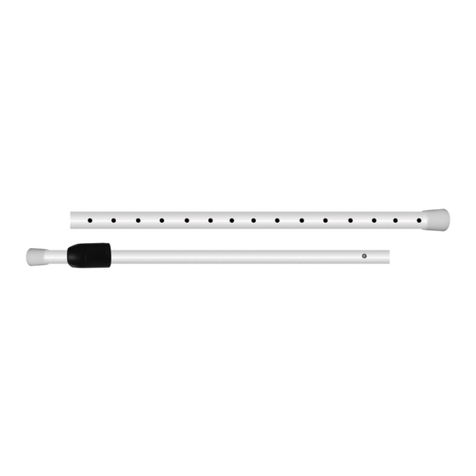
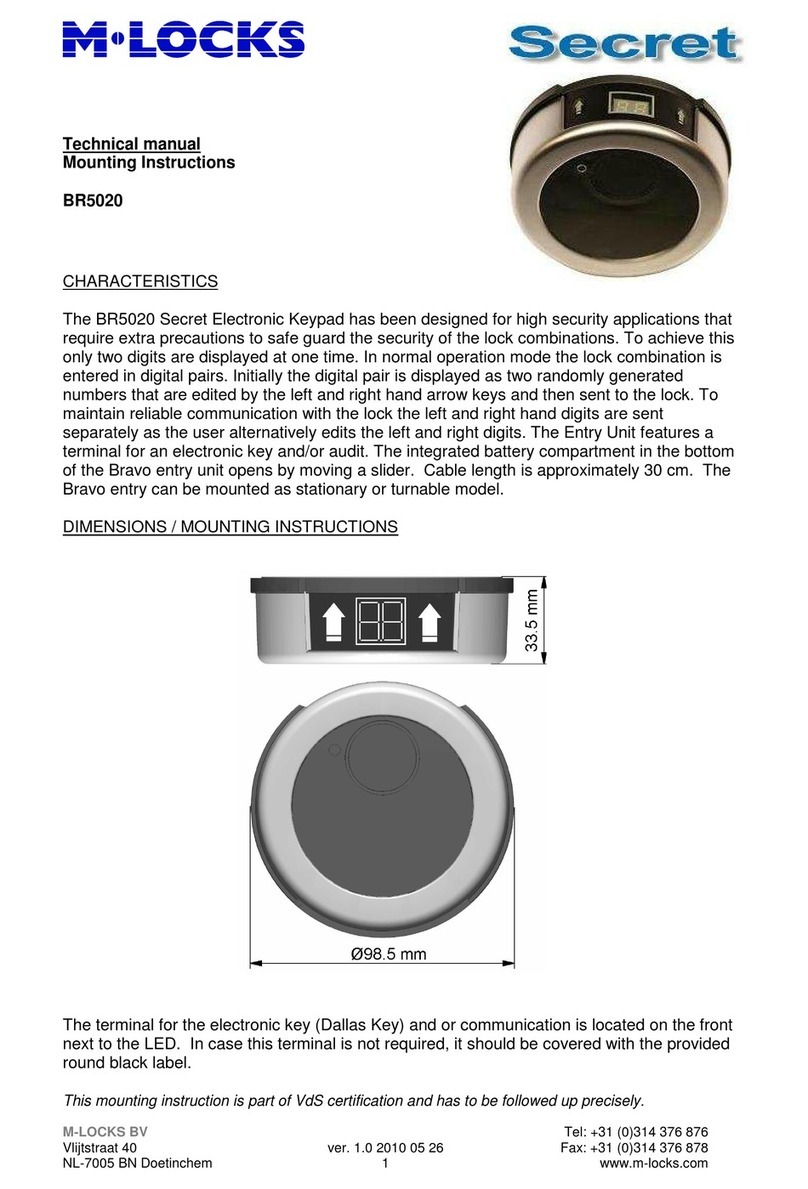
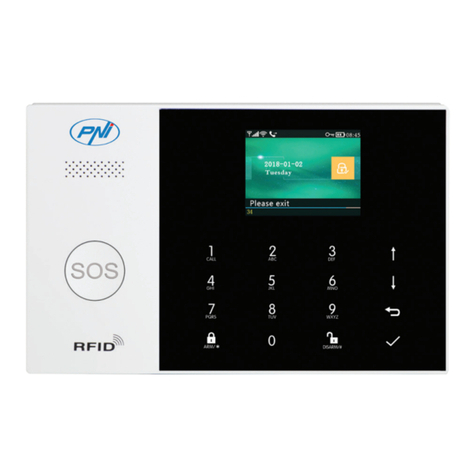
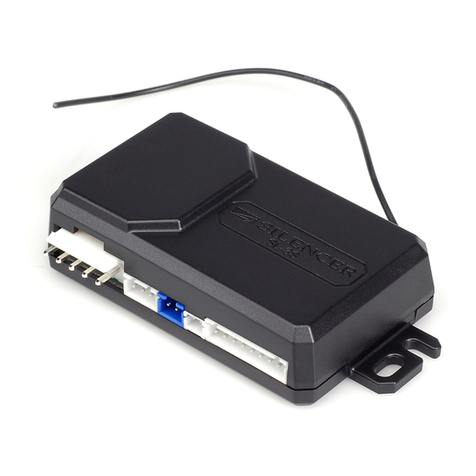
Skil-Care BedPro Under Mattress Safety Alarm User manual

Safety Alarm Unit
29 Wells Ave, Yonkers, NY 10701
914.963.2040 • toll-free: 800.431.2972 • www.skil-care.com
29 Wells Ave, Yonkers, NY 10701
914.963.2040 • toll-free: 800.431.2972 • www.skil-care.com
H
H
G
UnderMattress
UnderMattress Replacement Sensor Pads
OverMattress Replacement Sensor Pads
Early Warning UnderMattress Replacement Sensor Pads
*P= 11.5” Cord
Early Warning
SYSTEM OPERATIONSENSOR PAD SETUP
SENSOR PAD SETUP
This alarm features an under-mattress sensor pad that is
protected against incontinence and wear by the mattress.
Unlike sensor pads that are placed on the mattress, the BedPro
UnderMattress sensor will not compromise the pressure
relieving qualities of the mattress. Placed beneath the mattress,
the BedPro sensor pad stays in place to reduce false alarms.
This is especially important for restless residents.
System Operation for when the BedPro UnderMattress, Early Warning UnderMattress or
OverMattress sensor pads have been properly installed.
Whenever the alarm is initiated, pressing the “Auto-Reset” button on top of the alarm unit will silence it. Pressing this button
puts the system into stand-by mode. The system will automatically go into monitoring mode when you put your resident to bed.
There’s no need to remember to turn the system on. Skil-Care recommends the following procedure for using the BedPro
UnderMattress, Early Warning UnderMattress and OverMattress Safety Alarm System.
• Press “Power Test” button before putting resident to bed. If “In-Room Alarm” switch is set to the “Hi or Low” position, the
alarmsignalwillsoundandtheLEDwillashwhilethebuttonishelddown.Ifthe“In-Room”switchistothe“Off”position,
theLEDwillashwhilethebuttonishelddown.IftheLEDand/oralarmsignalarenotactivatedwhenthebuttonispressed,
check the power source connections. If alarm is on battery, replace both AA batteries. Do not use alarm system if pressing
“PowerTest”buttoncannotactivateLEDand/oralarmsignal.
• Place residentinbed.TheLEDshouldashindicatingthatthealarmisinthemonitoringmode.IfLEDdoesnotash,
remove resident from the bed and examine sensor pad. If pad is damaged, replace it. Do not use alarm system if LED does
notashwhenresidentisinbed.
• If alarm is set to signal both at bedside and at the nurse’s station, select the preferred sound option using the selector switch
onthetopofthealarmunit.Adjustthehigh/lowtoggleontheback.
• If your resident leaves the bed and then returns, the alarm will silence and the system will reset itself. Be certain to visit the
residenttomakesurehe/sheissafe.
• Press the “Auto-Reset” button after you have removed your resident from the bed. This will place the system in the
stand-by mode.
Keep a copy of these instructions in your procedures manual. If you require extra copies of these instructions,
call Skil-Care at 1-800-431-2972 or go to skil-care.com and click on “Product-Use Instructions.”
Sensor Pad Setup for BedPro Early Warning UnderMattress System (contd.)
3. Pass sensor cable under headboard and tuck it under the Cable Strain-Relief tab before
inserting the plug into the Modular Connection (Illustration H). The strain-relief tab prevents
the plug from being accidentally dislodged and damaged. Be certain to keep cable away from
side rails and out of resident’s reach. Keep cord away from side rails and out of resident’s reach.
4. Place sensor pad on bed.
5. Sensor pad may be cleaned with a damp cloth and mild cleanser. Do not immerse pad in water or
cleaning solution. Do not sterilize.
6. Inspect pad before each use. Replace if damaged.
Read “Warnings” on sensor pad
Important: This UnderMattress sensor is designed to work with most mattresses and beds.
However, due to differences in mattress construction, bed designs , and resident weight, this
sensor pad may not work in all situations. Be certain to evaluate the alarm system’s operation
for each bed and resident. If it does not work, you may want to consider Skil-Care’s BedPro OverMattress sensor pad.
Proceed to “System Operation” on page 6. See page 6 for information about ordering replacement sensor pads.
Sensor Pad Setup for BedPro OverMattress System
1. Remove bed sheet and place sensor pad across width or length of bed (Illustration G).
2. Position connector cable toward headboard. The opposite end must be positioned below
the resident’s pelvis.
3. Pass sensor cable under headboard and tuck it under the Cable Strain-Relief tab before
inserting the plug into the Modular Connection (Illustration H). The strain-relief tab prevents
the plug from being accidentally dislodged and damaged. Be certain to keep the cable away
from side rails and out of resident’s reach. Keep cord away from side rails and out of resident’s reach.
4. Cover mattress and sensor pad with sheet.
5. Sensor pad may be cleaned with a damp cloth and mild cleanser. Do not immerse pad in water
or cleaning solution. Do not sterilize.
6. Inspect pad before each use.
Read “Warnings” on sensor pad
Proceed to “System Operation” on page 6. See page 6 for information about
ordering replacement sensor pads.
All BedPro replacement sensor pads are available from your medical products supplier.
All BedPro sensor pads may also be used with Skil-Care’s new MultiPro Alarm
65 1
You may also order the BedPro Alarm Unit with Accessories (nurse-call connector cable, A/C adaptor and Y-connector).
See BedPro Alarm Control Unit with Accessories on page 1 for more detail.
This alarm system features a unique under-mattress sensor pad
that is designed to activate an alarm signal before the resident
exits the bed. The diagonally tapered sensor pad initiates the
alarm when the resident sits on or moves toward the edge of the
bed. Placed beneath the mattress, the sensor will not
compromise the pressure relieving qualities of the mattress.
The mattress protects the sensor pad against incontinence,
resident tampering, and incontinence.
1. The BedPro Alarm Systems are not substitutes for proper supervision. Staff on a regular basis must monitor fall-risk and
wander-riskpatients/residents.
2. If batteries are used as the source, batteryt power must be checked each time the alarm is used to monitor the resident.
If battery power is weak, the two AA batteries must be replaced. The alarm will sound if batteries are weak.
3.TheLEDshouldashwhenthealarmispowered,andtheresidentisinbed,ontopofthesensorpad. If the LED fails
toashandyouareusingtheA/Cadaptor,checkconnectionsatwalloutletandalarmunit.Ifyouareusingbatterypower,
replacethetwoAAbatteries.IftheLEDfailstoashafterconnectionshavebeencheckedorthebatteriesreplaced,
discontinue use of alarm.
Alarm unit and sensor pads made in China. Instructions printed in U.S.A
The BedPro Safety Alarm Control Unit is replacement
guaranteed for one year following the date of purchase
These guarantees cover defects in materials and
workmanship under conditions of normal use. Please
return defective part to dealer from whom it was
purchased. The dealer will send the defective part to
Skil-Care and arrange for shipment of a replacement.
GUARANTEES
CAUTIONS
OverMattress
OverMattress
Alarm Control
Safety Alarm
Under Mattress Safety Alarm
Safety Alarm
Safety Alarm
Unit with Accessories
Replacement Sensor Pads
Reorder# Description Unit
909310 BedPro OverMattress Safety Alarm with
10”x30” Sensor Pad - 45 Days Set
909311 BedPro OverMattress Safety Alarm with
10”x30” Sensor Pad - 180 Days Set
Reorder# Description Unit
909320 BedPro UnderMattress Safety Alarm with
10”x30” Sensor Pad - 90 Days Set
909321 BedPro UnderMattress Safety Alarm with
20”x30” Sensor Pad - 90 Days Set
909322 BedPro UnderMattress Safety Alarm with
10”x30” Sensor Pad - 180 Days Set
909323 BedPro UnderMattress Safety Alarm with
20”x30” Sensor Pad - 180 Days Set
909340 BedPro UnderMattress Safety Alarm with
10”x30” Sensor Pad - 1 Year Set
909341 BedPro UnderMattress Safety Alarm with
20”x30” Sensor Pad - 1 Year Set
909343 BedPro UnderMattress Safety Alarm for
Light Mattresses 39-42lbs. - 2 Year Set
Reorder# Size Reorder# Size Guarantee Unit
909325 10” x 30” 909328 20” x 30” 90 Days Ea.
909326 10” x 30” 909329 20” x 30” 90 Days 5/pk
909327 10” x 30” 909330 20” x 30” 90 Days 10/pk
909331 10” x 30” 909337 20” x 30” 180 Days Ea.
909332 10” x 30” 909338 20” x 30” 180 Days 5/pk
909333 10” x 30” 909339 20” x 30” 180 Days 10/pk
909401 10” x 30” 909403 20” x 30” One Year Ea.
909402 10” x 30” 909404 20” x 30” One Year 10/pk
909345 For Light Mattresses 39-42lbs. Two Years Ea.
Reorder# Guarantee Reorder# Guarantee Size Unit
909314 45 Days 909317 180 Days 10” x 30” Ea.
909315 45 Days 909318 180 Days 10” x 30” 5/pk
909316/P* 45 Days 909319 180 Days 10” x 30” 10/pk
Reorder# Guarantee Reorder# Guarantee Length Unit
909304 90 Days 909307 180 Days 30” Ea.
909305 90 Days 909308 180 Days 30” 5/pk
909306 90 Days 909309 180 Days 30” 10/pk
Reorder# Description Unit
909301 BedPro Early Warning System with
30-inch-long sensor pad - 90 Days Set
909302 BedPro Early Warning System with
30-inch-long sensor pad - 180 Days Set
Reorder# Description Unit
909310 BedPro OverMattress Safety Alarm with
10”x30” Sensor Pad - 45 Days Set
909311 BedPro OverMattress Safety Alarm with
10”x30” Sensor Pad - 180 Days Set
Sensor Pads 45 Day 90 Day 180 Day 1 Year 2 Years
BedPro UnderMattress a a
BedPro Early Warning a a a a
BedPro OverMattress a a
Reorder# Description Unit
909334 BedPro Electronic Unit without Accessories Ea.
909335 BedPro Electronic Unit with Accessories Set
909336 BedPro Electronic Unit with Accessories 10 Pk
Rev: 062017

29 Wells Ave, Yonkers, NY 10701
914.963.2040 • toll-free: 800.431.2972 • www.skil-care.com
29 Wells Ave, Yonkers, NY 10701
914.963.2040 • toll-free: 800.431.2972 • www.skil-care.com
29 Wells Ave, Yonkers, NY 10701
914.963.2040 • toll-free: 800.431.2972 • www.skil-care.com
Auto-Reset
Button
LED Indicator
NEW! Shock Resistance Bumpers Battery Compartment
Tone-Music
Selector Switch
(2-Melody, 2-Alarm)
Headboard
Mounting Bracket
Nurse-Call
Connection
Mini-Phone
Connector
Power Test
Modular
Connector
A/C Adaptor
Cable Strain
Relief
Cable Strain
Relief
NEW! In-Room
Alarm Switch
(Hi, Low, Off)
B
A
C1
C2
Set at “Hi” or “Low” position for
alarm at bedside and nurse’s station.
Set at “Off” position for alarm at
nurse’s station only.
E
D
H
G3
G2
G1
G4 G5
F
2 3 4
Safety Alarm Unit COMPONENT IDENTIFICATION
INSTALLATION
INSTALLATION (contd.) SENSOR PAD SET UP
SENSOR PAD SET UP
SENSOR PAD SETUP
This information pertains to the BedPro UnderMattress, Early Warning
UnderMattress and OverMattress systems
Power Source
1. A/C Adaptor
TuckA/CadaptorcordundertheCableStrainRelieftabandplugintosocketlabeled“A/CAdaptor”(IllustrationA).
Plug adaptor into wall outlet LED will be steady. Test by pressing “Power-Test” button. When testing, make
certain that the “In-Room Alarm” switch on the back of the alarm unit is set to the “Hi” or “Low” positions
(Illustration B). There will be no audible signal if this switch is in the “Off” position. If alarm doesn’t sound,
check adaptor connections.
2. Battery
a. Remove battery compartment cover and install two AA batteries LED is steady. Battery operation is
recommended only in the event of a power failure. The alarm will automatically switchto battery
operationifA/CpowerfailsorifA/Cadaptorbecomesdisconnected.
b.Testbatterybypressingthe“Power-Test”buttonontheleftsideofthealarmunitLEDwillash.
Check the “In-Room Alarm” switch on the back of the alarm unit which should be set to the
“Hi” or “Low” positions (Illustration B). The alarm signal will not sound if the switch is set to the
“Off” position. If alarm fails to sound, check battery connections and retest. If alarm still
doesn’t sound, replace both AA batteries.
This information pertains to the BedPro UnderMattress,
Early Warning UnderMattress and OverMattress systems
Nurse-Call Interface
The BedPro Safety Alarm is easily connected to
the nurse-call system in your facility. It is designed
to permit the regular use of the resident’s nurse-call
button without activating the alarm. You may choose to
have the alarm sound at bedside and the nurse’s station,
or to signal only at the nurse’s station.
See instructions below.
1. Set the “In-Room Alarm” switch on the back of the
alarm to the “Hi” or Low” positions if you want the alarm to
sound both at bedside and the nurse’s station (Illustration C1).
Set the switch to the “Off” position for the alarm to signal only
at the nurse’s station (Illustration C2).
Important: Set the switch to the “Hi” or “Low” positions when
testing the alarm. There will be no audible signal when the
“In-Room” switch is set to “Off”.
2. Inset one end of the supplied nurse-call interface cable into
the receptacle labeled “Nurse-Call Connection” located on the
right side of the alarm unit (Illustration D).
Mount alarm unit on headboard. To prevent resident tampering,
alarm unit should face the wall.
3. Remove nurse-call button cable from the wall socket and
insert Y-connector (Illustration E).
4. Plug both the nurse-call button cable and the alarm
nurse-call interface cable into the Y-connector (Illustration F).
Test operation of both the resident’s nurse-call button
and the alarm unit’s nurse-call interface by:
a. Pressing resident’s nurse-call button and verifying
that the signal is received at nurse’s station; and
b. Pressing “Power-Test” button on the left side of the
alarm unit and verifying that the signal is received at
the nurse’s station.
If either or both fail to work, check all connections
and retest.
Sensor Pad Setup for BedPro UnderMattress System (contd.)
1. Remove mattress and place sensor pad across width of bed frame
(Illustration G1 and G2), for 2 year sensor, see Illustration G3.
Where access permits attach 2 year sensor with hook and loop
strap provided
2. Position connector cable toward headboard. The opposite
end must be positioned just below the resident’s pelvis.
3. Pass sensor cable under headboard and tuck it under the
Cable Strain-Relief tab before inserting it into the Modular
Connection (Illustration H). The strain-relief tab prevents the
plug from being accidentally dislodged and damaged. Be certain
to keep cable away from side rails and out of resident’s reach.
4. Place mattress on bed.
5. Sensor maybe cleaned with a damp cloth and mild cleanser.
Do not immerse pad in water or cleaning solution. Do not sterilize.
6. Inspect pad before each use. Replace if damaged.
Read “Warnings” on sensor pad
Important: This UnderMattress sensor is designed to work with most
mattresses and beds. However, due to differences in mattress construction,
bed designs , and resident weight, this sensor pad may not work in all
situations. Be certain to evaluate the alarm system’s operation
for each bed and resident. If it does not work, you may want to consider
Skil-Care’s BedPro OverMattress sensor pad.
Proceed to “System Operation” on page 6. See page 6 for information
about ordering replacement sensor pads.
Sensor Pad Setup for BedPro Early Warning UnderMattress System
1. Remove mattress. For resident who exits bed on left side, place diagonal edge facing left side of the bed platform as shown
(Illustration G4). For resident who exits bed on the right side, place
diagonal edge facing right side of the bed platform as shown
(Illustration G5). A resident usually exits the bed from the opposite
side, the alarm will activate when the resident stands. It will not, in
this case, provide and early warning.
2. Position the sensor cable towards headboard. Make certain that
the wide section of the sensor pad
is positioned just below the resident’s shoulders.
UnderMattress Safety Alarm
Features:
• Low battery alert - alarm sounds when battery is low
• Sounds - two tone buzzer, high (90db), low (80db) and
two tone melody, high (90db), low (80db)
• Battery Test
• Auto-Reset
• Two Interfaces (connections) - Modular (telephone type)
foratsensorsandmini-plugforalternativesensors
• Cable strain relief (2)
• Shock resistance bumpers enhance alarm durability
•A/CBatteryPower
•IfA/Cispluggedin,itwilloveridebatteries
•IfA/Cispluggedin,andpowerfailsbatterieswill
overideA/C,ifinstalled
This BedPro Safety Alarm from Skil-Care features and under
mattress sensor pad that is protected against incontinence
and wear by the mattress. Unlike sensor pads that are
placed on the mattress, the BedPro UnderMattress
sensor will not compromise the pressure
relieving qualities of the mattress.
Placed beneath the mattress, the
BedPro sensor pad stays in place to
reduce false alarms.
This is especially important
for restless resident’s.
Early Warning
This alarm system features a unique under-mattress sensor pad that is
designed to activate an alarm signal before the resident exits the bed. The
diagonally tapered sensor pad initiates the alarm when the resident sits on
or moves toward the edge of the bed. Placed beneath the mattress, the
sensor will not compromise the pressure relieving qualities of the mattress.
The mattress protects the sensor pad against incontinence, resident
tampering, and incontinence.
Under Mattress Safety Alarm
- Continued on page 4 - - Continued on page 5 -
Reorder # Description Unit
909560 Nurse call accessory Connector Kit Set
909247 Y-connector for Multipro Bedpro alarm Each
909242 Nurse call cable only Each
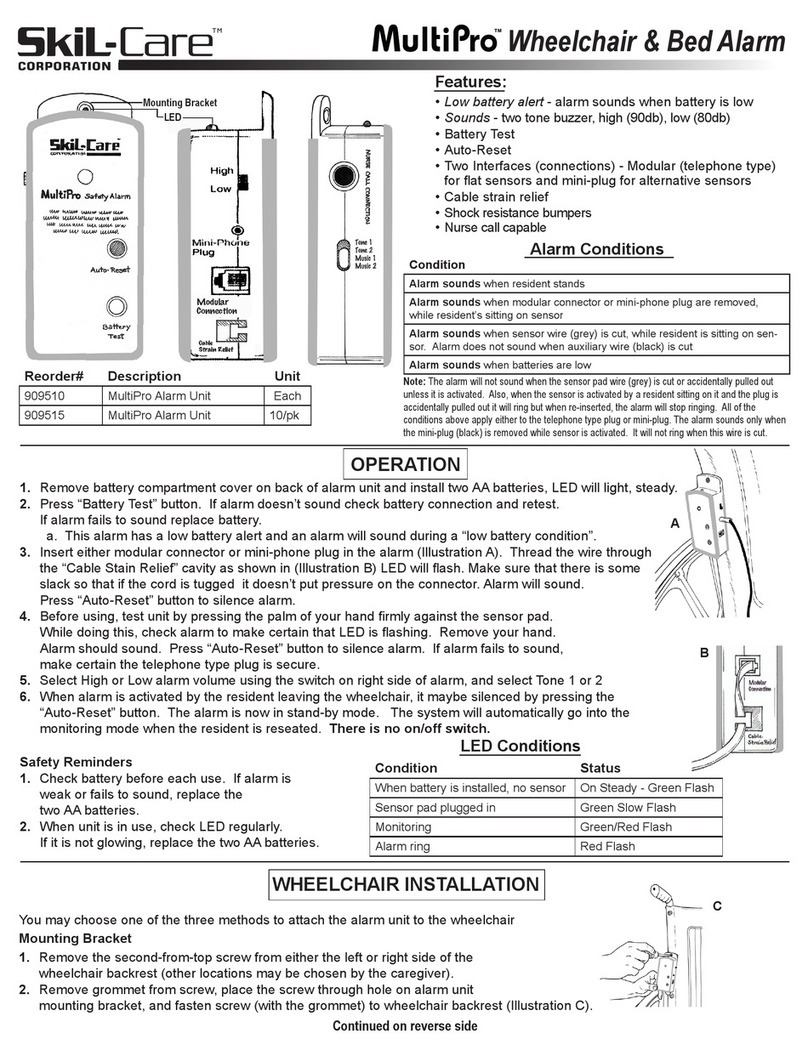
Alarm sounds when resident stands
Alarm sounds when sensor plug is removed (modular & mini-phone), while
resident’s sitting on sensor
Alarm sounds when modular wire (grey) is cut, while resident is sitting on
sensor. Alarm does not sound when auxiliary wire (black) is cut
Alarm sounds when batteries are low
Alarm Conditions
Note: The alarm will not sound when the sensor pad wire (grey) is cut or accidentally pulled out unless it is
activated. Also, when the sensor is activated by a resident sitting on it and the plug is accidentally pulled
out it will ring but when re-inserted, the alarm will stop ringing. All of the conditions above apply either to the
telephone type plug or mini-plug. The alarm sounds only when the mini-plug (black) is removed while sensor
is activated. It will not ring when this wire is cut.
Reorder# Description Unit
909320 BedPro UnderMattress Safety Alarm with
10”x30” Sensor Pad - 90 Days Set
909321 BedPro UnderMattress Safety Alarm with
20”x30” Sensor Pad - 90 Days Set
909322 BedPro UnderMattress Safety Alarm with
10”x30” Sensor Pad - 180 Days Set
909323 BedPro UnderMattress Safety Alarm with
20”x30” Sensor Pad - 180 Days Set
909340 BedPro UnderMattress Safety Alarm with
10”x30” Sensor Pad - 1 Year Set
909341 BedPro UnderMattress Safety Alarm with
20”x30” Sensor Pad - 1 Year Set
909343 BedPro UnderMattress Safety Alarm for
Light Mattresses 39-42lbs. - 2 Year Set
Reorder# Description Unit
909301 BedPro Early Warning System with
30-inch-long sensor pad - 90 Days Set
909302 BedPro Early Warning System with
30-inch-long sensor pad - 180 Days Set
Condition Status
When battery is installed, no sensor On Steady - Green Flash
Sensor pad plugged in Green Slow Flash
Monitoring Green/RedFlash
Alarm ring Red Flash
LED Conditions
This manual suits for next models
7
Other Skil-Care Security System manuals

