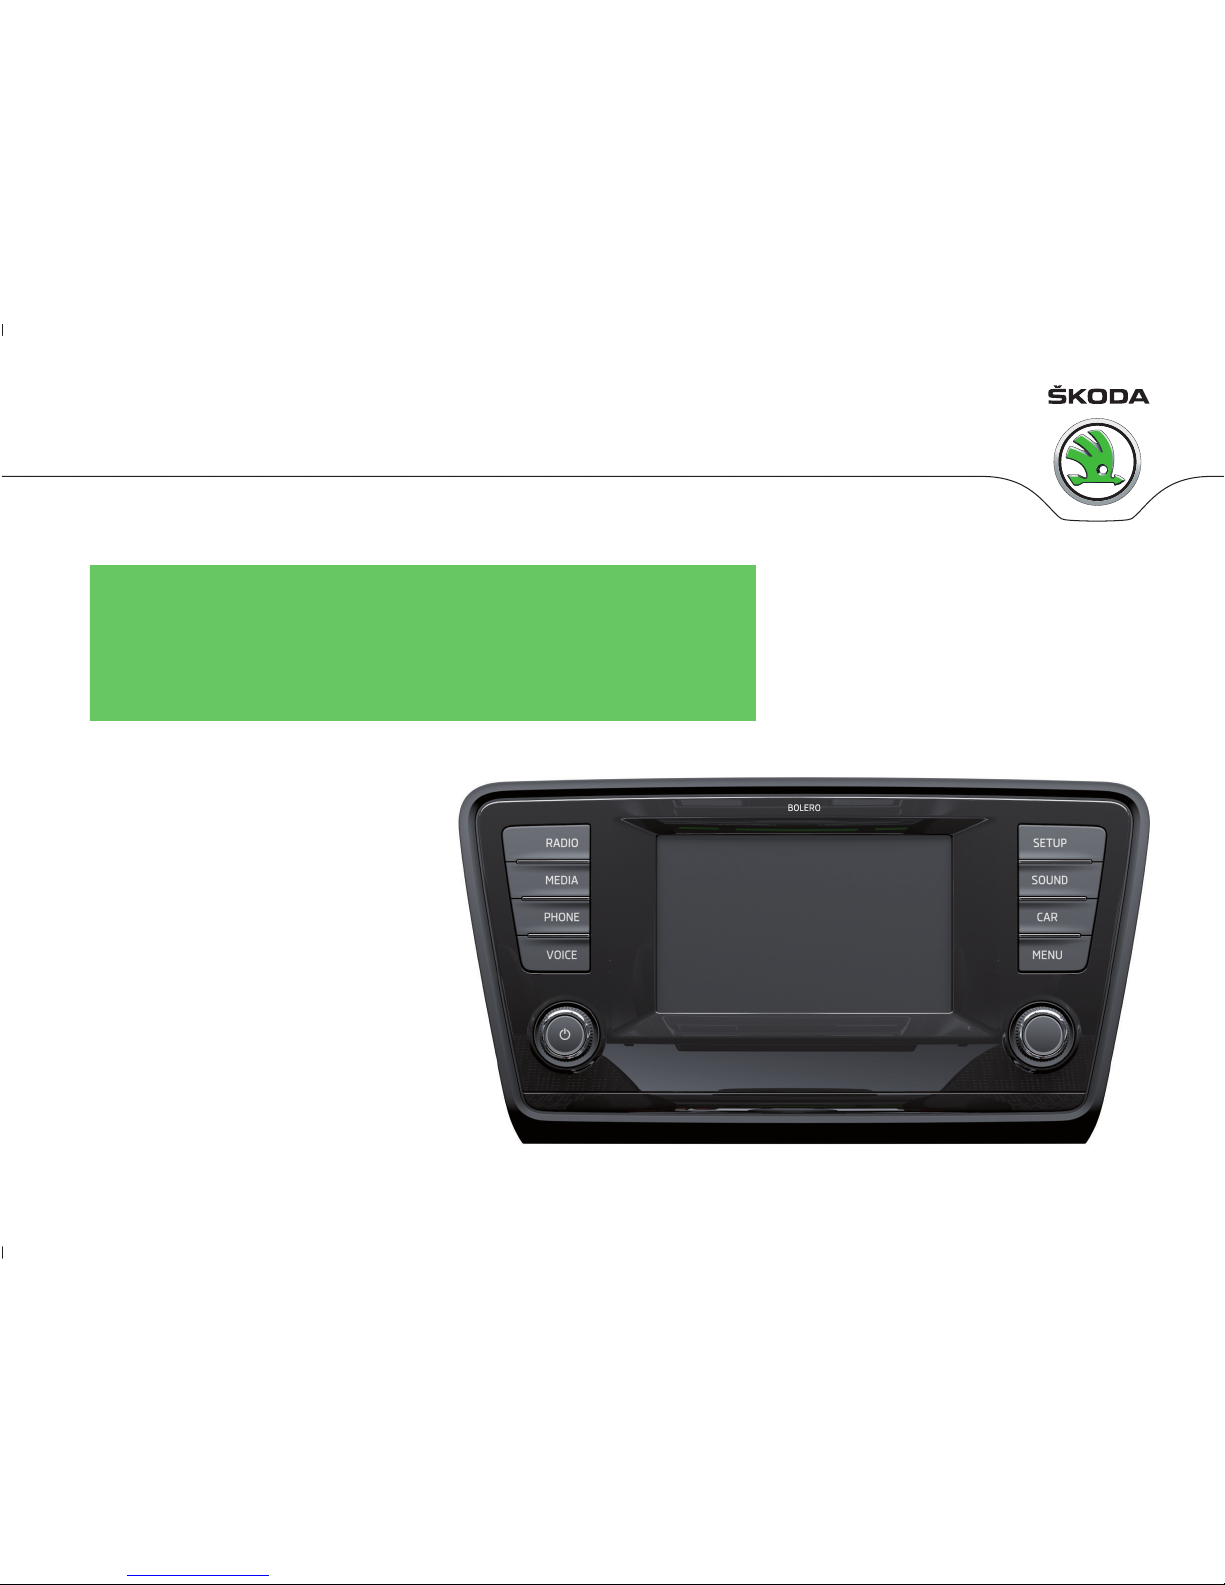
Introductory information
Vehicle equipment
These operating instructions describe all possible equipment variants without
identifying them as special equipment, model variants or market-dependent
equipment.
Consequently, this vehicle does not need to contain all of the equipment compo-
nents described in these operating instructions.
The level of equipment of your vehicle refers to your purchase contract of the ve-
hicle. For more information, contact your local ŠKODA retailer.
The illustrations can differ in minor details from your vehicle; they are only inten-
ded for general information.
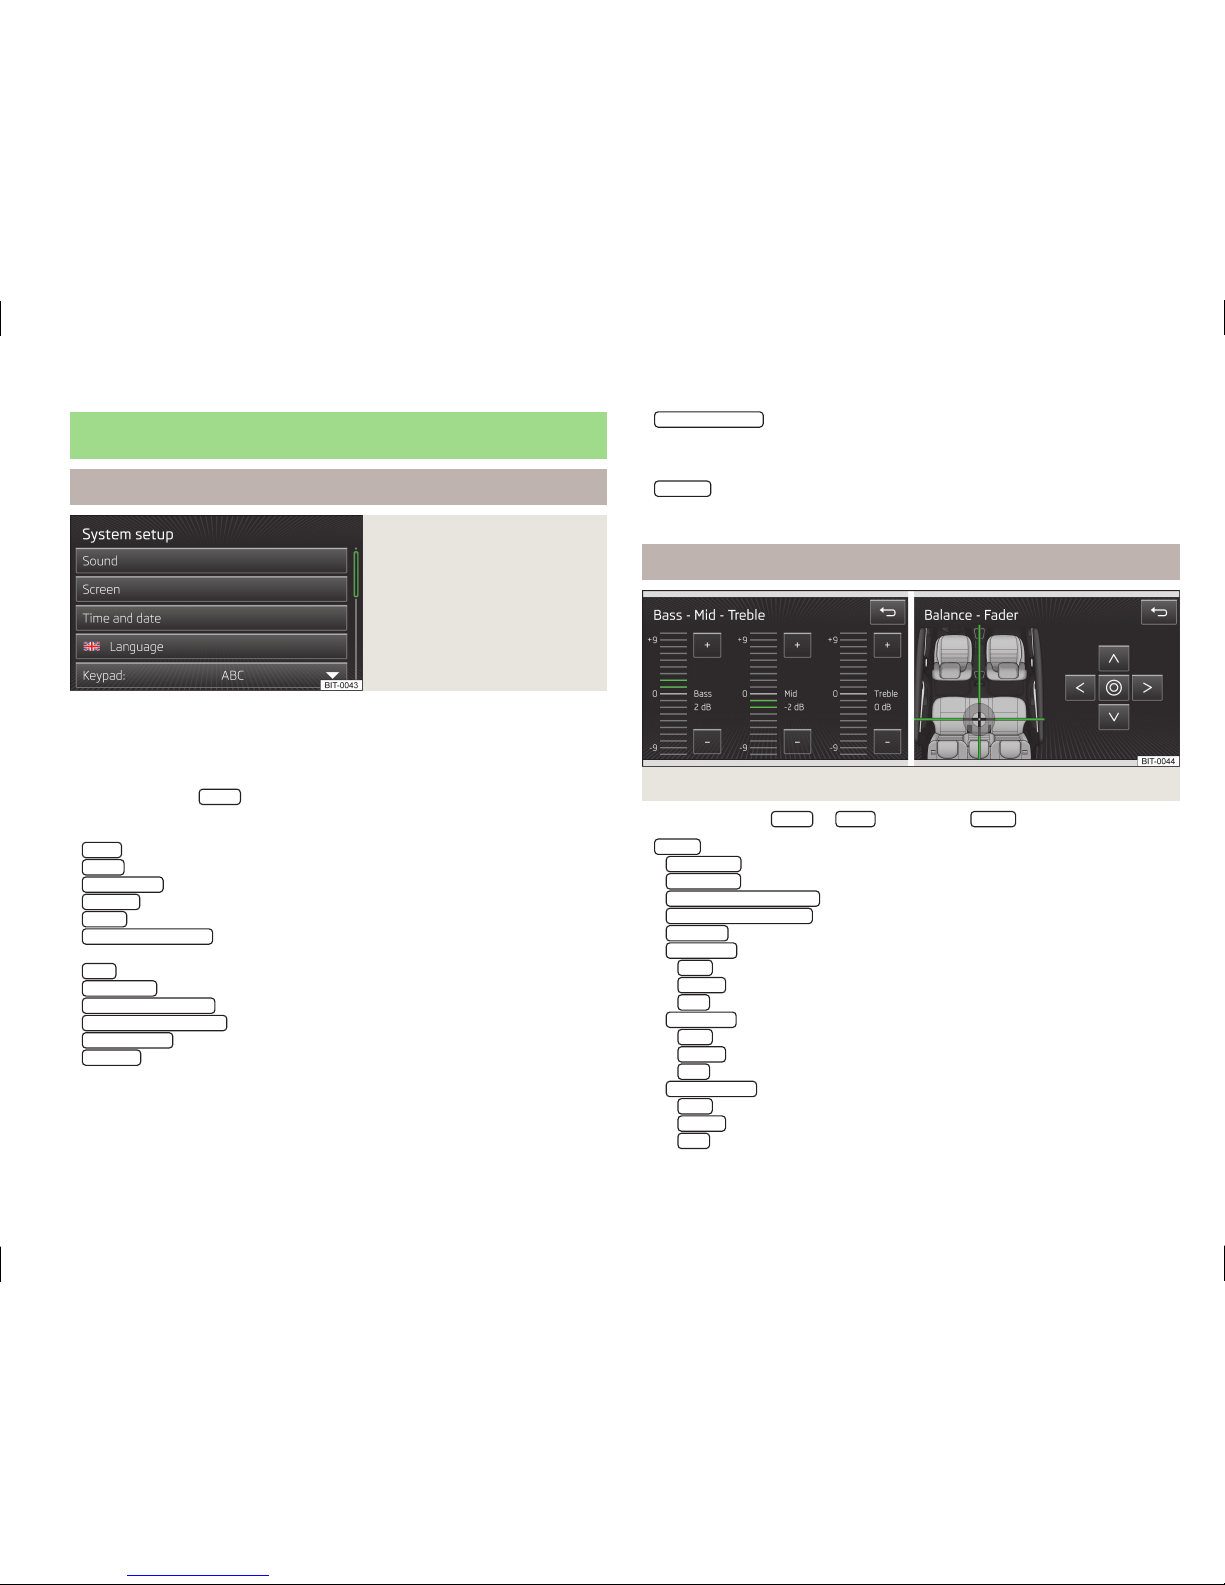
Note
High volumes can cause sound resonance in the vehicle. Ð
Safety information
WARNING
■Concentrate fully at all times on your driving! As the driver you are fully re-
sponsible for the operation of your vehicle. Only use the device such that you
are in full control of your vehicle in every traffic situation - risk of accident!
■Adjust the volume to ensure that acoustic signals from outside, e.g. sirens
from vehicles which have the right of way, such as police, ambulance and fire
brigade vehicles, can be heard at all time.
■High volumes can cause hearing damage. Ð
Warranty
The equipment warranty terms and conditions apply to this unit just like to new
vehicles » service schedule.Ð
Component protection
Some electronic control units are factory-equipped with component protection.
The component protection was developed as a protection mechanism for:
›impairment of factory- or garage-fitted control units after installation in another
vehicle (for example, after a theft);
›impairment of components operated outside of the vehicle;
›the possibility of a legitimate installation or change of control units for repairs
at a ŠKODA specialist garage.
When the component protection is enabled, the following message appears on
the display of the device Component theft protection: the infotainment system
is not fully available at present. Please switch on the ignition.
If the component protection does not activate by switching on the ignition,
please contact a ŠKODA specialist garage. Ð
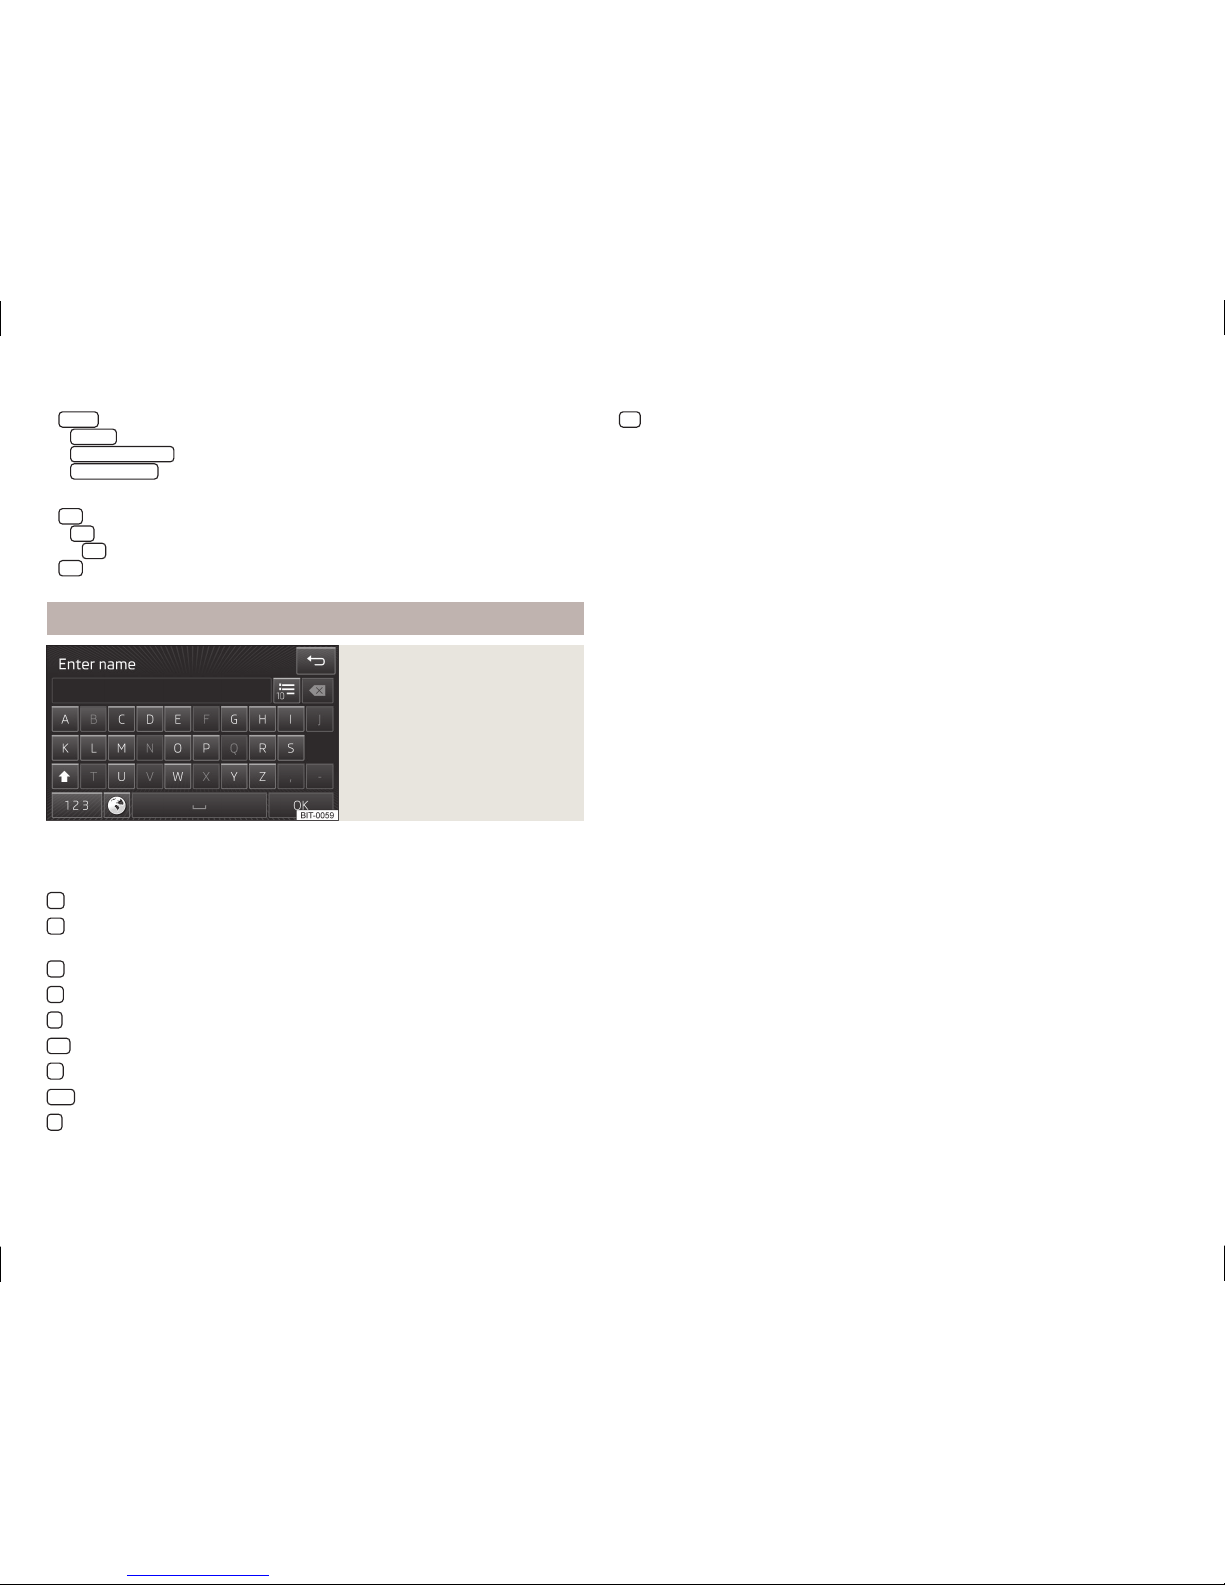
Touch screen
The unit is equipped with a so-called capacitive touch screen which can only be
operated by the touch of a finger.
CAUTION
■Operate the screen by lightly touching it with your finger. Do not apply pressure
to the screen - risk of damage!
■Do not use any objects to operate the screen - risk of damage!
■Do not use solvents such as benzine or turpentine, which may damage the
screen surface.
Note
■Use a soft cloth and, if necessary, methylated spirits, to remove fingerprints
from the screen. When doing so, ensure that you do not cause damage to other
parts of the interior.
■It is not possible to operate the screen with your fingernails or while wearing
gloves.
■Do not affix anything to the area of the unit below the screen. This could affect
the functioning of the sensors for the “zoom effect”.
■To protect the screen, you can use a suitable screen protector for touchpads
that does not affect the function of the touch screen. Ð
3
Introductory information