SLS Lab Pro Digital Ultrasonic Baths 1 C6056801
Contents
Contents ................................................................................................................ 1
Safety instructions & general use .......................................................................... 2
Installation ............................................................................................................. 3
Controls ................................................................................................................. 4
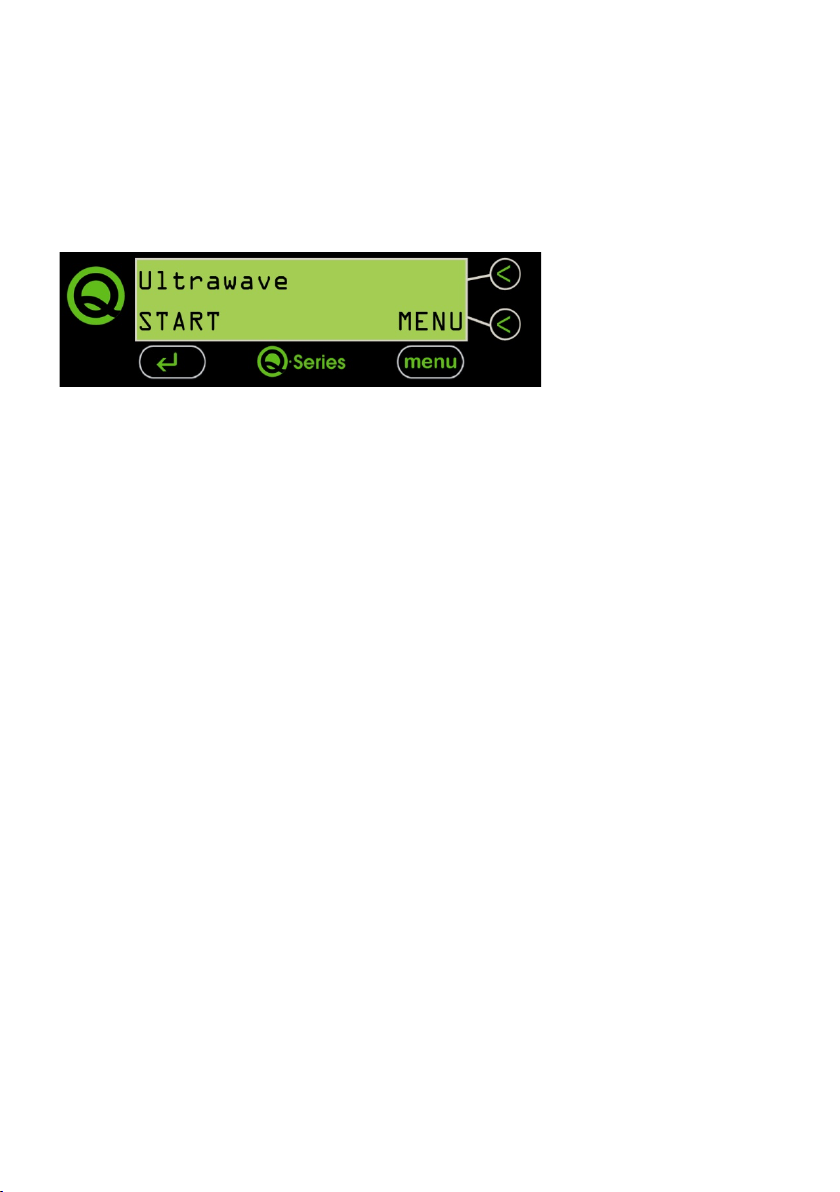
Quick guide ........................................................................................................... 5
Operator instructions ............................................................................................. 6
Operator menu ...................................................................................................... 8
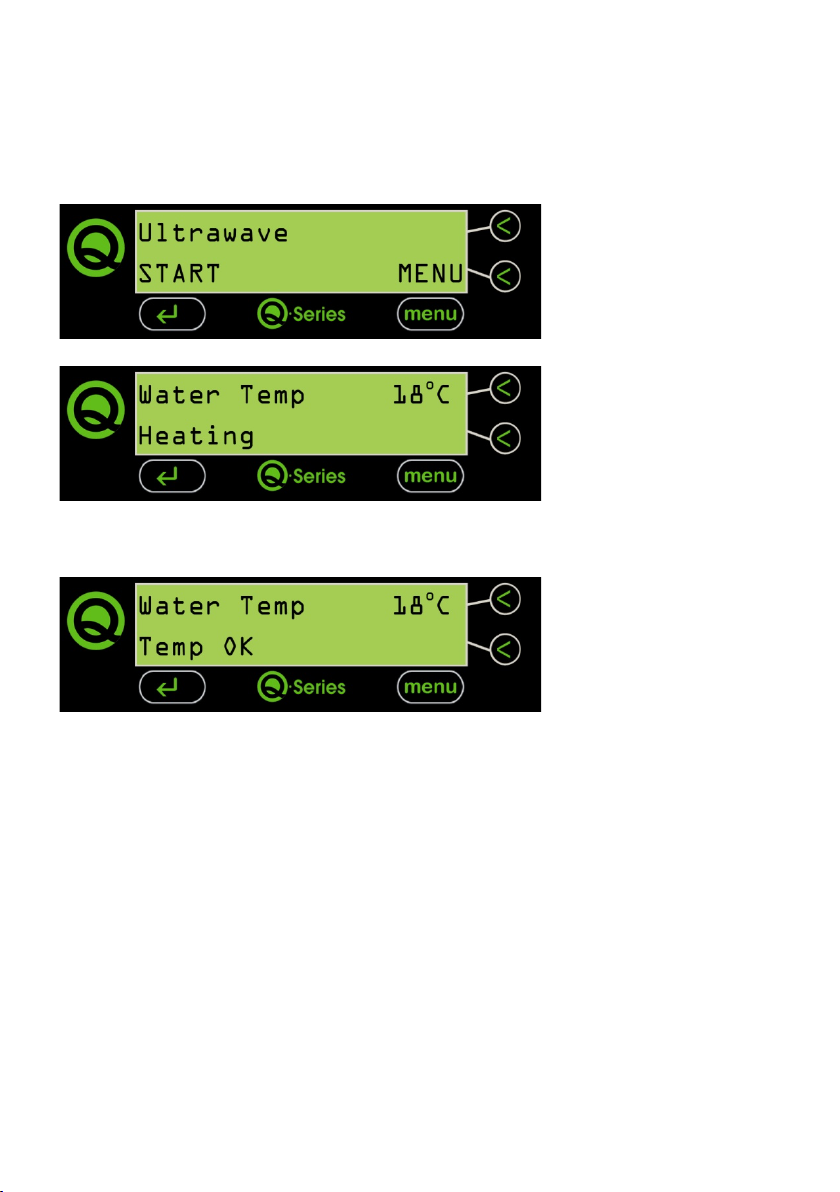
Starting the cycle ................................................................................................. 13
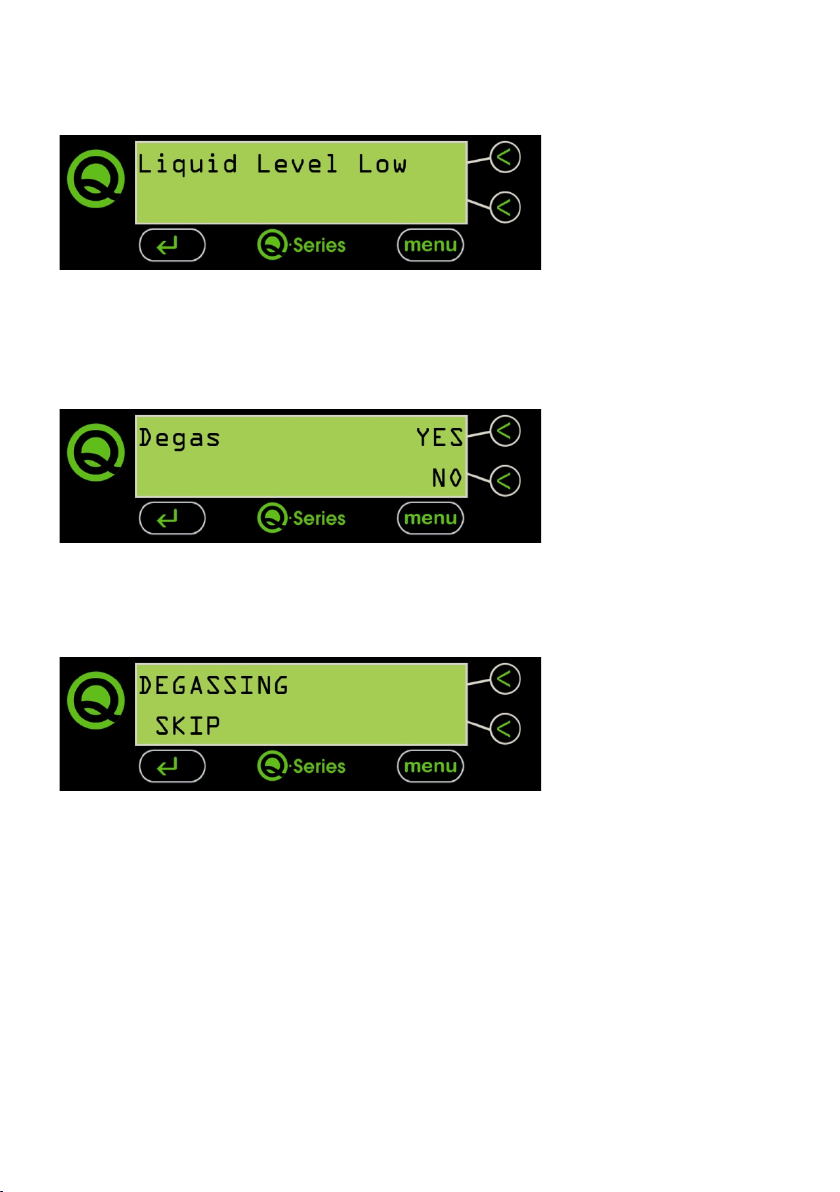
Cycle abort modes .............................................................................................. 14
Cycle abort modes .............................................................................................. 15
Advanced menu .................................................................................................. 16
Using the memory card ....................................................................................... 22
Recording the data .............................................................................................. 23
Ultrasonic cleaning detergents ............................................................................ 24
Technical information .......................................................................................... 25
Specifications ...................................................................................................... 26
Troubleshooting and Problem Solving ................................................................ 28
Returning equipment ........................................................................................... 30
Maintenance ........................................................................................................ 31
Service ................................................................................................................ 31
Warranty .............................................................................................................. 31
WEEE Compliance .............................................................................................. 33
Compliance with the Control of Noise at Work Regulations ................................ 34
Service record ..................................................................................................... 35
Notes ................................................................................................................... 37
SLS Lab Pro ultrasonic baths are manufactured in the UK
and conform to exacting international standards.