SMART Technologies
1207 – 11 Avenue SW, Suite 300
Calgary, AB T3C 0M5
CANADA
www.smarttech.com/support www.smarttech.com/contactsupport
Support +1.403.228.5940 or Toll Free 1.866.518.6791 (Canada/U.S.)
© 2007 SMART Technologies ULC. All rights reserved. SMART Board, smarttech and the SMART logo are trademarks or registered trademarks of SMART
Technologies ULC in the U.S. and/or other countries. All other third-party product and company names may be trademarks of their respective owners. U.S. Patent
Nos. 5,448,263; 6,141,000; 6,326,954; 6,337,681; 6,741,267; 6,747,636; and 7,151,533. Canadian Patent No. 2,058,219. U.S., Canadian and other patents
pending. Contents are subject to change without notice. 10/2007.
Part Number
8. Install the backer board using the appropriate screws or Toggler hollow-wall anchors.
1. Using the appropriate drill bit, drill the 5 projector bracket holes into the backer board according to the locations
indicated on the projector template.
2. Using the appropriate drill bit, drill the 5 wall-mount bracket holes into the backer board according to the locations
indicated on the projector template.
3. Remove the projector template.
4. Install the five pan-head wood screws and washers for the projector bracket into the projector bracket holes.
5. Mount the projector bracket on the five pan-head wood screws, and then tighten the screws securely.
6. Attach the interactive whiteboard’s wall-mount bracket to the backer board using the appropriate wood screws.
7. Mount the projector and SMART Board interactive whiteboard on the backer board.
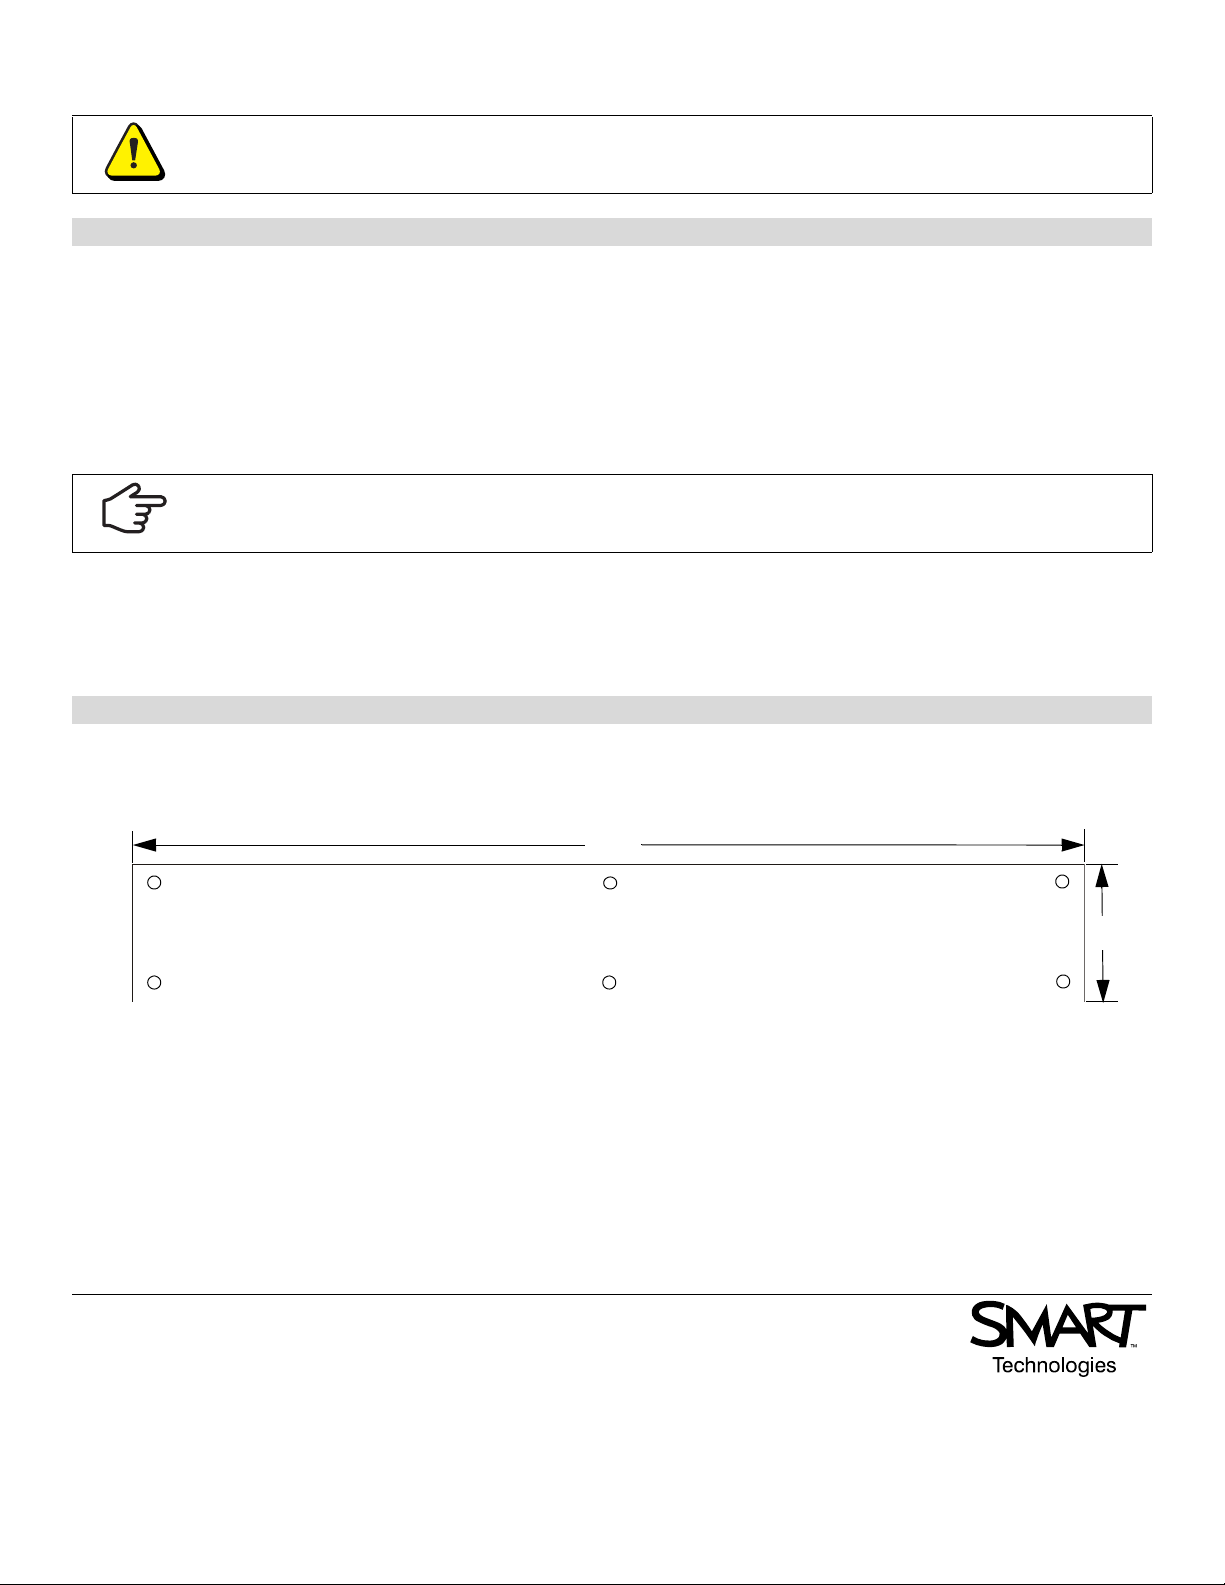
1. Drill six holes into the 4" × 28" piece of plywood (pen tray bracket spacer) according to the measurements indicated in
following diagram.
2. Attach the pen tray bracket spacer to the wall behind the interactive whiteboard’s pen tray brackets using the
appropriate wood screws.
NOTE: You must install the pen tray bracket spacer to prevent unnecessary movement of the interactive whiteboard
and keystoning of the projected image.
3. Bend the metal tabs located in the center of each pen tray bracket so that they rest against the pen tray bracket spacer.
Place the SMART Board interactive whiteboard parallel to the backerboard.
4. Screw the metal tabs to the pen tray bracket spacer with an appropriate Phllips screwdriver and screws.
The backer board’s center holes must align with a stud. Use Toggler hollow-wall anchors to install the
backer board if the wall has metal studs, and for holes that don’t align with studs.
To install the projector bracket
Don’t fully insert the screws. Leave a 1/4" (6mm) space between the head of the screw and the backer
board surface.
To install the pen tray bracket spacer
28"
4"