C H A P T E R 1
About your interactive whiteboard system
2 smarttech.com/kb/170548
SMARTBoardM685ix2 interactive whiteboard
system features
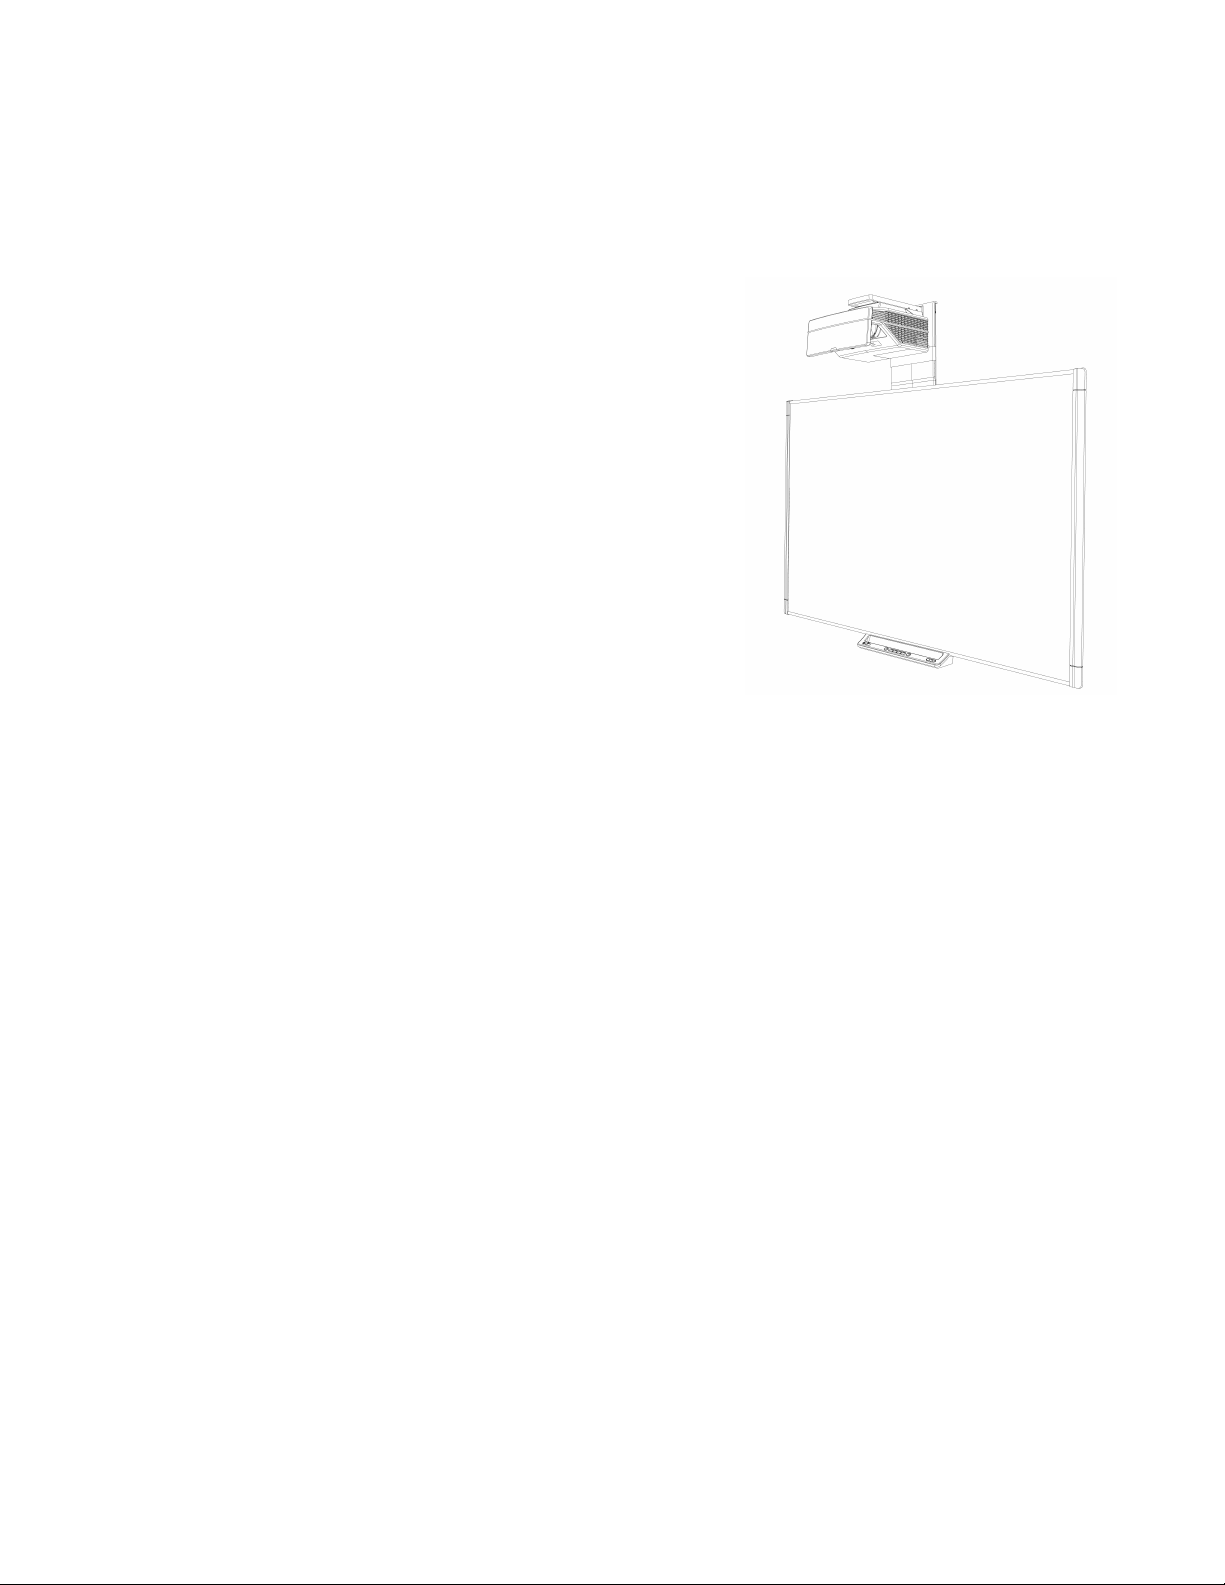
Your SMARTBoardM685ix2 interactive whiteboard
system uses the WXGA (16:10) ultra-short-throw,
high-offset SMARTUX80 projector. It delivers
high-definition, high performance interactivity that is
virtually shadow--free and glare--free.
The modular and expandable hardware and software
architecture of your interactive whiteboard system
enables you to do everything you can do at your
computer—open and close applications, meet with
others, create new documents or edit existing ones, visit
websites, play and manipulate video clips and more—
just by touching the interactive surface.
The projector also supports video and audio connections
from a variety of devices, including DVD and Blu-ray™
players, document cameras, and other high-definition sources, and can project media from these
sources onto the interactive screen.
When you use SMART software with your SMARTBoardM685ix2 interactive whiteboard system,
you can write over any application in digital ink using a pen tray pen or your finger, and then save
these notes for future reference and distribution.
SMARTBoard M600 series interactive whiteboard
Your SMARTBoard M600 series interactive whiteboard, featuring SMART’s proprietary DViT®
(DigitalVisionTouch) technology, is the most intuitive touch-sensitive front projection interactive
whiteboard in the world.
The SMARTBoard M600 series interactive whiteboard performs best with the SMARTUX80
projector because of its exceptional color performance, aspect ratio, input response and short-throw
image distance.