SmartDisk NetDisk User manual


Guide de l'utilisateur sur CD
Guida per l'utente su CD
Benutzerhandbuch auf CD
Manual del usuario en CD
Handleiding op cd
Revision 1.0

SMARTDISK NETDISK® HARD DRIVE.....................................1
CONTROLS AND INDICATORS...................................................2
WHICH INTERFACE: USB OR ETHERNET?............................3
CONNECTING NETDISK USING USB.........................................3
STORING AND TRANSFERRING DATA VIA USB ................................5
DISCONNECTING NETDISK FROM USB.............................................6
CONNECTING NETDISK USING ETHERNET ..........................7
PREPARING FOR DEVICE REGISTRATION ..........................................7
CONNECTING THE HARDWARE TO YOUR LAN.................................8
INSTALLING NDAS™ SOFTWARE ON YOUR PC..............................9
REGISTERING AND MOUNTING YOUR NETDISK.............................10
NETDISK OPERATION USING ETHERNET............................11
SHARING NETDISK OVER YOUR LAN ............................................12
THE NDAS DEVICE MANAGER......................................................12
NETDISK STATUS AND MODE INDICATOR......................................14
CHANGING FROM READ / WRITE MODE TO READ ONLY MODE.....16
CHANGING FROM READ ONLY MODE TO READ / WRITE MODE.....17
GETTING HELP.............................................................................17
WARRANTY TERMS....................................................................18
RIGHTS............................................................................................19
FCC COMPLIANCE ......................................................................20

1
SmartDisk NetDisk® Hard Drive
Your SmartDisk NetDisk® desktop hard drive, or NetDisk® portable
drive, is a versatile external hard drive featuring high-performance
storage and a choice of either high-speed USB 2.0 or Ethernet
interface. Once your drive is connected properly to your computer
running Windows 2000 or Windows XP, you will be able to use it as
you would any hard drive for storing your data and for performing
data back-up functions.
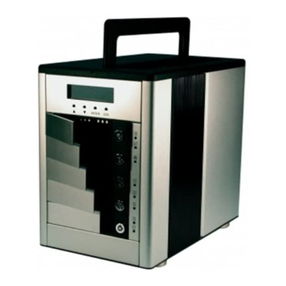
NetDisk Desktop Hard Drive NetDisk Portable Hard Drive
In this manual the term “NetDisk”, when used without further
qualifiers, will be used to refer to both the NetDisk desktop hard drive
and the NetDisk portable drive.
Your NetDisk drive comes pre-formatted from the factory in NTFS
format, which is the preferred format for use with Windows 2000 or
Windows XP.
Note: Capacity dependent on model. Your operating system may
report capacity as fewer gigabytes. 1 GB = 1,000,000,000 bytes.

2
Controls and Indicators
The rear panel of your NetDisk drive contains the three interface
connectors and single control switch as described below.
or DC Input Jack For use with the included AC Adapter.
USB Jack For use with the included USB cable.
Ethernet Jack For use with the included Ethernet cable.
Power Switch Controls power to the unit.
Slide this switch to the “ON” position to apply power to the unit,
and to the “OFF” position to remove power from the unit. To
avoid data loss, do not turn off the unit while the yellow Activity
LED is flashing.
During operation, you can monitor the current status of your NetDisk
drive by viewing the two LED’s located on the top surface of the unit.
Power LED (Green) Indicates that power is applied to the unit.
Activity LED (Yellow) Indicates that the disk drive is being accessed.
To extend the useful life of your NetDisk, turn the
unit OFF when not in use.

3
Which Interface: USB or Ethernet?
In order to install and use your NetDisk drive, you need to decide
which interface is better for you. With the flexibility of NetDisk, you
can always change the interface you want to use later, depending on
your application or computer environment. However, never attempt to
connect to both USB and Ethernet at the same time.
If you do not have an Ethernet network available to you, or you
primarily want to provide additional storage to a single computer, then
you should consider USB as your interface selection. Please continue
reading from the next section to learn how to install your NetDisk
using USB.
If your PC is connected to a Local Area Network (LAN) over
Ethernet (either wired or wireless), and you primarily want to provide
shared storage amongst two or more computers on the LAN, then you
should consider Ethernet as your interface selection. Please jump to
the section entitled Connecting NetDisk Using Ethernet to learn
how to install your NetDisk using Ethernet.
Connecting NetDisk Using USB
Installing your NetDisk using USB is extremely simple. Follow the
steps below, depending on which NetDisk model you are installing.
Caution: Do not connect both USB and Ethernet
at the same time.

4
NetDisk Desktop Drive:
1. Connect the included AC Adapter to NetDisk, and then to a
wall outlet using the included power cord.
2. Then locate the power switch on the back of the NetDisk,
and slide it to the ON position.
3. Finally, connect the included USB cable from the USB port
on NetDisk to the USB port on your PC.
NetDisk will mount automatically, and a new icon will appear in My
Computer representing your NetDisk.
NetDisk Portable Drive:
The NetDisk portable drive can be operated either in bus-powered
mode, or in self-powered mode using the included AC Adapter,
depending on the amount of power available from your computer.
Bus-Powered Mode:
This mode uses the power provided over the USB cable and does
not require use of the optional AC Adapter.
1. Locate the power switch on the back of your NetDisk
and slide it to the OFF position.
2. Next connect the included 3-connector USB cable from
the USB port on NetDisk to the USB port on your PC
(one connector of the 3-connector USB cable will be
unused).
If there is adequate power being supplied from your PC, the
NetDisk will mount automatically, and a new icon will appear in
My Computer representing your NetDisk.
If it does not mount automatically, you may need to connect
BOTH USB connectors of the supplied 3-connector USB cable
to available USB ports on your PC. If your NetDisk still fails to
mount, you will need to use the included AC Adapter in self-
powered mode, as explained below.

5
Self-Powered Mode:
1. Connect the included AC Adapter to NetDisk, and then
to a wall outlet.
2. Then locate the power switch on the back of the
NetDisk, and slide it to the ON position.
3. Next connect the included 3-connector USB cable from
the USB port on NetDisk to the USB port on your PC
(one connector of the 3-connector USB cable will be
unused).
The NetDisk will mount automatically, and a new icon will
appear in My Computer representing your NetDisk.
Note: If you are using a USB 1.1 port on your Windows computer,
the following cautionary note may appear on your display: Hi-
Speed USB Device plugged into non-Hi-Speed USB hub. This
does not indicate a problem because NetDisk is compatible with
both USB 1.1 and USB 2.0 ports. Simply close the message and
proceed. However, in this case NetDisk will operate only at USB
1.1 speeds.
Storing and Transferring Data via USB
Once your drive is connected to a computer via USB, it can be
accessed and used like any other removable disk. You can drag files
to your NetDisk’s icon to copy them, navigate to your hard drive in
Open or Save dialog boxes, or delete files stored on your SmartDisk

6
hard drive. For information on copying, opening, or deleting files,
consult your computer’s documentation.
Disconnecting NetDisk from USB
Your NetDisk drive is hot-pluggable; it can be connected and
disconnected without restarting your computer. To disconnect your
drive at any time, perform the following steps. You can also
disconnect your hard drive at any time while your computer is
powered off.
Note: Please be careful to follow the correct procedure when
disconnecting your hard drive. Simply unplugging the hard drive
without first following the instructions below may result in damage
to your hard drive and/or loss of data.
1. If you have files located on your hard drive open in any application,
close them.
2. Click the Unplug or Eject Hardware button in the System Tray.
3. Select your NetDisk drive from the menu that appears.
4. After a moment, Windows will display a message indicating that
your hardware can be safely removed.
You may also simply shut down your computer with the NetDisk
drive connected, and then disconnect it.

7
Connecting NetDisk Using Ethernet
Installing NetDisk using Ethernet is a very simple process that
involves four fundamental steps:
1. Preparing for device registration
2. Connecting the hardware to your LAN
3. Installing NDAS™ software on your PC
4. Registering and mounting your NetDisk
Note that steps 3 and 4 must be performed on each PC that will
access your NetDisk.
Preparing for Device Registration
Later in the process you will be asked to enter a unique 20-character
code, referred to as your “NDAS Device ID”, which has been
supplied with your unit. The process of entering this unique code is
referred to as Device Registration. Take this time to copy this code
where indicated in the space provided below. You will find the code
located on a sticker that has been affixed to the bottom of your
NetDisk unit. Note that although the code is comprised of both
numbers and letters, no code will contain either the letter ‘O’, or the
letter ‘I’, to avoid possible confusion with the numbers 0 and 1.
Similarly, you will be asked to enter a unique 5-character code,
referred to as your “Write Key”, which can be found below the NDAS
Device ID on the sticker on the bottom of your NetDisk unit. Take
this time to copy this code where indicated below.
Note: Since any user on your LAN who has possession of the
Write Key can gain permission to write to the NetDisk, you may
prefer to keep the Write Key written elsewhere and placed in
safekeeping.

8
Carefully enter your 20-character NDAS Device ID
here for future reference:
Carefully enter your 5-character Write Key here for
future reference:
Connecting the Hardware to Your LAN
Now you are ready to physically connect the NetDisk to the Ethernet
network and power it on.
1. Connect the included Ethernet cable from the Ethernet port
on NetDisk to an Ethernet switch (100 Base-T) or wireless
router or wireless access point.
2. Connect the included AC Adapter to NetDisk, and then to a
wall outlet.
3. Then locate the power switch on the back of the NetDisk,
and slide it to the ON position.
Note: Do not enter the letter ‘O’ or the letter “I”.

9
NetDisk Connected to Fast Ethernet Switch
NetDisk Connected to Wireless Router or Wireless Access Point
Installing NDAS™ Software on Your PC
Note: If you are using firewall or anti-virus software, please
disable these services before installing the NDAS software.
To begin the software installation, insert the included “NetDisk
Installation CD” into your CD-ROM Drive and follow the instructions
on the screen for installing NDAS software.
Note for Windows XP: If you see a caution notice stating that the
software has not passed Windows Logo testing, simply select
“Continue Anyway” to proceed with the installation.

10
Note for Windows 2000: If you see a caution notice stating
“Digital Signature Not Found”, simply select “Yes” to proceed
with the installation.
After the initial steps of the installation process have completed, you
will be prompted to reboot your computer. After rebooting, Windows
will now detect the presence of your NetDisk, and will automatically
launch the “Found New Hardware Wizard”. With the NetDisk
Installation CD still in the CD-ROM drive, follow the instructions on
the screen to complete the software installation.
When software installation is completed, you will find the NDAS
Device Manager Launcher Icon on your desktop screen and the
NDAS Device Manager Tool Icon on the system tray. The
Launcher (desktop icon) can be used later in case you ever need to re-
load the NDAS Device Manager Tool onto the system tray.
The NDAS Device Manager Tool (system tray icon) allows you to
perform the following functions:
• Refresh NetDisk status
• Register a new NetDisk device
• Display software version
• Mount a NetDisk for Read / Write access
• Mount a NetDisk for Read Only access
• Unmount one or more NetDisks
• Edit NetDisk name
• Display NetDisk properties
• Disable NetDisk (Deactivate further device communication, or
Unregister the device)
Registering and Mounting Your NetDisk
The final step for installing NetDisk for use on your Ethernet LAN is
to register your NetDisk using the NDAS Device Manager tool.
1. Click NDAS Device Manager Tool Icon located on the system
tray.

11
2. Select ‘Register a New Device’.
3. Follow the prompts on the screen from the Registration Wizard and
enter the requested information:
• NetDisk Name: Enter a name that will be used when listing
your NetDisk in the NDAS Device Manager pop-up menu.
• NDAS Device ID: Enter the 20-character ID (as described
above in Preparing for Device Registration)
• Write Key: (optional) Enter the 5-character Write Key (as
described above in Preparing for Device Registration) The
Write Key must be entered in order to have NetDisk Write
privileges from this computer.
• Mounting preference: Select Mount Read/Write; Mount Read
Only; or defer mounting to later.
This completes the installation process for using NetDisk with
Ethernet. Confirm that NetDisk shows up in My Computer as a local
drive. The drive letter assigned by the operating system may vary
between computers and different configurations. The drive name in
My Computer will reflect the Volume Label on hard drive, and may
differ from the name you entered above during Device Registration.
You can now begin to use NetDisk like a local drive on your PC.
NetDisk Operation Using Ethernet
If you have Read Only access, you can access and read files placed on
NetDisk by others. If you have Read/Write privileges, you can
• Drag and drop files to NetDisk
• Copy and paste data to NetDisk
• Make and delete folders
• Share files and folders
• Back-up your data

12
Sharing NetDisk over your LAN
Once NetDisk is connected to your network, it can be accessed from
any computer on your LAN that has installed the NDAS software and
has completed Device Registration.
To share NetDisk over Ethernet, the following conditions are
required:
• All computers and NetDisk must be on the same LAN.
• NetDisk must be connected via Ethernet or a Wireless
Access Point.
• To share Read and Write access, all computers on the
network using the NetDisk must have the same NetDisk
driver version installed (such as 3.xx).
• NetDisk must be registered onto each computer.
In addition, please comply with the following caution when sharing
NetDisk over Ethernet:
Do not perform disk operations such as format or partition
when multiple PCs are connected. NetDisk can be
formatted or partitioned only when one PC is connected.
The NDAS Device Manager
The NDAS Device Manager is an application that runs on your PC
and helps you to manage the available features and modes of NetDisk
devices installed and registered on your LAN. Below is a brief
description of the how to run NDAS Device Manager, and how to use
its menu options.
To run NDAS Device Manager, click the NDAS Device Manager
Tool icon in the system tray at the lower right corner of your
Windows display. All registered NetDisks will be displayed at the top
Caution: Do not format or partition while sharing
NetDisk.

13
of the NDAS Device Manager Tool Menu. The name you entered at
the registration step will be displayed here.
If for any reason the NDAS Device Manager Tool gets removed from
the system tray, it can be restored by double clicking the NDAS
Device Manager Launcher icon on the Desk Top.
The menu options provided by NDAS Device Manager are:
• Refresh Status – This updates the status of NetDisk units
that are connected to the network.
• Register a New Device – Prompts you for information
required to register a new NetDisk onto your computer. Each
time a new NetDisk is added, it must be registered. For more
information please refer to the section Registering and
Mounting Your NetDisk.
• About - Displays the NDAS Device Manager version
number.
• Options – Presents several menu selections for how you
want NDAS Device Manager dialogues to appear, and how
you interact with NDAS Device Manager.
• Exit - Exits NDAS Device Manager.
• [NetDisk] - Place the cursor over any listed NetDisk to view
further options for that drive.
- Mount Read/Write – Mounts the unit as a Read / Write
device. This option is listed only when the unit is connected
and NDAS communications are activated.
- Mount Read Only – Mounts the unit as a Read Only device.
This option is listed only when the unit is connected and
NDAS communications are activated.
- Unregister – Removes the unit from the list of registered
devices in the NDAS Device Manager pop-up menu. This
option is listed only when the unit is Disconnected or
Deactivated. Once unregistered, the NDAS Device ID must be
re-entered in order to register again.

14
- Unmount - Removes the unit from My Computer, which
prevents this computer from writing to and reading from
NetDisk. This option is listed only when the unit is mounted. If
NetDisk is being used by any application, NetDisk will not
unmount. Wait until applications are finished using NetDisk
and then try disabling it again.
Note: The Unmount function can also be accomplished using the
“Safely Remove Hardware” icon in your Windows system tray.
- Activate – Reestablishes NDAS communications with the
device. This option is listed only when the unit is Deactivated.
- Properties – Presents a menu that allows the display of
detailed parameters related to the unit. The Properties menu
also provides a means to rename the unit, and includes
Advanced feature options, such as Deactivation and
Connection Reset.
NetDisk Status and Mode Indicator
The current status of NetDisk is defined by the combined state of four
primary conditions: registration, activation, connection, and
mounting. When all four conditions are met, you will be able to
access NetDisk. A brief description of each condition will help you
understand the mode indicator icons described in the table later in this
section.
1. Registration
If you have entered the NetDisk ID during installation or later during
the “Register a New Device” dialogue, your device is registered and
will show up in the list of devices at the top of the NDAS Device
Manager pop-up menu.
2. NDAS Activation
During initial installation or registration, NDAS driver software will
automatically begin communicating with your NetDisk. You can
deactivate this communication using the “Deactivate” command,
accessed through the “Advanced” tab of the NDAS Device Manager

15
“Properties” menu. You can later “Activate” again through the NDAS
Device Manager.
3. Connection
A NetDisk that is registered and activated will be connected when it is
powered on and the Ethernet cable is plugged in between NetDisk and
the LAN.
4. Mounting
A NetDisk that is registered, activated, and connected, can be
mounted. Mounting is performed with the Mount commands in the
NDAS Device Manager pop-up window. Once mounted, NetDisk will
show up in My Computer.
As an aid to help you quickly determine the state of any registered
NetDisk, a colored icon is shown next to the name of each NetDisk in
the NDAS Device Manager pop-up list. Refer to the table below for a
description of the state associated with each color.

16
Color Icon State / Meaning
Black
Disconnected
This unit is not connected to the local network. It may
be because it is powered OFF or the Ethernet cable
may be unplugged. Also, make sure any Antivirus /
Firewall software is not interfering with the connection.
From this state you can elect to disable it by
deactivating further NDAS communication or by
unregistering the unit. If you unregister, you will need
to re-enter the NDAS Device ID when you attempt to
register again.
Green Mounted as Read Only
This unit will show up in My Computer. However, you
can only read from it.
Blue Mounted as Read / Write
This unit will show up in My Computer. You can read
and write to it.
White
Unmounted
This unit is connected and NDAS communication is
activated, but it will not show up in My Computer.
From this state you can elect to mount it, or elect to
disable it by deactivating further NDAS
communication or by unregistering the unit. If you
unregister, you will need to re-enter the NDAS Device
ID when you attempt to register again.
Red
NDAS Communication Deactivated
Communication with this unit has been deactivated.
You can activate it once again using the NDAS Device
Manager.
From this state you can elect to disable it by
unregistering the unit. If you unregister, you will need
to re-enter the NDAS Device ID when you attempt to
register again.
Changing from Read / Write Mode to Read Only Mode
To change from Read/Write mode to Read Only mode, perform the
following steps:

17
1. Click NDAS Device Manager Tool and select the NetDisk
whose mode you want to change
2. Select Mount Read Only. The blue color will change to
green, indicating Read Only Mode.
Changing from Read Only Mode to Read / Write Mode
To change from Read Only mode to Read/Write mode, perform the
following steps:
1. Click NDAS Device Manager Tool and select the NetDisk
whose mode you want to change.
2. Select Mount Read/Write. Provided that the Write Key was
entered during the registration process for this computer, the
green color will change to blue, indicating Read/Write Mode.
Getting Help
If you are experiencing difficulty installing or using your SmartDisk product,
please visit the main SmartDisk Technical Support website at
www.SmartDisk.com. From this page you can access our library of user
documentation, read answers to frequently asked questions, and download
available software updates. Although most of our customers find this content
sufficient to put them back on the right track, this page also lists ways in
which you can contact the SmartDisk Technical Support Team directly.
Please take this time to enroll to receive future information about your
SmartDisk product at www.SmartDisk.com/Registration.asp. This enrollment
is quick and easy and will assist us in providing the best possible experience
with this and future SmartDisk products.
Table of contents
Other SmartDisk Storage manuals
SmartDisk
SmartDisk Rover none User manual
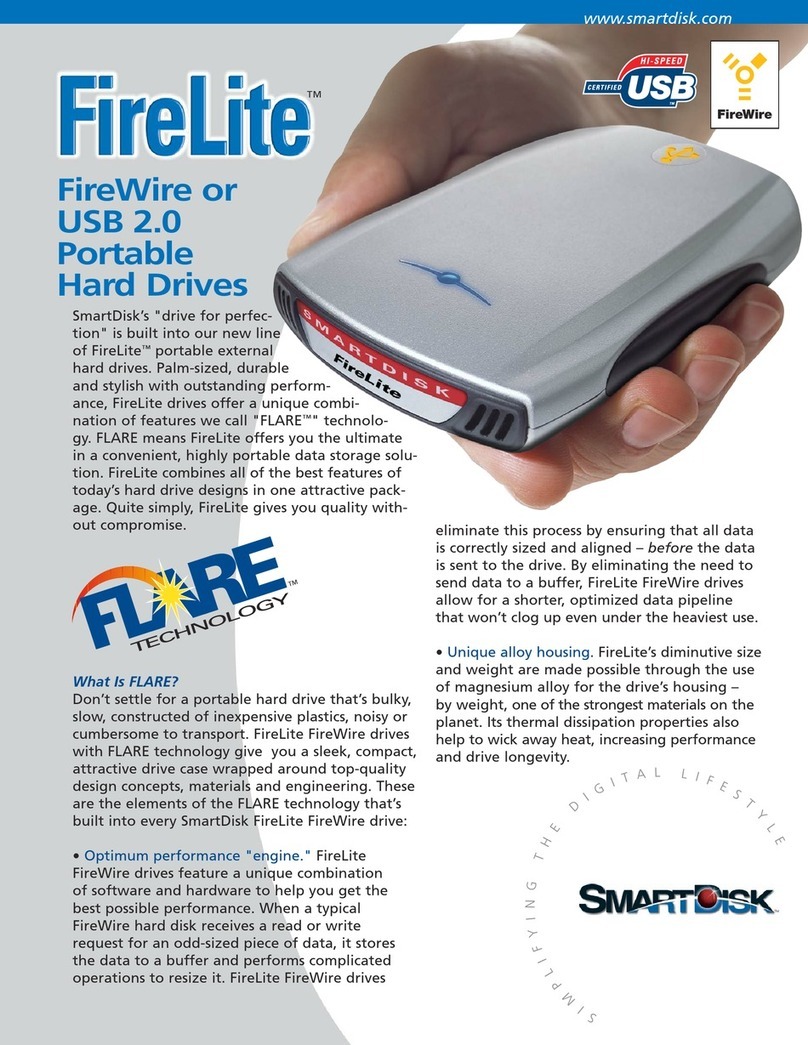
SmartDisk
SmartDisk FireLite User manual

SmartDisk
SmartDisk FotoChute Portable Hard Drive User manual

SmartDisk
SmartDisk FireLite USBFL Series User manual
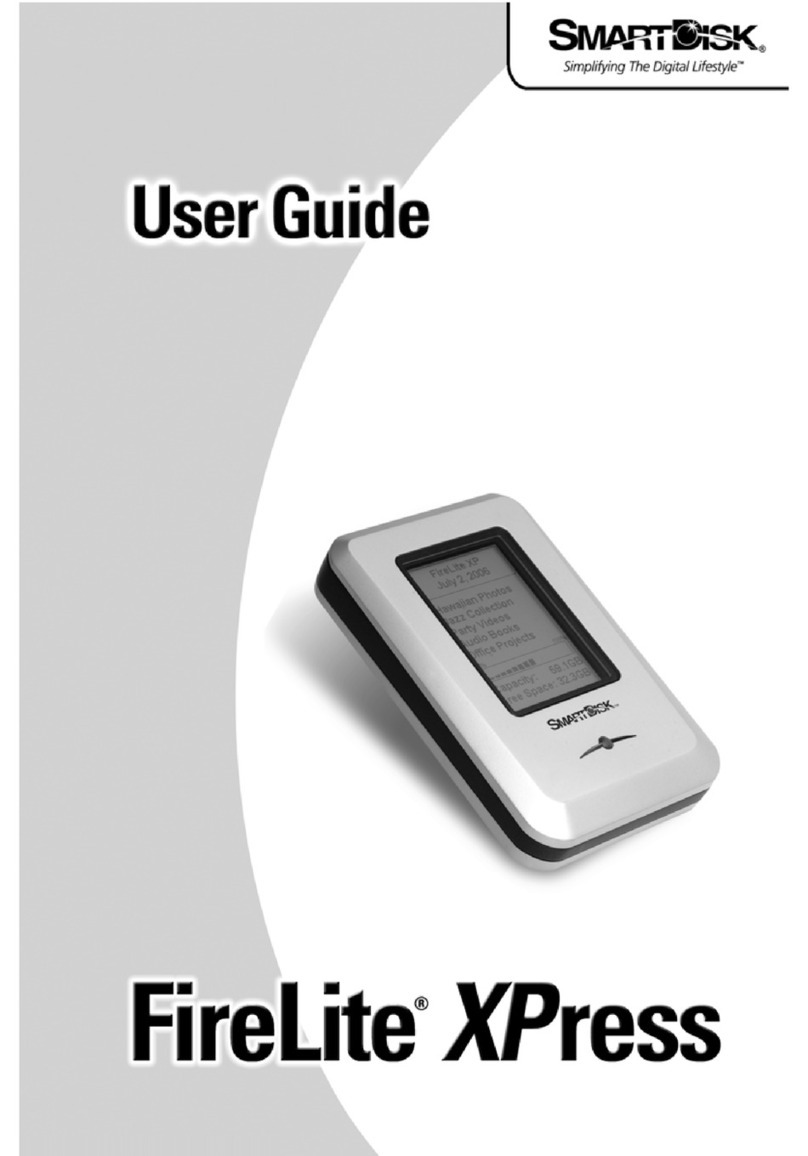
SmartDisk
SmartDisk FireLite XPress User manual

SmartDisk
SmartDisk FireLite User manual

SmartDisk
SmartDisk FireLite User manual
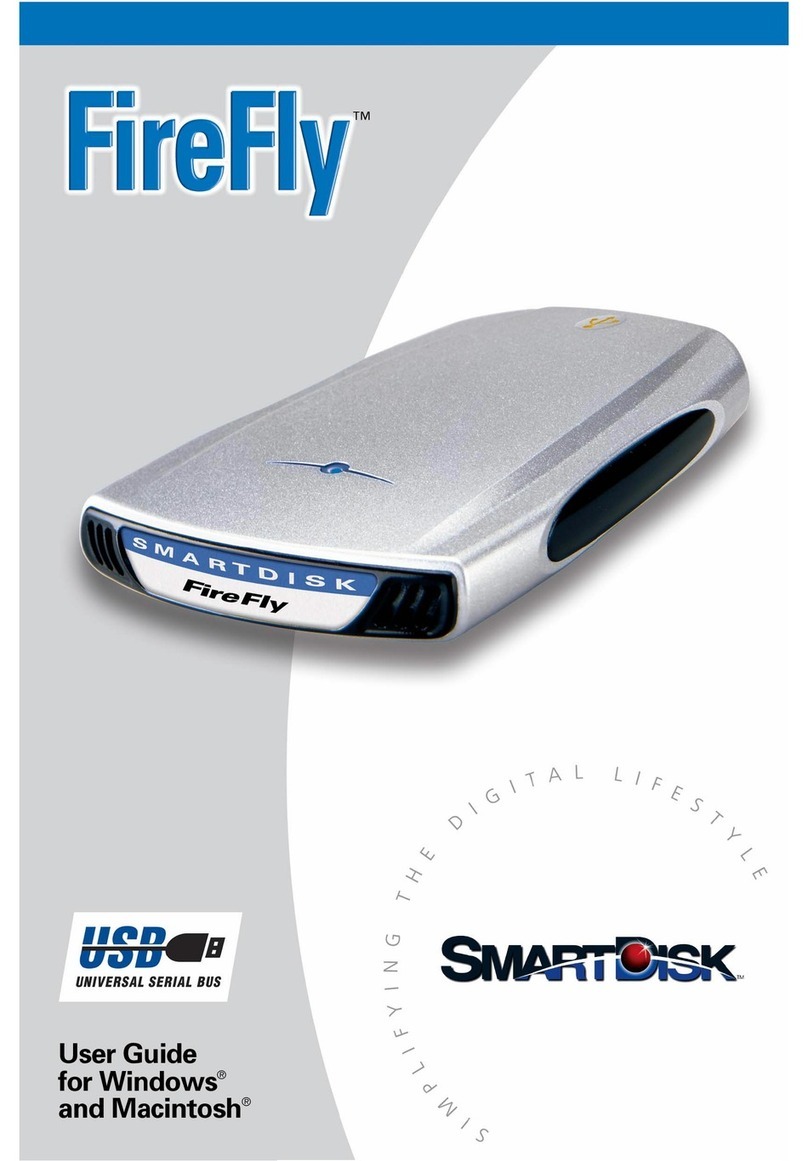
SmartDisk
SmartDisk FireFly USBFF05P User manual
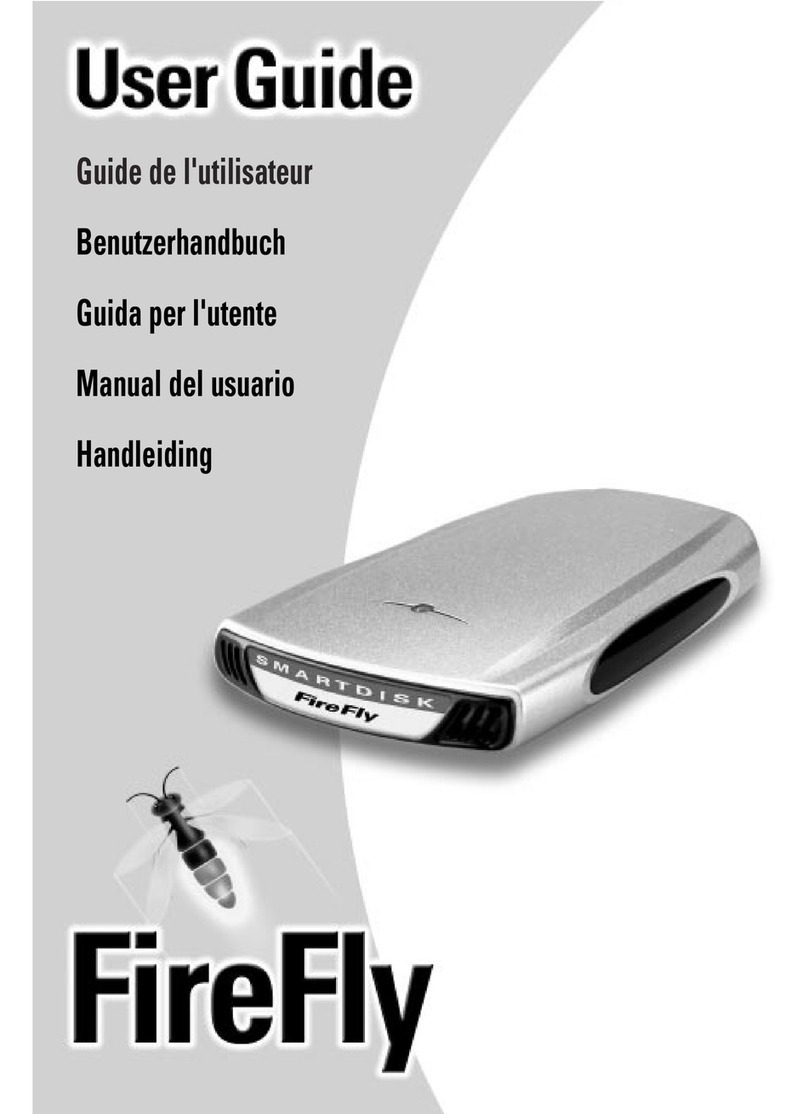
SmartDisk
SmartDisk FireFly Computer Hard Drive User manual
SmartDisk
SmartDisk FireLite FireWire 800 User manual

