2 — US 424 Expansion Quick Start Guide
Unpack the US 424 Expansion
ARemove all the components from packaging.
Position hands under the chassis to pull it free
from the foam insert. Do NOT lift out the US 424
chassis from its packaging using the controller
handles or attached rails.
BPlace the components on an anti-static surface
until you are ready to use them.
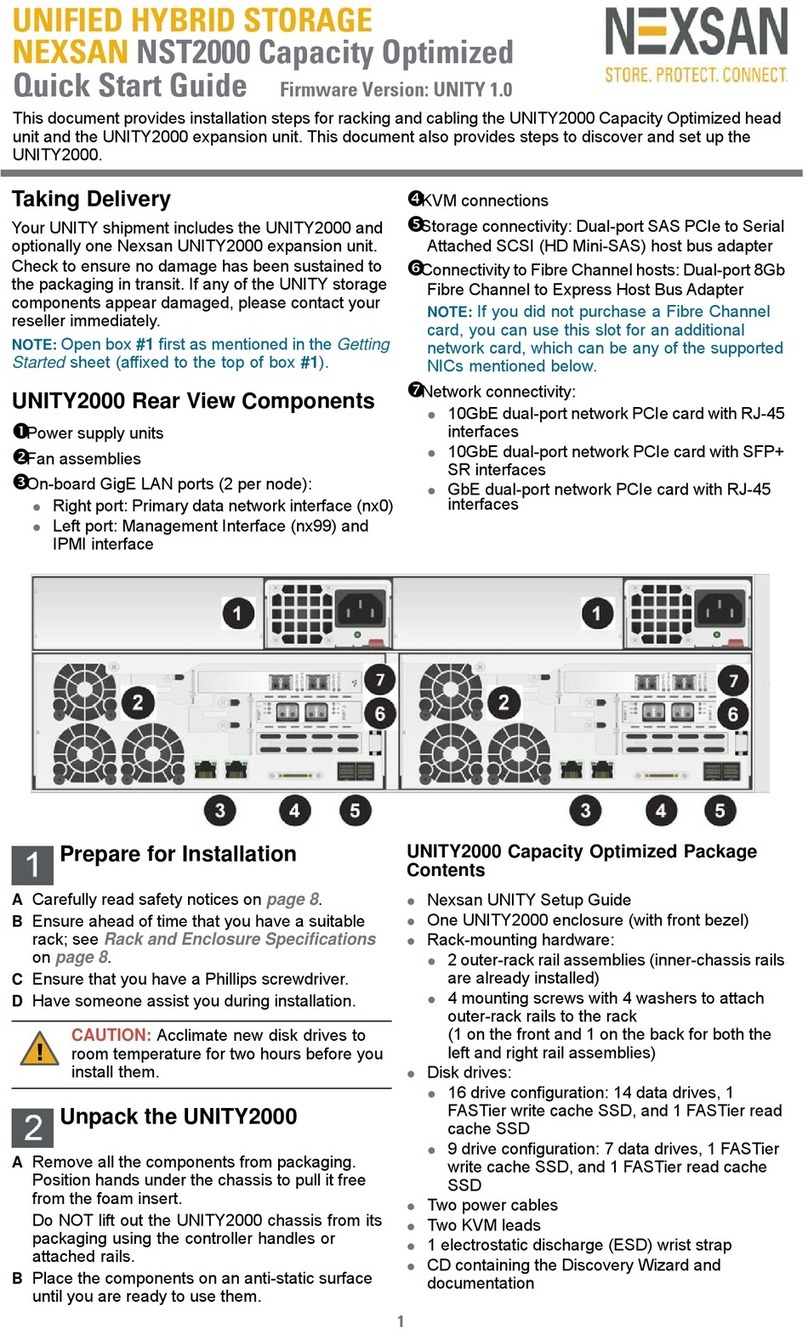
US 424 Expansion package contents
Nexsan Unity Setup Guide
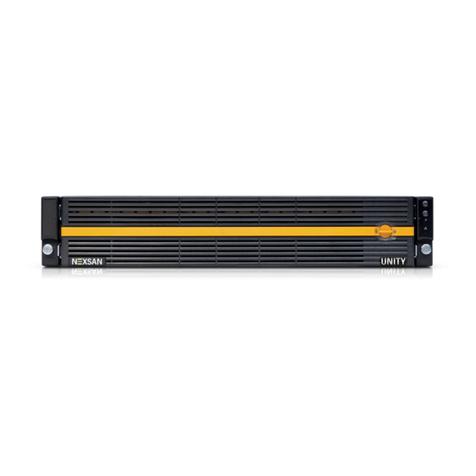
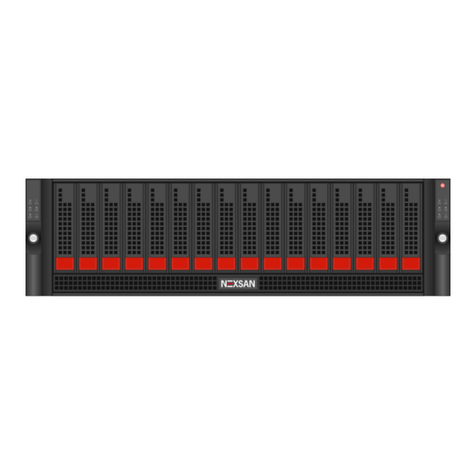
One US 424 expansion and front bezel
Rack-mounting hardware:
Two outer-rack rail assemblies (inner-chassis
rails are already installed)
Four mounting screws with 4 washers to attach
outer-rack rails to the rack
(1 on the front and 1 on the back for both the
left and right rail assemblies)
FASTier, SSD, and HDD drives. Check that the
components included in your shipment
correspond to your packing slip.
SAS cables (HD Mini SAS to HD Mini SAS)
Two power cords
1 electrostatic discharge (ESD) wrist strap
Rack the US 424 Expansion
Step 1: Remove the front bezel
ATurn the key lock at the right end of the bezel to
the unlock position.
BUnhook the left end of the bezel from the chassis.
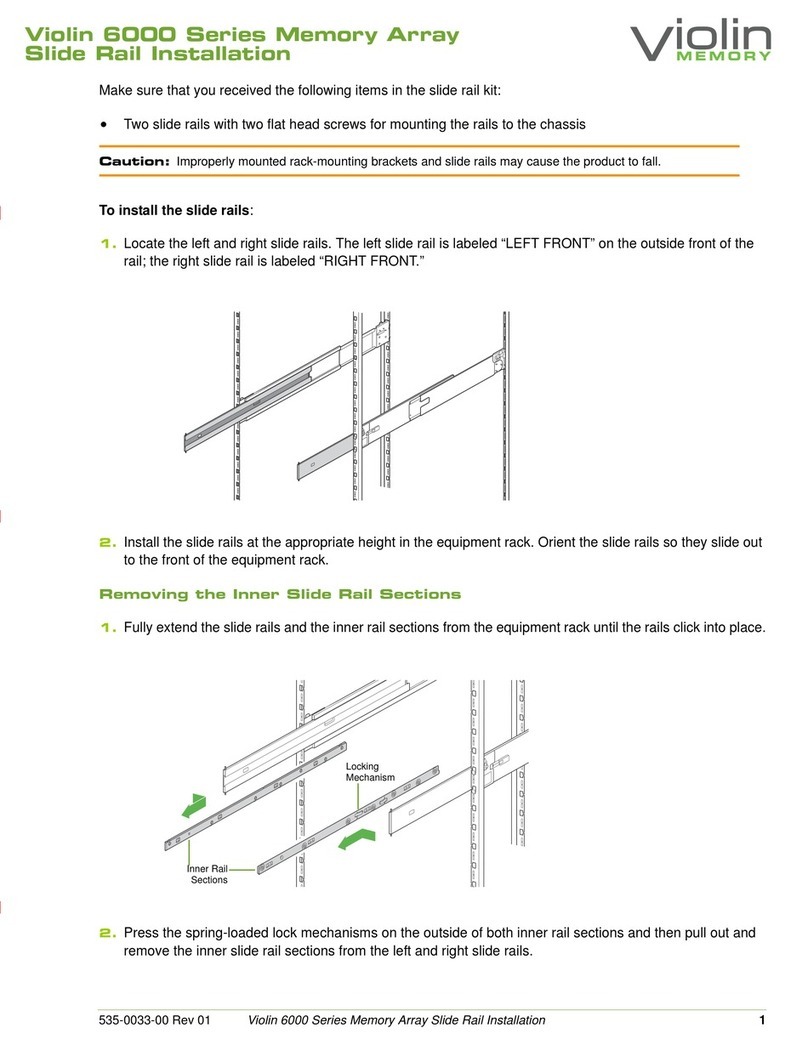
Step 2: Install the outer-rack rails on the
rack
AAttach the RIGHT and LEFT outer-rack rails to the
rack by inserting the hooks included on the rails
into the holes provided on the rack.
The hooks should be located in the TOP holes of
the rack units selected.
BExtend rail assemblies to fit the depth of the rack.
Pull on the rear of the assembly until the hooks
reach the back of the rack.
CScrew the rail to the rack using the mounting
screws provided. The screws should be secured
in the BOTTOM hole on the front and back of
each rail assembly.
Step 3: Install the inner rails on the chassis
(if necessary)
AExtend the inner rail toward the front of the rail
assembly as far as possible, then depress the
locking tab to pull it completely out.
BPlace the inner rail on the side of the chassis
aligning the hooks of the chassis with the rail
extension holes.
CSlide the extension toward the front of the chassis.
DIf desired, secure the chassis with screws.
ERepeat for the other inner rail.
Step 4: Install the US 424 Expansion on the
rack
ALift the US 424 chassis from each side—not from
the front and back.
BLine up the inner-chassis rails with the front of the
outer-rack rails.
CSlide the inner-chassis rails into the outer-rack
rails, keeping the pressure even on both sides;
you have to depress the locking tabs when
inserting.
DPush the US 424 Expansion fully into the rack;
you should hear the locking tabs click into
position.
ETighten the thumbscrews that hold the front of the
US 424 Expansion to the rack.
Step 5: Install the data drives
Installation order:
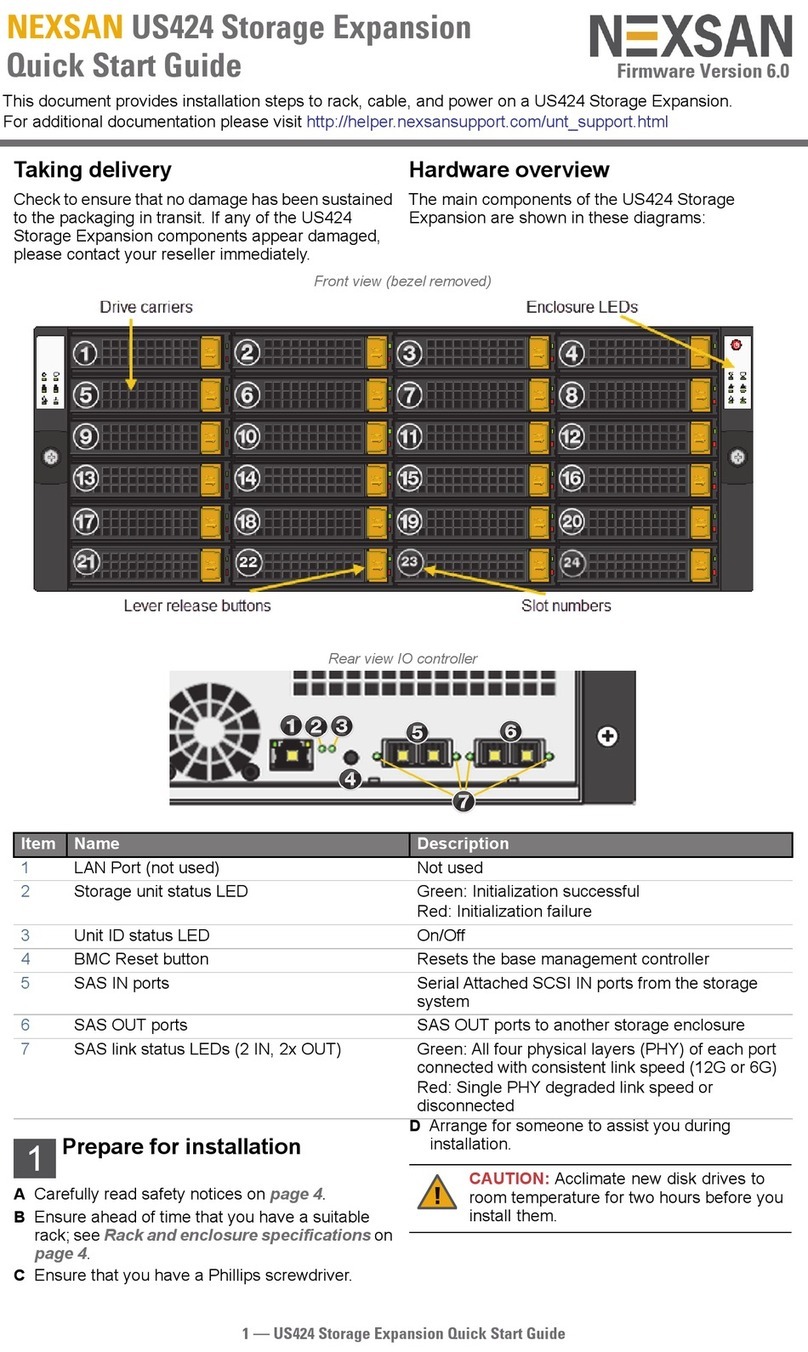
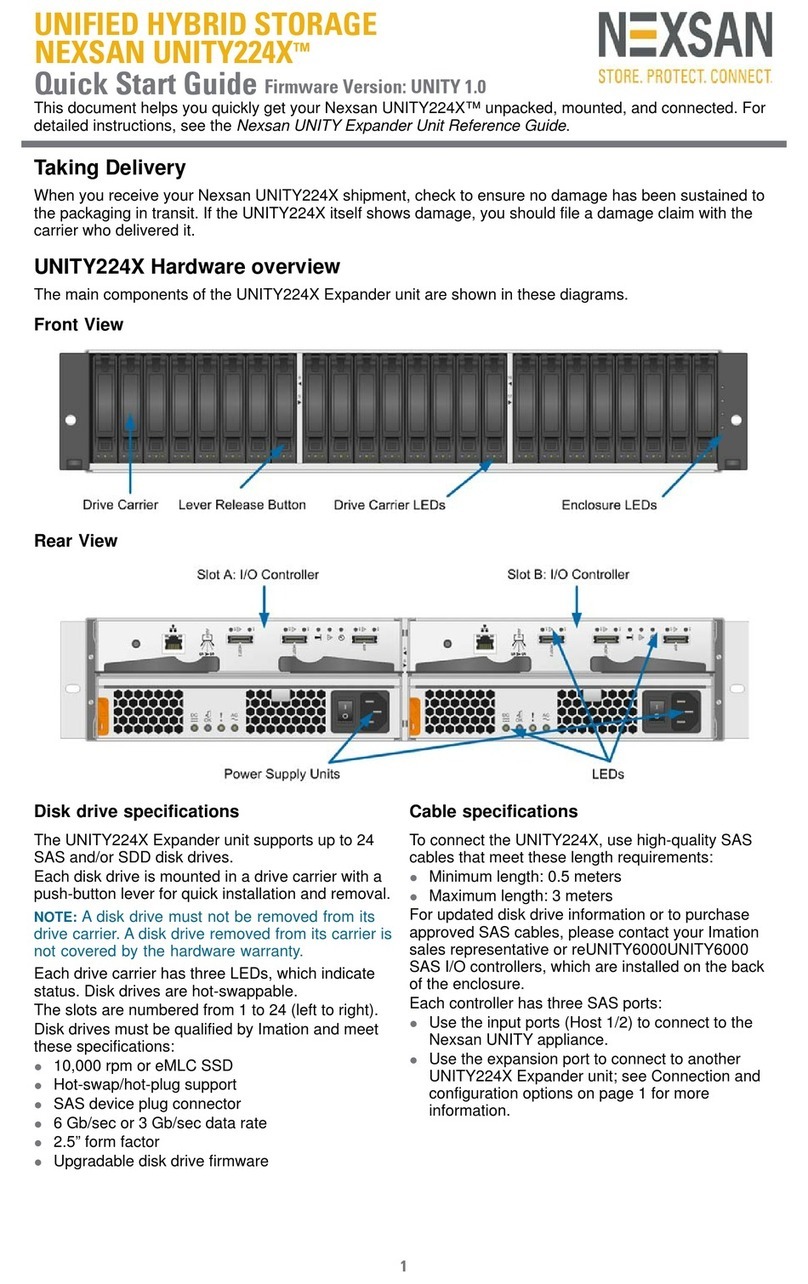
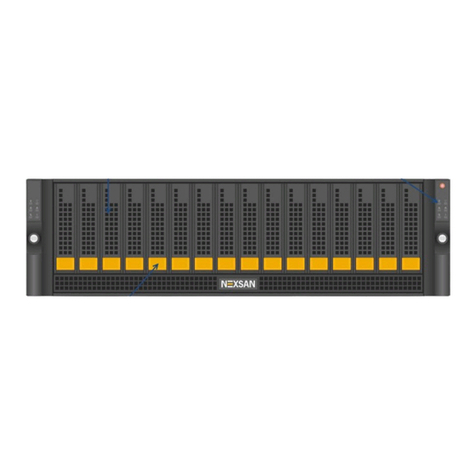
AInstall the FASTier Write Cache SSD into slot 1
(see Hardware overview on page 1).
BInstall the FASTier Read Cache SSD into slot 2.
CInstall the disk drives in any order in the remaining
slots.
The half-populated drive configuration includes
empty drive carriers for expansion.
To install the drives:
ASlide the release button
on the front of the drive
carrier and open the
handle.
BInsert the hard-drive
carrier into the drive bay
until the carrier contacts
the backplane.
CClose the hard-drive carrier handle to lock the
drive in place.
DRepeat these steps for each drive.
Install the Unity Storage System
Unpack and install any Unity Storage System
included in your Unity shipment. The US 424 can be
used with either a Unity 4400, or a Unity 6900. For
detailed instructions, refer to the appropriate Nexsan
Unity Quick Start Guide.
Step 1: Connect the US 424 Expansion to
the Unity Storage System
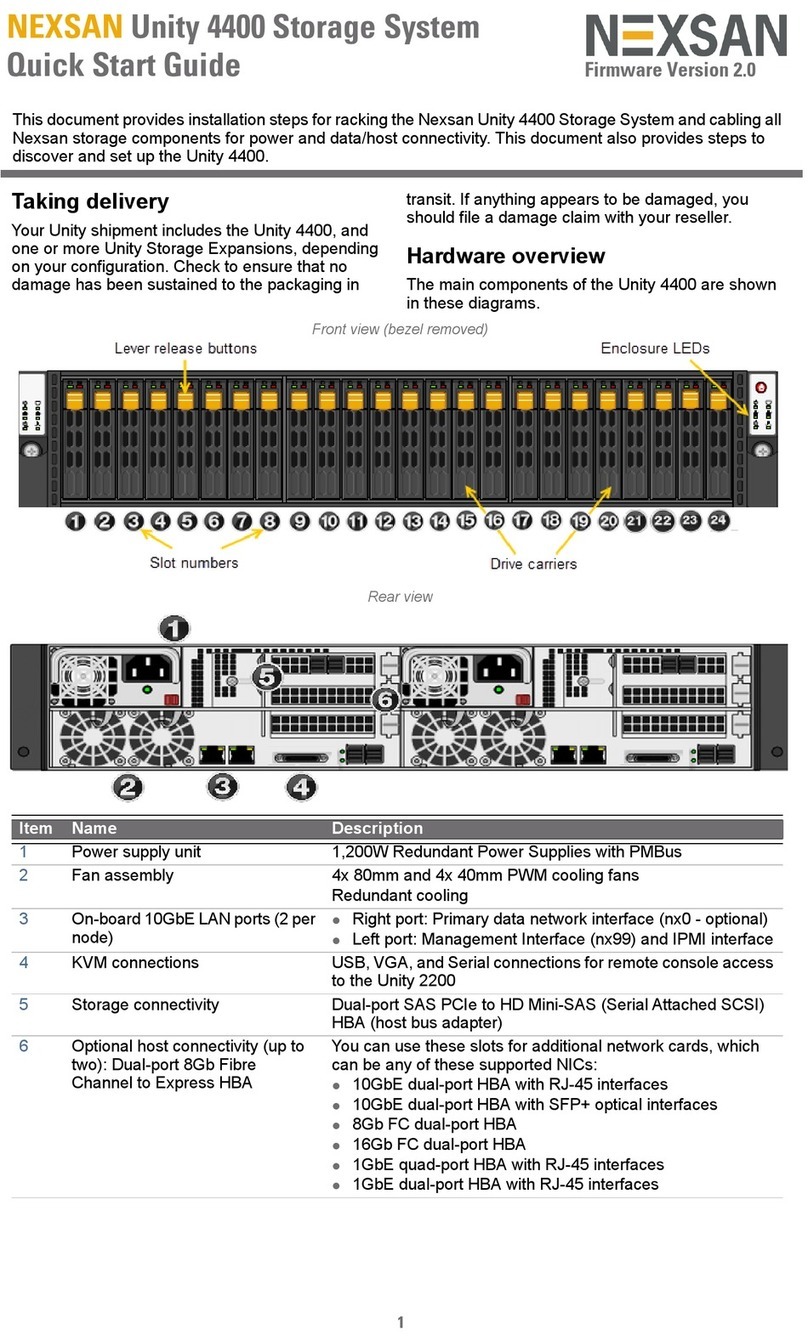
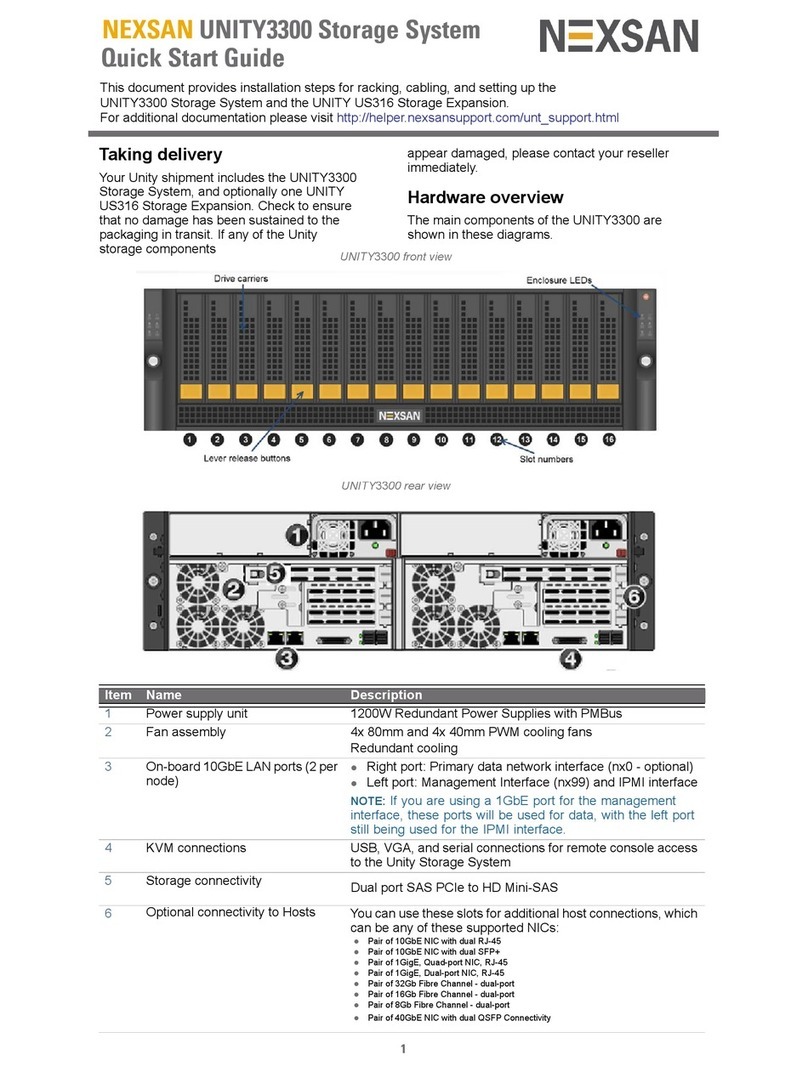
Connect from the add-on SAS OUT ports on each
storage system controller to the on-board SAS IN
ports on the storage expansion controllers, as
shown in on page 3.
CAUTION: Physical installation requires
two people.
CAUTION: Put on the ESD wrist strap
before starting:
ASlip the wrist loop over your hand (left or
right), then tighten the loop against your
wrist.
BAttach the clip end of the anti-static wrist
strap to a properly grounded metal
surface.


