SmartPool PE-21 User manual

Table of Contents PE-21
Important 2
Alarm placement 3
Pool Side Alarm Transmitter Assembly 3
Battery Installation 4
Low Battery Indicator 4
Pool Side Alarm Mounting 5
Turn the unit ON 7
Turn the unit OFF 7
Reset the unit 7
Sensitivity Adjust 8
Alarm unit function test 9
Built in Thermometer 10
RF (radio frequency) signal link testing 11
Transmitter channel A/B select 12
Remote receiver 13
Receiver channel A/B select 13
Back up power 14
How to connect to your home security system 14
Trouble Shooting 16
1

IMPORTANT-Please read first
Congratulations on your purchase of the most advanced
and affordable technology available for protecting your pool.
! WARNING!
This product does not replace the need for adult supervision of
all persons in the pool area. It is not a life saving device. It is
an aid to a multi-level program of pool safety including adult
supervision, knowledge of CPR and swimming instruction for all
persons using the pool. It is intended for use on residential
pools only and the manufacturer assumes no responsibility for
injuries or consequential property damage while this product
is in use on a swmming pool. Proper installation and
maintenance are the sole responsibility of the pool owner.
! WARNING: To reduce the risk of injury to bathers, or damage to
your product:
!
!
!
!
! This product is not a life-saving device. It is an aid to a multi-level
protection program, including adult
supervision, knowledge of
CPR and swimming instruction for your child.
Do not use if unit is damaged in any way.
Use this product only for its intended use as described in this manual
Unit must be submerged in water to operate properly.
Sensor Calibration
While the life expentancy of this alarm system is in excess of five
years, the effects of a swimming pool environment may shorten
this period. It is recommended that the alarm be recalibrated or
refurbished by the manufacturer every 5 years after installation.
For questions about installation and warranty, call (732) 730-9880.
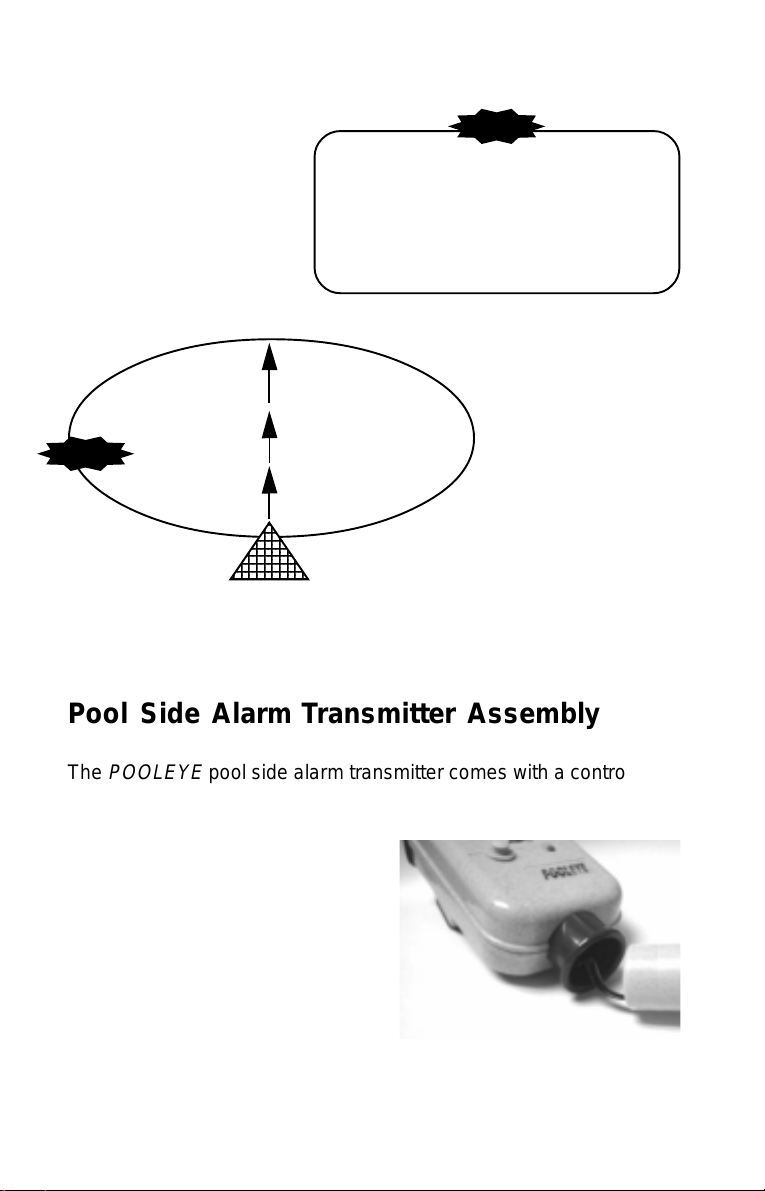
Alarm placement ALARM
Place alarm in a central
location for shortest
distance from all parts of
thepool
Do not point the eyeball
of the return towards
the center with the
alarm at the side. The
flowfromthereturnwill
interfere, so the alarm
sensor cannot detect
the wave motion
properly.
fromfilter
�
ALARM
RETURN
123456789012
123456789012
123456789012
123456789012
123456789012
123456789012
123456789012
123456789012
Pool Side Alarm Transmitter Assembly
The
POOLEYE
pool side alarm transmitter comes with a control head
and a separate sensor tube. Before the unit can be used, the two
pieces must be assembled
togetherasfollows:
Locatethephonejack at the bottom
of the control head, and a phone
plug coming out from one end of
thesensortube.Placethisphone
plug into the phone jack.
Gentlypushthetubeintothebottom
of the control head. The sensor
tube end should fit snugly into the bottom of the control head. 3
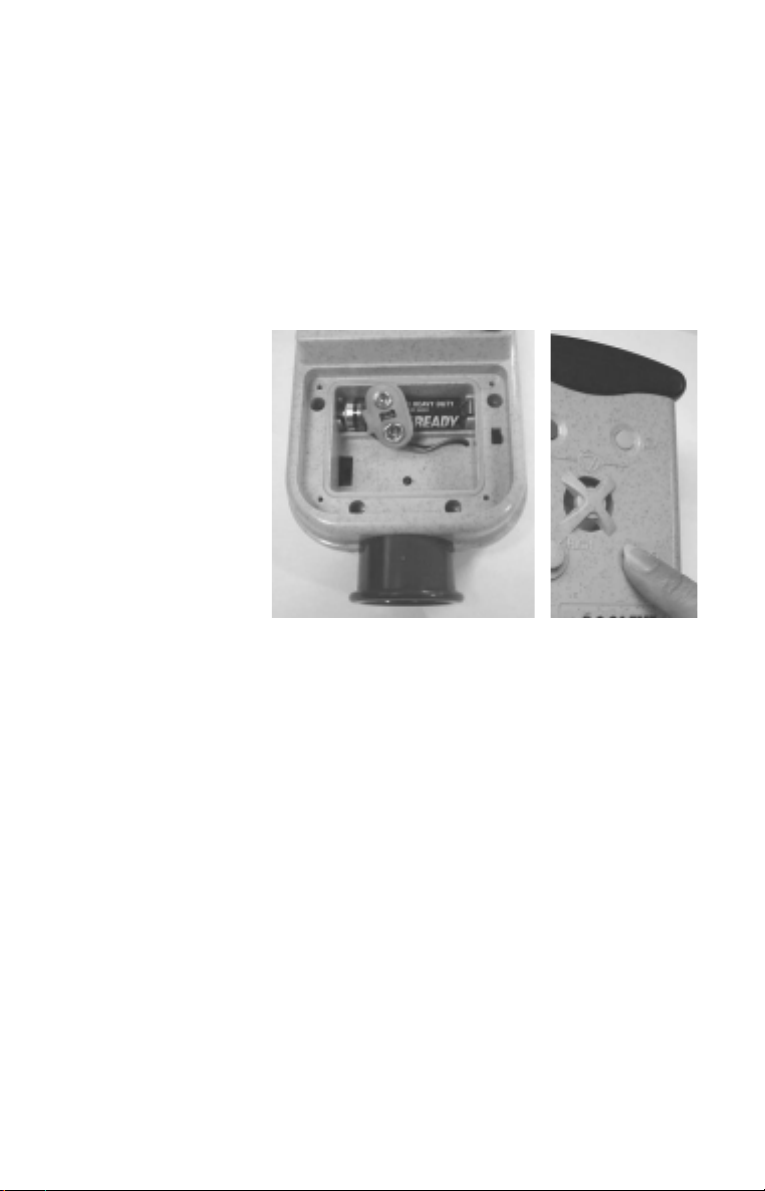
Battery Installation
Thepoolsidealarmtransmitterisdesignedtobepoweredbyastandard
9V alkaline battery and a standard 1.5V AA battery (both not
included).
After installing batteries, press the ?button located at the front on the
control unit.The alarm will sound either one beep, or 5 consecutive
beeps.This will depend whether the unit is turned ON or OFF.
Low Battery Indicator
The unit has a built-in microprocessor which automatically monitors
the 9V battery level.When this battery is running low, it will sound a
chirping tone approximately once every 60 seconds.Simply replace
the 9V battery with a new one when this occurs.
The AA battery is used to power the temperature monitoring device.
When this battery is running low, the LCD display will flash.Simply
replace the AA battery with a new one when this occurs.
4

Pool Side Alarm Mounting
1. Ladder Mounting
Two pairs of “W” shaped plastic clamps are
provided to mount
the unit onto a
standard1.9”round
pool ladder. For a
1.7” or 1.5”
diameter round
ladder, use the
adaptorsasshown.
The unit must be mounted upright and rigidly to the ladder, otherwise it
willnotfunction properly.
2. Deck Mounting
A powder coated stainless steel
bracketandtwosetsof“U”shaped
plasticclampsareused tomount
the unit along the deck of in-
groundpools.Themetaldeckcan
beeitherbeboltedontothe deck
by the two stainless steel
screws,or by 4setsof 3M Dual-
Lock pads. If your pool has a
concrete deck, we suggest you
coat the deck with water-proof
paint in the area you will be
placingthetape.Thewater-proof
paint will prevent calcium
migration that will attack the
adhesive.Ensuretheareaisdry
and clean before you mount the
metalbracket.Pressthebracket
down firmly. The adhesive will
develop a strong bond under 5

pressure.
Ifthedeckhasaslopededge,attachthetwo
square plastic pieces to the end of metal
bracket to make it level. Use the thicker
squarepieceforgreater gradient slope. It
is important to make the bracket level so
that the alarm unit can be held vertically.
Clamp the unit onto this metal bracket by
the 2 sets of “U” shaped plastic clamps.
Tighten the screws, but do not strip the
threads.
Place the unit such that the wide side of the
moving sensor is parallel to the side of
swimmingpoolwall.
Check the sensor in the water.The sensor is
buoyant and should stay upright. If the
sensor lies on its side, please contact
yourSMARTPOOL immediately.The
sensor must remain in an upright position
while it is in the water.
Ifyou have to place theunitnearthe return, heavy water currentmay
set off the alarm. If this happen, put the sensor cap onto the sensor
cage as shown. Place the sensor cap against the water current.
Please note that sensor cage with a sensor cap will reduce the
sensitivity of the unit. Check the unit function according to that
described in the Sensitivity Adjust before use.
NOTE:The deflector will reduce sensitivity.Test
the alarm unit as described in Sensitivity
Adjust section before use
6

Turn the unit ON
Press the green ON button and the unit will sound one short beep to
indicateit is on. The alarmsirenwillsound when the sensor picksup
anywater wave motion. Therefore youshouldwaita few minutes for
thewater wave to settle down beforeturningontheunit.
Ifthealarmgoesoffimmediatelyafteryou
hit this green ON button, recheck the
mounting of the alarm unit. If the unit is
not securely mounted, pushing the
control head will cause the alarm to
soundoff.Ifthealarmcontinuestosound
offwheneveritis turnedon,pleaseread
the Sensitivity Adjust section.
Turn the unit OFF
Press and hold both the green ON and
the yellow RESET button
simultaneously for 3 seconds, until
youhear5consecutivebeeps.Theunit
is now turned OFF. 3 seconds
Reset the unit
Press the yellow RESET button to turn OFF the
siren. This will reset the unit to the ON state
automatically.
7
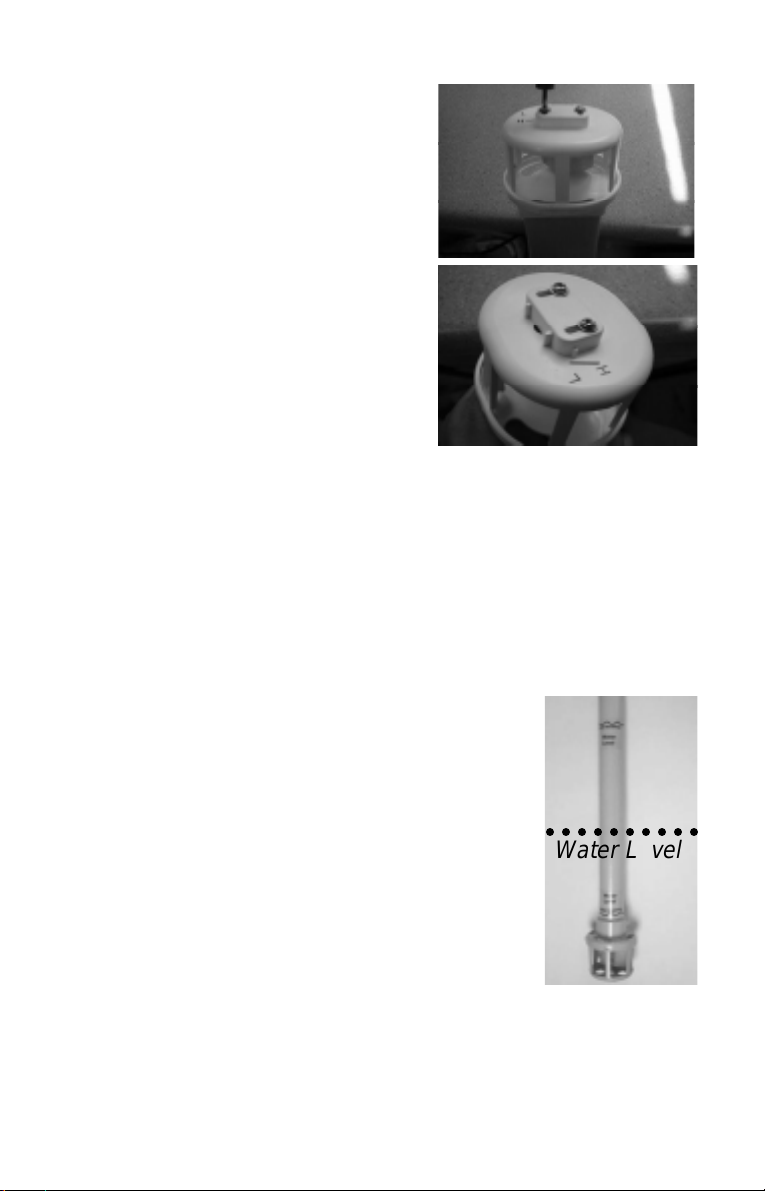
Sensitivity Adjust
1. Sensitivity adjust switch
The most effective way to adjust the
sensitivity is to move the sensor
adjust piece located at the bottom of
the sensor tube.
Loosenthetwoscrewsonthebottomof
thesensor.
Move the plastic piece with the pointer
pointed to “H” if you want higher
sensitivity or to “L” if you want lower
sensitivity.Theunitis presetatfactory
to“H”
Ifyouhavetoplacetheunitnearthereturnwaterflow,snapthecaponto
the sensor cage facing the direction of water flow. See Pool Side
alarmMounting.
NOTE:Thecap will reduce sensitivity.Testthe unitasdecribed in Alarm
Unit FunctionTest before use.
2. Depth of immersion
Thepatenteddesignsensorcanpickupunderwater
wave motion caused by an object falling into
water.Thesensitivityofthissensorisdependent
onthe depth of immersion.The unit willbemore
sensitiveifitisplacedclosertothe watersurface.
○○○○○○○○○○
velWater Le
8
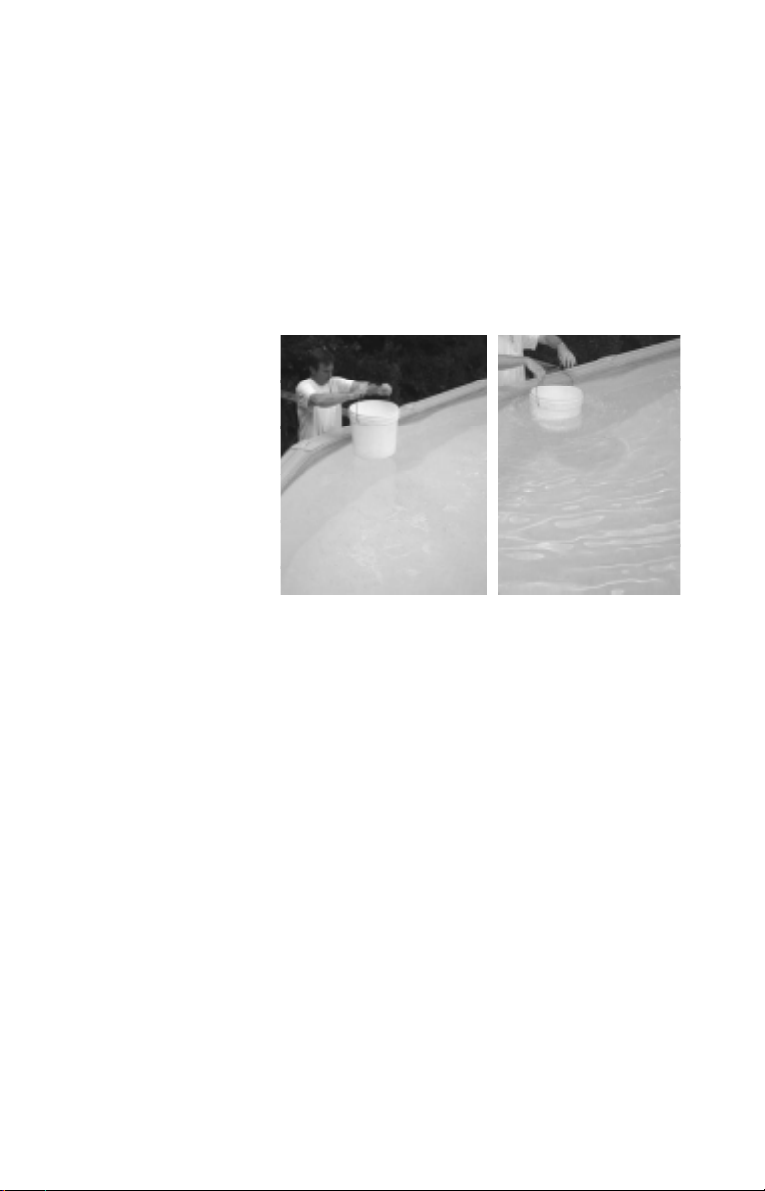
Alarm unit function test
Fill a 5 Gal pail 1/3 full with water and drop the pail from a height of a
few inches from the surface of water. The wave created should
activate the alarm. If this test is unsucessful, adjust the sensitivity
(refer to Sensitivity Adjust section).
Between each weight drop test, you should turn the unit OFF.
Then wait until the water settles.
Repeat the same
process at all
locations of your
pool.Ifthealarmfails
to sound, move the
alarmunittoanother
position and try
again. If you find a
dead zone in your
pool, this may be an
indication that your
poolneedsasecond
alarmunit.
Do not use the unit until the test results are satisfactory.
IMPORANTNOTES:
If the underwater wave motion is unsettled, the alarm siren will
sound when you release the button. In this case, turn OFF the
unit until the water settles down, and then turn the unit ON
again.
Pools larger than 18 feet by 36 feet, L-shaped, or some other free
form pools, may require more than one pool side alarm
transmitter for effective monitoring.
The pool side alarm unit should be able to detect an object that
weighs over 15 lbs.
9

Built inThermometer
The pool side alarm unit has two built in thermostats, that can measure
both the ambient air and pool water temperature.
select the temperature display in F or C by the switch located inside the
battery hatch on the back of the head unit.
The LCD can
display either
ambient air or
pool water
temperature by
the slide switch
located next to
theLCDdisplay.
Slideit up to displaytheambientair temperature,
or down to display the water temperature.
To turn OFF the display, use a pen tip to press down
the RESET button for 3 seconds. This RESET
button is located inside the battery hatch.
To turn ON the display,
briefly hit the RESET
button.
If the temperature
display flashes, it
indicates the AA
battery is running
low.Replace it with a
new one. Hit the
RESET button brifly
if the LCD display
does not work
properly.
10
Table of contents
Languages:
Other SmartPool Security System manuals


Popular Security System manuals by other brands


EDM
EDM Solution 6+6 Wireless-AE installation manual

Highway Safety Group
Highway Safety Group EA401 user manual

Siren
Siren LED GSM operating manual

Detection Systems
Detection Systems 7090i Installation and programming manual

Se-Kure Controls
Se-Kure Controls MicroMini SK-4841 instructions

Siemens
Siemens FDM273 manual