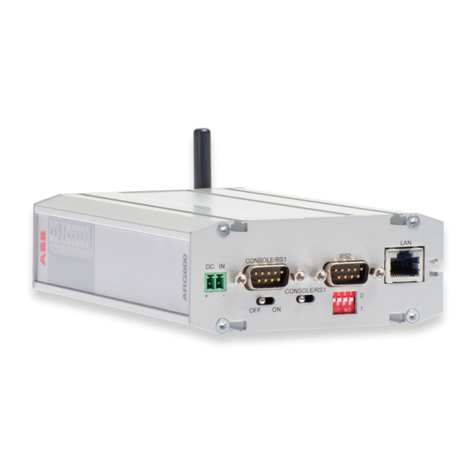
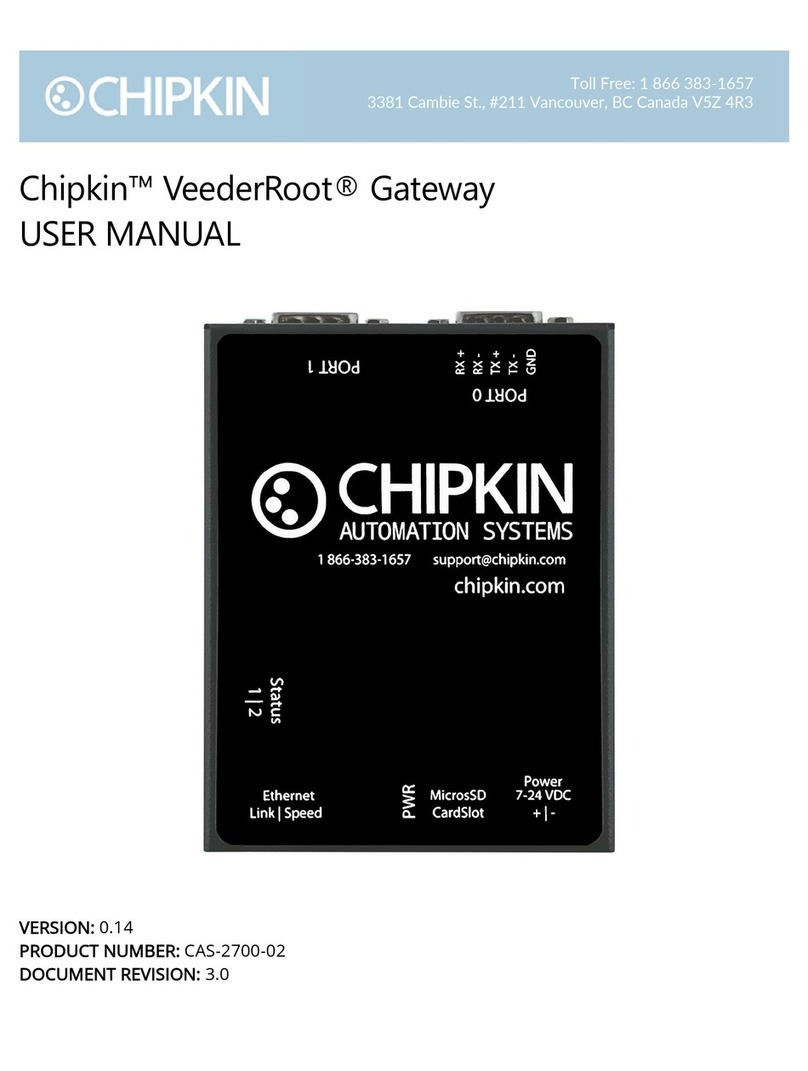
BACnet IoT Gateway Start-up Guide
List of Figures
LIST OF FIGURES
Figure 1: BACnet IoT Gateway FS-IOT-BACW Dimensions........................................................................8
Figure 2: BACnet IoT Gateway FS-IOT-BACC Dimensions.........................................................................9
Figure 3: DIN Rail........................................................................................................................................10
Figure 4: Insert SIM Card into the Micro SIM Card Slot –Label Side View (Left) and Top Down View
(Right) ..................................................................................................................................................11
Figure 5: RS-485 R2 Connection Port ........................................................................................................12
Figure 6: Ethernet Connection....................................................................................................................13
Figure 7: Connecting Power........................................................................................................................14
Figure 8: Required Current Draw for the BACnet IoT Gateway..................................................................14
Figure 9: BACnet IoT Gateway Login Page................................................................................................16
Figure 10: Login Window ............................................................................................................................17
Figure 11: BACnet IoT Gateway Landing Page..........................................................................................17
Figure 12: Profile Settings Window.............................................................................................................18
Figure 13: Manage Users Settings .............................................................................................................18
Figure 14: Select User ................................................................................................................................19
Figure 15: Edit User Information.................................................................................................................19
Figure 16: Configuration Button Functions .................................................................................................20
Figure 17: Network Settings –Common and IP Settings ...........................................................................20
Figure 18: Network Settings –Wi-Fi Client, Wi-Fi AP, and Cellular Settings .............................................21
Figure 19: Connection Settings...................................................................................................................22
Figure 20: Connection Parameters.............................................................................................................22
Figure 21: FDR Enabled Checkbox ............................................................................................................23
Figure 22: FDR IP Fields.............................................................................................................................23
Figure 23: BACnet Explorer Page...............................................................................................................24
Figure 24: Discovery Window .....................................................................................................................25
Figure 25: Device List .................................................................................................................................25
Figure 26: Device Sub-items.......................................................................................................................26
Figure 27: Full Device Sub-items................................................................................................................26
Figure 28: Simplified Device Details ...........................................................................................................27
Figure 29: Additional Device Details...........................................................................................................27
Figure 30: Highlighted Present Value .........................................................................................................30
Figure 31: Write Property Window..............................................................................................................30
Figure 32: Updated Present Value..............................................................................................................31
Figure 33: Selected Device Properties for Monitor View ............................................................................32
Figure 34: Highlighted Monitor View Tab....................................................................................................32
Figure 35: Monitor View Showing Tracked Device Properties....................................................................33
Figure 36: Data Logging Window................................................................................................................33
Figure 37: Change of Value Log Type........................................................................................................33
Figure 38: Periodic Log Type......................................................................................................................33
Figure 39: Settings Window........................................................................................................................34
Figure 40: Edit Poll Interval Window...........................................................................................................34
Figure 41: Historian Page ...........................................................................................................................35
Figure 42: Historian Settings Window.........................................................................................................35
Figure 43: Confirm Clear Logs Window......................................................................................................36
Figure 44: Historian Graph..........................................................................................................................36
Figure 45: Selected Portion of Historian Graph..........................................................................................37
Figure 46: Monitor View Device Properties.................................................................................................38
Figure 47: Event Settings Window..............................................................................................................38
Figure 48: Add Event Settings ....................................................................................................................38
Figure 49: Event Settings Window with Added Events...............................................................................39
Figure 50: Monitor View Device Properties with Updated Status ...............................................................39
Figure 51: Event Log Page Showing Added Events...................................................................................40
Figure 52: Welcome to FieldPoP Email ......................................................................................................41
Figure 53: Setting User Details...................................................................................................................42
Figure 54: BACnet IoT Gateway Landing Page –FieldPoP Tab................................................................43
Figure 55: Registration Information Page ...................................................................................................43


