9
as other appliances that run on energy
sources other than electricity, provision
mustbemade for anadequatesupply of
air.
—No food must be cooked flambé
underneath the hood. The use of an
unprotected flame is dangerous for the
filters and could cause fires.
Therefore,neveruseanopenflameunder
thehood.Whenfryingfoods,neverleave
thepanunattendedbecausethe cooking
oil could flare up.
— Please comply with the provisions set
forthbycurrentregulationsregarding the
ventilation of hoods.
— The manufacturers will not be held liable
fordamagetothehood orfiresduetothe
failure to observe the above instructions.
Electric connection
Before completing any connections, make
sure the house voltage corresponds with
thevoltageindicatedonthedataplateaffixed
to the inside of the hood.
Itisadvisabletocallaqualifiedtechnicianto
make the electrical connection.
HoodFittedwith Plug
Insert the plug into a socket which complies
with current regulations.
If you intend to connect the hood directly to
the mains, remove the plug and fit an
approved bipolar switch with a minimum
contact opening of no less than 3mm.
Ifthe plugis notaccessible onceithasbeen
inserted in the socket, it will, however, be
necessary to fit an approved bipolar switch
with a minimum contact opening of no less
than 3mm.
AppliancewithoutPlug
Fitanapproved plug oranapproved bipolar
switch with a minimum contact opening of
3mm.
The manufacturers will not be held liable for
anyproblemscausedbytheuser’sfailureto
observer the above instructions.
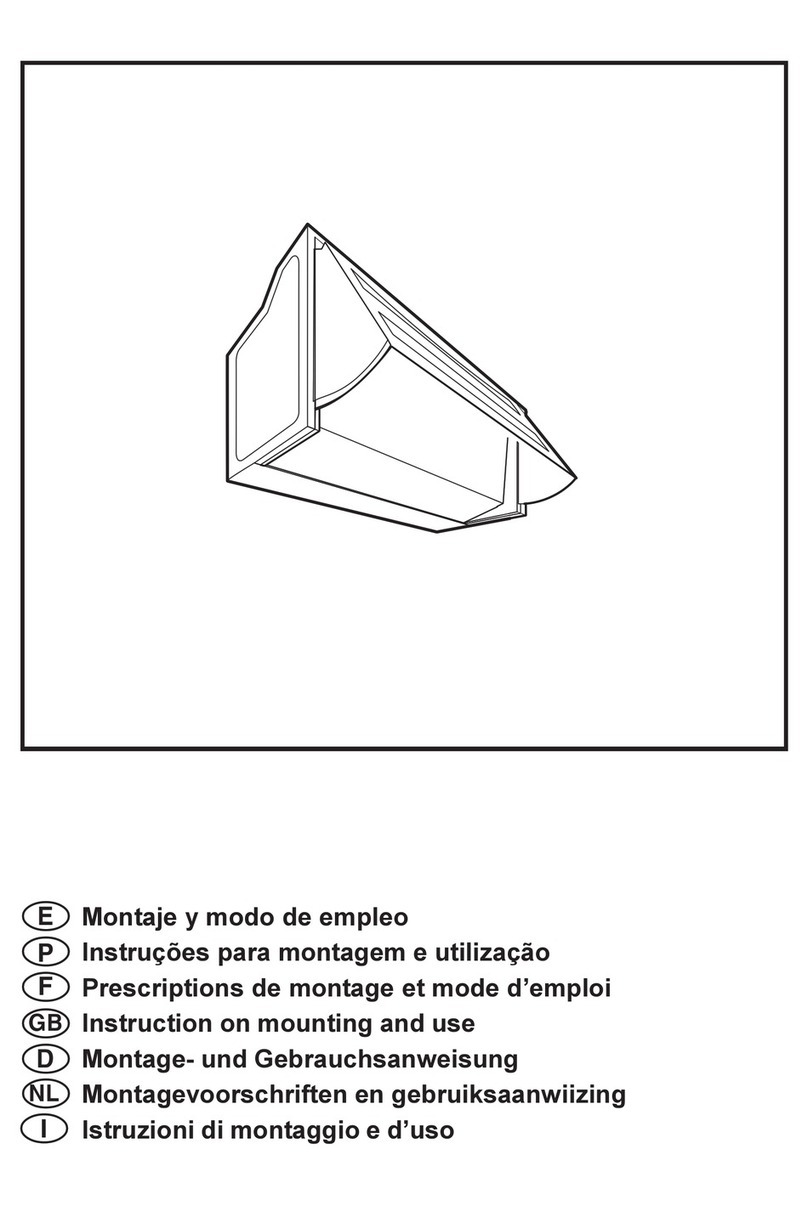
Mounting the Hood
Thediameter ofthe ventilationduct mustbe
the same as the that of the flange mounted
on the ventilation hole on the hood. The
horizontal sections of the ducting must be
installed at a slight angle (about 10%) to
facilitate venting the vapours and fumes
outdoors.
To mount the hood proceed as follows:
a. Drill holes in the bottom of the cabinet so
thattheycorrespondwith the holes(F)in
the hood used to fasten it to the cabinet.
Use the drilling template if it has been
provided(theedge with thearrowshould
correspond with the back edge of the
cabinet - Fig. 7).
b. Drill a hole on the back and in the top of
the cabinet for the ventilation duct (a
goodruleofthumbistomakethediameter
of the hole 15 mm larger than that of the
duct used).
c. Insert the Cscrews supplied with the
hood into the Fholes and tighten the
hood to the cabinet (Fig. 7).
Assembly using side brackets
(if supplied)
Thehoodcanalsobemountedbymeans
of two brackets supplied with the hood.
Tofixthehoodinthisway(Fig.8-9),proceed
as follows:
a. Drill two holes Ø 2 mm on the two sides
ofthecupboard from the insideusingthe
template Qsupplied.
b. Fix the two brackets Tto the upper side
of the hood using screws V4,2 x 35 (the
position of the brackets can be adjusted
in width according to the thickness of the
cupboard panels).
c. Fixthehood,throughthebracketsalready
mounted, on the inside of the cupboard
using screws Z3,5 x 13 (two each side).
Adjusting the Pull-Out Drawer
Thehoodcan beinstalled beneathcabinets
withvaryingdepths.Adjustmentsforopening
and closing the drawer can be made based
on your specific needs.
Toadjustthedrawer,removetheventilation
grates by loosening the Mscrews and
adjustingthePbrackets. Thenretighten the
Mscrews (Fig. 10).
GB
