manuals.online logo
Brands
  1. Home
  2. •
  3. Brands
  4. •
  5. Smeg
  6. •
  7. Ventilation Hood
  8. •
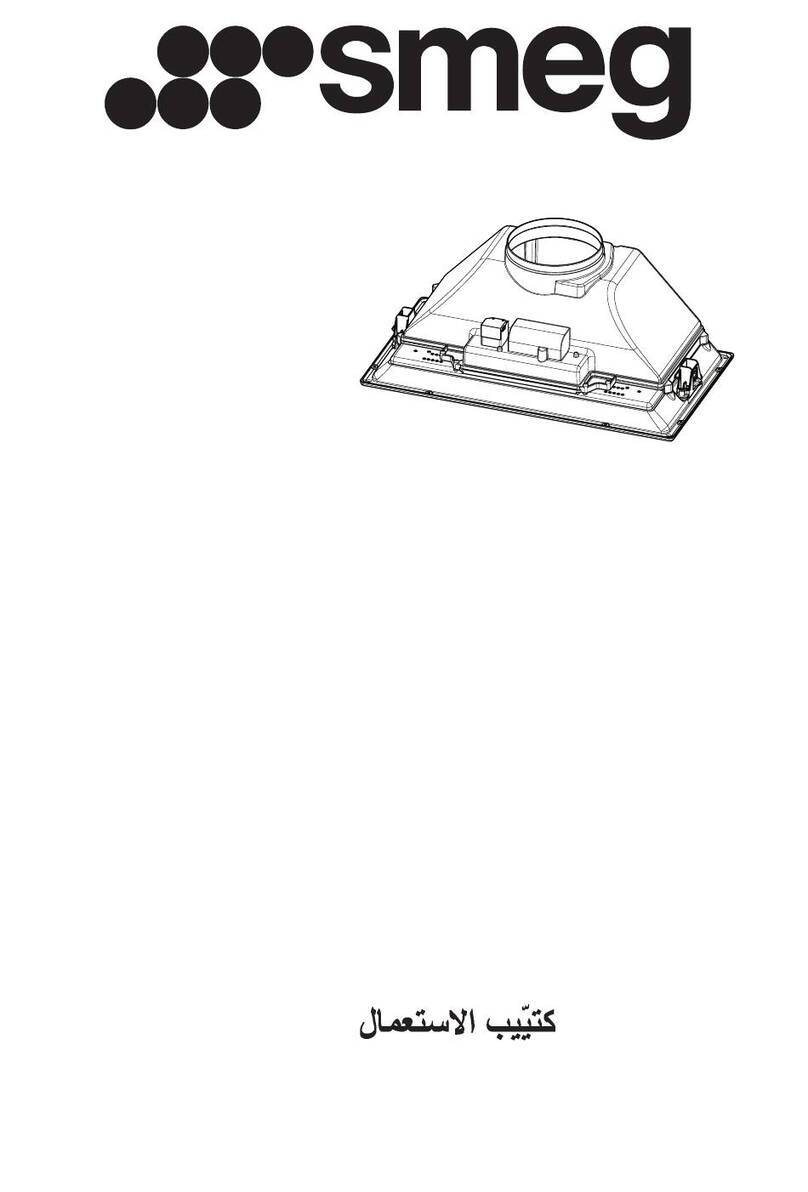
  9. Smeg KSET900 Technical manual

Smeg KSET900 Technical manual

Montage- und Gebrauchsanweisung
Instructions on mounting and use
Prescriptions de montage et mode d'emploi
Montage- en gebruiksaanwijzing
Istruzioni di montaggio e d'uso
Instrucciones de montaje y para el uso
Instruções para montagem e utilização
Èíñòðóêöèÿ ïî ìîíòàæó ó ýêñïëóàòàöèè
C
D
1
2
3
3
4
53
4
5
12
A
G G
F
K
2.1 2.2
1.1
1.2
1.3
45
66
H
B
3
CLOSED
OPEN
2.3
A
1
2
3
4
O
P
D
M
N
Q
R
O
P
6 7
89
10
11.1
11.2
7
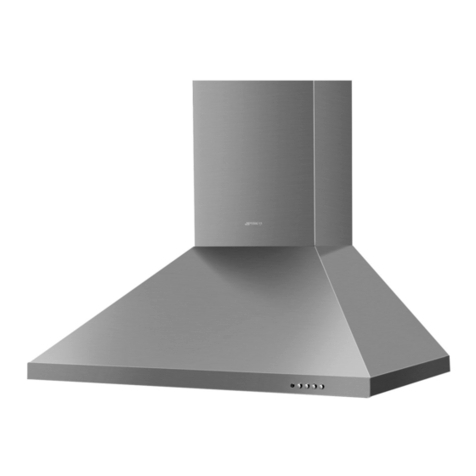
Introduction to the Hood - Fig. 1.1
1. LightSwitch
2. MotorSpeedSwitch
3. Illuminationofthecookingsurface
4. GreaseFilters/greasefiltersupportgrate
5. LightCoverSupports
6. Pull-OutDrawer
ModelwithGreaseFilter Support Grate
Opening the Grease Filter Support Grates - Fig. 2.1
a. Remove the pull-out drawer completely.
b. PushtheAknobsinwardstowardeachother (in the
“Open”directionasindicatedontheplasticknobitself).
c. To remove the grates completely, use the Bspring
fasteners,whichactaspinstoholdthegrateinplace
(Fig. 3).
Model with Self-supporting Metal Filters
Removing the Grease Filters - Fig. 2.2
a. Remove the pull-out drawer completely.
b. PressthesidehandlesC(somemodelsaresupplied
with handles Z - Fig. 2.3) towards the opposite side
and remove the filters.
Putting the Filters Back in Place
a. Removethepull-outdrawercompletelyandmountthe
grease filter so that it covers the drawer.
b. Closethedrawerandinstalltheremaininggreasefilter.
Opening the Light Cover Support
a. Remove the pull-out drawer completely.
b. According to model in possession:
Lamp Dwith hook locks type A- Fig.2.2
Movethebrackethooklockstowardseachother (in
direction“Open”asprintedontheplasticpartofthe
lock). Lamp Fwith hook locks type G- Fig. 1.2
Movethehooklocksasindicatedbythearrowsand
completelyremove thelamp fromthehousing (Fig.
1.3).
SystemsAvailable
Venting Outdoors
Theairisventedoutdoorsthroughaductwhichmustbe
connectedtotheexhaustopeningK(Fig.5)bymeansof
the flange H. The diameter of the exhaust duct must be
exactly the same as that of the flange.
AirRecirculation
— Theairiscleanedbymeansofcharcoalfiltersandthen
circulatedbackintotheroom.
— Theuseofacharcoalfilterisnecessarywhenthehood
cannotventedoutdoorseitherbecauseductingisnot
availableor cannot be installed.
— Thefilteredairisreturnedfromatopthecabinetthrough
a duct that passes through the cabinet itself.The
diameteroftheductmustbethesameasthatofflange
H(Fig. 5).
ThedeflectorJcanbefixedtotheoutletholeusingthe
two screws provided
(Fig. 4).
Tofitor replace a carbon filter:
a. Requestacharcoalfilterfromtheretailer,specifying
the model and type of hood.
Caution! Some charcoal filters come covered with a
plasticfilmtoprotecttheirfilteringproperties.Ifthisisthe
case, remove the film before installing the filter.
b. Remove the pull-out drawer completely.
c. Remove the grease filters or the grates.
d. Placetheactivatedcarbonfilterin position:
1) Versionwithonemotor:insertthefilterinitshousing
over the plastic grill and rotate it until it locks in
position (Fig. 6).
2) Version with two motors: to assemble the filter,
insertitinitsseatingandfixitinpositionusingthe
clips L(Fig. 7)
e. Remove the grease filters or grills
To remove the carbon filter, follow the procedure
described in item 1) or 2), depending on the version) in
the reverse order.
Installation
Wheninstalled,thedistancebetweenthehoodandburners
mustbenotlessthan43cmforelectricburnersor65cm
for gas or mixed-fuel burners.
Caution
This appliance is designed to be operated by adults.
Childrenshouldnotbeallowedtotamperwiththecontrols
or play with the appliance.
Donotusethecookerhoodwherethegrillisnotcorrectly
fixed! Thesuctionedairmustnotbeconveyedinthesame
channelusedforfumesdischargedbyappliancespowered
by other than electricity. The environment must always
beadequately aeratedwhen thecookerhood andother
appliancespoweredbyotherthanelectricityareusedat
the same time. Flambé cooking with a cooker hood is
prohibited.Theuseofafreeflameisdamagingtothefilters
andmaycausefireaccidents,thereforefreeflamecooking
mustbeavoided. Fryingoffoodsmustbekeptunderclose
controlinordertoavoidoverheatedoilcatchingfire.Carry
outfumesdischarginginaccordancewiththeregulations
inforcebylocallawsforsafetyandtechnicalrestrictions.
Themanufacturersrefusetoacceptanyresponsibilityfor
damagetothehoodoritscatchingonfirebecauseoffailure
to observe the above instructions.
Electricalconnection
Theelectricaltensionmustcorrespondtothetensionnoted
onthelabelplacedinsidethecookerhood.Connectthe
electricalplug,whereprovided,totheaneasilyaccessible
GB
8
outlet in conformity with local standards in force.
Where an electrical plug is not provided (for direct
connectiontoelectricalnetwork)placeastandardsapproved
bipolarswitch with an aperturedistanceof not less than
3mm (accessible) from the contacts.
Mounting the Hood
Thediameteroftheventilationductmustbethesameas
thethatoftheflangemountedontheventilationholeonthe
hood.
To mount the hood proceed as follows:
— Positionthedrillingtemplateinsidetheleftcupboard
on the right hand side with the arrow point towards
the back on the cupboard (Fig. 8)
— Drillthe holes marked on thetemplate(Fig. 8)
— Repeattheprocedurefortherighthandcupboard
— Ifthesidesofthecupboardsare18mmthick,insert
4 spacers Mon the sides of the hood (Fig. 9)
— Fix the hood to the cupboard using four screws N
(Fig. 9).
Adjusting the Pull-Out Drawer
Thehoodcanbeinstalledbeneathcabinets withvarying
depths.Adjustmentsforopeningandclosingthedrawer
can be made based on your specific needs.
To adjust the drawer, remove the ventilation grates by
looseningtheOscrewsandadjustingthePbrackets.Then
retighten the Oscrews (Fig. 10).
Using the hood
The hood is provided with several speeds.
Forthebestperformance,werecommendusingthelow
speeds in normal conditions and the high speeds when
strongodourand vapourconcentrationsarepresent.
We recommend starting the hood a few minutes before
cookingandkeepingitrunningforatleast15 minutesuntil
allthe odours have been eliminated.
Maintenance
Caution! Before performing any maintenance,
disconnect the hood from the electrical supply.
GreaseFilter
The grease filter serves to trap grease particles by
suspendingthem.
1. Synthetic Filter (thickness: 10-15 mm): wash the
filter in warm water and a biodegradable detergent
onceamonth.Letdrywithoutwringing.Replaceafter
the filter has been washed 5 or 6 times.
2. Thin Synthetic Filter (approximately 1 mm thick):
replacewhenthecoloringfromthetopisvisibleonthe
bottompart.
3. Thin Synthetic Filter (approximately 1 mm thick -
withoutsaturationindicator)replaceeverytwomonths.
4. Metal Filter: unlimited life; wash every month in
warmsoapywater, or, if possible, in the dishwasher
(60°C).Let dry beforereinstallingit.
RemovingtheGreaseFilters(formodelswtihgrease
filter support grates)
To remove the dirty grease filter, proceed as follows:
a. Removethepull-outdrawercompletelyandopenthe
ventilationgratesthatsupportthegreasefilters.
b. Remove the Qfasteners for the grease filter and
removeit(Fig.11.1).Ifspecialmetalfiltershavebeen
installed,pressontheplasticspringsRtounhookthem
(Fig. 11.2).
c. Whenwashingorreplacingthegreasefilter,washthe
grate as well with warm soapy water.
d. Remountthenewfilterortheoldoneafterithasdried
thoroughly.
CharcoalFilter
The charcoal filter serves to eliminate odours that form
duringthecookingprocess.Undernormaluseconditions,
the filter should be replaced every 4 months. It can be
orderedfromtheretailer.Thecharcoalfiltermustneverbe
washed.
To remove the charcoal filter, proceed as follows:
a. Remove the pull-out drawer.
b. Remove the grease filters and open the light cover
support(orthegreasfiltersupportgrate).
c. Reverse the procedure described in item 1) or 2),
depending on the version, of the “Air recirculation”
paragraph.
ReplacingtheLamp
a. Remove the pull-out drawer.
b. Openthelightcoversupportorthebackgreasefilter
supportgrate.
c. Alwaysreplaceburnt-outlamps,accordingtowhatis
provided for your appliance, with olive-shaped max.
40Watt(E14)bulbs,orneon-lamp14Wattmax.,or
PLlamp11Watt(onePLlampappliance)orPL9Watt
(two PL lamp appliance).
d. Closethelightcoversupportorthebackgreasefilter
supportgrate.
e. Before calling for customer service because the
lighting system does not work, make sure that the
lamps are screwed in tightly.
Cleaning
Tocleantheoutsideofthehooduseaclothmoistenedwith
denaturedalcoholorneutralliquiddetergents.Neveruse
products containing abrasives.
Attention
Failuretoobservetheinstructionsforcleaningtheappliance
and changing and cleaning the filters may cause fires.
Therefore,werecommendobservingtheseinstructions.
GB
LI1VIA

Other Smeg Ventilation Hood manuals

Smeg ZHV64750BA User manual

Smeg

Smeg ZHV64750BA User manual

Smeg Portofino KPF9AN User manual

Smeg

Smeg Portofino KPF9AN User manual

Smeg K43X User manual

Smeg

Smeg K43X User manual

Smeg KSE951X2 User manual

Smeg

Smeg KSE951X2 User manual

Smeg KSEI60S Technical manual

Smeg

Smeg KSEI60S Technical manual

Smeg SA520TX90 User manual

Smeg

Smeg SA520TX90 User manual

Smeg KSG52E Technical manual

Smeg

Smeg KSG52E Technical manual

Smeg KL175X User manual

Smeg

Smeg KL175X User manual

Smeg KIV90XT-1 User manual

Smeg

Smeg KIV90XT-1 User manual

Smeg KSEV96X User manual

Smeg

Smeg KSEV96X User manual

Smeg KSEG90X2 User manual

Smeg

Smeg KSEG90X2 User manual

Smeg KSEIR62SEP User manual

Smeg

Smeg KSEIR62SEP User manual

Smeg KI90C Technical manual

Smeg

Smeg KI90C Technical manual

Smeg KSED96EB Operation instructions

Smeg

Smeg KSED96EB Operation instructions

Smeg KSEV96X User manual

Smeg

Smeg KSEV96X User manual

Smeg KCM900POE User manual

Smeg

Smeg KCM900POE User manual

Smeg KSEC61X User manual

Smeg

Smeg KSEC61X User manual

Smeg KSEG550X Technical manual

Smeg

Smeg KSEG550X Technical manual

Smeg SA490TX60 User manual

Smeg

Smeg SA490TX60 User manual

Smeg KSED65X Technical manual

Smeg

Smeg KSED65X Technical manual

Smeg KV26 User manual

Smeg

Smeg KV26 User manual

Smeg KFV62DE User manual

Smeg

Smeg KFV62DE User manual

Smeg T-9309-B User manual

Smeg

Smeg T-9309-B User manual

Smeg KT110BLE User manual

Smeg

Smeg KT110BLE User manual

Popular Ventilation Hood manuals by other brands

Home appliances IRI9SE1 Installation and operator's manual

Home appliances

Home appliances IRI9SE1 Installation and operator's manual

Franke FMY 608 BI user manual

Franke

Franke FMY 608 BI user manual

IKEA FINSMAKARE manual

IKEA

IKEA FINSMAKARE manual

Caple TBU851 instruction manual

Caple

Caple TBU851 instruction manual

Gorenje DK 6335 RBR User instructions

Gorenje

Gorenje DK 6335 RBR User instructions

controlair BH 900 Instructions for installation, use and maintenance manual

controlair

controlair BH 900 Instructions for installation, use and maintenance manual

Electrolux Icon E36WC45FSS Use & care guide

Electrolux

Electrolux Icon E36WC45FSS Use & care guide

Broan Best KER222 Series installation manual

Broan

Broan Best KER222 Series installation manual

KOBE CH2730SQB Installation instructions and operation manual

KOBE

KOBE CH2730SQB Installation instructions and operation manual

Big Chill BCCH 18 Series user manual

Big Chill

Big Chill BCCH 18 Series user manual

Bosch DKE 625 B Operating and installation instructions

Bosch

Bosch DKE 625 B Operating and installation instructions

Fisher & Paykel HC90PCTX1 installation guide

Fisher & Paykel

Fisher & Paykel HC90PCTX1 installation guide

Fulgor Milano FPH 10014 TC BK Instructions for using, maintaining and installing

Fulgor Milano

Fulgor Milano FPH 10014 TC BK Instructions for using, maintaining and installing

Whirlpool 30" AND 36" (76.2 AND 91.4 CM) WALL-MOUNTCANOPY RANGE... installation instructions

Whirlpool

Whirlpool 30" AND 36" (76.2 AND 91.4 CM) WALL-MOUNTCANOPY RANGE... installation instructions

Nederman Pneumatic Track System instruction manual

Nederman

Nederman Pneumatic Track System instruction manual

Gaggenau AH 600-190 Operating and assembly instructions

Gaggenau

Gaggenau AH 600-190 Operating and assembly instructions

IKEA FINSMAKARE manual

IKEA

IKEA FINSMAKARE manual

Gaggenau AW 540 Operating and assembly instruction

Gaggenau

Gaggenau AW 540 Operating and assembly instruction

manuals.online logo
manuals.online logoBrands
  • About & Mission
  • Contact us
  • Privacy Policy
  • Terms and Conditions

Copyright 2025 Manuals.Online. All Rights Reserved.