manuals.online logo
Brands
  1. Home
  2. •
  3. Brands
  4. •
  5. Snapmaker
  6. •
  7. 3D Printer
  8. •
  9. Snapmaker A150 User manual

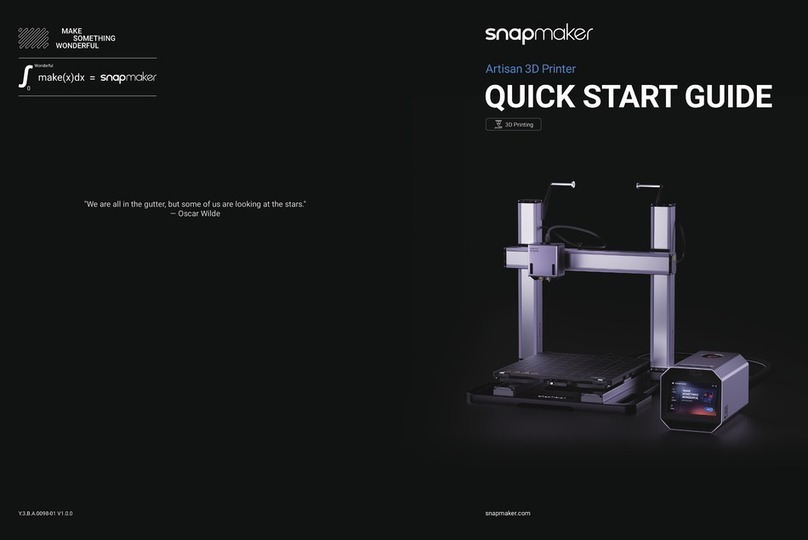
Snapmaker A150 User manual

Other manuals for A150

4

Other Snapmaker 3D Printer manuals

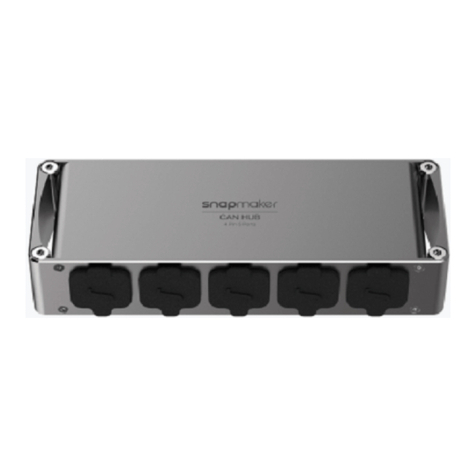
Snapmaker CAN Hub A150 User manual

Snapmaker

Snapmaker CAN Hub A150 User manual

Snapmaker Artisan User manual

Snapmaker

Snapmaker Artisan User manual

Snapmaker A350T User manual

Snapmaker

Snapmaker A350T User manual

Snapmaker 2.0 User manual

Snapmaker

Snapmaker 2.0 User manual

Snapmaker Snapmaker User manual

Snapmaker

Snapmaker Snapmaker User manual

Snapmaker Enclosure User manual

Snapmaker

Snapmaker Enclosure User manual

Snapmaker Ray User manual

Snapmaker

Snapmaker Ray User manual

Snapmaker CNC Carving User manual

Snapmaker

Snapmaker CNC Carving User manual

Snapmaker A350 User manual

Snapmaker

Snapmaker A350 User manual

Snapmaker Snapmaker User manual

Snapmaker

Snapmaker Snapmaker User manual

Snapmaker A250T User manual

Snapmaker

Snapmaker A250T User manual

Snapmaker 3-in-1 3D Printer User manual

Snapmaker

Snapmaker 3-in-1 3D Printer User manual

Snapmaker A150 User manual

Snapmaker

Snapmaker A150 User manual

Snapmaker A250 User manual

Snapmaker

Snapmaker A250 User manual

Snapmaker J1 User manual

Snapmaker

Snapmaker J1 User manual

Snapmaker A350 User manual

Snapmaker

Snapmaker A350 User manual

Snapmaker A250 User manual

Snapmaker

Snapmaker A250 User manual

Snapmaker Snapmaker User manual

Snapmaker

Snapmaker Snapmaker User manual

Snapmaker Artisan User manual

Snapmaker

Snapmaker Artisan User manual

Snapmaker 2.0 User manual

Snapmaker

Snapmaker 2.0 User manual

Snapmaker Artisan User manual

Snapmaker

Snapmaker Artisan User manual

Snapmaker J1 User manual

Snapmaker

Snapmaker J1 User manual

Snapmaker J1s User manual

Snapmaker

Snapmaker J1s User manual

Snapmaker F350 User manual

Snapmaker

Snapmaker F350 User manual

Popular 3D Printer manuals by other brands

bq Hephestos 2 Faq

bq

bq Hephestos 2 Faq

EcubMaker TOYDIY quick start guide

EcubMaker

EcubMaker TOYDIY quick start guide

AnyCubic Kossel Plus Modification

AnyCubic

AnyCubic Kossel Plus Modification

ReDeTec ProtoCycler Operation manual

ReDeTec

ReDeTec ProtoCycler Operation manual

Kywoo3D Tycoon IDEX user manual

Kywoo3D

Kywoo3D Tycoon IDEX user manual

CraftBot PLUS PRO user guide

CraftBot

CraftBot PLUS PRO user guide

3DGence INDUSTRY F340 user manual

3DGence

3DGence INDUSTRY F340 user manual

HP Jet Fusion 4200 Product Documentation Site Preparation Guide

HP

HP Jet Fusion 4200 Product Documentation Site Preparation Guide

Rokit AEP Series user manual

Rokit

Rokit AEP Series user manual

Ackuretta FreeShape 120 user manual

Ackuretta

Ackuretta FreeShape 120 user manual

DIYElectronics PRUSA I3 ELECTRONICS AND SOFTWARE GUIDE

DIYElectronics

DIYElectronics PRUSA I3 ELECTRONICS AND SOFTWARE GUIDE

Ultimaker S5 Material Station installation guide

Ultimaker

Ultimaker S5 Material Station installation guide

Stratasys FDM Vantage Series user guide

Stratasys

Stratasys FDM Vantage Series user guide

ZYYX Pro II user manual

ZYYX

ZYYX Pro II user manual

German RepRap X400 Pro V3 user guide

German RepRap

German RepRap X400 Pro V3 user guide

3DGence ONE user manual

3DGence

3DGence ONE user manual

Create 3400 Handbook

Create

Create 3400 Handbook

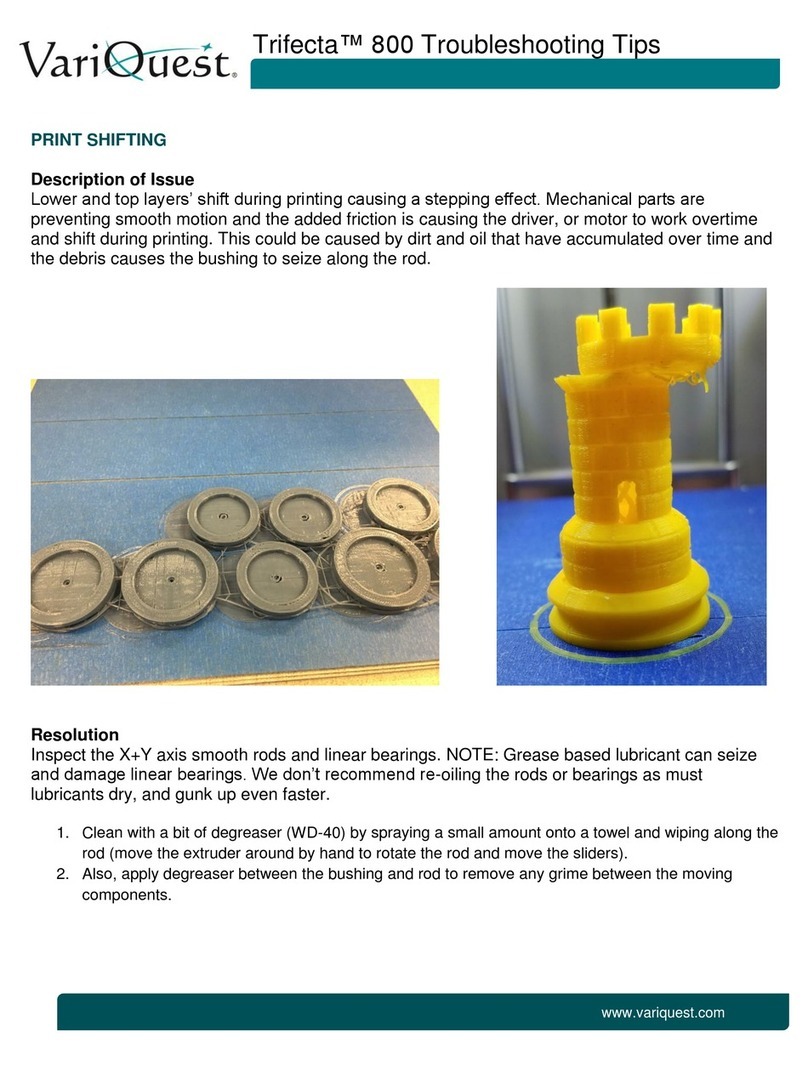
Variquest Trifecta 800 Troubleshooting tips

Variquest

Variquest Trifecta 800 Troubleshooting tips

manuals.online logo
manuals.online logoBrands
  • About & Mission
  • Contact us
  • Privacy Policy
  • Terms and Conditions

Copyright 2025 Manuals.Online. All Rights Reserved.

Welcome to
the world
of making
Three years ago, when we were designing
the Snapmaker Original, we broke the
rules of traditional desktop 3D printers and
created the first modular 3-in-1 3D printer
on the market. At first, The Verge and a lot
of other reviewers doubted that “Snapmaker
is an upcoming Kickstarter project with a
lofty goal: to be the holy trinity for at-home
makers by using detachable modules to
convert between a 3D printer, a CNC carver,
and a laser engraver,” and “At the price that
Snapmaker is selling, it’s possible the whole
thing is too good to be true.” We knew people
had a lot of uncertainty about our project
and were hesitant to back us because of
the complexity of designing and making
such a product. Despite all the doubts, we
worked hard on pushing the boundaries
of possibility, and we eventually made the
impossible possible. Not only did we fulfill
all the rewards, but we also sold over 10,000
units all over the world in 2018. And in 2019,
we launched the Snapmaker 2.0. We went
beyond our limits once again. Our goal
is to build a system behind our modular
3D printers and give you the best maker
tools that can work for all your projects. As
creatives we all desire to make something
wonderful and creativity makes us feel
alive. The Snapmaker 2.0 will help you turn
your idea into reality. This quick start guide
will guide you through your maker journey
and take you from building your own 3D
Printer/Laser Cutter/CNC Carver to making
your first creations utilizing all these tools.
Congratulations on becoming part of the
Snapmaker community! Thousands of
people like you are using the Snapmaker
to explore, make, and share in the world
of making. We are strong believers that
wonderful things will happen when creative
minds meet the ideal tools. Have fun making
and see you out there!
Team Snapmaker
Make Something Wonderful
This machine is built for innovators. Our goal is to assist
you to make the world a better place with a machine we
built with love. The difference could be something as
small as a Christmas gift, or something as ambitious as
exploring unknown territories of our mankind. Dream big
and make it happen.
Happy Making
Snapmaker is not only a 3D printer, but also a powerful
machine that you can modify with all kinds of addons. You
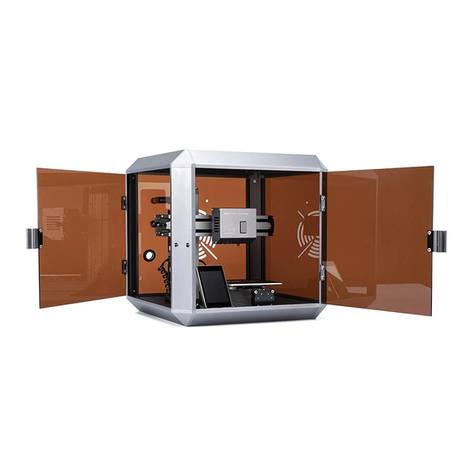
can equip your Snapmaker with an enclosure to protect
you and your family from laser and dirt particles. New
addons are coming soon with more exciting features.
Please stay tuned.
Modular System
01
12
26
42
58
Before You Start
Machine Assembly
3D Printing
Laser Engraving and Cutting
CNC Carving
CONTENTS
BEFORE
YOU
START
2| Quick Start Guide | 3
Before You Start
Copyright © 2020 Snapmaker. All rights reserved.
This language version of the manual is verified by the manufacturer (Original Instruction). No part of this
publication, including pictures may be reproduced and / or made public, whether by printing, photocopying,
microfilm or by any other means whatsoever, without the prior written permission of Snapmaker.
1.1 Disclaimer
Please read and understand the contents of the manual of this product carefully. Failure to read the manual
may lead to personal injury, inferior results or damage to the Snapmaker products. Always make sure that
anyone who uses this product knows and understands the contents of this manual to make the most out of it.
This manual is provided for reference purposes only, we do not warrant the accuracy or completeness of the
information provided by this manual. We reserve the right to modify or revise this manual in our sole discretion
at any time without notice, users can download the most up-to-date version of this manual on our official
website.
When making objects using Snapmaker products, users remain responsible to ensure that they do not infringe
any third party intellectual property rights or violate any applicable laws or regulations. The conditions or
methods used for assembling, handling, storage, use, maintaining or disposal of this product are beyond
our control. For this reason, we do not assume responsibility and expressly disclaim liability for loss, injuries,
damage, or expense arising out of or in any way connected with the assembly, handling, storage, use,
maintaining or disposal of this product.
1.2 Intended Use
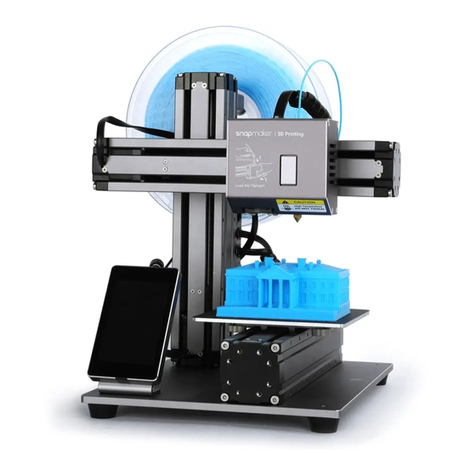
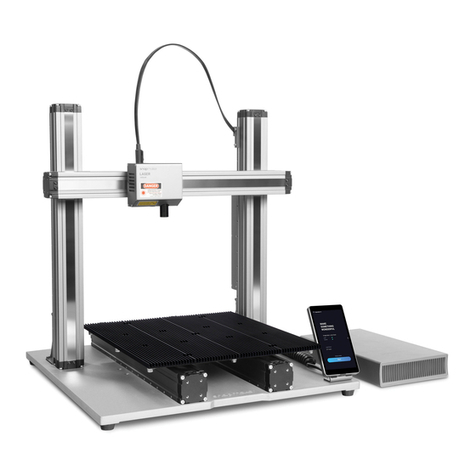
Snapmaker modular 3D printers come with improved 3-in-1 capabilities for 3D printing, laser engraving /
cutting, and CNC carving. Snapmaker modular 3D printers are ideal choice for beginners who are just getting
started, hobbyists who prefer more customized options, as well as engineers and designers who want to make
large objects or accurate parts with outstanding print / engrave / cut / carve quality. Snapmaker modular 3D
printers are intended for use under the guidelines provided in the product manual. When making objects using
Snapmaker modular 3D printers, users remain responsible to qualify and validate the application of the created
object for its intended use, especially critical for applications in strictly regulated areas like medical devices and
aeronautics.
1.3 Safety and Compliance
General Safety Information
- Always operate this machine indoors on a solid horizontal table or workbench.
- Do not expose this machine to rain or wet conditions.
- Keep children and bystanders away while operating this machine. It requires the supervision and
assistance of an adult when children use this machine.
- Stay alert, watch what you are doing and use common sense when operating this machine. Do not use this
machine while you are tired or under the influence of drugs, alcohol or medication.
- Do not reach inside the machine or touch the moving parts while the machine is still in operation. An injury
may be caused by its moving parts.
- Do not leave the machine unattended while it is still on.
In all EU member states, operation of 5150-5250 MHz is restricted to indoor use only.
4| Quick Start Guide | 5
Before You Start
Stop using this product if any of the following occurs. Turn off the machine immediately.
- There is a fire in this machine which persists after the machine turns off.
- The machine stops unexpectedly.
- You see any damage to the interior components of this machine.
- You notice unusual light or an unusual sound coming from this machine that was not occurring previously.
3D Printing Safety
- Do not touch the nozzle, print sheet and heated bed when the machine is printing or heating.
- Always unplug the machine before performing maintenance or modifications.
- Set up the printer in a well-ventilated place when printing with ABS. The melting of some materials may
release toxic fumes.
Laser Safety
- The laser tool is a class 4 laser. You are only allowed to operate the laser tool if you have a sufficient
specialized and safety knowledge: You must know the physical properties as well as the biological
effects of laser radiation, the legal bases and rules of technology, the laser classes and their dangers, the
implementation of safety measures.
- Operate the machine with an enclosure covered and wear the Laser Safety Goggles.
- Never expose yourself to the laser beam. Proper use and care of the laser tool are essential to safe operation.
- Operate the laser tool when it is exhausted to the outdoors or through an air filter. The melting of some
materials may release toxic fumes.
- Always unplug the machine before performing maintenance or modifications.
- Remove any reflective material from the work area underneath the laser module. Reflective material can
cause uncontrolled scattered radiation.
CNC Safety
- Age Recommendation: For experienced users and users age 18 and above.
- Put the machine into an enclosure and wear the CNC Safety Goggles.
- Always have the material securely clamped. Never attempt to hold the workpiece with your hands
throughout the CNC carving process.
- Always unplug the machine before performing maintenance or modifications.
- If the bit or workpiece become jammed or bogged down, turn off the machine immediately. Wait for all
moving parts to stop and unplug the tool, then work to free the jammed material.
- Do not touch the bit or collet after use. After usage, the bit and collet are too hot to be touched with bare hands.
- Some dust created by CNC carving and cutting contains chemicals known to cause cancer or other
reproductive harm. To reduce your exposure to these chemicals: work in a well-ventilated area and work with
safety equipment, such as those dust masks that are specially designed to filter out microscopic particles.
FCC Compliance
This equipment has been tested and found to comply with the limits for a Class B digital device, pursuant
to part 15 of the FCC Rules. These limits are designed to provide reasonable protection against harmful
interference in a residential installation. This equipment generates, uses and can radiate radio frequency
energy and, if not installed and used in accordance with the instructions, may cause harmful interference
to radio communications. However, there is no guarantee that interference will not occur in a particular
installation. If this equipment does cause harmful interference to radio or television reception, which can be
determined by turning the equipment off and on, the user is encouraged to try to correct the interference by
one or more of the following measures:
- Reorient or relocate the receiving antenna.
- Increase the separation between the equipment and receiver.
- Connect the equipment into an outlet on a circuit different from that to which the receiver is connected.
- Consult the dealer or an experienced radio / TV technician for help.
Caution: Any changes or modifications to this device not explicitly approved by manufacturer could void your
authority to operate this equipment.
This device complies with part 15 of the FCC Rules. Operation is subject to the following two conditions:
(1) This device may not cause harmful interference, and (2) this device must accept any interference received,
including interference that may cause undesired operation.
This equipment complies with FCC radiation exposure limits set forth for an uncontrolled environment. This
equipment should be installed and operated with minimum distance 20cm between the radiator & your body.
ISEDC Compliance
This device complies with Innovation, Science and Economic Development Canada License exempt RSS
standard(s). Operation is subject to the following two conditions:
(1) this device may not cause harmful interference, and (2) this device must accept any interference received,
including inter ference that may cause undesired operation of the device.
Le présent appareil est conforme aux CNR d' Innovation, Sciences et Développement économique Canada
applicables aux appareils radio exempts de licence. L'exploitation est autorisée aux deux conditions suivantes :
(1) l'appareil nedoit pas produire de brouillage, et(2) l'utilisateur de l'appareil doit accepter tout brouillage
radioélectrique subi, même si le brouillage est susceptible d'en compromettre le fonctionnement.
The device is compliance with RF exposure guidelines, users can obtain Canadian information on RF exposure
nd compliance. The minimum distance from body to use the device is 20cm.
Le présent appareil est conforme Après examen de ce matériel aux conformité ou aux limites d’intensité
de champ RF, les utilisateurs peuvent sur l’exposition aux radiofréquences et compliance d’acquérir les
informations correspondantes. La distance minimale du corps à utiliser le dispositif est de 20cm.
6| Quick Start Guide | 7
Before You Start
1.4 Labels on Your Snapmaker
Safety Labels Hazard Warning Location
Hot surface
Sharp elements
Laser aperture
FDA
IEC 60825
IEC 60825
FDA
Laser radiation
Taking care to avoid
contacting with a hot
surface.
On the 3D Printing
Module, Print Sheet
and Heated Bed
Taking care to avoid injury
from sharp elements (e.g.
CNC bits).
Laser radiation is emitted
from this aperture.
Class 4 laser product.
Avoid eyes or skin exposure
to direct or scattered
radiation.
On the Laser Module
On the CNC module
On the Laser Module
Notice: The specifications listed might be slightly changed in any meaningful way when we refine this product.
1.5 Specifications
General
3D Printing
Laser
CNC
Aluminum Alloys
Wi-Fi, USB Cable, USB Disk
5”TFT, Android System
Snapmaker Luban. You can also use 3rd party software to generate
G-code fles
STL, OBJ, SVG, JPEG, PNG, more formats to be added
MacOS, Windows, Linux
320W
A150: 160 x 160 x 145 mm
A250: 230 x 250 x 235 mm
A350: 320 x 350 x 330 mm
A150: Up to 110°C
A250: Up to 100°C
A350: Up to 80°C
50 - 300 microns
Up to 275°C
0.4 mm
PLA, ABS, TPU, Wooded PLA, etc.
A150: 160 x 160 mm
A250: 230 x 250 mm
A350: 320 x 350 mm
1 600mW 450nm Laser Diode
450 nm
Class 4
Wood, leather, plastic, fabric, paper, nontransparent acrylic, etc.
A150: 160 x 160 x 90 mm
A250: 230 x 250 x 180 mm
A350: 320 x 350 x 275 mm
0.5 mm - 6.35 mm (0.02 - 0.25 inches)
6000 - 12,000 RPM
Wood, acrylic, PCB, carbon fiber sheet, jade, etc.
Frame Material
Connectivity
Touchscreen
Software
Supported File Types
Supported OS
Rated Power
Build Volume
Heated Bed
Layer Resolution
Nozzle Temperature
Nozzle Diameter
Supported Materials
Work Area
Laser
Wavelength
Safety Class
Supported Materials
Work Area
Shank Diameter
Spindle Speed
Supported Materials
8| Quick Start Guide | 9
Before You Start
1.6 Parts List
Base Plate x 1
3D Printing Module x 1 Laser Module x 1 CNC Module x 1
AC Power Cable x 1
Touchscreen x 1
Controller x 1
USB Cable x 1
Touchscreen Holder x 1
DC Power Cable x 1
Print Sheet x 1
Material Bag x 1
CNC Carving Platform x 1 Laser Engraving/Cutting Platform x 1
Heated Bed x 1
Laser Safety Goggles x 1
Filament Holder Sheet x 1 Filament Holder Tube x 1
Tool Box x 1
Power Module x 1
Linear Module x 3
Quick Start Guide x 1
CNC Safety Goggles x 1
Arched Fixture x 4Fixture Accessory x 4
Filament x 1
Toolhead Cable x 1
10 | Quick Start Guide | 11
Before You Start
1.7 Video Tutorials
We provide both the video tutorials and Quick Start Guide which help you get started. You can either read this
Quick Start Guide to finish assembly and begin your maker journey, or watch the video tutorials at https://
snapmaker.com
1.8 Used Symbols
1.9 Get the Screwdriver Ready
The screwdriver head H 2.5 is used for assembling the machine. The other heads are used for maintenance.
Make sure the screw head holder has been put back inside of the handle before use.
CAUTION
NOTICE
TIPS
Ignoring this type of message might result in malfunction or damage of the
machine and injuries to users.
Details you should be aware of throughout the process.
Tips offer you convenient operations and additional options.
Make sure that the highlighted part is facing the right way.
Do not tighten the screws when this symbol appears. Always tighten the
screws when it is absent.
Ball End Mill x 1Flat End Mill x 1
M4 x 10 Hex Socket
Head Screw x 7
ER11 Collet (Only for 3.175 mm
CNC Bits) x 1 + ER11 Nut x 1
Wing Nut x 4
14mm Open-End Wrench x 1
17mm Open-End Wrench x 1
Palette Knife x 1
M4 x 8 Screw x 22
Screwdriver x 1
USB Disk x 1
Tweezer x 1
M4 x 70 Screw x 4M4 x 30 Screw x 4
Tool Box
Material Bag
Wiping Cloth x 1CNC Material x 1 Laser Material x 2 Calibration Card x 2
Diagonal Pliers x 1
Silicone Plug x 8
Foot x 4 + M4 x 10 Hex Socket
Head Screw x 4
Divider x 6 Cable Holder x 1
Steel Strip Adjustor (For
Maintenance) x 1
Cable Tie x 1
Hot End Kit x 1
12 | Quick Start Guide | 13
Machine Assembly
MACHINE
ASSEMBLY