4| Snapmaker Enclosure | 5
Before You Start
1.2 Disclaimer
Please read and understand the contents of the manual of this product carefully. Failure to read the manual
may lead to personal injury, inferior results or damage to the Snapmaker products. Always make sure that
anyone who uses this product knows and understands the contents of the manual to make the most out of it.
The conditions or methods used for assembling, handling, storage, use, maintaining or disposal of this product
are beyond our control. For this reason, we do not assume responsibility and expressly disclaim liability for
loss, injuries, damage, or expense arising out of or in any way connected with the assembly, handling, storage,
use, maintaining or disposal of this product.
The information in this document was obtained from sources which we believe are reliable. However, the
information is provided without any warranty, express or implied, regarding its correctness.
1.3 Safety
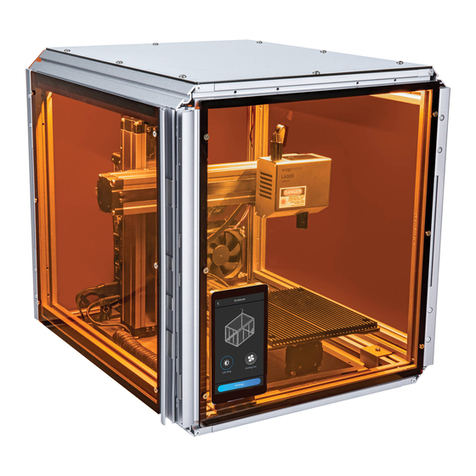
Do not move the enclosure with a machine inside.
Avoid sharp edges when handling the acrylic boards, aluminum beams and door handles.
Avoid collision between the acrylic boards and other hard objects. Sharp edges of the broken acrylic
sheet may cause injury to human body.
Do not place the power module inside the enclosure when using the machine.
Do not place heavy objects on the enclosure, since it is of low weight-bearing capability.
Hanging objects on the enclosure’s folding doors may cause damage to or break the door sliders and
acrylic boards.
Do not put any objects or body parts into the exhaust fan when the enclosure is operating.
Make sure to keep the cables away from the exhaust fan blades to avoid the damages of LED strips,
exhaust fan and other parts of the enclosure.
1.4 Video Tutorial
We provide both the video tutorial and Quick Start Guide to help you get started. You can either read this Quick
Start Guide to set up the enclosure, or watch the video tutorial at https://snapmaker.com/document.
1.5 Used Symbols
CAUTION
NOTICE
TIPS
Ignoring this type of message might result in malfunction or damage of the
machine and injuries to users.
Details you should be aware of throughout the process.
Tips offer you convenient operations and additional options.
Make sure that the highlighted part is facing the right way.
Do not tighten the screws when this symbol appears. Always tighten the
screws when it is absent.
Tighten the screws that are roughly attached in previous steps.
1.6 Get Ready
1.6.1 Prepare Screwdriver
It is recommended to use the multi-bit screwdriver provided with the machine for the enclosure assembly.
Make sure the screwdriver bit holder has been put back inside of the handle before use.
If the multi-bit screwdriver is unavailable, please use the two hex keys provided with the enclosure.
H2.5 screwdriver bit applies to M4 screws, while H2.0 bit is for M3 screws.
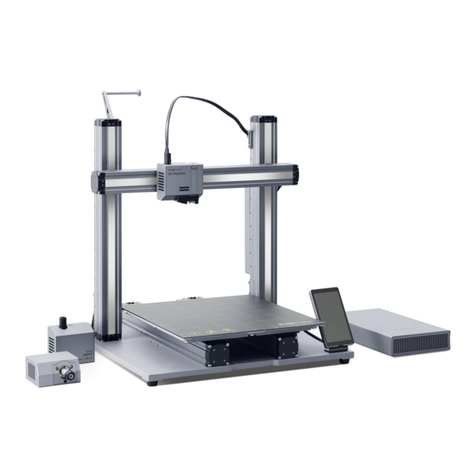
1.6.2 Prepare Machine
(1) Detach Filament Holder
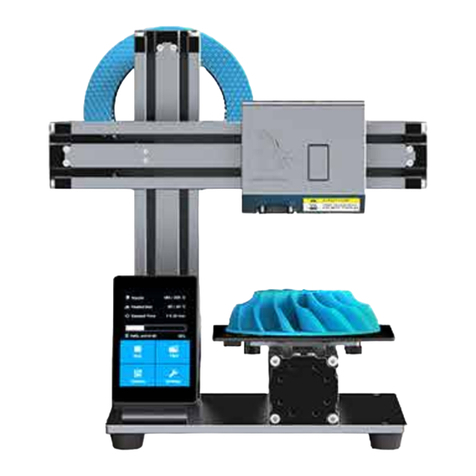
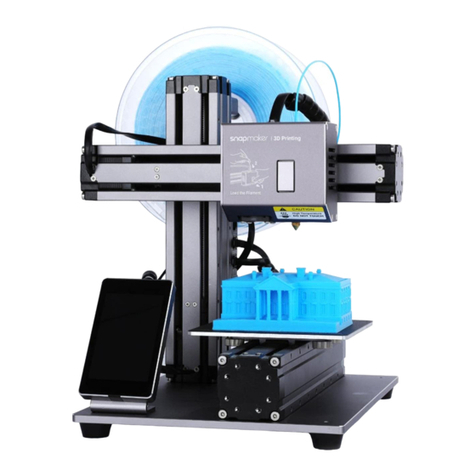
• If the filament has been inserted into the 3D printing module,
follow Section 3.2.2 “Load Filament” in the Quick Start Guide of
the machine to unload the filament. When completed, take the
filament off the Filament Holder and keep it properly.
• Detach the filament holder from the machine.
• Detach the filament holder tube and fix it on the other side of
the filament holder sheet. The filament holder will be used in
subsequent assembly process.
Rotate the enclosure parts vertically to a certain degree as shown.
Rotate the enclosure parts horizontally to a certain degree as shown.
