manuals.online logo
Brands
  1. Home
  2. •
  3. Brands
  4. •
  5. Snapmaker
  6. •
  7. 3D Printer
  8. •
  9. Snapmaker J1 User manual

Snapmaker J1 User manual

Other manuals for J1

2

Other Snapmaker 3D Printer manuals

Snapmaker Snapmaker User manual

Snapmaker

Snapmaker Snapmaker User manual
Snapmaker J1 User manual

Snapmaker

Snapmaker J1 User manual
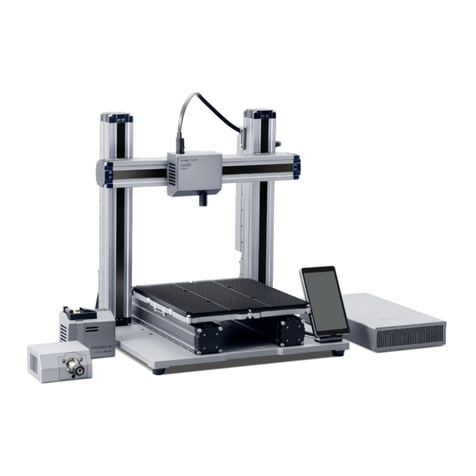
Snapmaker A250T User manual

Snapmaker

Snapmaker A250T User manual

Snapmaker J1 User manual

Snapmaker

Snapmaker J1 User manual
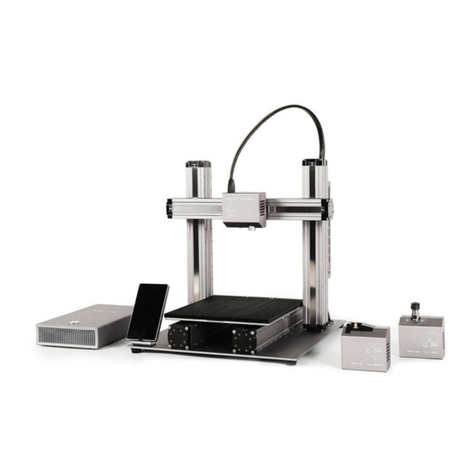
Snapmaker 2.0 User manual

Snapmaker

Snapmaker 2.0 User manual
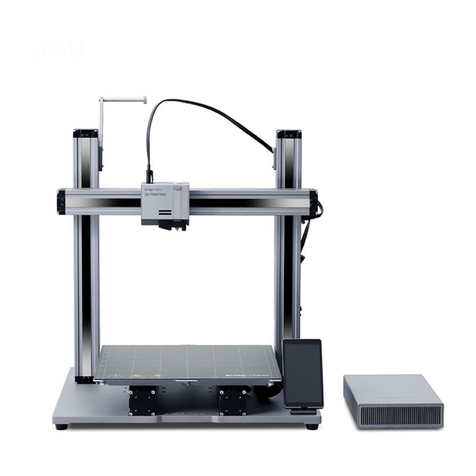
Snapmaker F350 User manual

Snapmaker

Snapmaker F350 User manual
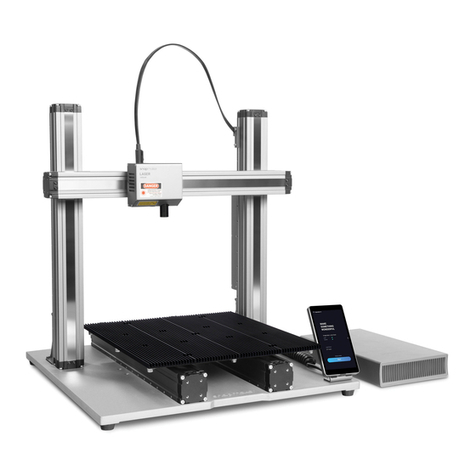
Snapmaker A350 User manual

Snapmaker

Snapmaker A350 User manual
Snapmaker A250 User manual

Snapmaker

Snapmaker A250 User manual
Snapmaker Artisan User manual

Snapmaker

Snapmaker Artisan User manual
Snapmaker A150 User manual

Snapmaker

Snapmaker A150 User manual

Snapmaker 2.0 User manual

Snapmaker

Snapmaker 2.0 User manual

Snapmaker Dual Extrusion 3D Printing Module User manual

Snapmaker

Snapmaker Dual Extrusion 3D Printing Module User manual

Snapmaker Artisan User manual

Snapmaker

Snapmaker Artisan User manual

Snapmaker Artisan User manual

Snapmaker

Snapmaker Artisan User manual
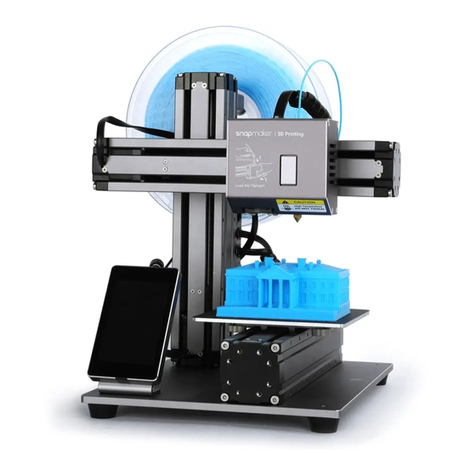
Snapmaker 3-in-1 3D Printer User manual
Snapmaker

Snapmaker 3-in-1 3D Printer User manual

Snapmaker CNC Carving User manual

Snapmaker

Snapmaker CNC Carving User manual

Snapmaker Snapmaker User manual

Snapmaker

Snapmaker Snapmaker User manual
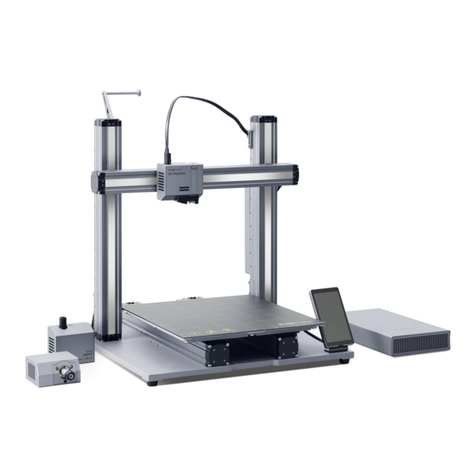
Snapmaker A350T User manual

Snapmaker

Snapmaker A350T User manual

Snapmaker Snapmaker User manual

Snapmaker

Snapmaker Snapmaker User manual
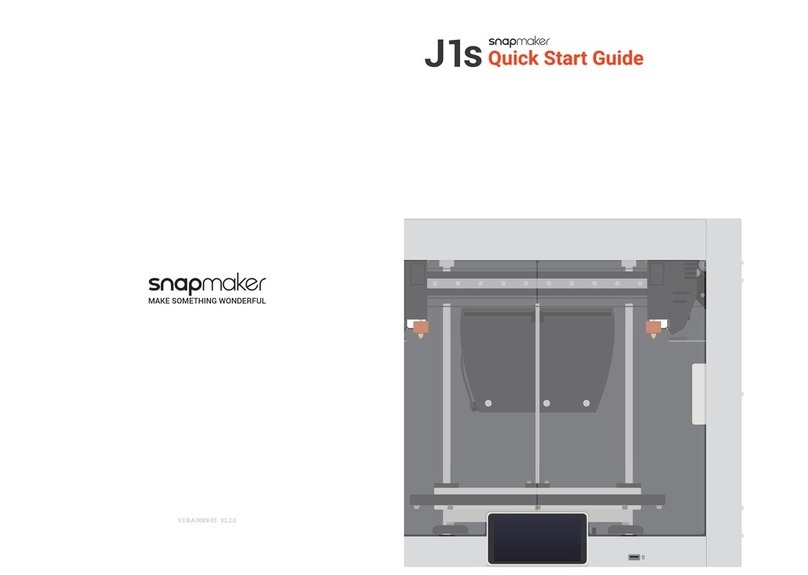
Snapmaker J1s User manual

Snapmaker

Snapmaker J1s User manual

Snapmaker Enclosure User manual

Snapmaker

Snapmaker Enclosure User manual

Snapmaker A350 User manual

Snapmaker

Snapmaker A350 User manual

Snapmaker A150 User manual

Snapmaker

Snapmaker A150 User manual

Snapmaker A150 User manual

Snapmaker

Snapmaker A150 User manual

Popular 3D Printer manuals by other brands

bq Hephestos 2 Faq

bq

bq Hephestos 2 Faq

EcubMaker TOYDIY quick start guide

EcubMaker

EcubMaker TOYDIY quick start guide

AnyCubic Kossel Plus Modification

AnyCubic

AnyCubic Kossel Plus Modification

ReDeTec ProtoCycler Operation manual

ReDeTec

ReDeTec ProtoCycler Operation manual

Kywoo3D Tycoon IDEX user manual

Kywoo3D

Kywoo3D Tycoon IDEX user manual

CraftBot PLUS PRO user guide

CraftBot

CraftBot PLUS PRO user guide

3DGence INDUSTRY F340 user manual

3DGence

3DGence INDUSTRY F340 user manual

HP Jet Fusion 4200 Product Documentation Site Preparation Guide

HP

HP Jet Fusion 4200 Product Documentation Site Preparation Guide

Rokit AEP Series user manual

Rokit

Rokit AEP Series user manual

Ackuretta FreeShape 120 user manual

Ackuretta

Ackuretta FreeShape 120 user manual

DIYElectronics PRUSA I3 ELECTRONICS AND SOFTWARE GUIDE

DIYElectronics

DIYElectronics PRUSA I3 ELECTRONICS AND SOFTWARE GUIDE

Ultimaker S5 Material Station installation guide
Ultimaker

Ultimaker S5 Material Station installation guide

Stratasys FDM Vantage Series user guide

Stratasys

Stratasys FDM Vantage Series user guide

ZYYX Pro II user manual

ZYYX

ZYYX Pro II user manual

German RepRap X400 Pro V3 user guide

German RepRap

German RepRap X400 Pro V3 user guide

3DGence ONE user manual

3DGence

3DGence ONE user manual

Create 3400 Handbook

Create

Create 3400 Handbook

Variquest Trifecta 800 Troubleshooting tips

Variquest

Variquest Trifecta 800 Troubleshooting tips

manuals.online logo
manuals.online logoBrands
  • About & Mission
  • Contact us
  • Privacy Policy
  • Terms and Conditions

Copyright 2025 Manuals.Online. All Rights Reserved.

J1 Models
Introduction Einführung Introduction Introducción
Introduzione
As a core component of the Snapmaker 3D Printer, the Snapmaker Dual Hot Ends help the left and right
extruder melt the filament. The hot ends are fully-assembled and can be easily replaced.
Als Kernkomponente des Snapmaker 3D-Druckers helfen die Snapmaker dualen heißen Enden dem linken
und rechten Extruder beim Schmelzen des Filaments. Die heißen Enden sind komplett montiert und lassen sich
leicht austauschen.
En tant que composants clés de l’imprimante 3D Snapmaker, les hotends doubles Snapmaker aident les
extrudeuses gauche et droite à fondre le filament. Les hotends sont entièrement assemblés et peuvent être
facilement remplacés.
Los extremos calientes dobles Snapmaker, uno de los componentes principales de laimpresora 3DSnapmaker
, ayudan a que los extrusores izquierdo y derecho fundan el filamento. Los extremos calientes se encuentran
totalmente ensamblados y se pueden reemplazar fácilmente.
Essendo componenti centrali della stampante 3D Snapmaker, i doppi hotend permettono all'estrusore destro
e sinistro di fondere il filamento. Gli hot end sono completamente assemblati e facili da sostituire.
You need to replace the hot end when:
Sie müssen das heiße Ende ersetzen, wenn:
Snapmaker gelieferte heiße Ende (mit 0,4 mm Messingdüse) nicht erfüllen kann;
aufweist, was dazu führt, dass nur unzureichend oder gar kein Filament aus der Düse kommt.
filament de sortir correctement de la buse ou ne le laissant pas sortir du tout.
Tendrá que reemplazar un extremo caliente cuando:
a los del extremo caliente (con boquilla de latón de 0,4 mm) que incluye su Snapmaker;
lo cual provocará que el filamento que sale de la boquilla sea inadecuado o que no salga nada de filamento.
Occorre sostituire l'hot end quando:
con l'hot end (con ugello in ottone da 0,4 mm) fornito da Snapmaker;
filamento inadeguata dall'ugello o assenza di filamento.
Usage
Prepare the new hot end for replacement. The left and right hot endapply to the left and right extruder,
Bereiten Sie das neue heiße Ende für den Austausch vor. Das linke und das rechte heiße Ende sind jeweils
für den linken bzw. rechten Extruder bestimmt.
Apprêtez le nouveau hotend pour le remplacement. Les hotends gauche et droites’appliquent respectivement
aux extrudeuses gauche et droite.
Prepare el nuevo extremo caliente para el reemplazo. Los extremos calientes izquierdo y derecho se colocan
en los extrusores izquierdo y derecho respectivamente.
Preparare il nuovo hot end da sostituire. Gli hot end sinistro e destro si applicano rispettivamente all’estrusore
sinistro e destro.
1.
Utilisation Uso Utilizzo
L R
If the extruder is already loaded with filament, follow these steps to unload the filament:
Wenn der Extruder bereits mit Filament gefüllt ist, gehen Sie wie folgt vor, um das Filament zu entladen:
Si el extrusor ya está cargado con filamento, siga estos pasos para descargar el filamento:
Se l'estrusore è stato già caricato con il filamento, seguire questi passaggi per scaricare il filamento:
Turn on the printer.
Schalten Sie den Drucker ein.
Mettez l’imprimante sous tension.
Encienda la impresora.
Accendere la stampante.
2.
2.1
On the Touchscreen, tap Control > Extruder, slide to set the target temperature for the left or right
extruder, and then tap Heat.
2.2
Each type of filament requires a different heating temperature. It is recommended to consult
Jede Art von Filament erfordert eine andere Heiztemperatur. Es wird empfohlen, die Informationen
des Filamentherstellers zu Rate zu ziehen, um genauere Anweisungen zu erhalten.
La température de chauffage varie selon le type de filament. Il est recommandé de consulter
les informations fournies par lefabricant du filament pour obtenir des instructions plus détaillées.
Cada tipo de filamento requiere unatemperatura de calentamiento diferente. Se recomienda
Tippen Sie auf dem Touchscreen auf Steuerung> Extruder, schieben Sie, um die Zieltemperatur für den
linken oder rechten Extruder einzustellen, und tippen Sie dann auf Heizen.
Sur l’écran tactile, appuyez surContrôle> Extrudeuse, défiler pour définir latempérature cible de
l’extrudeuse gauche ou droite, puis appuyer sur Chauffer.
En la pantalla táctil, pulse en Control > Extrusor, deslicepara establecer latemperatura objetivo del
extrusor izquierdo o derecho y luego pulse en Calor.
Sullo Schermo a sfioramento, toccare Controllo> Estrusore, scorrere per impostare latemperatura
desiderata per l'estrusore sinistro o destro, quindi toccare Riscalda.
consultar lainformación proporcionada por el fabricante del filamento para obtener
instrucciones más detalladas.
Ogni tipo di filamento richiede una temperatura di riscaldamento diversa. Per istruzioni più
dettagliate, consultare le informazioni fornite dal produttore del filamento.
When the extruder reaches the target temperature, tap Unload. Wait for about 20 seconds,and then
tap Stop Unloading.
Wenn der Extruder die Zieltemperatur erreicht hat, tippen Sie auf Entladen. Warten Sie etwa 20 Sekunden,
und tippen Sie dann auf Entladen stoppen.
Lorsque l’extrudeuse atteint la température cible, appuyez sur Décharger. Attendez environ 20 secondes,
puis appuyez sur Arrêter le déchargement.
Cuando el extrusor alcance la temperatura objetivo, pulse en Descargar. Espere unos 20 segundos y
luego pulse en Detener descarga.
Quando l'estrusore raggiunge la temperatura desiderata, toccare Scarica. Attendere circa 20 secondi,
quindi toccare Interrompi scaricamento.
2.3