manuals.online logo
Brands
  1. Home
  2. •
  3. Brands
  4. •
  5. SNUGSQUARE
  6. •
  7. Indoor Furnishing
  8. •
  9. SNUGSQUARE OSLO HEADBOARD User manual

SNUGSQUARE OSLO HEADBOARD User manual

OSLO HEADBOARD
Gather Your Eggs...
Note: Please retain all boxes until you are certain that your product isn’t damaged and that you
do not wish to return it. Disposal of boxes may prevent/delay our ability to resolve your request.
Headboard Tiles (Amount Depends on Configuation)
1x Headboard Tile Mounting Guide
Velcro Mounting Strip (Amount Depends on Configuation)
5 Strips Per Tile
Level for Mounting Guide
Not included: Pencil for marking mounting locations
Step 1: Insert Level
Insert the level into the center
opening of the Mounting Guide,
making sure that one side is flush
with the back of the guide.
Step 2: Find Your Center
Find the visual center of your bed,
you will use this line to align your tiles.
You can place your first row wherever
you’d like but we recommend beginning
just a few inches below the top of your
mattress, or right above the baseboard
if you prefer a completely flush look with
no bare wall visible.
Step 3: Mark the Headboard Tiles
Depending on the headboard conguration you’ve chosen, you will
mount the first tile on the center or to the left of center over your mattress.
Start with taking your Mounting
Guide and placing it against
the wall with the bottom edge
just below the top edge of the
mattress either on center or left
of center.
Use the level to ensure your
headboard is straight. With a
pencil, mark a line along the
top edge, sides and in each of
the openings in the corner of
your guide (see diagram).
Centered Configuration Left of Center Configuration
Mounting Guide
Pencil Markings
Grab 4 of our Velcro Mounting Stripsemove the backing film
and press them firmln the all over the 4 smaller inner lines
ensuring that thee mounted parallel to the floor. Add our
5th Velcro Mounting Strip in the center in the same manner.
Step 4: Place Velcro Strips
Step 5: Mount First Headboard Tile
Velcro StripsPencil Markings
Velcro Strips Headboard Tile
Next grab your first tile. Align the top and sides of the tile with the marks that you made with
your guide. Make sure that your tile is level and in the place you want, this tile will be the
guide for the rest of our headboard.
Press the tile firmly against the wall starting on the side edges and then in the center to
ensure full contact with the Velcro Mounting Strips.
NOTE: If you want to repostion the tile, gently pull the tile from left to right or right to left.
Step 6: Mark and Mount the Other Headboard Tiles
With the first tile on the wall, align the Mounting Guide against the side
of the tile and repeat the previous steps to mount the next tile. You will
only need to mark inside the openings in the corners going forward.
Continue this process until your selected configuration is complete.
Centered Configuration
Step 6: Mark and Mount the Other Headboard Tiles
Offer Configuration
Step 7: Relax
DONE!
Once all your Headboard Tiles are attached,
jump into bed and and enjoy the weather!

Other SNUGSQUARE Indoor Furnishing manuals

SNUGSQUARE VITA LOUNGE CHAIR User manual
SNUGSQUARE

SNUGSQUARE VITA LOUNGE CHAIR User manual

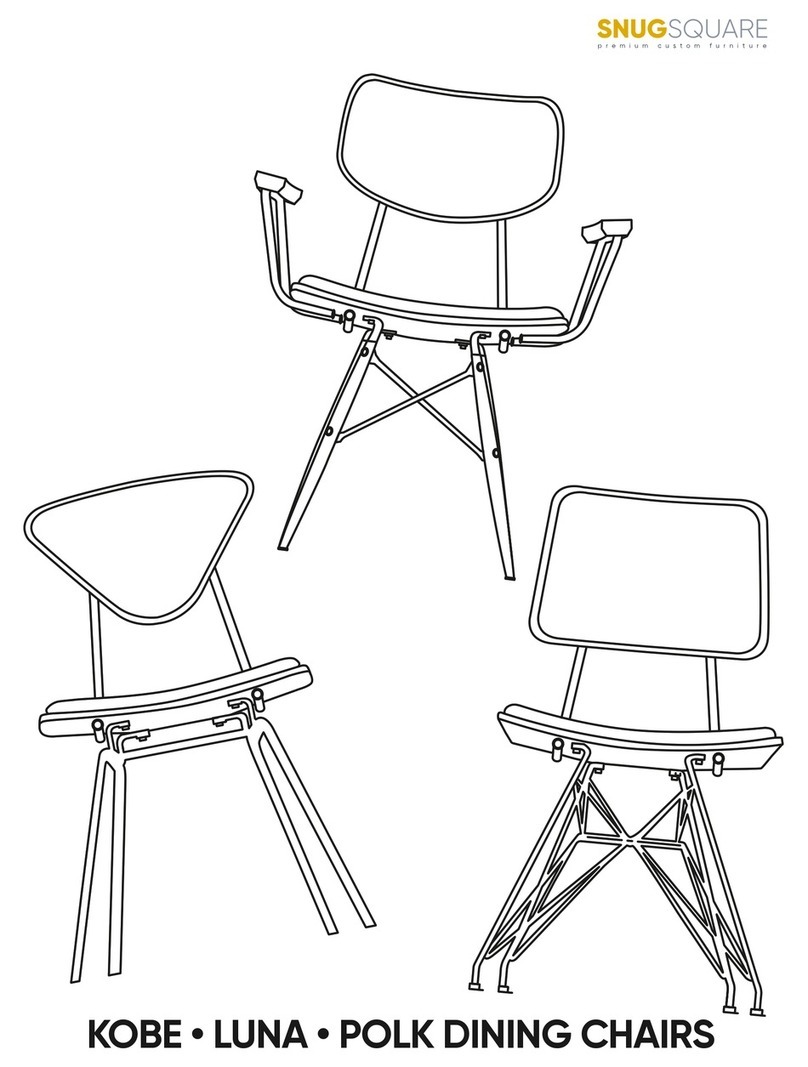
SNUGSQUARE KOBE User manual

SNUGSQUARE

SNUGSQUARE KOBE User manual
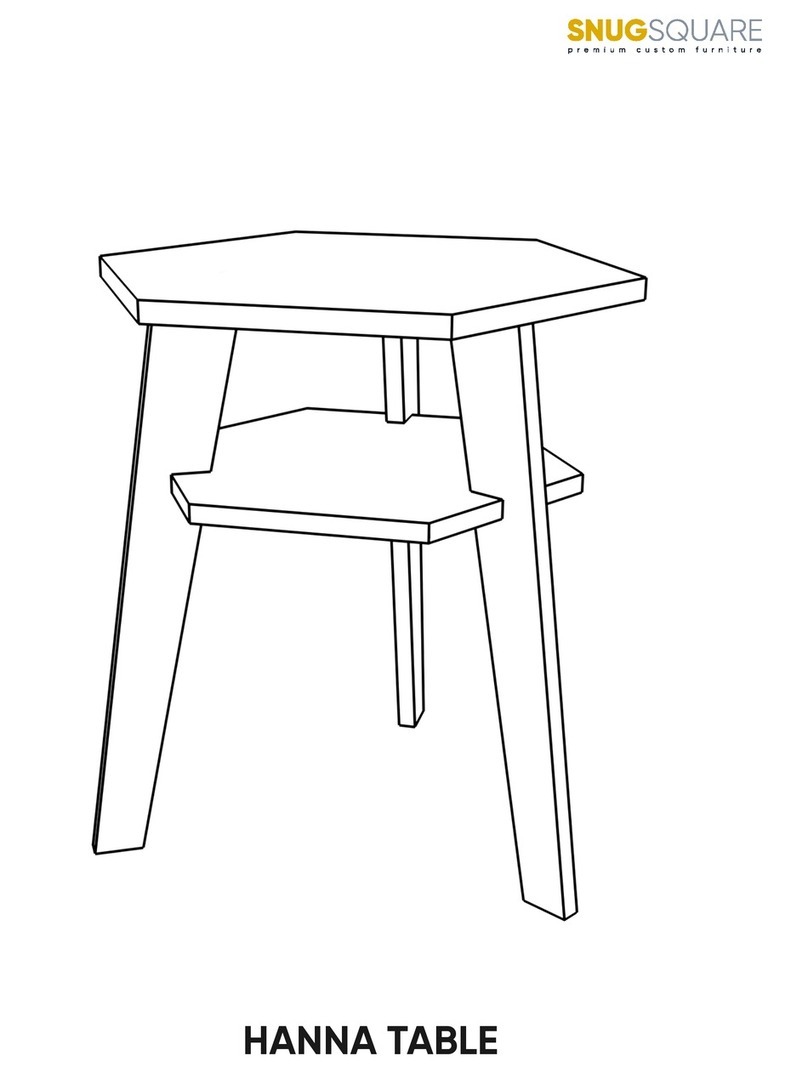
SNUGSQUARE HANNA TABLE User manual

SNUGSQUARE

SNUGSQUARE HANNA TABLE User manual

SNUGSQUARE ACE LOUNGE CHAIR User manual
SNUGSQUARE

SNUGSQUARE ACE LOUNGE CHAIR User manual

SNUGSQUARE VOSS User manual

SNUGSQUARE

SNUGSQUARE VOSS User manual
SNUGSQUARE JORN DESK User manual

SNUGSQUARE

SNUGSQUARE JORN DESK User manual
SNUGSQUARE IDO PEDESTAL User manual

SNUGSQUARE

SNUGSQUARE IDO PEDESTAL User manual

SNUGSQUARE JORN SIDE TABLE User manual

SNUGSQUARE

SNUGSQUARE JORN SIDE TABLE User manual

SNUGSQUARE EDGAR LOUNGE CHAIR User manual
SNUGSQUARE

SNUGSQUARE EDGAR LOUNGE CHAIR User manual

SNUGSQUARE JORN CONSOLE User manual

SNUGSQUARE

SNUGSQUARE JORN CONSOLE User manual

Popular Indoor Furnishing manuals by other brands
Poly-Tex evolutions PX7022 Assembly instructions
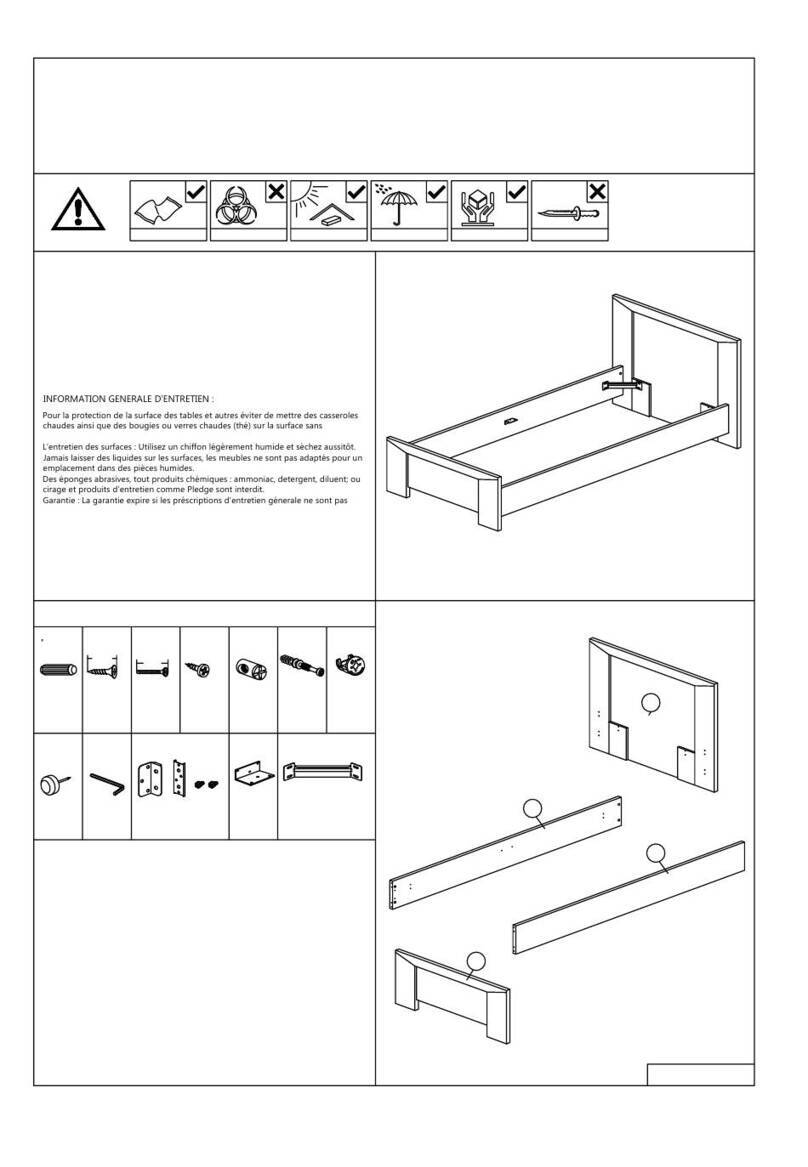
Poly-Tex

Poly-Tex evolutions PX7022 Assembly instructions

emob ELVIS BED-LIT 90 45-3679C-S5V Assembly instruction
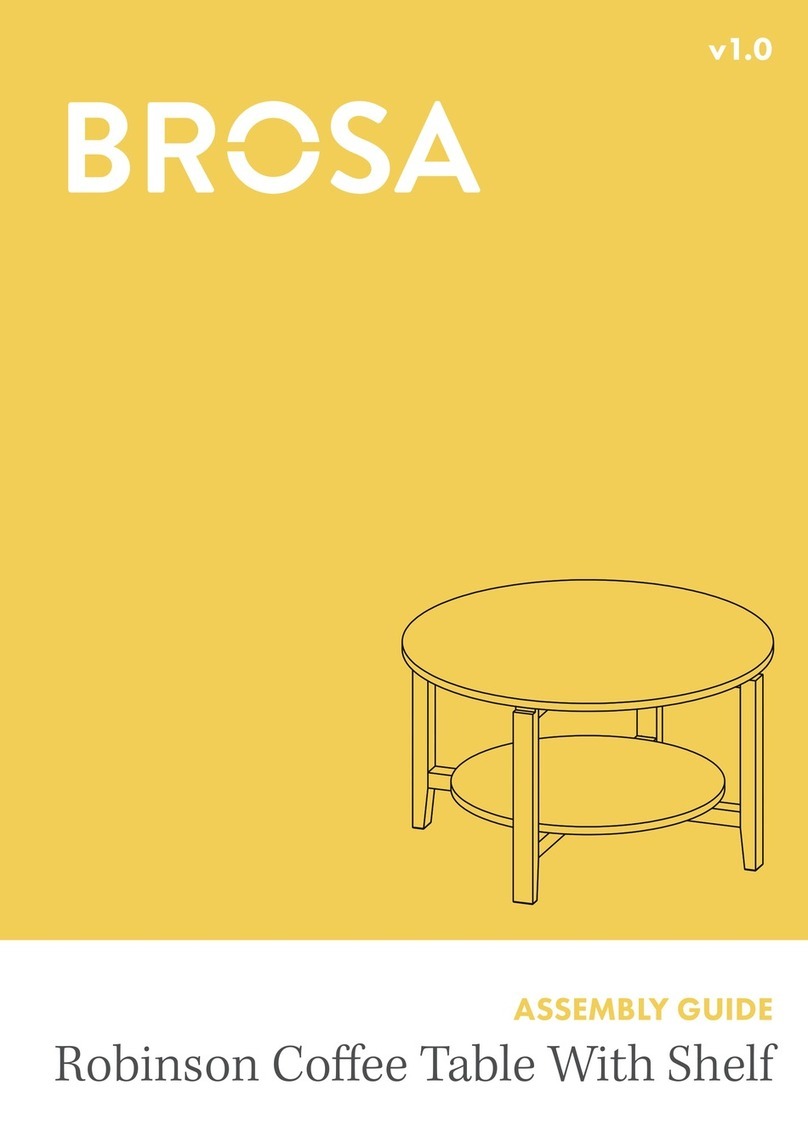
emob

emob ELVIS BED-LIT 90 45-3679C-S5V Assembly instruction

BROSA Robinson Coffee Table With Shelf Assembly guide

BROSA

BROSA Robinson Coffee Table With Shelf Assembly guide

Next FLYNN T39284 Assembly instructions
Next

Next FLYNN T39284 Assembly instructions

Tecnos SLOT 99889154 Assembly instructions
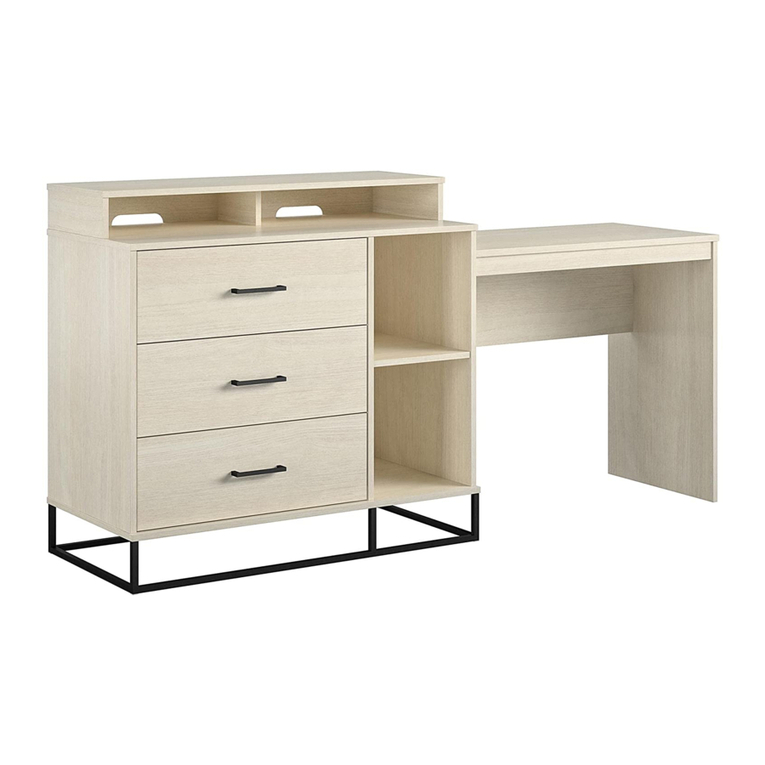
Tecnos

Tecnos SLOT 99889154 Assembly instructions

Novogratz 3939339COM Instruction booklet

Novogratz

Novogratz 3939339COM Instruction booklet

VEVOR SR221265 user manual

VEVOR

VEVOR SR221265 user manual

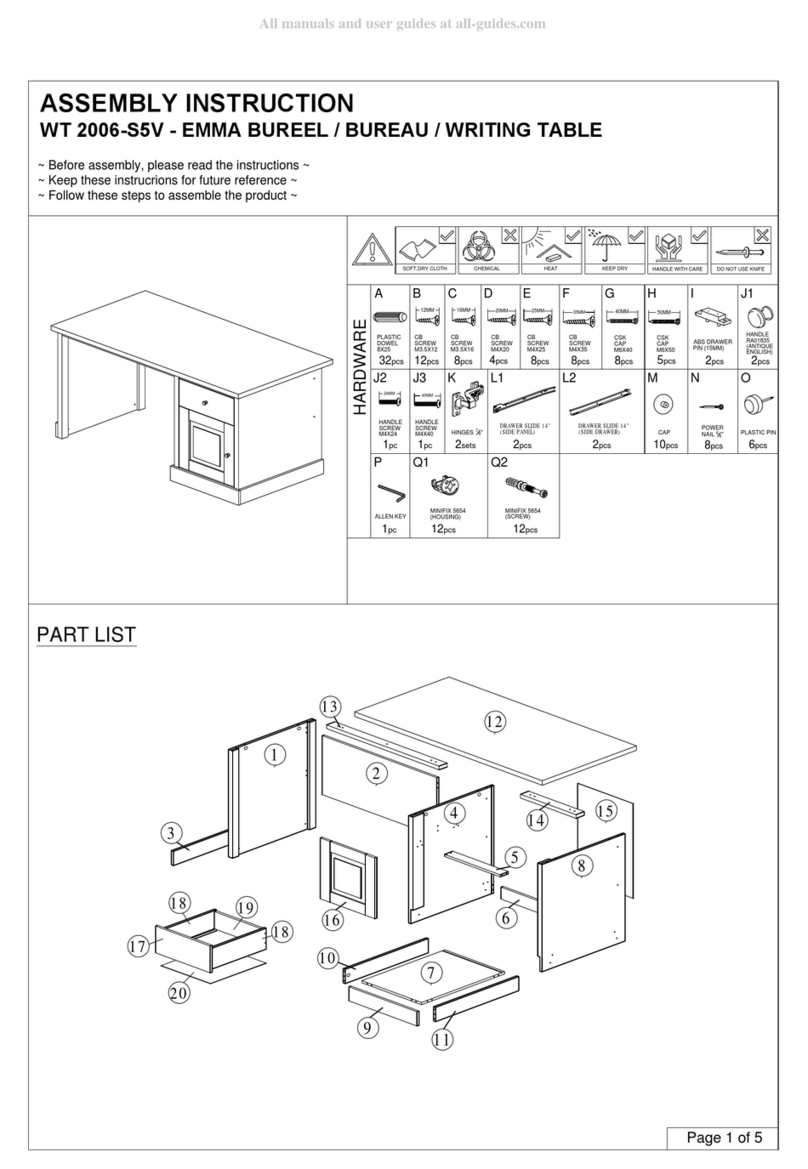
emob EMMA WT 2006-S5V Assembly instruction

emob

emob EMMA WT 2006-S5V Assembly instruction

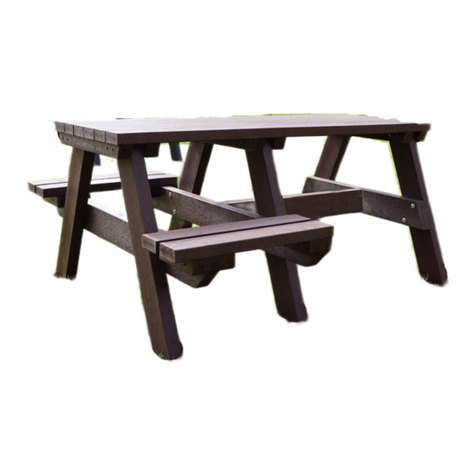
BRITISH RECYCLED PLASTIC BRADSHAW PICNIC TABLE Assembly guide

BRITISH RECYCLED PLASTIC

BRITISH RECYCLED PLASTIC BRADSHAW PICNIC TABLE Assembly guide

Croydex Flexi-Fix 1919 quick start guide

Croydex

Croydex Flexi-Fix 1919 quick start guide

U-Line H-6861 manual

U-Line

U-Line H-6861 manual

YOTRIO FTS81157ST Assembly instructions

YOTRIO

YOTRIO FTS81157ST Assembly instructions

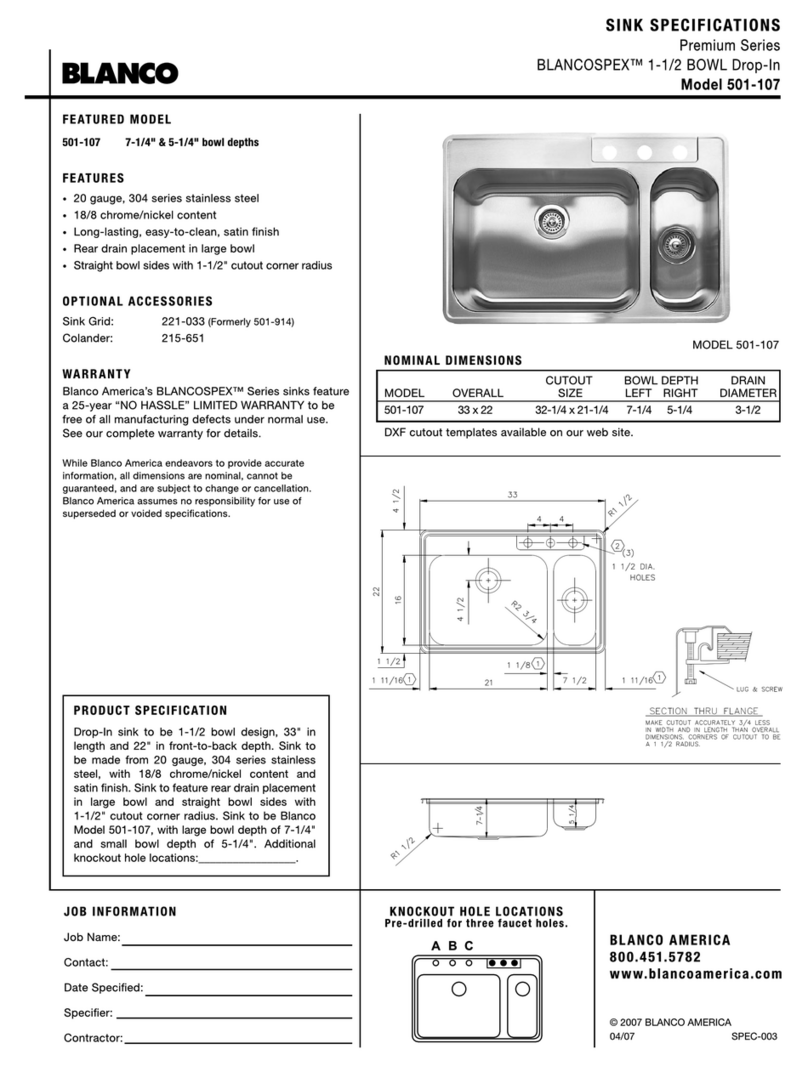
Blanco BLANCOSPEX 501-107 Specification sheet

Blanco

Blanco BLANCOSPEX 501-107 Specification sheet

Costway SP38111 manual

Costway

Costway SP38111 manual

Freedom Jetty directors chair Assembly instructions

Freedom

Freedom Jetty directors chair Assembly instructions

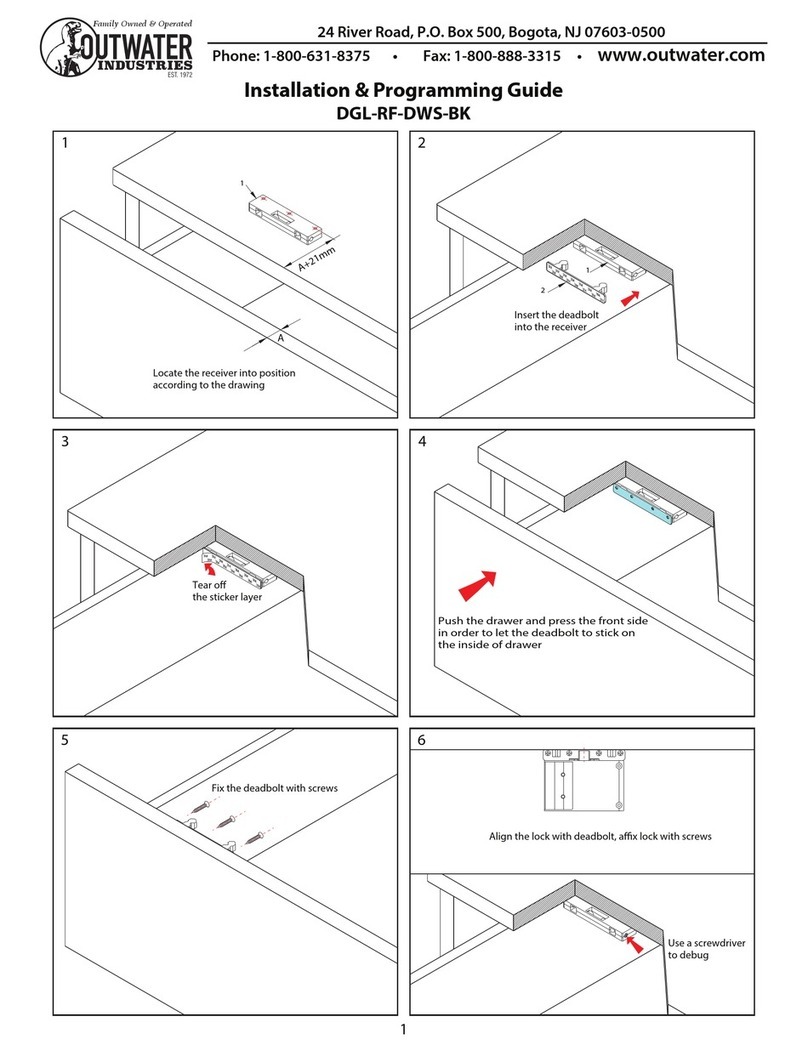
Outwater DGL-RF-DWS-BK Installation & programming guide

Outwater

Outwater DGL-RF-DWS-BK Installation & programming guide

ACTIU FOLL-1510 Assembly instructions

ACTIU

ACTIU FOLL-1510 Assembly instructions

Living Spaces 77095 owner's manual

Living Spaces

Living Spaces 77095 owner's manual

manuals.online logo
manuals.online logoBrands
  • About & Mission
  • Contact us
  • Privacy Policy
  • Terms and Conditions

Copyright 2025 Manuals.Online. All Rights Reserved.