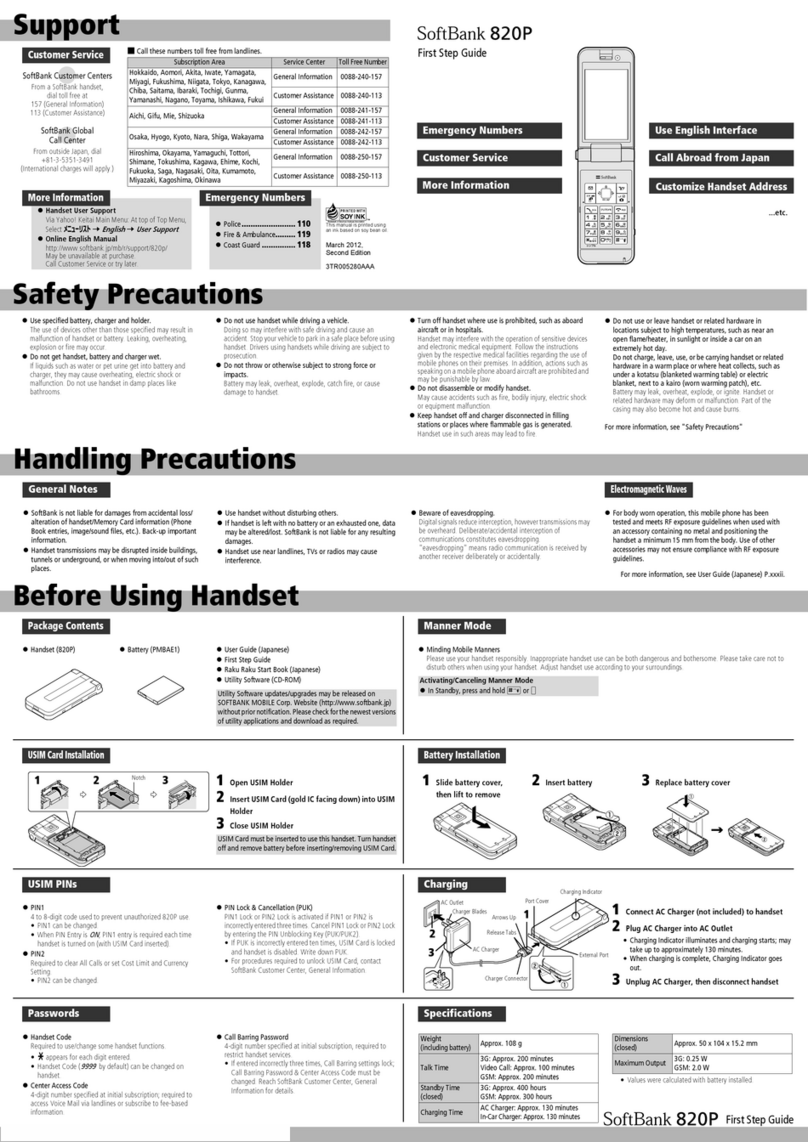
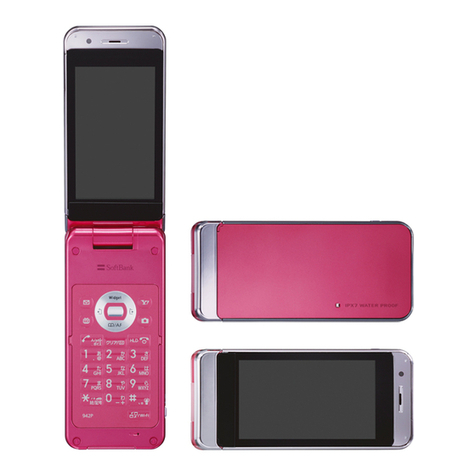
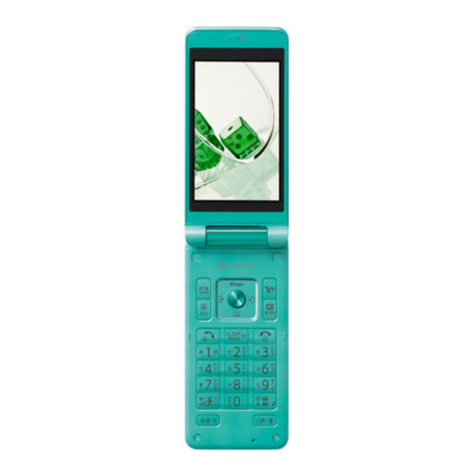
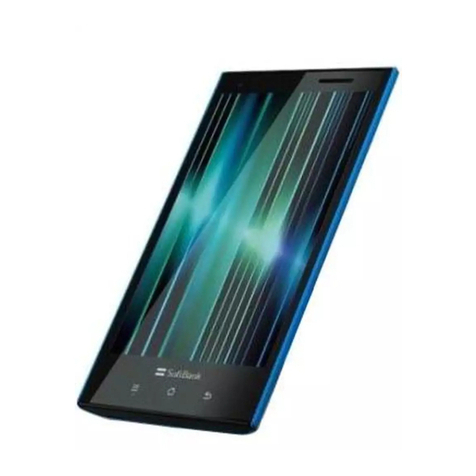
SoftBank 101SH User manual

101SH User Guide


1
SoftBank 101SH
101SH User Guide Contents
Introduction
Introduction.........................................................................3
Getting Started
Package Contents............................................................... 6
Parts & Functions.............................................................. 6
About USIM Card................................................................ 7
SD Card................................................................................9
Battery Installation..........................................................13
Charging Battery.............................................................. 14
Handset Power On/Off.................................................... 15
Slider Positions.................................................................16
Using Handset Keys..........................................................17
Using Touch Panel............................................................ 18
Basic Operations
Handset Interface.............................................................20
Applications.......................................................................21
My Phone Number.............................................................23
Mobile Manners................................................................. 24
Text Entry (Handset Keys).............................................. 24
Text Entry (Touch Panel).................................................26
Using Google Accounts.....................................................28
Android Market™..............................................................29
Security Codes.................................................................. 31
USIM PIN............................................................................32
Sleep Mode........................................................................ 33
Software Update.............................................................. 33
Handset Interface
Home Screen Basics.......................................................... 36
Standby Basics..................................................................37
Launcher Basics................................................................ 38
Status Bar......................................................................... 39
Notifications Panel...........................................................40
Customizing Home Screen................................................ 41
Customizing Standby........................................................43
Phone
Placing/Answering Calls................................................... 46
Optional Services..............................................................47
Using Address Book..........................................................52
Messaging & Browser
Mail Types......................................................................... 56
Sending S! Mail/SMS.........................................................56
Receiving & Replying S! Mail/SMS...................................58
Handling S! Mail/SMS....................................................... 60
Creating/Sending Gmail....................................................60
Opening Received Gmail................................................... 61
Email Settings...................................................................62
Creating/Sending Email.................................................... 63
Opening Received Email....................................................63
Browsing the Internet......................................................64

2
Camera
Photo Camera....................................................................68
Video Camera.................................................................... 69
Music & Images
Music.................................................................................. 72
Still Images & Video.........................................................72
Connectivity
Connecting to Wi-Fi......................................................... 74
Using Bluetooth®..............................................................76
Global Services
Global Roaming................................................................. 80
Calling from Outside Japan.............................................80
Settings
Wireless & Network Settings..........................................84
Call Settings..................................................................... 86
Sound Settings..................................................................86
Application Settings.........................................................88
Accounts & Sync Settings............................................... 89
Privacy Setting................................................................. 89
Language & Keyboard Settings....................................... 90
Date & Time Settings...................................................... 91
About Phone......................................................................91
Appendix
Specifications....................................................................94
Customer Service.............................................................. 95
Safety Precautions
Safety Precautions........................................................... 98
Important Product Information.....................................104
Handset & Hardware Care............................................. 106
General Notes................................................................. 108
FCC Notice...................................................................... 109
Specific Absorption Rate (SAR).....................................110
Water & Dust Resistance.............................................. 110

3
Introduction SoftBank 101SH
Introduction
Introduction
Thank you for purchasing SoftBank 101SH.
Before You Begin
For proper handset use, read "Quick Tips" (in お願いとご注意)
and this guide beforehand.
・Accessible SoftBank Mobile services may vary by
subscription, etc.
・SoftBank 101SH is compatible with 3G network technology;
supports international roaming where 3G network coverage
is available (3G areas).
Guide Usage Notes
・Most operation descriptions are based on default settings.
・Unless noted otherwise, descriptions are for Home Screen
Touch Panel operations with Slider closed.
・Some operation descriptions may be omitted.
・In this guide and on handset, "abroad" means "outside Japan"
with regard to handset/service usage.
・In this guide, microSD/microSDHC Card is referred to as "SD
Card."
Screenshots & Key Labels
Actual handset windows, menus, etc. may differ in appearance.
Key labels are simplified for reference convenience.
Accessing Guide on Handset
Access this Guide on handset via Guide icon in Standby or
via Guide indicator on Status Bar. Guide indicator appears
on Status Bar by default. Follow these steps to hide Guide
indicator: When Guide indicator appears, press
Indicator Off

4

5
Getting Started SoftBank 101SH
Getting Started
Package Contents............................................................... 6
Parts & Functions.............................................................. 6
About USIM Card................................................................ 7
SD Card................................................................................9
Battery Installation..........................................................13
Charging Battery.............................................................. 14
Handset Power On/Off.................................................... 15
Slider Positions.................................................................16
Using Handset Keys..........................................................17
Using Touch Panel............................................................ 18

6
Package Contents
Package Contents
・Handset (SoftBank 101SH)
・Battery (SHBEC1)
・Micro USB Cable (SHDDL1)
・Micro USB Charging Adapter (SHCDL1)
・microSD Card (complimentary sample)
・クイックスタート (Japanese)
・お願いとご注意 (Japanese) with English "Quick Tips"
・Warranty (Japanese)
Parts & Functions
Handset Parts
Notification Lamp
Display
Microphone (below hard keys)
Earpiece
Proximity/Light Sensor
Camera
Infrared Port
Battery Cover
Strap Eyelet
Battery Cover Notch
Speaker
FeliCa Logo
External Connector Port

7
Getting Started SoftBank 101SH
Handset Keys
Long Press for Power on or Phone options
Open Home Screen
Select items, move cursor, etc.
Open Options menu
Open Mail Folder list*; execute functions at bottom
left of Display
Open Launcher*; execute selected item
Show onscreen dialpad; place call
Delete characters
Go back/escape
Activate/cancel Sleep mode. Long Press for Phone
options.
Access the Internet*; execute functions at bottom
right of Display
Adjust volume
- / / Enter numbers/text
・*Available in Standby; for key operations in Standby, see
"Major Key Assignments (Standby)."
・This guide uses the illustrations above to represent handset
keys.
About USIM Card
USIM Card is an IC card containing customer and
authentication information, including handset number.
Inserting USIM Card
Power off first.
Remove Battery Cover
・Use Battery Cover notch to open Cover as shown. Push
Cover up gradually to remove it.
Remove battery
・Use tab (○) to lift battery.
Pull out Tray
・Use tab to pull Tray straight out.
・Pulling out forcefully may cause breakage.
Place USIM Card in Tray
・Slide in Tray with USIM Card IC chip up.

8
Secure Tray
Insert battery
・With recycling symbol up, align battery terminals with
contacts.
Replace Battery Cover
・Align External Connector Port sides, then press down firmly
along edges.
・Close Battery Cover firmly. Debris trapped between Cover
gasket and base may expose handset to liquid/dust.
Removing USIM Card
Power off first.
Remove Battery Cover
・Use Battery Cover notch to open Cover as shown. Push
Cover up gradually to remove it.
Remove battery
・Use tab (○) to lift battery.
Pull out Tray
・Use tab to pull Tray straight out.
・Pulling out forcefully may cause breakage.
Remove USIM Card
・Slide out USIM Card.
Secure Tray

9
Getting Started SoftBank 101SH
Insert battery
・With recycling symbol up, align battery terminals with
contacts.
Replace Battery Cover
・Align External Connector Port sides, then press down firmly
along edges.
・Close Battery Cover firmly. Debris trapped between Cover
gasket and base may expose handset to liquid/dust.
SD Card
SoftBank 101SH supports SD Card up to 32 GB. However, some
SD Cards may not operate properly.
Unmounting SD Card
Always perform Unmount microSD before removing SD Card.
(Complimentary SD Card preinstalled.)
In Home Screen, Settings
microSD & phone storage
Unmount microSD OK
SD Card is unmounted.

10
Removing SD Card
Power off first.
Remove Battery Cover
・Use Battery Cover notch to open Cover as shown. Push
Cover up gradually to remove it.
Remove battery
・Use tab (○) to lift battery.
Remove SD Card
・Gently push in card and release it; card pops out. Pull card
straight out gently.
Insert battery
・With recycling symbol up, align battery terminals with
contacts.
Replace Battery Cover
・Align External Connector Port sides, then press down firmly
along edges.
・Close Battery Cover firmly. Debris trapped between Cover
gasket and base may expose handset to liquid/dust.

11
Getting Started SoftBank 101SH
Inserting SD Card
Power off first.
Remove Battery Cover
・Use Battery Cover notch to open Cover as shown. Push
Cover up gradually to remove it.
Remove battery
・Use tab (○) to lift battery.
Insert SD Card
・With terminals down, insert SD Card until it stops.
・SD Card Slot is located above USIM Card Slot. Do not insert
SD Card into USIM Card Slot.
Insert battery
・With recycling symbol up, align battery terminals with
contacts.
Replace Battery Cover
・Align External Connector Port sides, then press down firmly
along edges.
・Close Battery Cover firmly. Debris trapped between Cover
gasket and base may expose handset to liquid/dust.

12
Formatting SD Card
When using a new SD Card for the first time, format it on
handset before trying to save files, etc.
・Formatting deletes all SD Card files, even those created on
other devices.
・Charge battery or install a charged battery beforehand.
In Home Screen, Settings
microSD & phone storage
Unmount microSD OK
Unmount microSD changes to Mount microSD .
Erase microSD
Erase microSD
Enter Handset Code OK
・If Handset Code is unset, follow onscreen instructions.
Erase everything
Formatting starts.
SD Card Slot
SD Card Slot is located above USIM Card Slot. Do not insert
SD Card into USIM Card Slot.
Important SD Card Usage Note
SD Card files may be lost/altered accidentally. Keep a copy
of contacts, etc. in a separate place. SoftBank Mobile is
not liable for any damages resulting from accidental loss/
alteration of information.
・Never power off or remove battery while files are being
accessed.
General Use
Keep SD Card out of infants' reach; may cause suffocation
if swallowed.

13
Getting Started SoftBank 101SH
Battery Installation
Inserting Battery
Remove Battery Cover
・Use Battery Cover notch to open Cover as shown. Push
Cover up gradually to remove it.
Insert battery
・With recycling symbol up, align battery terminals with
contacts.
Replace Battery Cover
・Align External Connector Port sides, then press down firmly
along edges.
・Close Battery Cover firmly. Debris trapped between Cover
gasket and base may expose handset to liquid/dust.
Removing Battery
Power off first.
Remove Battery Cover
・Use Battery Cover notch to open Cover as shown. Push
Cover up gradually to remove it.
Remove battery
・Use tab (○) to lift battery.
Replace Battery Cover
・Align External Connector Port sides, then press down firmly
along edges.
・Close Battery Cover firmly. Debris trapped between Cover
gasket and base may expose handset to liquid/dust.
Lithium-ion Battery
This product requires a lithium-ion battery. Lithium-ion
batteries are recyclable. To recycle a used lithium-ion
battery, take it to any shop displaying the symbol below.
・To avoid fire or electric shock, do not short-circuit or
disassemble battery.

14
Battery Usage Notes
General
Charge battery at least once every six months; uncharged
battery may die or affect files/settings.
Battery Life
Replace battery if operating time shortens noticeably.
・Depending on usage, bulges may appear near end of
battery life; this does not affect safety.
Maintenance
Clean device charging terminals with dry cotton swabs.
Battery Cover
To maintain water/dust resistance, close Battery Cover
properly. Do not apply excessive force to Battery Cover;
damage may result.
・If Battery Cover is damaged, replace it with a new one.
Use of damaged Cover may cause electric shock, battery
corrosion, etc. due to water seepage. (Battery is not
water or dustproofed.)
Charging Battery
Battery must be inserted in handset to charge it.
AC Charger
Use Micro USB Charging Adapter with AC Charger ZTDAA1
(sold separately).
・Micro USB Charging Adapter and AC Charger are not water
or dustproofed. Do not charge battery while handset is wet.
Insert Charger Connector into Micro USB Charging Adapter
・Confirm connector orientation, then insert connector until it
clicks.
Open Port Cover and insert Micro USB Charging Adapter into
External Connector Port
Extend blades and plug AC Charger into AC outlet
Notification Lamp illuminates while charging.
・Notification Lamp goes out when battery is full. Unplug
AC Charger and retract blades. Remove Micro USB Charging
Adapter and close Port Cover.

15
Getting Started SoftBank 101SH
USB Charge
Connect handset to a PC via Micro USB Cable.
・Power on handset and PC first.
・To use Fast transfer mode, install USB Cable driver on the
PC beforehand.
・Battery may not charge or charge slowly depending on PC
status/environment. Battery may not charge if SD Card is
not inserted.
Open Port Cover and insert Micro USB Cable into External
Connector Port
Insert Micro USB Cable into PC USB port
Notification Lamp illuminates while charging.
・Notification Lamp goes out when battery is full. Remove
Micro USB Cable and close Port Cover.
Charging Precautions
Handling Cords
Do not pull, bend, or twist cord.
Important USB Charge Usage Note
Handset may power on automatically when connected to a
PC via Micro USB Cable; avoid connection aboard aircraft or
in hospitals, etc. where handset use is prohibited.
Handset Power On/Off
Power On
With Slider open, Long Press until SoftBank logo
appears
After Power On Graphics, waterproofing/dustproofing
guidance appears.
OK
Initial setup menu opens.
・If handset is set to skip setup menu at Power on, Standby
appears.

16
Power Off
(Long)
・Alternatively, Long Press with Slider open.
Power off
OK
Handset shuts down.
Slider Positions
Set Slider in the following two positions as needed.
Slider Closed
Keep Slider closed when not in use; use Touch Panel and Side
Keys.
Slider Open
Slide Display to place or answer calls, enter text, etc.
・Use handset keys or Touch Panel.

17
Getting Started SoftBank 101SH
Using Handset Keys
Use twelve hard keys for text entry, etc. Press function keys
for onscreen dialpad, Mail Folder list, Browser, etc. Use Multi
Selector to select items, move cursor, etc.
Major Key Assignments (Standby)
The following functions are assigned by default.
Open Home Screen
Open Mail Folder list
Open incoming call history. Long Press for outgoing call
history.
Open Options menu
Show onscreen dialpad
Open Address Book. Long Press for Send and Receive by
Infrared.
Access the Internet
Open list of active applications
Open Notifications panel. Long Press for Information.
Long Press for Phone options
Long Press to activate/cancel Manner mode
Selection & Execution
Use Multi Selector to highlight item; press Center Key to
execute it.
・Item selection with Multi Selector is disabled in Standby.
In this guide, Multi Selector and Center Key operations are
indicated as follows:
Label Operation
Press center
Press up
Press down
Press left
Press right
Press up/down
Press left/right
Press up/down/left/right

18
Using Touch Panel
Touch Display to navigate menus, open functions, scroll pages,
etc.
Tap
Tap item or key to open or execute corresponding function/
operation.
Long Touch
Touch item for 1+ seconds (handset vibrates) to move icon,
open menu, etc.
Drag
Drag item to move it.
Swipe/Flick
Swipe or flick to toggle sheets, pages, etc.
Spread & Pinch
Spread or pinch to enlarge or reduce images, etc.
Calibrating Touch Panel
Calibrate Touch Panel to improve response. Hold handset
normally during calibration.
In Home Screen, Settings About phone
Adjust touch panel Tap center of each circle
Table of contents
Other SoftBank Cell Phone manuals

SoftBank
SoftBank 840P User manual

SoftBank
SoftBank 944SH User manual

SoftBank
SoftBank 931SH User manual

SoftBank
SoftBank 823SH User manual

SoftBank
SoftBank 920T User manual

SoftBank
SoftBank X02T User manual

SoftBank
SoftBank 005SH User manual

SoftBank
SoftBank 730 SC User manual

SoftBank
SoftBank 912SH User manual

SoftBank
SoftBank 830SH User manual

SoftBank
SoftBank 932SH Safety guide

SoftBank
SoftBank 831shs User manual

SoftBank
SoftBank Smartphone User manual

SoftBank
SoftBank 911T User manual

SoftBank
SoftBank 815SH User manual

SoftBank
SoftBank 943SH User manual

SoftBank
SoftBank 911T User manual

SoftBank
SoftBank 930N User manual

SoftBank
SoftBank 941SC User manual

SoftBank
SoftBank 942P User manual