manuals.online logo
Brands
  1. Home
  2. •
  3. Brands
  4. •
  5. Sonoscape
  6. •
  7. Medical Equipment
  8. •
  9. Sonoscape Flagship S9 Installation guide

Sonoscape Flagship S9 Installation guide

Flagship
General Introduction
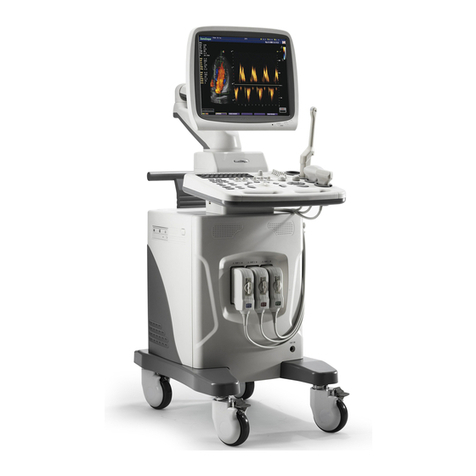
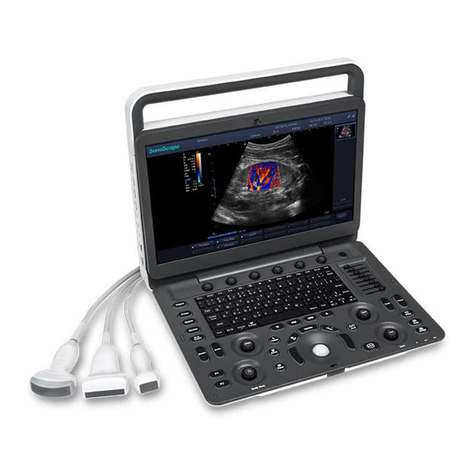
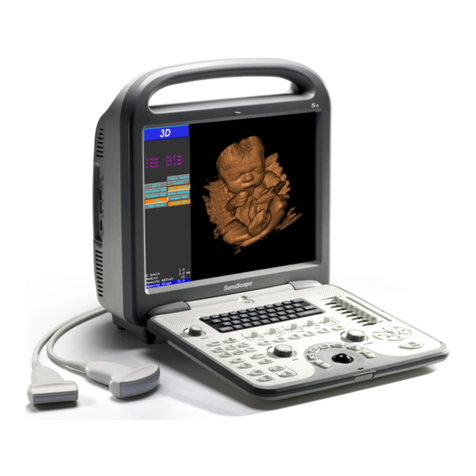
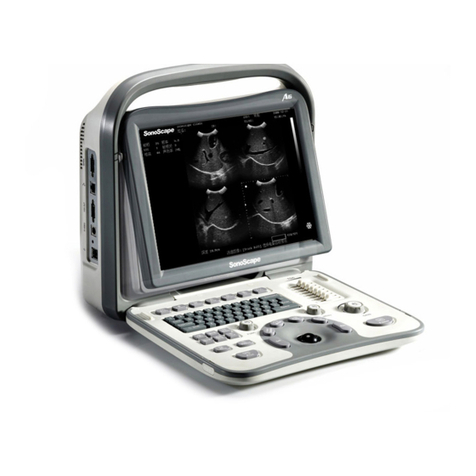
S9, the portable Color Doppler system in SonoScape, has the
unique 13.3 inch touch control panel. With the state-of-the-art
powerful imaging platform, it will provide you the best solution for
ultrasound diagnosis with outstanding performance.
S9
Preparation before Scanning
1. Getting Start
Create new patient and get into Scanning Mode
1. Press [Patient], fill in basic patient information;
2. Press OK on the patient interface to create a new patient file;
3. Choose the probe and exam mode on the touch screen.
2. Scanning
B Mode
1. The default scanning mode is B mode, if you want to return to B mode, please
press the [B] in keyboard or B Mode on the touch screen.
2. Rotate [B] in keyboard to adjust gain, or Press [M-tuning]on the touch screen for
image one key optimization.
Image Adjustment in B mode:
Easily adjust parameters by touch left or right side of the button, mostly include:
[Gain] : ↓↑ brightness; [μ-Scan] : 5- level speckle reduction;
[Compound]: edge enhancement; [GSC]: 7 selectable grayscale curve;
[DYN] : ↓more contrast, ↑more information and details;
[Frequency]: high frequency for resolution, while low frequency for penetration;
[Chroma]: colorize the image for high resolution.
2B/4B Imaging
1. Press [Dual] or [Quad] to get into 2B/4B Imaging;
2. Press [Dual] or [Quad] to change the activated image.
Color/DPI Mode
1. Press [Color] on the screen or [D] in keyboard to enter Color mode;
2. Move [Trackball] to change the position of ROI;
3. Press [Set] and then move [Trackball] to change the size of ROI;
4. Press [Set] again to change the position of ROI.
The Parameters in Color Mode:
Easily adjust parameters by touch left or right side of the button, include:
[D Gain] : ↓↑ color brightness ; [PRF] : ↓↑ Scale;
Lock
Probe Direction
Power
ON/Off
D Gain
B Gain
Depth
Exam Mode
Probe
Calculation
M-tuning
Body Mark
Annotation
Save Image
Save Cine
Scanning Mode
Parameter Adjustment
Dual Mode
Quad Mode
Unlock
Annotation
1. Press [Annot] to choose the desired annotation through
touch screen, or input annotation through keyboard.
2. Press [Set] to locate the annotation position.
Body Mark
1. Press [Body Mark] and choose the desired one.
2. Move [Trackball] to place the probe marker, and rotate the
[Angle] to adjust the orientation of the probe.
Save Images or Cine
Press the [Save Frame] or [Save Cine] to save a single frame
image or cine into the system.
Review Patient File
Press [File] to the patient file which you are scanning, then
select a certain exam to review images and cines.
PW/CW Mode
1. Press [PW] to enter PW mode;
2. Move [Trackball] to change the position of sample volume;
3. Use [Set] to change the size of sample volume, and use
[Angle] to change the angle of sample volume line;
4. Press [Update] to activate the Pulse Wave Doppler image;
5. Press [M-tuning] to optimize the spectral Doppler;
6. CW is only available for phased array, and press CW on
the touch screen to enter CW mode.
3D/ 4D
1. Select the volume probe and choose the exam mode. Press
[3D/4D] on the touch screen under B mode;
2. Adjust the ROI and curve line by [Set] and [Update];
3. Press [Start] on the touch screen to enter the 4D image
real-time status.
Steer M mode (Anatomical M mode)
1. Under M mode, click [Steer M] on the touch screen to
enter;
2. Press left or right of [Steer M] to set the number of the
sample line, and rotate [Angle] to change the angle of the
sample line.
Tissue Doppler Imaging (only available for Phased
Array)
1. Under B mode, click [TDI] on the touch screen to enter TDI
mode;
2. Use [Trackball] and [Set] to change the position and size of
the ROI;
3. Press [PW] button to enter TVD mode;
4. Press [Update] to activate the Pulse Wave Doppler image.
3. Measurement
1. Calculation is active both in scanning mode and frozen mode;
2. Press [Distance] to calculate the distance;
3. Press [Area] to calculate the area and circumference;
4. Press [Calc] to enter the application measurement status.
5. Choose the desired measurement item, and mark on the right
position.
4. Post Scanning
5. Image Management
Image Transfer (only after you END the examination)
1. Press [Patient] on the touch screen, then enter the [Patient List]
to choose the images of a certain patient.
2. Choose the type of medium to USB. Then choose the type of file
you want to export, like JPG/BMP/AVI/MP4, etc;
3. Click [Export] to send the images to USB.
Note: For detailed information, please refer to the Operation
Manual.
6. Touch Screen Setting
Report and Print
1. Press [Insert Image] to add images, and then Press [Report],
input the comment in the text box.
2. Click [Print] on the report interface to preview the PDF report,
then press [Print] on the touch screen to print the report out.
End Exam
Press [End Exam] to end one examination.
Start a New Patient
You may start a new exam by repeating the instructions above.
Change Skin/Color Lightness/Audio
1. Press [Keyboard] on the touch screen and press [Set Up] to
enter into the touch screen setting;
2. Choose 3 different types of Skin:
[Royal Blue], [Snowy White], [Gray Black]
3. Choose 2 different parts of color lightness: [Touch Screen],
[Master]
4. Choose the [Volume] on the Touch Screen.
SonoScape International Marketing Dept.
Based on Software Version: 3.0.5.1
Elastography
Available in the breast and thyroid exam mode for all linear
probes;
Contrast Imaging
Available for C353
Other Sonoscape Medical Equipment manuals

Sonoscape S22 User manual

Sonoscape

Sonoscape S22 User manual

Sonoscape SSI-6000 User manual

Sonoscape

Sonoscape SSI-6000 User manual

Sonoscape E1 User manual

Sonoscape

Sonoscape E1 User manual

Sonoscape S2 User manual

Sonoscape

Sonoscape S2 User manual

Sonoscape S60 Series User manual

Sonoscape

Sonoscape S60 Series User manual

Sonoscape S2 User manual

Sonoscape

Sonoscape S2 User manual

Sonoscape A6T User manual

Sonoscape

Sonoscape A6T User manual

Sonoscape E3 Installation guide

Sonoscape

Sonoscape E3 Installation guide

Sonoscape S8Exp Installation guide

Sonoscape

Sonoscape S8Exp Installation guide

Sonoscape S6 User manual

Sonoscape

Sonoscape S6 User manual

Popular Medical Equipment manuals by other brands

SonoSite S-Cath user guide

SonoSite

SonoSite S-Cath user guide

Erbe LAP BiSect Dismantling and Assembling

Erbe

Erbe LAP BiSect Dismantling and Assembling

Zeiss VISUPHOR 500 user manual

Zeiss

Zeiss VISUPHOR 500 user manual

Inogen One G3 Technical manual

Inogen

Inogen One G3 Technical manual

Coviden Kangaroo user manual

Coviden

Coviden Kangaroo user manual

Getinge HS 6613 AR-2 manual

Getinge

Getinge HS 6613 AR-2 manual

Sunrise Medical Guardian IC-5307 User instructions and warranty

Sunrise Medical

Sunrise Medical Guardian IC-5307 User instructions and warranty

Otto Bock Malleo Immobil Instructions for use

Otto Bock

Otto Bock Malleo Immobil Instructions for use

Zevex Infinity Orange Operator's manual

Zevex

Zevex Infinity Orange Operator's manual

Kodak DirectView CR 825 Diagnostics guide

Kodak

Kodak DirectView CR 825 Diagnostics guide

B. Braun Infusomat Compactplus P Service manual

B. Braun

B. Braun Infusomat Compactplus P Service manual

Micromega ENDOAce Torque manual

Micromega

Micromega ENDOAce Torque manual

Richmar InTENSity 7 instruction manual

Richmar

Richmar InTENSity 7 instruction manual

mychway YH-6551 user manual

mychway

mychway YH-6551 user manual

KAP Medical SKINGUARD Series owner's manual

KAP Medical

KAP Medical SKINGUARD Series owner's manual

Flyte MTI-1 quick start guide

Flyte

Flyte MTI-1 quick start guide

Snotty TOO Information sheet

Snotty

Snotty TOO Information sheet

Storz ENDOMAT SELECT UP 210 Instructions for use

Storz

Storz ENDOMAT SELECT UP 210 Instructions for use

manuals.online logo
manuals.online logoBrands
  • About & Mission
  • Contact us
  • Privacy Policy
  • Terms and Conditions

Copyright 2025 Manuals.Online. All Rights Reserved.