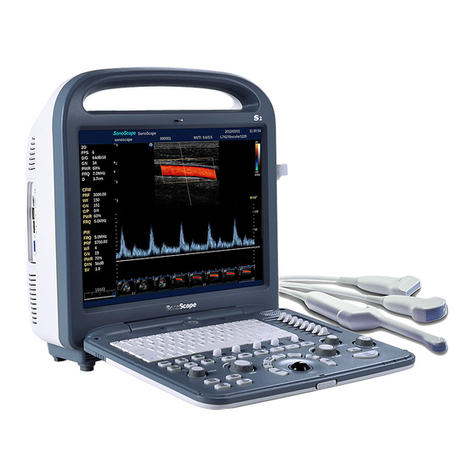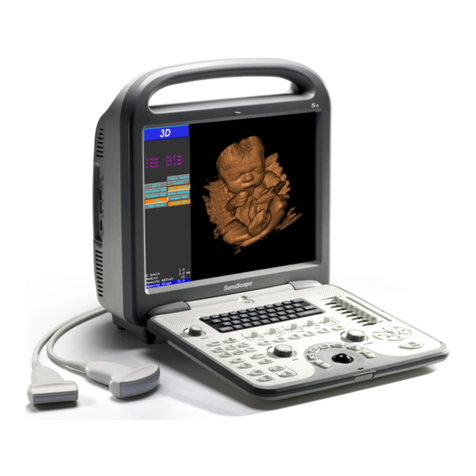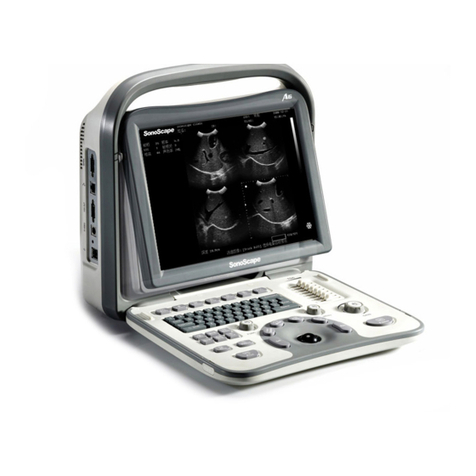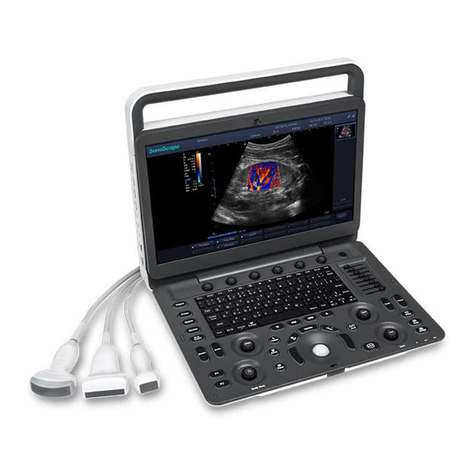
P/N: 4710.01673A01
1. Preparing the System
1. Power on/off. Set the power switch on the rear panel to position and
press <Power>1 on the control panel to power on the system.
2. Monitor adjustment. Grip the upper and lower sides to tilt the monitor
forward or backward, and grip the left and right sides to swivel the
monitor.
3. Control panel adjustment. Use < /> up/down button on the front
handle and the swivel lever beneath the control panel to adjust it.
2. Getting Started
1. Press <Patient>4 to enter the New Patient screen and input the patient
information.
2. Press <Probe>6 to select probe and exam type.
3. Scanning and Processing
B Mode
1. Press <B>14 to enter B mode.
2. Rotate <B>14 to adjust the gain and rotate <Parameter Adjustment>2 to
optimize the image.
【Compound】Higher space resolution and signal-noise ratio.
【μScan】Less speckle and noise, enhanced boundary.
【DYN】Higher DYN for more details, lower DYN for higher contrast.
【Chroma】Colorized image.
【Gray Map】Different levels of grayscale brightness.
【Frequency】Higher frequency for higher resolution, lower frequency
for better penetration.
CFM/PDI Mode
1. Press <CFM>14 or PDI key on the key panel to enter CFM/PDI mode.
2. Use <Trackball>34 and <Set Key>33 to adjust the position and size of
the color ROI.
3. Rotate <CFM>14 to adjust the gain and rotate <Parameter Adjustment>
2 to optimize the image.
TDI Mode
1. Press TDI key on the key panel to enter TDI mode.
2. Use <Trackball>34 and <Set Key>33 to adjust the position and size of
the color ROI.
3. Rotate <CFM>14 to adjust the gain and rotate <Parameter Adjustment>
2 to optimize the image.
M/Anatomical M-Mode
1. Press <M>14 to enter the inactivated B+M mode, and the main screen
diaplays the B mode image and the M-line.
2. Move <Trackball>34 to adjust the position of the M-line and press
<Update>23 to activate M mode.
AMM mode: Tap <AMM> on the touch screen in inactivated M Mode to
activate AMM mode. Rotate <AMM Number> knob to set the number
of M-lines, rotate <AMM Angle> knob to adjust the angle of M-line.
3. Rotate <M>14 to adjust the gain and rotate <Parameter Adjustment>2 to
optimize the image.
PW/CW Mode
1. Press <PW>14/<CW>14 to enter the inactivated B+PW/B+CW mode.
2. Move <Trackball>34 to adjust the position and angle of the sample
line. In PW mode, move <Trackball>34 to adjust the size of the sample
volume gate.
3. Rotate <Angle>18 to adjust the angle of the correction line. Press
<Update>23 to activate PW/CW mode.
4. Rotate <PW>14/<CW>14 to adjust the gain and rotate <Parameter
Adjustment>2 to optimize the image.
Elastography Imaging Mode
1. Optimize the B mode image and press <Elastography Imaging>12 to
enter elastography imaging mode.
2. Hold the probe perpendicular to the target lesion, and compress it
regularly.
3. Use <Trackball>34 and <Set Key>33 to adjust the position and size of
the ROI and rotate <Parameter Adjustment> 2 to optimize the image.
Contrast Imaging Mode
1. In B+Color mode, identify the target tissue and observe the blood ow.
2. In B mode, press <Contrast Imaging>10 to enter contrast imaging mode.
3. Inject contrast agents, select a timer on the touch screen, and press
<Image>31 to start or stop acquring images.
4. Rotate <CFM>14 to adjust the gain of contrast image, and rotate <B>14
to adjust the gain of B mode image. Rotate <Parameter Adjustment> 2 to
optimize the image.
3D/4D Mode
1. Press <3D/4D>13 to enter the inactivated 3D/4D mode.
2. Use <Trackball>34 and <Set Key>33 to adjust the sample line and ROI
to set the sample volume.
3. Set the user mode, sweep angle and other imaging parameters on the
touch screen.
4. Press < >35 to start or stop acquiring image.
NOTE:
●Press <Split Display>15 on the control panel to enable a full, dual, or quad
display.
●Press <Alt Gr> on the key panel to switch the language input method.
●To customize a preset, select an imaging mode and adjust the imaging
parameters, and press <S> on the key panel. Follow the prompt on the screen
to enter the User Preset menu. Input the exam name, select an exam type and
exam icon, and click Create Exam key to save the preset.
4. Measurement and Annotation
Measurement
1. Press <Caliper>25/<Calculation>24 to activate basic/application-specic
measurement.
2. Tap the measurement item on the touch screen, and then use <Trackball>
34 and <Set Key>33 to start measurement.
3. Press <Clear>20 to clear all measurement markers and calculation results
from the screen.
Annotation and Body Mark
【Annotation】
1. Press <Annotation>22 to activate annotation, and then move the cursor
to the desired place by using <Trackball>34. Tap the predefined word
on the touch screen or input an annotation by using the key panel. Press
<Set Key>33 to add it to the image.
2. Tap Set Home key to set the initial position for an annotation.
【Body Mark】
Press <Bodymark>19 to activate body mark and select the desired body
mark. Move the body mark to the desired place by using <Trackball>34, and
rotate <Bodymark>19 to adjust the angle. Press <Set Key>33 to add it to the
image.
5. Managing Image/Cine/Data
Storing an Image/Cine
Press <Image>31 to save the current image. Press <Cine>32 to save the
current cine.
Viewing an Image/Cine
Press <Review>8 to enter Exam List screen, use <Trackball>34 and <Set
Key>33 to select the desired image/cine, then double-click <Set Key>33 to
enter the main screen to view the image/cine.
Exporting/Importing Data
Connect a device (e.g. USB, DVD) to the system. Press <Review>8 to enter
the Exam List screen. Select the desired patient from the exam list.
●Click Export key and select the exported path in the pop-up dialog box, and
click Export key to back up the desired data.
●Click Import key to enter Import Screen. Search for the desired patient and
select the desired device from the drop-down list. Click Import Patient key to
import the desired data.
Report and Print
Press <Report>8 to view the measurement result, and click Prev.&Save key
to preview the current report. Click Print key to print the current report,
or click Exit key to exit the preview screen and return to the Measurement
Report screen.
6. Ending an Exam
1. Press <End Exam>7 to end the current exam.
2. After completing all exams, press <Power>1 to power off the system. Set
the power switch to position to disconnect the mains power.
