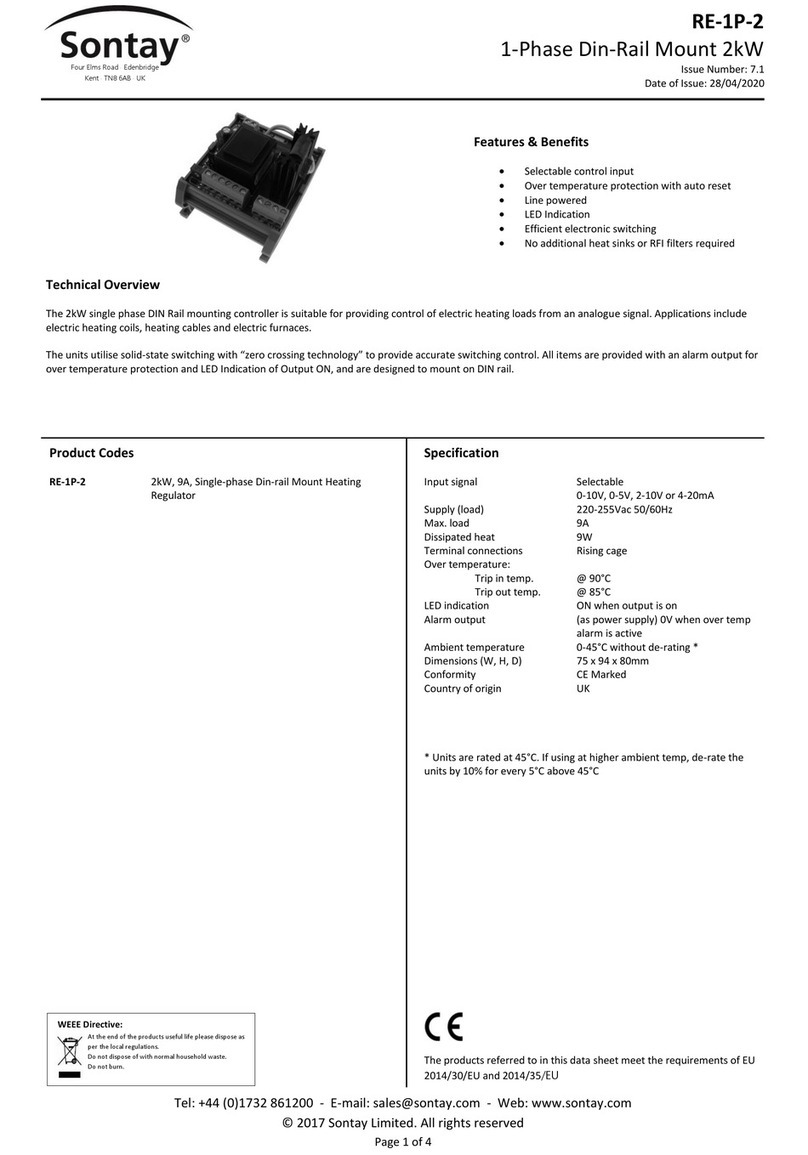
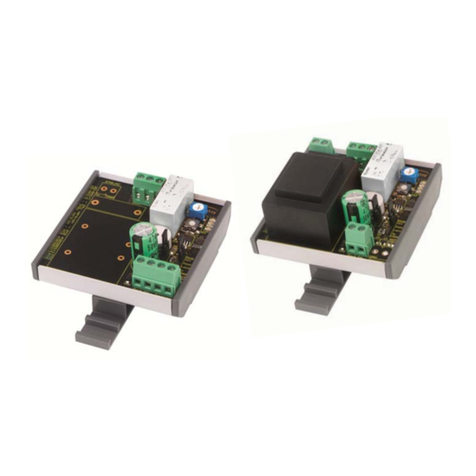
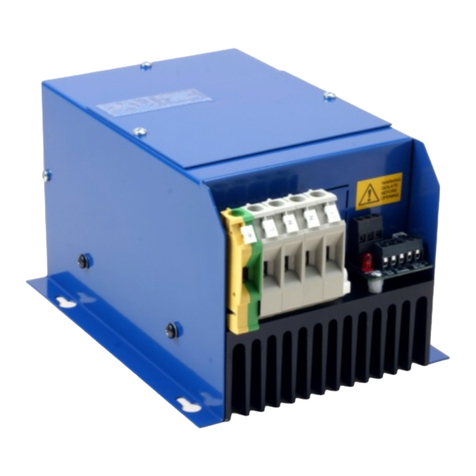
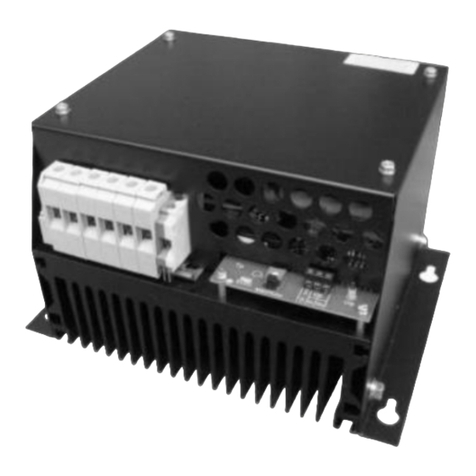
Sontay WD-AMX User manual

Page 1 of 5
WD-AMX
Date of Issue: 17/08
/
2012
Issue Number: 5.4
Features: Benefit:
The WD-AMX water leak detection modules are designed for use with the WD-CS, WD-PS and WD-RS water
leak detection sensors.
The modules have LED Indication of the water leak status and a sounder that can be enabled or disabled. The
relay output can be used in manual or auto reset, and can be used as an alarm signal for connection to a BMS
controller or remote alarm annunciation panel, such as the UI-AA1-F.
The cable excitation used is an isolated AC signal which ensures the detector cable will not be subject to
oxidation or erosion over time, avoiding the degradation problems associated with DC systems.
Technical Overview
WD-AMX
Water Detection Controllers
LED Status of leak status
VFC output
Audible alarm
Auto or manual reset alarm output
Uses an isolated AC signal which
prevents oxidation or erosion of sensing
modules

Page 2 of 5
WD-AMX
Date of Issue: 17/08
/
2012
Issue Number: 5.4
Supply Voltage:
WD-AMX-1 24Vac/dc
±10%
WD-AMX-2 230Vac @ 50Hz
Supply current 50mA max.
Output 12A @ 250Vac
LED Status indication for:
Error condition
Input sensitivity
Relay output mode
Learning Mode
Response time <1 sec. after exposure
Max. sensor cable length 200m (656ft) with leader cable
Alarm hysteresis Dependent on sensitivity
Electrical Terminals for 0.5-2.5² cable
Connections Rising cage
Ambient:
Temperature 0°C to 40°C (32 to 104°F)
RH 0-80% non-condensing
Dimensions 72 x 64 x 55mm
(2.83 x 2.52 x 2.17”)
Weights:
WD-AMX-1 100g (0.22lb)
WD-AMX-2 240g (0.53lb)
Country of origin UK
The products referred to in this data sheet meet the
requirements of EU 2004/108/EC and 2006/95/EC
WD-AMX-1
24Vac/dc water detection alarm module with
audible alarm and LED status indication
WD-AMX-2
230Vac water detection alarm module with
audible alarm and LED status indication
Warning!
When installed, the output relay contacts may carry
240Vac. Special care must be taken to isolate the switched
voltages prior to any work being undertaken.
Specification: Part Codes:

Page 3 of 5
WD-AMX
Date of Issue: 17/08
/
2012
Issue Number: 5.4
Antistatic precautions must be observed when handling these sensors. The PCB contains circuitry that can be
damaged by static discharge.
1. The WD-AMX should only be installed by a competent, suitably trained technician, experienced in installation with
hazardous voltages. (>50Vac & <1000Vac or >75Vdc & 1500Vdc)
2. Ensure that all power is disconnected before carrying out any work on the WD-AMX.
3. Maximum cable is 2.5mm², care must be taken not to over tighten terminals.
4. When mounting the WD-AMX care should be taken not to stress the PCB when fitting to the DIN rail. If it is
necessary to remove the module from the DIN rail, be sure to use a flat bladed screwdriver to release the DIN clips.
5. The WD-AMX-1 is designed to operate from a 24Vac or 24Vdc supply (so that power can be drawn from a 24Vac
transformer used for other purposes if a 24Vdc supply is not available). The WD-AMX-2 is designed to operate from
a 230Vac mains supply.
6. The relay output is an SPDT type, allowing either a Normally Open (NO) or Normally Closed (NC) connection.
On power-up or by pressing the reset button, the unit enters “learning” mode, the mode jumper can be set to the
required operating mode. In “learning” mode, the sensor sensitivity trimmer can be adjusted, and the level used as the
threshold at which the unit will report an alarm. The unit will only be in “learning” mode for approximately 20 seconds after
power-up or reset. After this time, the unit will enter “run” mode, so that any adjustment of the trimmer or change to the
relay mode jumper has no effect. Note that if the reset button is pressed, the alarm will sound (if enabled) for at least two
seconds as part of the initialisation function. In this event, the mode jumper and trimmer setting should be checked before
the unit is left to monitor the sensor autonomously.
When the unit is first powered up, the sounder will be activated (if enabled) and the LED’s demonstrated. The relay will be
left de-energised for a minimum of two seconds. This is so that there will be an alert reported over the relay if the reset
button is pressed.
Once the relay has been energised, it will be held in this state for a minimum of two seconds, even if a flood is detected
immediately.
Changes in alarm threshold and relay output mode can only be made while the unit is in “learning” mode. Enter “learning”
mode by pressing the reset switch.
Installation:
Operation:
Learning Mode:

Page 4 of 5
WD-AMX
Date of Issue: 17/08
/
2012
Issue Number: 5.4
LED Status:
Green LED:
The green LED should be on continuously during normal operation, except in the “off” mode or there is an error (see “Error
Indication”).
Yellow LED:
This will be on if the sensor reading is more than 33% of the threshold setting.
Orange LED:
This will be on if the sensor reading is more than 66% of the threshold setting.
Red LED:
This will be on solidly if the sensor reading exceeds the threshold setting. If the red LED is flashing, it is either because the
unit is in “test” mode or, if the green LED is off, because the unit has discovered an error (see “Error Indication”).
If the unit thinks that there is an error (for example, the sensor reads such an extreme level that a short circuit is suspected)
then the red LED will flash continuously, the relay will be de-energised, and the sounder will be activated (if enabled). The
sounder pattern will be three tones followed by a gap, to differentiate it from the flood warning. The green LED will be off to
differentiate between an error report and the “Test” mode. The error report will be held until the reset button is pressed,
although this function could reset automatically if the unit is in “Reset” mode.
Off:
The relay will be de-energised and the sounder silent, no matter what the sensor condition. The green and yellow LEDs will
flash alternately while in “learning” mode, and then just the green LED will flash continuously to show that this mode is
selected. The other three LED’s will indicate as normal.
Reset:
The WD-AMX will report all flood alerts by releasing the relay and activating the sounder (if enabled). Any transition will be
reported for a minimum of two seconds. When the sensor stops indicating a flood, the unit resets automatically.
Latch:
In latching (manual reset) mode the WD-AMX reports the initial flood alert by releasing the relay and activating the sounder
(if enabled). The relay and sounder will continue to indicate the alarm until the reset switch on the unit has been pressed.
NB The LED’s will indicate the true status of the sensor.
On:
This is a mode used to test the installation without needing to wet the sensor. The sounder and relay will be energised and
the green and red LEDs will flash alternately for approximately 2 minutes to show that this mode is selected. After this time,
the green LED will be ON while the red LED will continue to flash.
With the sensor connected and the unit power up, enter learning mode and then slowly adjust the threshold trimmer. As
the input becomes more sensitive, the yellow, orange and finally red LED’s will progressively light. If the red LED is lit, the
sensitivity is set too high, and the unit is in alarm.
Error Indication:
Relay Output Modes:
Adjusting the Alarm Threshold:

Page 5 of 5
WD-AMX
Date of Issue: 17/08
/
2012
Issue Number: 5.4
Whilst every effort has been made to ensure the accuracy of this specification, Sontay cannot accept responsibility for damage, injury,
loss or expense from errors or omissions. In the interest of technical improvement, this specification may be altered without notice.
Jumper Settings:
Relay Mode Link: Sounder link:
Off Silent Active
Reset
Latch
On
WD-AMX-1 WD-AMX-2
Connections:
Sensor input
Sensor input
24Vac/dc
0V
Manual
reset
Relay
output
Sensitivity
adjustment
LED’s
Jumpers Manual
reset
Sensor
input
Relay
output
Jumpers
240Vac
supply
Sensitivity
adjustment
LED’s
This manual suits for next models
2
Table of contents
Other Sontay Controllers manuals
