Operation
Printing Pictures
6
For details about the media supported by the
system, refer to the Operating Instructions.
Note
• The following buttons are available in this screen
and the screens that follow. Touch the buttons
when required.
– If you touch the [Start Over] button, a message
prompts you to verify that you want to
completely cancel the current operation and
return to the start screen. If you touch the [OK]
button, the display returns to the screen in
step1.
– [Help]. Touch to display online Help for a
description about procedures that apply to the
current screen.
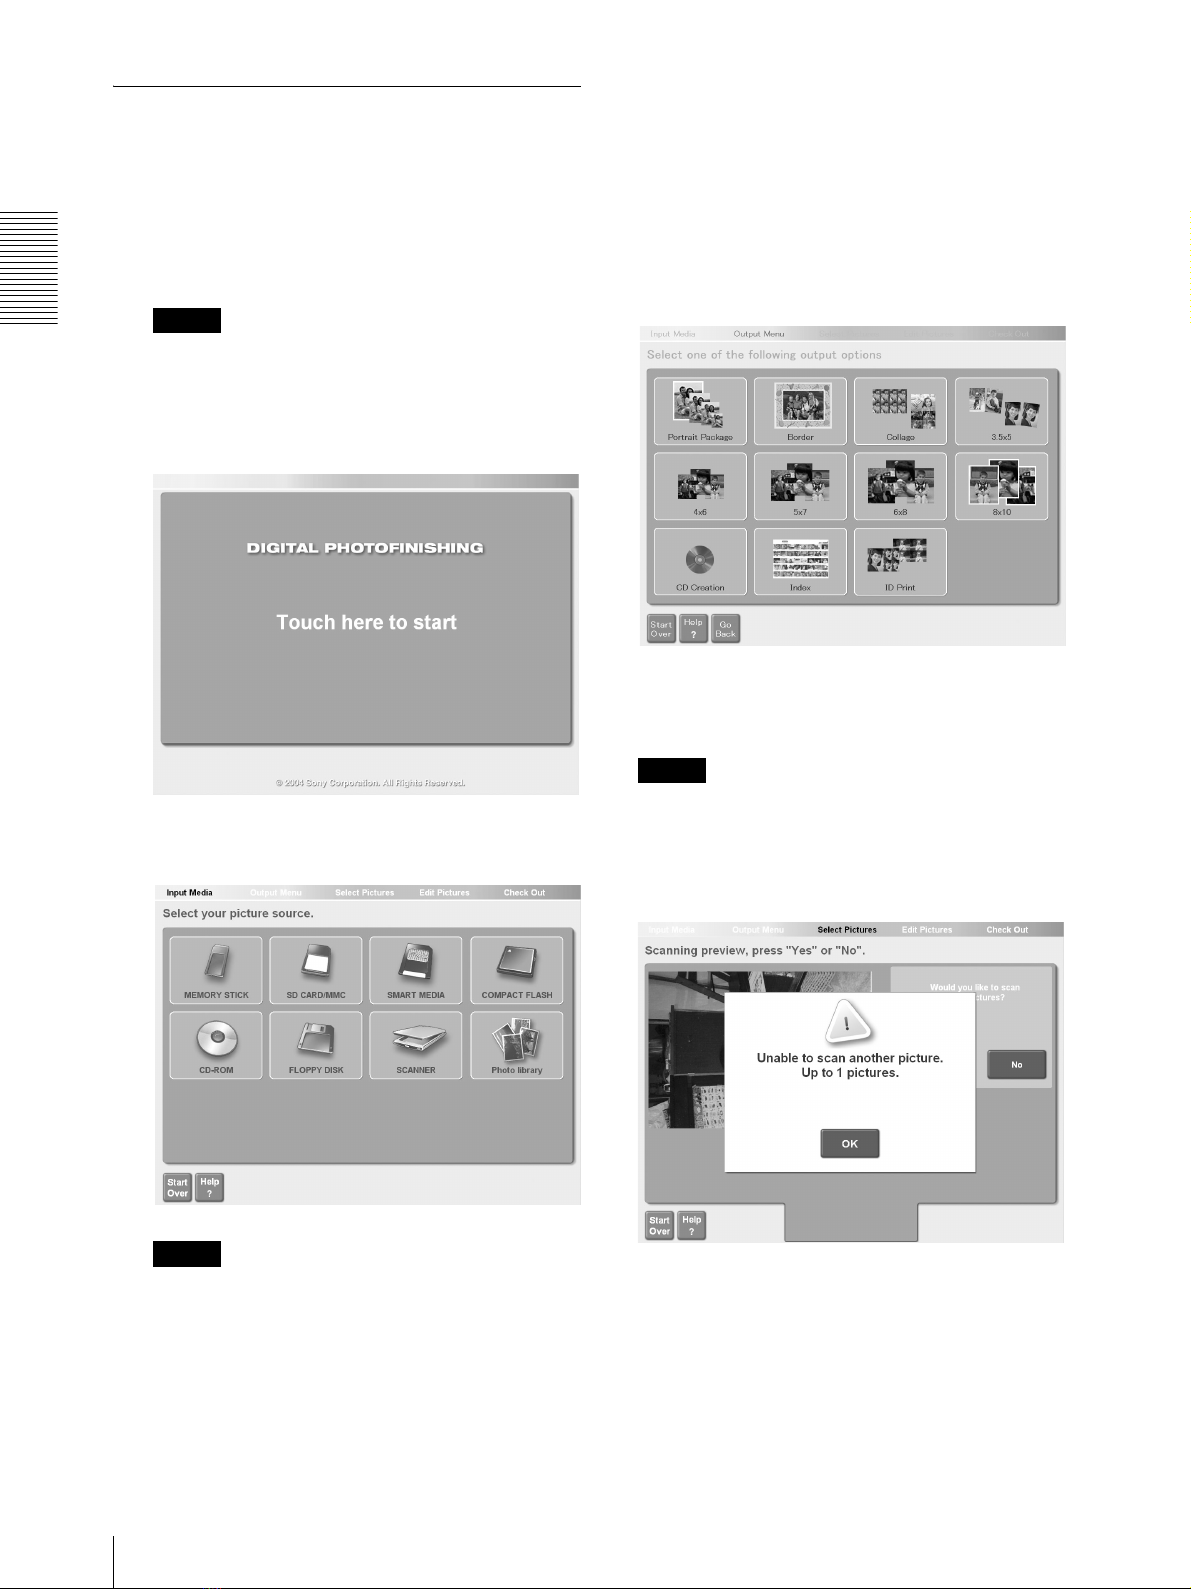
Selecting the Output Service
Touch the appropriate button to select the output service.
For details, see “Output Services” (page 24).
For example, touch [5 ×7].
The pictures are loaded and thumbnails of all the
pictures loaded from the media are displayed.
Notes
• Do not remove the storage media from the unit until
you are prompted to do so. Doing so may lead to data
loss or damage.
• The following is a list of formats compatible with this
display (up to a size of approximately 8000 ×6000
pixels):
– Exif version 2.1 or later (JPEG standard, file
extension: .jpg)
– BMP (uncompressed, 24-bit Windows format, file
extension: .bmp)
– TIFF (uncompressed, file extension: .tif)
• The thumbnails approximate the printed result.
Depending on the data loaded to the unit, some
thumbnails may appear slightly cropped (horizontally
or vertically).
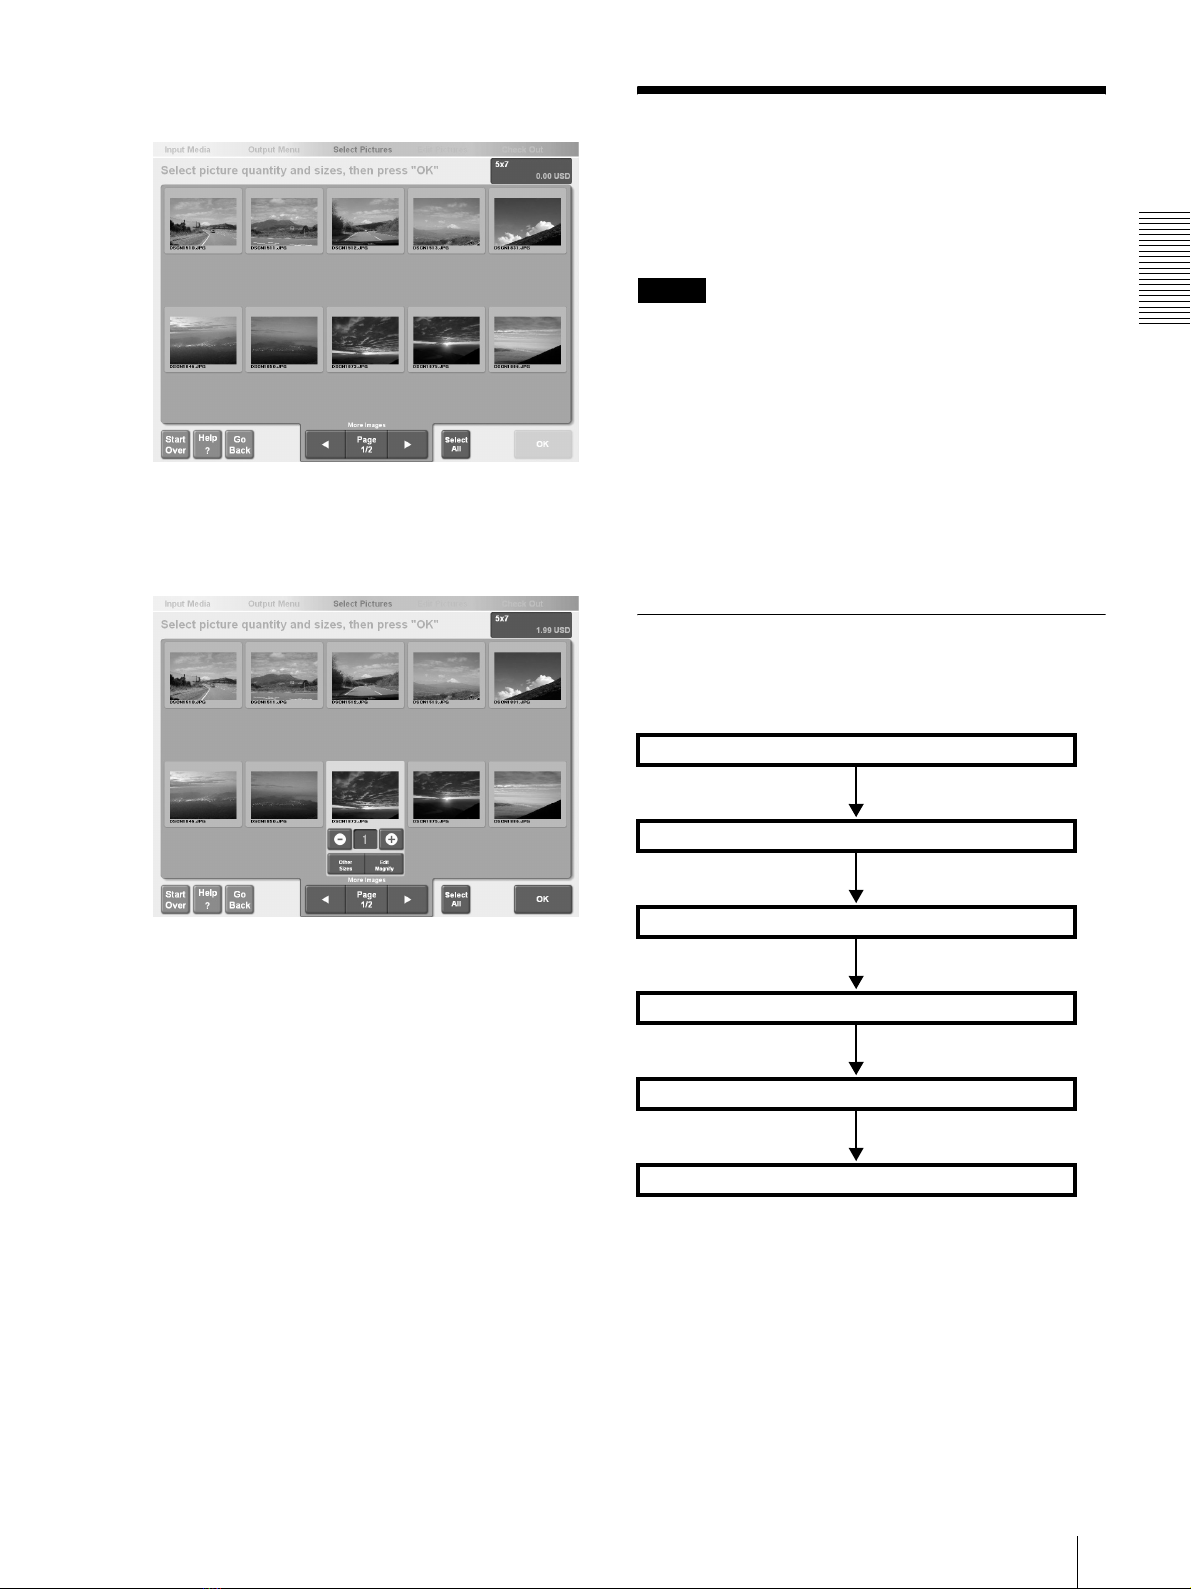
Selecting the Pictures and Specifying the
Number of Copies to Print
Select the pictures that you want to print and specify the
number of copies that you want.
1
Touch the pictures that you want to print to select
them.
To cancel a selection, touch the picture again, and
then touch the [-] button to reduce the displayed
value to zero. To select all the loaded pictures,
touch the [Select All] button. To select more than
one picture (but not all), touch them individually,
and reduce their values to zero with the [-] button.
If all the pictures cannot be displayed on one page,
touch the [b] or [B] button to display more pages.
Notes
• If the pictures loaded by the unit contain
unsupported file formats and/or unreadable files,
they are represented by the following icon and
cannot be selected.