manuals.online logo
Brands
  1. Home
  2. •
  3. Brands
  4. •
  5. Sony
  6. •
  7. Receiver
  8. •
  9. Sony ICF-SW12 User manual

Sony ICF-SW12 User manual

SONY
3-859-292-11
(1)
FM/SW1-9iIMW
11
Band
Receiver
Operating
Instructions
Manual
de
instrucciones
Istruzioni
per
l’uso
(faccita
opposta)
Manual
de
instruc¢6es
(lado
inverso)
ICF-SW12
Sony
Corporation
©
1997
Printed
in
Japan
Telescopic
antenna
Antena
telescépia
Display
Visualizador
Time
zone
map
Mapa
de
las
zonas
horarias
TUNE
indicator
TUNE
indicador
RG
(AA)
x2
Owner's
Record
The
model
number
is
located
at
the
bottom
and the
serial
number
is
located
in
the
battery
compartment.
Record
the
serial
number
in
the
space
provided
below
Model
No.
ICF-SW12
Serial
No.
manual
could
void
your
authority
to
operate
this
‘You
are
cautioned
that
any
changes
or
modifications
not
expressly
approved
in
this
equipment.
PEN
|
Before
You
Begin
Thank
you
for
choosing
the
Sony
receiver!
{t
will
give
you
many
hours
of
reliable
service
and
listening
pleasure.
Before
operating
the
receiver,
please
read
these
instructions
thoroughly
and
retain
them
for
future
reference.
Features
FM/SW
/MW
World
band
receiver
for
travelers.
«
FM/SW
1-9/MW
11
band
receiver
with
high
sensitivity
and
selectivity
*
Band
spread
system
enables
you
to
easily
tune
in
SW
stations
*
Built-in
alarm
*
Summer
time
adjustment
*
Built-in
earphone
jack
*
Snooze
function
Power
Sources
Installing
Batteries
(see
Fig.
B-®)
1
While
pressing
the
lid,
slide
it
in
the
direction
of
the
arrow.
-2.
Insert
two
Ré6
(size
AA)
batteries
(not
supplied)
with
correct
polarity.
Battery
life
Approx.
35
hours,
using
Sony
batteries
R6
(AA)
Replacing
batteries
When
the
sound
of
the
radio
becomes
distorted
or
unstable
and the
alarm
sound
is
getting
lower
replace
both
R6
(size
AA)
batteries.
Note
on
dry
battery
‘When
the
unit
is
not
be
used
for
a
long
period
of
time
remove
the
batteries
to
avoid
damage
from
battery
leakage
and
corrosion.
Installing
Lithium
Battery
for
Clock
Backup
(See
Fig.
EJ-©)
1
Position
the
bottom
of
the
radio
upward
and
insert
a
tip
of
a
ballpoint
pen
or
something
equivalent
into
the
hole
next
to
the
lithium
battery
compartment
and
push.
The
battery
holder
comes
out.
2
Insert
the
battery
with
the
flat
(+)
side
facing
upwards,
then
insert
the
compartment
until
it
is
locked
in
position.
Lithium
battery
life
prox.
1
year
of
clock
operation,
using
Sony
a
2025
lithium
battery
Replacing
lithium
battery
When
the
display
becomes
dim,
replace
the
CR2025,
lithium
battery
Note
‘You
cannot
listen
to
the
radio
by
only
installing
a
lithium
battery.
You
should
use
two
Ré
(size
AA)
batteries
(not
supplied).
Notes
on
batteries
+
Rep
the
lithium
battery
out
of
reach
of
children.
Should
the
battery
be
swallowed,
immediately
consult
a
doctor.
‘+
Wipe
the
battery
with
a
dry
cloth
to
assure
good.
contact
+
Be
sure
to
install
the
battery
in
the
correct
polarity
position.
7
=
Donat
hold
the
battery
with
metallic
tweezers,
as
doing
so
may
cause
a
short-circuit
*
Do
not
break
up
the
battery
or
throw
it
into
a
fire,
which
might
cause
it
to
explode.
Carefully
dispose
of
the
used
battery.
CAUTION
Danger
of
explosion
if
battery
is
incorrectly
replaced.
Replace
only
with
the
same
or
equivalent
type
recommended
by
the
equipment
manufacture.
Discard
used
batteries
according
to
manufacture’s
instructions,
To
change
the
display
to
the
daylight
saving
time
(summer
time)
indication
Press
D.S.T,-SUMMER
T.
The
3
mark
appears
in
the
display
and
the
time
indication
changes
to
summer
time.
To
cancel
the
summer
time
indication,
press
D.S.T.“SUMMER
T.
again.
Operating
the
Radio
1
Select
a
desired
band
(FM,
SW1-9
or
MW).
2
Tune
in
a
station
using
the
TUNING.
TUNE
(tuning
indicator)
lights
up
when
a
station
is
tuned
in.
3
Adjust
the
volume
using
VOL
(volume).
*
To
tum off
the
radio,
set
1
POWER
OFF.
B
improve
radio
reception
(See
Fig.
fy)
FA:
Extend
the
telescopic
antenna
for
better
reception.
SW:
Stand
the
antenna
vertically.
MW:
Rotate
the
unit
horizontally
for
optimum
reception.
A
ferrite
bar
antenna
is
built
into
the
unit.
Setting
the
Alarm
1.
Set
the
mode
selector
to
ALARM.
ter.
cL00K
wom’,
=
Cisco
200)
00
=D)
Flashes
2
Press
the
ADJ
+
or
-
to
set the
alarm
time.
3
Set
mode
selector
to
LOCK.
‘Say;
ex.
WORDT.
41
ha
RESENT
TIME
pM
Ti
ior
D)
4
Press
ALARM
ON/OFF.
PRESE
et
Weecrmrric
(When
alarm
is
set,
the
alarm
time
appears
in
the
display.
If
you
press
ALARM
ON/OFF
again,
the
alarm
time
is
disappeared
and
is
canceled.)
®
The
alarm
sound
wil} come
on
at
the
preset
time
and
will
automatically
hum
itself
off
after
about
60
minutes,
unless
it
is
turned
off
manually.
To
stop
the
alarm
sound,
press
ALARM
ON/OFF.
To
wake
to
the
alarm
sound
at
the
same
time
the
next
day.
Press
ALARM
ON/OFF
again.
The
time
set
yesterday
will
show
up
in
the
display.
To
doze
for
a
few
more
minutes,
press
SNOOZE/LIGHT.
The
alarm
will
shut
off
,
but
will
come
on
again
after
about
9
minutes.
You
can
repeat
this
process
six
Fumes
at
the
most
in
an
hour.
tele
Setting
the
Clock
The
display
will
show
a
12:00
(noon)
indication
when
the
CR2025
lithium
battery
is
first
installed.
1
Set
the
mode
selector
to
WORLD
T.
2
Press
ADJ
+
or
-
to
choose
the
area
to
which
you
want
to
set
the
time.
—
ADJ
+
PRESENT
TIME
ALARM
TIME
t
n
;
Present
time
v
mark
(For
example,
if
you
want
to
set
the
time
to
8:15
AM
in
Tokyo,
move
the
¥
mark
to
the
“+9”
position.)
3
Set
the
mode
selector
to
CLOCK
and
press
ADJ
+
or
—
to
set
the
time.
When
ADJ
+
or
—
is
held
down,
the
minute
digits
advance
rapidly.
The
hour
digits
advance
one
by
one
when
the
minute
digits
advance
to
“00”
after
“59”.
4
Set
the
mode
selector
to
ALARM
or
LOCK.
The
“
:
”
mark
stops
flashing
and
the
clock
will
now
start.
Note
{f
you
remove
the
lithium
battery
after
setting
the
clock,
the
memory
will
be
canceled.
Set
the
clock
again.
Note
on
LOCK
function
Normally,
set
the
mode
selector
to
LOCK
so
that
ADJ
+
and
-
do
not
function.
This
enables
you
to
avoid
misoperation.
To
set
the
time
to
the
second
In
step
4,
set
the
mode
selector
to
ALARM
or
LOCK
simultaneously
with
the
radio
or
telephone
time
signal.
To
Check
the
Local
Time
of
the
Desired
Time
Zone
The
numbers
above
and
below
the
time
zone
map
indicate
the
time
differences
from
the
UTC
(Universal
Time
Coordinated)
position.
For
example,
the
time
difference
in
Tokyo
is
+9
hours.
The
light
grey
areas
indicate
special
time
zones.
These
areas
maintain
special
time
differences
(written
beside
them).
Example:
To
check
the
local
time
in
New
York.
Set
the
mode
selector
to
WORLD
T.
and
press
ADJ
+
or
—
to
move
the
¥
mark
to
the
“—5"
position.
If
you
want
to
know
the
local
time
and
the
difference
in
time
in
30
minute
units,
add
it
to
the
present
time
(or
subtract
it
from
the
present
time).
(For
example,
if
the
difference
in
time
is
five
hours
and
30
minutes,
move
the
¥
mark
to
the
“+5”
position
and
add
30
minutes
to
the
displayed
time.
Notes
«
The
buzzer
sound
level
cannot
be
adjusted.
¢
If
the
radio
is
on
and
earphone
is
connected
to
the
®
jack,
the
buzzer
alarm
is
heard
from
both
the
speaker
and
earphone.
©
If
the
radio
is
off
and
the
earphone
is
connected
to
the
@
jack,
the
buzzer
alarm
is
heard
only
from
the
speaker.
*
The
“#2”
mark
flashes
in
the
display
at
the
preset
alarm
time.
Lighting
the
Display
-Light
Function
Press
SNOOZE/LIGHT:
The
display
lights
up
for
about
10
seconds.
Precautions
Before
operating
the
unit,
be
sure
to
install
the
CR2025
clock
battery.
*
Operate
the
unit
on
the
following
power
sources:
Radio:
3V
DC,
two
Ré6
(size
AA)
batteries.
Clock:
3V
DC,
one
CR2025
lithium
battery.
*
Do
not
leave
the
unit
in
a
location
near
heat
sources,
or
in
a
piace
subject
to
direct
sunlight,
excessive
dust,
or
mechanical
shock,
or
in
a
car
with
its
windows
closed.
*
Should
any
solid
object
or
liquid
fall
into
the
unit,
remove
the
batteries
and
have
it
checked
by
qualified
personnel
before
operating
it
any
further.
When
the
casing
becomes
soiled,
clean
it
with
a
soft
cloth
dampened
with
a
mild
detergent
solution.
Never
use
abrasive
cleansers
or
chemical
solvents,
as
they
may
mar
the
casing.
Since
a
strong
magnet
is
used
for
the
speaker,
keep
personal
credit
cards
with
magnetic
coding
or
spring-
wound
watches
away
from
the
unit
to
prevent
them
from
possible
damage
caused
by
the
magnet.
*
In
vehicles
or
in
buildings,
radio
reception
may
be
difficult
or
noisy.
Try
listening
near
a
window.
If
you
have
any
questions
or
problems
concerning
your
unit,
please
consult
your
nearest
Sony
dealer.
Specifications
Time
display
24-hour
system
Frequency
range
FM:
87.5
-
108
MHz
SW1:
4.750
~
5.060
MHz
(60
meter
band)
SW2:
5.900
-
6.200
MHz
(49
meter
band)
SW3:
7.100
-
7.350
MHz
(41
meter
band)
SW4:
9.400
-
9.990
MHz
(31
meter
band)
SWS:
11.600
-
12.100
MHz
(25
meter
band)
SW6:
13.570
—
13.870
MHz
(22
meter
band)
SW7:
15.100
-
15.800
MHz
(19
meter
band)
SW8:
17.480
—
17.900
MHz
(16
meter
band)
SW9:
21.450
-
21.750
MHz
(13
meter
band)
MW:
530
—
1,605
kHz
Speaker
Approx.
4.5
cm
(1
13/16
inches)
dia.
Power
output
100
mW
(at
10%
harmonic
distortion)
Output
®
jack
(minijack)
Power
requirements
Radio:
3V
DC,
two
Ré6
(size
AA)
batteries
Clock:
3V
DC,
one
CR
2025
lithium
battery
Dimensions
Approx.
111
x
30.5
x
80.3
mm
(w/h/d)
(43/g
x
11/4
x
3
1/4
inches)
incl.
projecting
parts
and
controls
(with
the
lid
closed)
Mass
.
Approx.
233
g
(8.2
02.)
incl.
batteries
Accessory
supplied
Sony
CR
2025
lithium
battery
(1)
Short
wave
guide
(1)
Design
and
specifications
are
subject
to
change
without
notice.

Other manuals for ICF-SW12

5

Other Sony Receiver manuals

Sony STR-DE197 User manual

Sony

Sony STR-DE197 User manual

Sony STR-DH720 User manual

Sony

Sony STR-DH720 User manual

Sony SAT-T60 Welcome to DIRECTV & TiVo Instructions  (primary... User manual

Sony

Sony SAT-T60 Welcome to DIRECTV & TiVo Instructions (primary... User manual

Sony STR-DH130 User manual

Sony

Sony STR-DH130 User manual

Sony HCD-F200 User manual

Sony

Sony HCD-F200 User manual

Sony HCD-ZUX10D User manual

Sony

Sony HCD-ZUX10D User manual

Sony STR-K680 User manual

Sony

Sony STR-K680 User manual

Sony STR-DE197 User manual

Sony

Sony STR-DE197 User manual

Sony HCD-FZ900KW User manual

Sony

Sony HCD-FZ900KW User manual

Sony STR-DA3700ES User manual

Sony

Sony STR-DA3700ES User manual
Sony HCD-DX30/RG40 User manual

Sony

Sony HCD-DX30/RG40 User manual

Sony STR-DB895D Quick start guide

Sony

Sony STR-DB895D Quick start guide

Sony 3-875-814-21(1) User manual

Sony

Sony 3-875-814-21(1) User manual

Sony PlayStation Dualshock 4 User manual

Sony

Sony PlayStation Dualshock 4 User manual

Sony STR-DH550 User manual

Sony

Sony STR-DH550 User manual

Sony AC-300MD User manual

Sony

Sony AC-300MD User manual

Sony STR-DG810 User manual

Sony

Sony STR-DG810 User manual

Sony ICF-7601 User manual

Sony

Sony ICF-7601 User manual

Sony HCD-BC150 - Dvd Home Theater System User manual

Sony

Sony HCD-BC150 - Dvd Home Theater System User manual

Sony 4-144-907-43(1) User manual

Sony

Sony 4-144-907-43(1) User manual

Sony CA-755 User manual

Sony

Sony CA-755 User manual

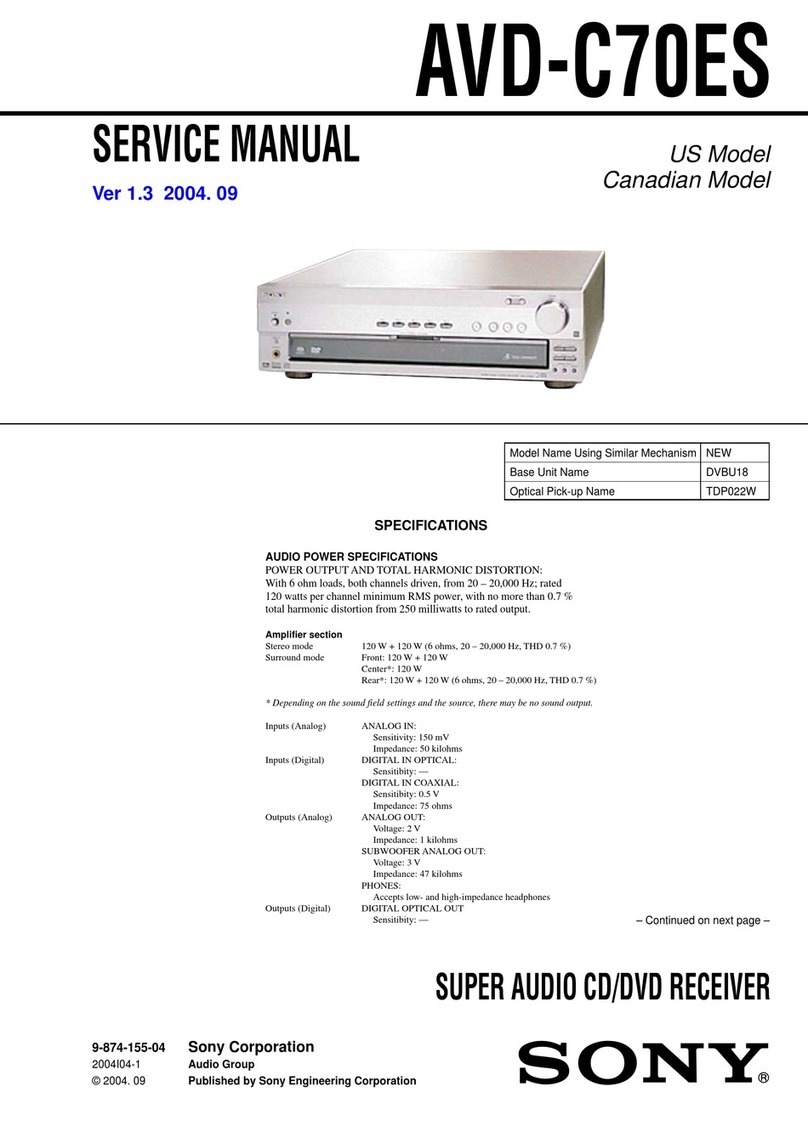
Sony AVD-C70ES Technical manual

Sony

Sony AVD-C70ES Technical manual

Sony XAV-V750BT User manual

Sony

Sony XAV-V750BT User manual

Sony STR-K900 - Fm Stereo/fm-am Receiver User manual

Sony

Sony STR-K900 - Fm Stereo/fm-am Receiver User manual

Popular Receiver manuals by other brands

PCB Piezotronics HTJ352C33 Installation and operating manual

PCB Piezotronics

PCB Piezotronics HTJ352C33 Installation and operating manual

fadini Astro 43 instructions

fadini

fadini Astro 43 instructions

Samsung SWA-4000 Service manual

Samsung

Samsung SWA-4000 Service manual

Kathrein UFD 540 Mode d'emploi

Kathrein

Kathrein UFD 540 Mode d'emploi

Audio Pro AVD-303 datasheet

Audio Pro

Audio Pro AVD-303 datasheet

Televes Digidom AV user manual

Televes

Televes Digidom AV user manual

Pyle PD1000BA user manual

Pyle

Pyle PD1000BA user manual

Microwave Radio MRX4000 Operator's guide

Microwave Radio

Microwave Radio MRX4000 Operator's guide

Becker Centronic VarioControl VC421 Assembly and operating instructions

Becker

Becker Centronic VarioControl VC421 Assembly and operating instructions

Magnum MD 209 instruction manual

Magnum

Magnum MD 209 instruction manual

GTO RB709U-NB owner's manual

GTO

GTO RB709U-NB owner's manual

Boss Audio Systems 550B user manual

Boss Audio Systems

Boss Audio Systems 550B user manual

Denon AVR-1913 Getting started

Denon

Denon AVR-1913 Getting started

Onkyo HT-R791 instruction manual

Onkyo

Onkyo HT-R791 instruction manual

Realistic Pocket-Scan Pro-22 owner's manual

Realistic

Realistic Pocket-Scan Pro-22 owner's manual

FreeFlight 87099 Series installation manual

FreeFlight

FreeFlight 87099 Series installation manual

AMG AMG4704E-SF instruction manual

AMG

AMG AMG4704E-SF instruction manual

Linear DR2 Code Setting Instructions

Linear

Linear DR2 Code Setting Instructions

manuals.online logo
manuals.online logoBrands
  • About & Mission
  • Contact us
  • Privacy Policy
  • Terms and Conditions

Copyright 2025 Manuals.Online. All Rights Reserved.