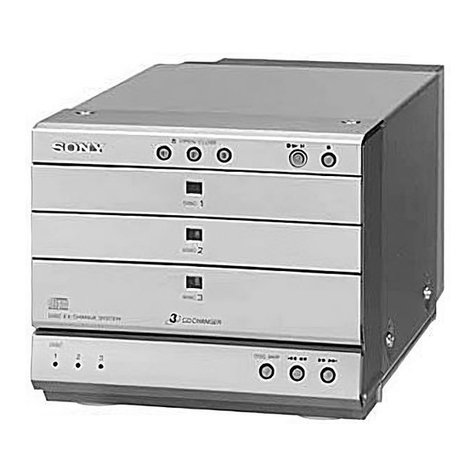
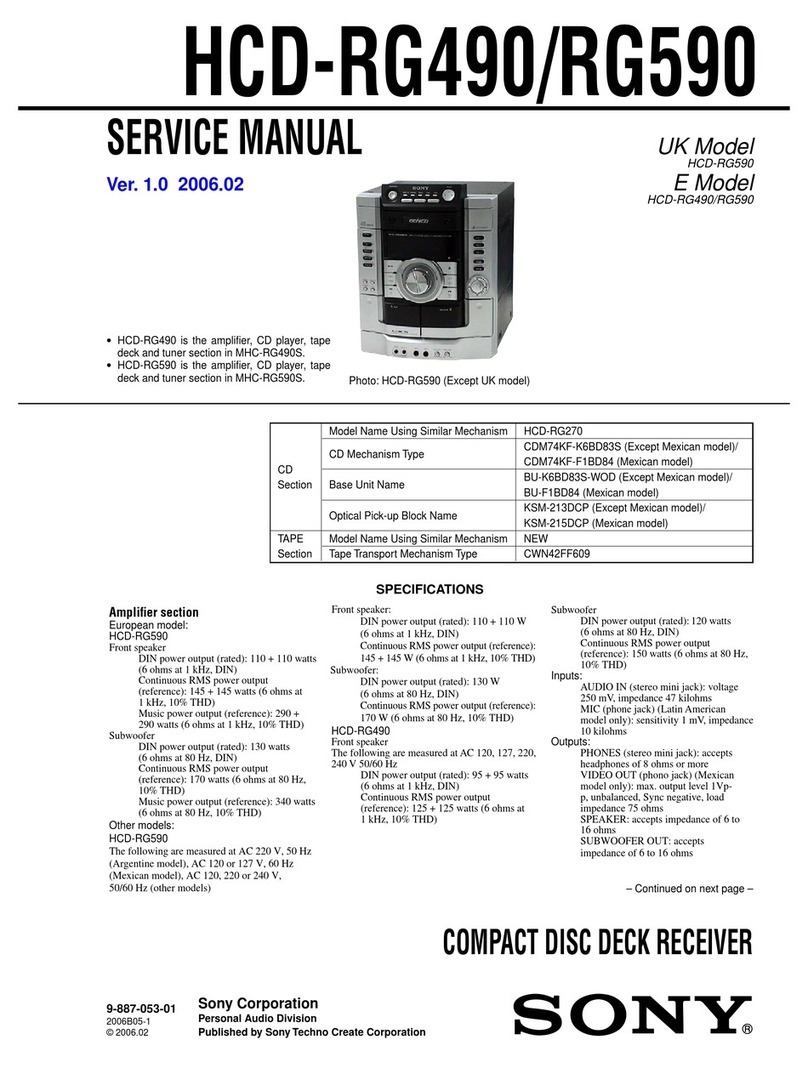
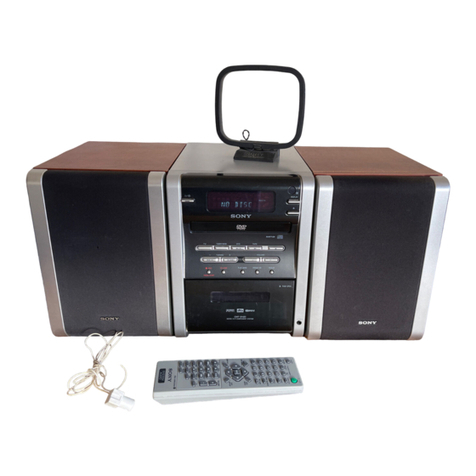
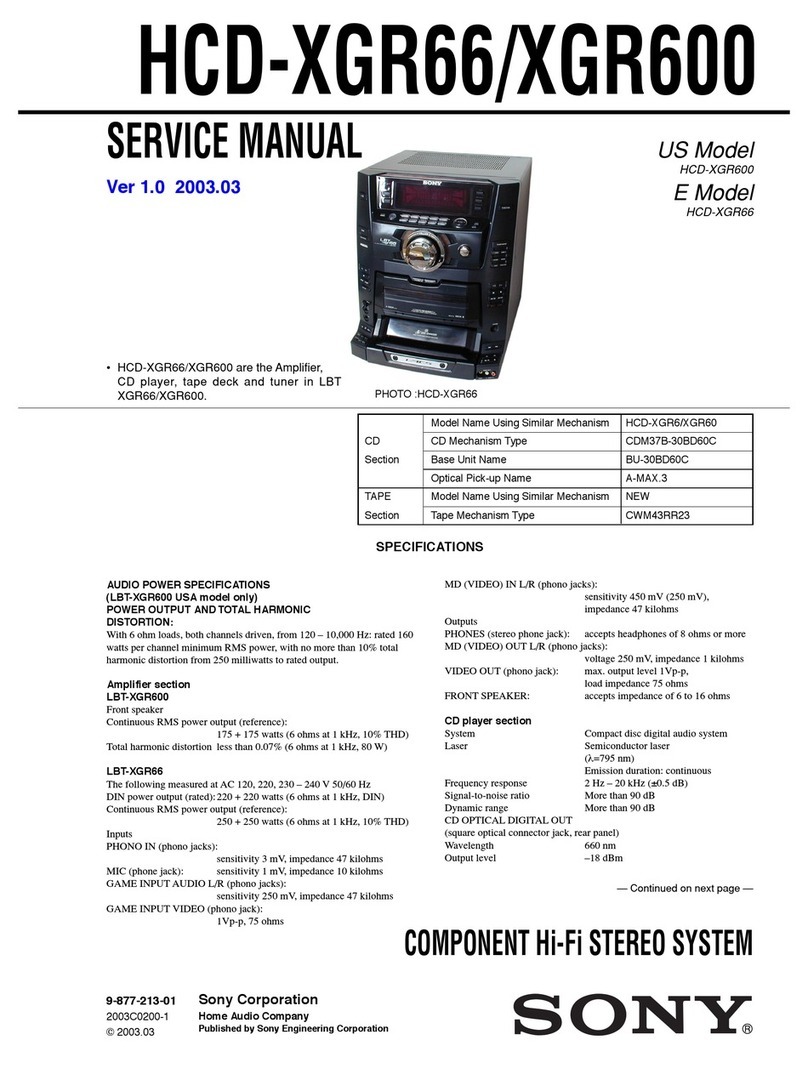
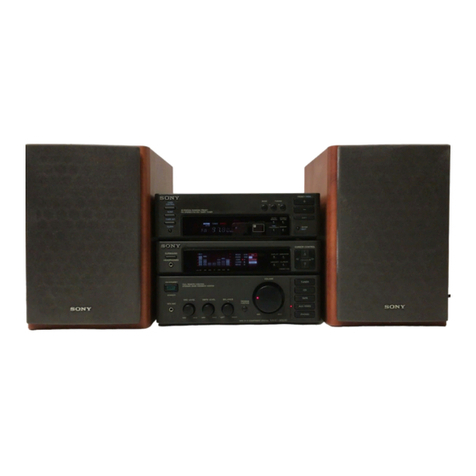
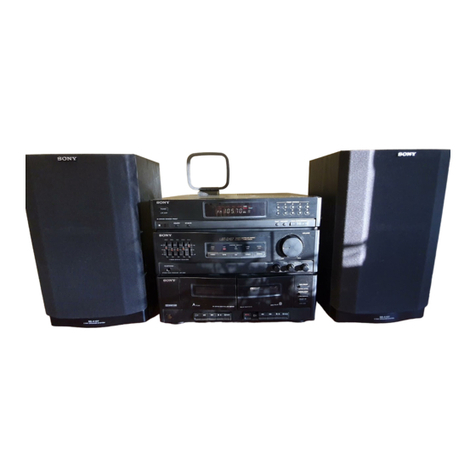
Sony MHC-GX40 - Mini Stereo User manual

S Ol_ISK. ,230.872,,_,,
Mini Hi.Fi
Component
System
Operating Instructions
Owner's Record
The model mid serial numbers are located on tile rear panel of the unit. Record the serial
number in the space provided below. Refer to them whenever you call upon your Sony
dealer regarding this product.
Model No. Serial No.
OmII_.AUOIO
_/'h_ __n_"
MHC-GX40/GX30/GX20
MHC-RG 110/RG33/RG22
MHC-RL3
© 2002 Sony Corporation

To prevent fire or shock hazard, do not
expose the unit to rain or moisture.
To prevent fire, do not Cover the venli]ation of the
apparalus with news papers, table-cloths, curtains,
etc. And don't place lighted candies on tile apparatus.
To prevent fire or shock hazard, do hal place objects
filled with liquids, such as vases, on tile apparatus.
Do not install the appliance in aconfined space,
such as a bookcase or builtqn cabinet.
This appliance is classified as
_t_mpno_cr a CLASS I LASER product.
LUmeNIL_8_L_,_
m_ t_ This label is located on the
rear exterior.
Don't throw away the battery with
general house waste, dispose of it
con'ectly as chemical waste.
NOTICE FOR THE CUSTOMERS IN THE
U*S.A.
_UT_ TO R_DUC_ _E FmK _- ELEG_T_C SHOCK,
OO NOT RB_4OV_ COVEq (_ _C_.
NO MSER_ERIq_J_BLE pAF_T_ _61DE.
REF_q tlERIqClNa _ G_JALJRED E_qVICE Pt_q_OM_E[-
This symbol is intended to alert the
user to the presence of uninsulaled
"dangerous voltage" within Ihe
product's enclosure thai may be of
sufficien_ magnitude to constitute a
risk of dectric shock to persons.
This symbol is intended to alert the
user to the presence of importam
operating and maimenance
(servicing) inslructions ill the
fitera_ure accompanying the
appliance.
CAUTION
The use of opdcal instruments with this product will
increase eye hazard.
WARNING
This equipment has been tesled and fbund to comply
wgh the limits *br a Class B digital device, pursuant
to Part 15 of the FCC Rules. These limits are
designed to provide reasonable protection agains_
harm|hi interference in a residential installation. This
equipment generales, USES,and can radiate radio
fi'equency energy and, if not installed mid used in
accordmlce with the instructions, may cause harmthl
interference to radio communications. However, there
is no guarantee Ihat interfPrence will hal occur in a
particular inslalladon, if this equiplz,_ent does cause
harmfid interference to radio or television reception,
which can be determined by turning the equipmmlt
off mid on, tile user is encouraged to try to correct the
interference by one or more of the |bfiowing
measures:
Reorimlt or relocate tile receiving antenna.
Increase die separadml belween the equlpmem and
receiver.
Connect tile equipment into an outlel on a circuit
difi_rent from thai to which the receiver is
connected.
Consult the dealer or an experimlced radio/TV
technician for help.
CAUTION
You are cautioned thai any changes or modifications
not expressly approved in Ibis manual could void
your authority to operate this equipment.
Note to CATV system installer:
This reminder is provided to call the CATV system
installer's attenlion to Article 820-40 of the NEC that
provides guidelines _br proper grounding and, in
particular, specifies that the cable ground shall be
connected _o the grounding system of the building, as
close to the point of cable entry as practical.
NOTICE FOR THE CUSTOMERS IN
CANADA
CAUTION
TO PREVENT ELECTRIC SHOCK, DO NOT USE
TIBS POLARIZED AC PLUG WITH AN
EXTENSION CORD, RECEPTACLE OR OTHER
OUTLET UNLESS TIlE BLADES CAN BE FULLY
INSERTED TO PREVENT BLADE EXPOSURE.
Except for EUropean models
ENERGY STAR is a U.S.
registered mark.
As an ENERGY STAR _ Partner,
Sony Coqloration has determined
that this product meels the ENERGY
STAR guidelines for energy
et'tlciency.
2GB
Mainunit...............................................4
Subwoofer............................................5
RemoteControl.....................................6
Sound Adjustment
Using the sub woofer ........................... 20
Adjusting the sound ............................. 20
Selecting the sound effect .................... 20
Selecting the surround effect ............... 20
Hooking up the system .......................... 7
Inserting two R6 (size AA) batteries
into the remote ................................ 9
Setting the clock .................................. 10
Getting Started Display
Turning off the display
---_ Power Saving Mode ................. 21
Using the CD display .......................... 21
CD
Loading a CD ...................................... 10
Playing a CD ----Normal Play/
Shuffle Play/Repeat Play ............... 11
Programing CD tracks
.........Program Play ............................ 12
Tuner
Presetting radio stations ....................... 13
Listening to the radio --_ Preset Tuning/
Manual Tuning .............................. 15
Using the Radio Data System
(RDS)* .......................................... 16
Tape
Other Features
Enhancing video game sound
......Game Sync ............................... 22
Mixing video game sound with other
sound source -- Game Mixing ..... 22
Falling asleep to music
---_Sleep Timer .............................. 22
Waking up to music Daily Timer... 23
Optional Components
Hooking up video game machine ........ 24
Troubleshooting
Problems and remedies ........................ 25
Messages ............................................. 26
Loading a tape ..................................... 16
Playing a tape ...................................... 17
Recording to a tape -----CD Synchro
Recording/Recording Manually .... 18
Timer-recording radio programs ......... 19
Additional Information
Precautions .......................................... 27
Specifications ...................................... 28
* Europeanmodelonly
3GB

Illustration number
How to use this page
Use this page to find the location of butlons and olher TUNER/BAND [] (13 15, 18)
parts office system lha_ are mentioned in lhe text. T
Name of button/part Reference page
IALPHABETICAL ORDER
AUDIO jacks [_i_](24)
CDI_/(n, ]2, 18)
CDSVNC[yJ(lS)
Deck A ]_ (16, 17)
Deck B I_ 06 19)
D_SC]- 3[j_J(n, ]2)
DISC SKIP/EX-CHANGE [i]] (10,
II)
DisceayI_l 00)
DISPLAY _] (16, 21)
EFFECT ON/OFF I_ (20)
IBUTTON DESCRIPTIONS I
I/(!)(power)[:(]
OPEN/CLOSE IJi_
GAME _1 (22, 24) -- (deck B) [i_J
GAME EQ L}I_(20, 24) _ I11_
GAME MIXING [_'] (22) _ _7_]
GROOVE I_] (20) _ I_
MOVIE EQ [{7 (20) II {j_
MUSIC EQ I:_] (20) _:> [j:_
PI !ONES jack ]_7_ •_i_1
REC PAUSE/START [_] (18) _ Ilia]
"rAPE A/B [_ (16, ]8)
TUNER/BAND,I(13 15,18) _'(deckA)[_j]
VIDEO jack I_ (24)
VOLUME control l{i_
4GB

(MHC-GX40 only)
I ALPHABETICAL ORDER I
(

ALPHABETICAL ORDER I
CD []2_ (11, 12, 18)
CLEAR _] (12)
CLOCK/TIMER SELECT l_]
(19, 23)
CLOCK/TIMER SET [_/(!0, 19,
23)
DISPLAY _] (16, 21)
D.SKJP[_]01)
ENTER li_] (10, 12 14, 19, 23)
EQ +/[_j_] (20)
GAME [!_ (22, 24)
GROOVE [_i_ (20)
ON/OFF I_i{_(20)
PLAY MODE _2_ (11, 12, 17)
PRESET+_ _7] (13 15)
REPEAT [_] (11)
SLEEP _i_] (22)
STEREO/MONO _ (15)
SURROUND I_J_(20)
TAPE A/B _ (16, 18)
TUNER MEMORY [l_J (13, 14)
TUNER!BAND L]J_](13 15, 18)
TUNING l_] (13 15)
VOL +/[1.1_
BUTTON DESCRIPTIONS [
i,.i,>[_]
I,,,i_lI]i]
II [i]
)"-[_1
ILT_]
--[i}
--{i]
--{ii
--{i!
6G B

Perfbnn the lbllowing procedure [] to [] to hook up your system using the supplied cords and
accessories.
FM antenna
_AM loop antenna Sub woofer speaker*
0_
.=
Front speaker (Right)
*MHC-GX40 only
[] Connect the front speakers.
Connect the speaker cords to _l_eSPEAKER
jacks as shown below.
Insert only the stripped portion
Frontspeaker(Le_)
[] Connect the sub woofer speaker.
(MHC-GX40 only)
Connect 1he speaker cords to lhe SUB
WOOFER OUT jack and SUB WOOFER
CONTROL jack as shown below.
SUB WOOFER OUT jack
(®)
Black/Stripe (O) SUE WOOFER CONTROL jack
continued
7GB

Hooking up the system (continued)
[] Connect the FM/AM antennas.
Set up the AM loop antenna, then connect
it.
Jack type @Extendthe FM lead antenna
AM loop antenna horizontally
Jack type ®
AM loop antenna
Extend the FM lead antenna
horizontally
[] For models with a voltage selector, set
VOLTAGE SELECTOR to the local
power line voltage.
Depending on the model, the VOLTAGE
SELECTOR may dif{_r. /
230. 240V 220V 120V*
* Saudi Arabian model: 120 - 127 V
[] Connect the power cord to a wall outlet.
The demonstration appears in 1he display.
When you press I/(_, the system turns on
and the demonstration automatically ends.
If the supplied adapter on the plug does not
fit your wall outlet, detach it from the plug
(only lbr models equipped wid_ an adapter).
TO connect optional components
See page 24.
To attach the front speaker pads
Attach the supplied front speaker pads to the
bottom oflhe speakers to stabilize the speakers
and prevent them fi_om slipping.
: , , , _:-, ,
i i
i i i
i i i i i
Note
Keep the speaker cords away from the antennas to
prevent noise.
8GB

Placing the sub woofer (MHC-GX40
only)
Since the human ear cannot detect the direction
and position where the bass sound being
reproduced by a woofer (below 150 ttz) comes
fi_om, you can place the woofer wherever you
like in your room. To obtain a betier bass
reproduction, we recommend you to place the
wootbr on a solid floor where the resonance is
unlikely to occur.
Notes
•Always place _he woofer vertically, keeping a few
eenrme_ers fkom away the wall.
• lf_he wooti_r is placed in _he center of a morn, the
bass could be extremely weakened. This is due to
the influence of_he standing wave of the room. If
this happened, move _be wootlzr away f?om the
center of a room or eliminate the cause of the
standing wave, by placing a bookshelf on the wall,
elc.
When carrying this system
Perform the following procedure to protect
the CD mechanism.
1 Make sure that all discs are removed
from the system.
2Press I/5 to turn off the system.
3 Unplug the power cord.
Tip
Wi_h normal use, the batteries sbould las_ fbr _bout
six months. When the remote no longer operales the
syslem, replace bo_h batteries with new ones.
Note
If yOU do ]lot use the remote for a long period of time,
_move the batteries to avoid possible damage from
battery leakage.
a
e_
a
I
9GB

1 Press I/5 to turn on the system.
2 Press CLOCK/TIMER SET on the
remote.
3 Press _or I_H on the remote
repeatedly to set the hour.
4Press ENTER on the remote.
The minute indication llashes.
5 Press _or I_H on the remote
repeatedly to set the minute.
6 Press ENTER on the remote.
The clock starts working.
To adjust the clock
1Press CLOCK/TIMER SET on the remote,
2Press _ or _ on the remote to select
"CLOCK SET", then press ENTER on the
remote,
3 Do the same procedures as step 3 to 6
above,
Note
The clock settings are canceled wile]; you disconnect
the i?ower cord or if a power Nilure occurs.
1 Press _--OPEN/CLOSE.
The disc tray opens.
2 Place a CD with the label side up on the
disc tray.
To insert additional discs, press DISC
SKIP/EX-CHANGE 1o rotate 1be disc tray.
3 Press _--OPEN/CLOSE to close the disc
tray,
10GB

-- Normal Play/Shuffle Play/Repeat
Play
This system lets you pl_y the CD in dif{Erent
play modes.
Disctray number
Disc presence Track number Playing time
indicator
1Press CD.
2 Press PLAY MODE on the remote
repeatedly until the mode you want
appears in the display.
Select To play
ALL DISCS All CDs in the disc tray
(Normal Play) continuously.
IDISC The CD you have selected
(Normal Play) in original order.
ALL DISCS The tracks on all CDs in
SHUF random order.
(Shuffle Play)
IDISC SJt UF The tracks on the CD you
(Shuffle Play) have selected in random
order.
PGM (Program The tracks on all CDs in the
Play) order you waist them to be
played (see "Programing
CD tracks" on page 12).
3 Press E> (or I_ on the remote).
Other Operations
To DO this
Stop play Press I.
Pause Press I|. Press again to resume
play.
Select a track During play or pause, press
or 1<14.
Find a point During play, press and hold _ or
in a track "4"<. Release it when you find the
desired point.
Select a CD i_ Press DISC 1 3 or D1SC SKIP/
stop mode EX-CHANGE (or D.SKIP on the
remote).
Switch to CD Press DISC I 3 (Automalic
function t¥om Source Selection).
another source
Remove a CD Press _ OPEN/CLOSE.
Exchange o_her Press D1SC SKIP/EX-CHANGE.
CDs while
pl_yi_g
Play repeatedly Press REPEAT on the remole
(Repeat Play) during play until "REP" or "REP
I" appears.
REP*: For all the tracks on the CD
up to five times.
REP I **: For a single track only.
To cancel playing repeatedly, press
REPEAT u_til "REP" or "REP l"
disappears.
* You cannot select "REP" and "ALL DISCS
SH[JF" at _he same time.
** When you select "REP 1", chat track is repeated
endlessly until "REP I" is canceled.
Note
The play mode ca]me1 be changed while playing a
disc. To change the play mode, press •first to stop
pl_yi_g.
O
O
11 GB

-- Program Play
You can make a program of up to 25 tracks
from all the CDs in the order you want to play
them.
1 Press CD.
2 Press PLAY MODE on the remote
repeatedly until "PGM" appears in the
display.
3 Press one of DiSC I - 3 to select a CD.
To program all lhe tracks oll a CD at once,
proceed lo step 5 with "AL" displayed.
4Press I<l<l or _until the desired
track appears in the display.
Total playing time
Disc tray number (including selected track)
Selected track number
SPress ENTER on the remote.
The track is programed. The program step
number appears, followed by the total
playing time.
6 Program additional discs or tracks.
To program Repeat steps
Other discs 3 and 5
Other tracks on the 4 and 5
same disc
Other tracks on other 3 to 5
discs
'7 Press _> (or II_ on the remote).
Other Operations
TO DO this
Cancel Program Press PLAY MODE on the
Play remcte repeatedly until "PGM"
and "SIIUF" disappear.
Clear a track from Press CLEAR on the remo_e in
the end stop mode.
Tips
•The program you made remains aider Program Play
finishes. To play d_e same program again, press CD,
then press _> (or _ on the remote).
• "--.--" appears when the tolal CD program tbne
exceeds 100 l_illtl/eS, or w]lell you select a C D track
whose nmnber is 21 or over.
12GB

You can preset up to 20 FM stations and I0
AM stations. You can d_en tune in any of those
stations simply by selecting the corresponding
preset number.
There are two ways 1o store the station presets.
To Method
Automalically preset Automatic Tuning Preset
all of the stations that
can be received in
your area
Mmmally set the radio Manual Tuning Preset
frequency of your
favourite st aliens
Setting presets through
automatic tuning
1 Press TUNER/BAND repeatedly to
select "FM" or "AM".
2 Press and hold _or IH_ (or TUNING -
or + on the remote) until the frequency
indication starts to change, then
release it.
Scanning stops automatically when the
system tunes in a station. "TUNED" and
"STEREO" (for an FM stereo program)
appear.
tl E_ -_CN
if "TUNED" does not appear and the
scanning does not stop
Set 1he frequency of the desired radio
station as described in steps 2 through 6 of
"Selting presets through manual tuning".
3 Press TUNER MEMORY on the remote.
A preset number appears in the display.
The stations are stored from preset number
1.
Presetnumber
k4 Frl
4Press I<1<1or _ (or PRESET -or +
on the remote) repeatedly to select the
desired preset number.
5Press ENTER on the remote.
6 Repeat steps 1 to 5 to store other
stations.
continued
-I
c
3
13GB

Presetting radio stations (continued)
Setting presets through
manual tuning
1 Press TUNER/BAND repeatedly to
select "FM" or "AM".
2 Press <<1 or _(or TUNING - or + on
the remote) repeatedly to tune in the
desired station.
3 Press TUNER MEMORY on the remote.
A preset number appears in lhe display.
The stations are stored from preset number
1.
4Press I<1<1or _(or PRESET - or +
on the remote) repeatedly to select the
desired preset number.
5 Press ENTER on the remote.
6Repeat steps 1 to 5 to store other
stations.
Other Operations
TO Do this
Tulle in a station Follow tile procedure described in
with a weak "Setting presets through manual
signal tuning".
Set another Start over t_om step E After step
station to an 3, press _ or _ (or PRESET
Existing preset or + on the remote) repeatedly _o
number select the presel number you want
to slore the od_erstation.
To change the AM tuning interval
(except for the European and Middle
Eastern models)
The AM tuning interval is t'actory-set |o 9 kt[z
(10 kHz in some areas). To change the AM
tuning interval, tune in any AM station first,
then turn offthe system. While holding down
TUNER/BAND, tam the system back on.
When you change tbe interval, all the AM
preset stations are erased. To reset the interval,
repeat the same procedure.
Note
You cannot change the AM tuning interval in the
Power Saving Mode.
Tips
•Tile preset s_ations are retained tbr half a day even
i f you disconnect the mains lead or if a power
[;allure occurs.
• To improve broadcast rcceplion, reorient or move
tile supplied antenna near a window or outdoors.
14GB

You can listen to a radio station either by
selecting a preset station, or by manually tuning
in lhe station.
Listening to a preset station
-- Preset Tuning
Preset radio stations in the tuner's memory first
(see "Presetting r3dio stations" on page 13).
1 Press TUNER/BAND repeatedly to
select "FM" or "AM".
2 Press _or _(or PRESET- or + on
the remote) repeatedly to select the
desired preset station.
Preset number Frequency
Listening to non-preset radio
station
-- Manual Tuning
1 Press TUNER/BAND repeatedly to
select "FM" or "AM".
2 Press _or _(or TUNING -or + on
the remote) repeatedly to tune in the
desired station.
Tips
•To improve broadcas_ reception, adjust the supplied
antennas.
• When an FM stereo program has static noise, press
STEREO/MONO on the remote repeatedly until
"MONO" appears. There will be no slereo efIbct,
but the reception will improve.
• Press and hold _ or 1_ (or TUNING or + on
the remote). The frequency indication changes and
scanning stops when the syslel2_ tunes in a Slalion
(Automatic Tuning).
•TO record f?om the _adio, see "Recording to a tapE"
on p_ge 18 or "Timer-recording radio programs" on
p_ge 19.
-I
C
3
15GB

(MHC-RG110/RG33/RG22, MHC-RL3,
European model only)
What is the Radio Data System?
Radio Data System (RDS) is a broadcasting
service that allows radio stations lo send
additional information along with lhe regular
program signal. This tuner offers convenient
RDS lhatures like station name display and
location of stations by program lype. RDS is
available only on FM stations.*
Note
RDS may not work properly itthe station you tuned
in is not transmitting the RDS signal properly or if the
signal is weak.
* Not all FM s_ations provide RDS service, nor do
they provide d_e same types of services. If you are
not t_amiliar wida the RDS system, check with your
local radio slafions for details on RDS services in
your area.
Receiving RDS broadcasts
Simply select astation from the FM band.
When you tune in a station that provides RDS
services, the station name appears in the
display.
To check the RDS information
Each time you press DISPLAY, the display
changes cyclically as tbllows:
Station name* -_. Frequency -_. Program
lype* .-.* Clock display --.+ Effect stares
* If the RDS broadcast is not received, the st_lion
name and program type may not appear in the
display.
1 Press TAPE A/B repeatedly to select
deck A or B.
2 Press --_.
3Insert etape in deck A or B with the
side you want to play/record facing
forward.
With the side
you want to
play/record
facing forward.
16 GB

You can use TYPE I (normal) tape.
1 Load a tape.
To play both decks in succession, press
PLAY MODE on the remote repeatedly
until "RELAY" (Relay Play)* appears in
the display.
2 Press I2> (or _on the remote).
The t_pe starts pl_ying.
TRPE R ; ''
* Aider the playback of tile front side of deck A,
deck 13plays the front side, then stops.
Other Operations
To Do this
Stop play Press I.
Pause Press I|. Press again to
resume play.
Fast-[brward Press 441 or _.
or rewind
Remove Press _.
tile cassette
Searching for the beginning of the
current or the next track (AMS)*
To go forward
Press _ during playback.
"TAPE A (or TAPE B) >>> +1" appears.
To go back
Press _ during playback.
"TAPE A (or TAPE B) <<< 1" appears.
* AMS (Autom_lic Music Sensor)
Note
The AMS function ]nay not operate correctly under
tile t_llowing circumstances:
When the unrecorded space between songs is less
than 4 seconds long.
When the system is placed near a lelevision.
"t
'U
17GB

-- CD Synchro Recording/Recording Manually
You can record from a CD, tape (or colmected components) or radio. You can use TYPE I (normal)
tapes. The recording level is adjusted automatically.
Steps Recording from a CD Recording from a CD/tape/radio manually
(CD Synchro Recording)
1 Load a recordable tape into deck B.
2 Press CD. Press CD, TAPE A/B or TUNER/BAND.
3 Load the CD you want to record. Load the CD or tape (or other music
source), or tune in the station you want
to record.
4 Press CD SYNC. Press REC PAUSE/START.
Deck B stands by tbr recording.
"REC" flashes.
S Press REC PAUSE/START. Press REC PAUSE/START, and then start
Recording starts, playing the desired source to record.
To stop recording
Press II.
Tip
For recording from the radio:
If noise is heard while recording from the radio, move
the respective antenna to reduce the noise.
Note
You cannot listen to other sources while recording.
18Gs

You can record a preset radio station from a
specified time.
To timer-record, you must first preset the radio
station (see "Preselting radio stations" on page
13) and set lhe clock (see "Setting the clock"
on page I0).
1 Tune in the preset radio station (see
"Listening to the radio" on page 15).
2 Press CLOCK/TiMER SET on the
remote.
"DAILY SET" appears.
3 Press _or _on the remote
repeatedly to select "REC SET", then
press ENTER on the remote.
"ON" appears and lhe hour indic3don
flashes in the display.
4Set the time to start recording.
Press _ or _ on the remote
repeatedly to set the hour, lhen press
ENTER on lhe remote.
The minute indication starts flashing.
Press _ or _ on the remote
repeatedly to set the minule, then press
ENTER on lhe remote.
5 Repeat step 4 to set the time to stop
recording.
The starl time appears, tbllowed by the stop
time, the preset radio station lo be recorded
(e.g., "TUNER FM 5"), then |he original
displ3y 3ppears.
6 Load a recordable tape into deck B.
7Press I/_ to turn off the system.
When lhe recording starts, the volume level
is set to minimum.
Other Operations
To DOthis
Check the Press CLOCK/TIMER SELECT
setting on the remote and press _ or
_1 m_the remote repealedly to
select "REC SELECT", then press
ENTER on the remote.
Change the Start over from step I.
setting
Cancel the timer Press CLOCK/TIMER SELECT
on the remote and press _ or
_1 m_the remole repealedly to
select "TIMER OFF", then press
ENTER on the remote.
Notes
• It'lhe system is on at the preset time, the recording
will not be made.
• When you use the Sleep Timer, Timer-recordlng
and Daily Timer wilt not turn on the system until
the Sleep Timer turns it o_
• You cannot activale the Daily Timer and Timer-
recording at the same time.
"4
19GB

(MHC-GX40 only)
You can use the sound of the sub woo[br to suit
the sound source.
Press ON/OFF on the sub woofer.
The indicalor lights up while the sub woofhr
turns 011.
Press the button again to turn offthe sub
woofer.
Tip
You can use VOLUME (VOL or on the remo_e)
to adjust tile volume of file sub woofer linked to the
front speakers.
You can reinlbrce the bass and create a more
powerlhl sound.
Press GROOVE.
"GROOVE" appears in the display and the
volume switches to power mode.
Press the button again to cancel GROOVE.
Selecting the effect from the music
menu
Press MUSIC EQ, MOVIE EQ or GAME EQ
(or EQ - or + on the remote*) repeatedly to
select the preset you desire.
The preset name appears in the display.
See the chart "Sound eflbct options".
* You can select all of the effects in order.
To cancel the effect
Press EFFECT ON/OFF (or ON/OFF on the
remote).
Sound effect options
"SURR" appears if you select an ef_bct with
surround efthcts.
MUSIC EQ
Effect
ROCK Standard music sources
POP
MOVIE EQ
Effect
MOVIE Soundt_acks and special listening
situations
GAME EQ
Effect
GAME Pl_yStation I, 2 and other video
game mUSiC sources
Press SURROUND on the remote.
"SURR" appears in the display.
Press the button again to cancel SURROUND.
20 Gz
This manual suits for next models
6
Table of contents
Other Sony Stereo System manuals

Sony
Sony HCD-461 User manual

Sony
Sony SRS-X7 Reference guide

Sony
Sony MEX-BT2850 User manual

Sony
Sony CMT-DF1

Sony
Sony CMT-SP55TC User manual

Sony
Sony CMT-VP100 User manual

Sony
Sony HCD-GNV99D User manual

Sony
Sony MHC-ECL7D User manual

Sony
Sony MEX-N5150BT User manual

Sony
Sony CMT-RB5 - Micro Hi Fi Component System User manual