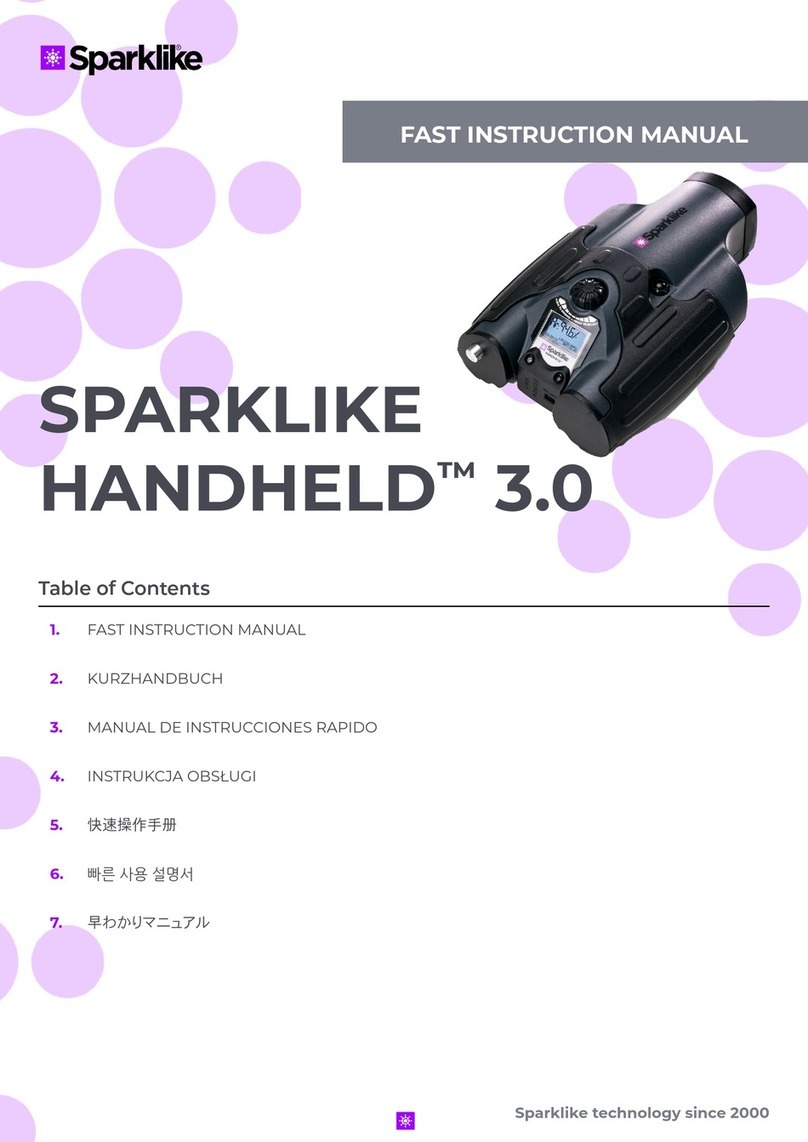
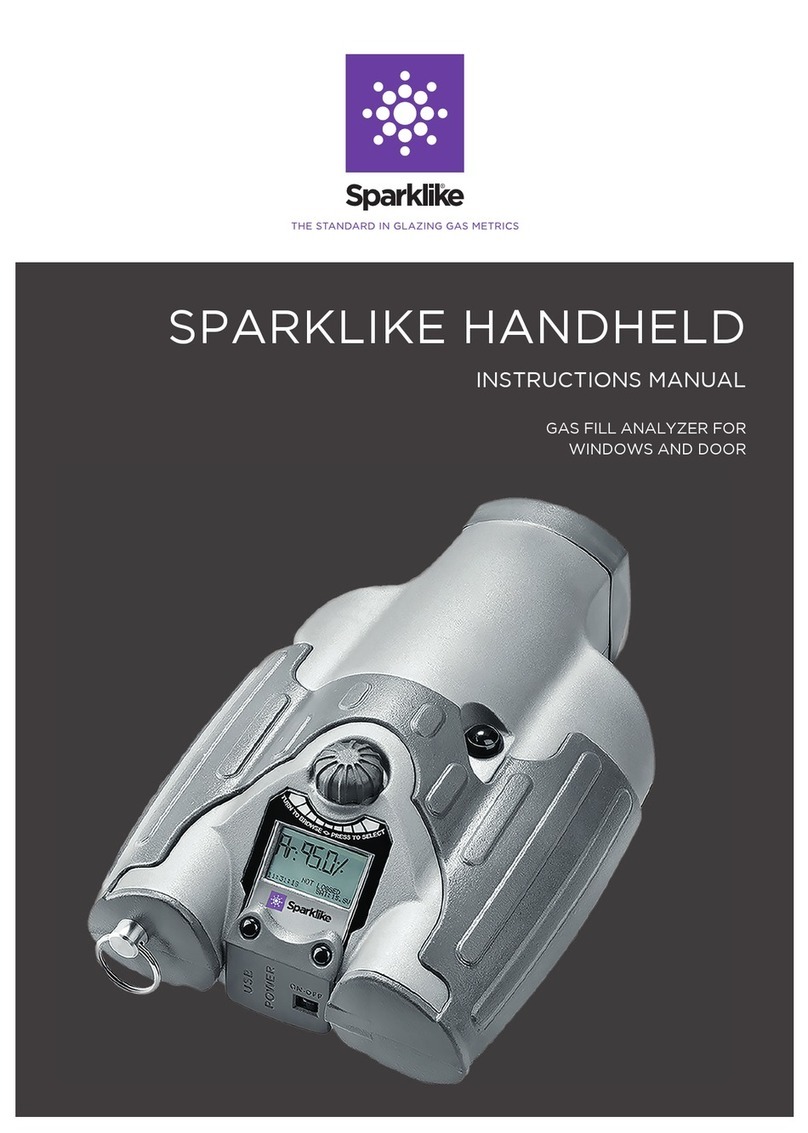
sparklike Handheld 3.0 User manual

1
SPARKLIKE
HANDHELD™3.0
FAST INSTRUCTION MANUAL
Table of Contents
1. FAST INSTRUCTION MANUAL | 2-13
2. KURZHANDBUCH | 14-25
3. MANUAL DE INSTRUCCIONES RÁPIDAS | 26-37
4. MANUAL DE INSTRUÇÕES RÁPIDA | 38-49
5. INSTRUKCJA OBSŁUGI | 50-61
6. MANUALE DI ISTRUZIONI VELOCE | 62-73
7. 快速操作手册 | 74-84
8. 빠른 사용 설명서 | 85-95
9. 早わかりマニュアル | 96-106
Sparklike technology since 2000

2
SPARKLIKE
HANDHELD™3.0
FAST INSTRUCTION MANUAL
Table of Contents
1. Delivered with the device
2. How does it work
3. How to use and starting up for
the first time
4. How to use encoder button
5. Factors to consider when
measuring
6. Installing the software
7. Installing the USB drivers
8. How to connect to your
computer
9. Using the screen
10. How to create a log file
11. How to erase the last logged
file
12. How to turn off the log mode
13. Enabling the connection with
your computer
14. Information display
15. Inverting the colors of the display
16. Technical specification
Sparklike technology since 2000

3
WARNING
▶ The instrument uses high voltage, therefore
the device should NEVER be used near
computers nor other sensitive electronic
devices.
▶ Persons with heart conditions or who use
pacemakers should not use this device.
▶ The high voltage discharge should never
be directed at humans or at animals either
directly or through a conductive material such
as wires or metal structures.
▶ The Sparkilike Handheld™ should NEVER be
used to measure any flammable substances
nor be used in any flammable environment.
Also make sure that the insulating glass unit
does not contain any flammable substances.
(Such as Isopropanol, Alcohol, Acentone, Xylen,
Thinner)
▶ The device should never be used in wet or in
humid conditions.
▶ Never use the instrument while standing on
unsteady surfaces.
▶ The device is a precision measuring
instrument and should be handled
accordingly. Please, handle the device with
care.
▶ Always turn off the power when instrument is
not in use.
▶ Keep fingers and other body parts clear of the
high voltage area when using the device.
▶ Do not keep the device connected to your
computer nor other electronic devices while
performing measurements.
▶ Do not open the Sparklike Handheld casing.
In such case calibration is void and no safety
guarantee can be granted.
▶ Do not use any other battery charger than
charger provided by the manufacturer.
▶ Do not use any other power source for the
Sparklike Handheld than the battery provided
with the device.
1. . DELIVERED WITH THE DEVICE
1. Sparklike Handheld™ device
2. Neck strap
3. Setup Guide
4. Calibration certificate
5. Battery
6. USB Cable
7. Battery charger and power cord
8. Protective cap
9. Protective hard case
Software, Drivers and Instruction manuals can be
downloaded at sparklike.com/en/product/sparklike-
handheld/
Delivered with the device

4
2. HOW DOES IT WORK
A high voltage spark (1) is ignited
inside the IG unit (A). This high
voltage spark causes the argon atom
to emit light to a spectrometer (2).
A microprocessor (3) interprets the
information of the spectrometer and
calculates the argon concentration
on the display (4).
A
1.
3.
2.
4.
3. HOW TO USE AND STARTING UP
FOR THE FIRST TIME
1. Open the battery hatch
2. Insert the battery
3. Connect it to the battery socket
4. Turn on the device from the
ON/OFF switch
5. Register your device to activate
the device at
sparklike.com/register
to receive an activation code to
your e-mail
6. Input the activation code
7. Device settings will show on the
screen
8. The device is ready for use
NOTE: Read all the warnings before the
device is taken into use.
1. 2. 3. 4.
5. 6.
8.
7.

5
4. HOW TO USE ENCODER BUTTON
Press down to:
1. Enter MENU
2. Confirm a selection
Turn to:
3. Scroll in the MENU
4. Name a log file
5. FACTORS TO CONSIDER WHEN MEASURING
Factors affecting the optics:
▶ Coloured glass
▶ Tinted glass (minimal effect)
▶ Strong background light measurement
(against the sun or other source)
▶ Dirt on the glass (minimal effect)
▶ Dirt on the front optical fibre
▶ Mistreated front optical fibre or electrode
Factors making it easier for the spark to
“jump“:
▶ High argon fills
▶ Thin glass (6mm or less)
▶ Thin air space (20mm or less)
▶ Metallic or other conductor on surface 3, such
as low-e coating
▶ Metallic spacer bar
Factors affecting the spark:
▶ Thick glass (over 6 mm)
▶ Plastic films on glass 1 (laminated glass,
coatings, etc.)
▶ Metallic films on glass 1
▶ Metallic components in glass 1
▶ Low Argon fill (less than 90%)
▶ Wide spacer (over 15mm)
▶ Electrode is not in contact with the glass
surface
▶ Sparklike Handheld is not evenly pressed
against the glass
▶ Non-metallic spacers
Correct conditions:
▶ Stable dark background light
▶ The device NOT moved during measurement

6
6. INSTALLING THE SOFTWARE
Download the software from
sparklike.com/en/product/
sparklike-handheld/
Install wizard start up
Select language for the
installation
Select directory where
software files are to be
installed
Select the name of the start
up folder
Select additional tasks
Installation completed
NOTE: The appearance
of the Windows will
vary according to your
computer.

7
7. INSTALLING THE USB DRIVERS
Handheld™ drivers should install automatically in couple of minutes, when you connect
Handheld to a PC with Windows10+ and internet connection. If you have older Windows
version, you can download the driver from Sparklike’s website:
If your PC asks the location of
the driver, give the unpacked
driver folder location
Download the driver
installation folder
Unpack the folder
Connect Handheld to
a PC with USB cable
If your PC doesn’t ask
about the driver, open
the Device Manager, and
select ‘Scan for hardware
changes’
Once you get the new
connection to the Device
Manager’s list, right click
the connection, and select
‘Update Driver Software’
Follow the installer
instructions

8
8. HOW TO CONNECT TO YOUR COMPUTER
The software for Sparklike Handheld™ can be
downloaded at sparklike.com/en/product/sparklike-
handheld/
Please make sure that all needed software and
drivers are installed before attempting to connect
Sparklike Handheld™ with your computer.
1. Connect the provided USB cable to the USB
socket in Sparklike Handheld™. Connect the
provided USB cable to your computer.
2. Start up Sparklike Handheld™.
3. Enable the connection between your
computer and Sparklike Handheld from the
device by selecting “PC connection”.
4. Start the software.
5. Press the “Read Datalogs”
1.
2. 3.
4.
5.
Software window after
a successful download
Copies all log files to clipboard
Copies selected log files to
clipboard
Sparklike
Handheld
serial number
Downloaded
log files
Information
from selected
log file
Status of transfer
Syncs and
updates time
and date on
Sparklike
Handheld
Shows all
transferred
data
Retrieves all
logs from
Sparklike
Handheld

9
9. USING THE SCREEN
10. HOW TO CREATE A LOG FILE
1. When the ON/OFF button is switched ON,
Sparklike Handheld™ will perform a self test
where it checks itself for errors.
2. The screen will automatically change when
all is tested OK
3. The first fixed screen after start up is a device
information screen.
4. This screen will be important when
communicating with the manufacturer.
5. The information screen shows:
▶ Revision of the device
▶ Last calibration date
▶ Calibration status:
“CALIBRATION VALID”,
“CALIBRATION SOON” or
“CALIBRATION EXPIRED”
▶ Current time
▶ Battery charge status
6. Device is now ready to use
7. When the button is pressed for the first time
after start up, the measurement result will show.
8. The current time and battery charge status can
be seen on the screen.
9. It will also indicate that the measurement has
not been logged. (see: How to create a log file)
1. From the main menu, scroll by turning the
encoder button, to the LOG ON/OFF menu.
2. Select this by pressing the encoder button
once.
3. The next screen shows that the logging is to
be started.
4. The device will suggest the following free log
name (number) available. If the suggested
number is OK, simply press the encoder
button to confirm.
5. By turning the encoder button the number
of the log file can be changed. One click will
increase or decrease the number with one.
6. When measuring a text is displayed showing
that the logging mode is on and it will also
display the log file number.

10
11. HOW TO ERASE THE LAST LOGGED FILE
Whenthelogmodeisonandameasurementhasbeen
taken but the operator feels that the measurement
was an error measurement, it is possible to erase this
measurement. This is done to prevent faulty log files
on your computer.
If the measurement is not satisfying:
1. From the main menu, scroll by turning the
encoder button, to the “CLEAR LOG”menu.
2. The log value will be deleted permanently.
Sparklike Handheld™ log data can be downloaded
to your computer. In order to do this, Sparklike
Handheld™has to open its communication port to
your computer This is performed before enabling the
connection from the computer.
12. HOW TO TURN OFF THE LOG MODE
1. From the main menu scroll, by turning the encoder
button, to the LOG ON/OFF menu.
2. Select this by pressing the encoder button once.
3. A screen will display that the log mode has been
turned off.
4. When measuring, a text is displayed that the
measurements have not been logged.
5. To create a new log file with a new name, repeat
procedure explained in chapter 10.
NOTE: When Sparklike Handheld™ is connected
to a computer and the log files have been
retrieved, the log memory will be deleted from
Sparklike Handheld™device. This is the only way
of emptying the memory and should be done
every now and then to prevent the memory from
overfilling.

11
13. ENABLING THE CONNECTION WITH YOUR
COMPUTER
Sparklike Handheld™ log data can be downloaded to
your computer. In order to do this, Sparklike
Handheld™ has to open its communication port to
your computer. This is performed before enabling
the connection from the computer.
1. From the main menu scroll, by turning the encoder
button to the PC-CONNECT menu
2. Select by pressing the encoder button once.
3. A screen will display that the PC communication is
enabled.
4. Sparklike Handheld™ is open for communication with
the PC.
14. INFORMATION DISPLAY
The colors of the display can be inverted, so
that there is either black text on the white
background, or vice versa. To change the
color settings, click the encoder button
to access the encoder menu. Rotate the
encoder button to select the INVERT
COLORS, and click the encoder button to
confirm the selection. Handheld needs to
be restarted for the change to take effect.
You can retrieve the device serial number and
calibration information through SETUP >> INFO.
15. INVERTING THE COLORS OF THE DISPLAY

12
16. TECHNICAL SPECIFICATION
Overall Dimensions Main unit 285 x 190 x 100 mm
Main Power Supply 16.8 V Li-ion Battery 2.0Ah
Weight The device 1.6 kg
Protective hard case 2.8 kg
Operating conditions 5 – 35 °C
Humidity 10–90% R.H. (Non-Condensing)
Measurement time 2 s
Min/max glass thickness 2-6 mm
Min/max cavity dimension 6-20 mm
Connections USB and Battery Charger
Display OLED 128×64 Pixel Display
Software Custom GGHandheld by Sparklike
Data logging capability 1900 measurements, Windows10+ PC for data transfer
* Typical construction of the insulating glass unit
** At least 30 measurements are needed that 95 % confidence interval is valid

13
Sparklike CARE™ annual service program
Register to Sparklike CARE™ for calibration and maintenance with fixed annual fee.
sparklike.com/en/sparklike-care/
Sparklike CARE™ is not available in North America and South Korea
Sparklike CARE™ program includes:
Yearly preventive maintenance including wear and tear parts
Technical support
Mail reminder of approaching calibration
Inspection and adjustment of optics
Calibration and an official Manufacturer’s Calibration Certificate
Software updates
Quality testing and verification
Priority in maintenance queue
Scan the QR-code for further
instructions and support
sparklike.com/guidance/hh
CONTACT YOUR LOCAL DISTRIBUTOR:
www.sparklike.com/en/contact-us
CONTACT US:
sales@sparklike.com
Sparklike Oy 12/2022

14
SPARKLIKE
HANDHELD™3.0
KURZHANDBUCH
Inhaltsverzeichnis
1. Lieferumfang
2. Wie das Gerät arbeitet
3. Erstmalige Inbetriebnahme
4. Benutzung des Drehknopfs des
Sparklike Handhelds
5. Kurzübersicht der Faktoren, die die
Messung beeinflussen
6. Installation der Software
7. Installation der USB-Treiber
8. Anschließen an den Computer
9. Verwenden des Sparklike Handheld
LCD-Bildschirms
10. Erstellen einer Log-Datei
11. Löschen der letzten Log-Datei
12. Ausschalten des Loggings
13. Herstellen einer Verbindung mit dem
Computer
14. Informations-Ansicht
15. Umkehrung der Farben auf dem Display
16. Technische Daten
Sparklike technology since 2000

15
ACHTUNG:
▶ Das Gerät nutzt Hochspannung. Daher
sollten Sie das Gerät niemals in der Nähe
von Computern oder anderen sensiblen
elektronischen Geräten betreiben.
▶ Personen mit Herzfehlern oder
Herzschrittmachern sollten das Gerät nicht
verwenden
▶ Die Hochspannung sollte niemals auf
Menschen oder Tiere gerichtet werden, auch
nicht auf gut leitende Materialien, wie bspw.
Kabel oder metallene Strukturen.
▶ Das Sparklike Handheld sollte niemals in
der Nähe entzündlicher Materialien benutzt
werden oder um entzündliche Materialen zu
messen.
▶ Das Gerät sollte niemals in nassen oder
feuchten Umgebungen verwendet werden.
▶ Das Gerät sollte nicht auf unebenen
Oberflächen genutzt werden.
▶ Das Gerät ist ein Präzisionsmessgerät und
sollte entsprechend verwendet werden. Bitte
behandeln Sie das Gerät sorgfältig.
▶ Schalten Sie das Gerät ab, wenn Sie es nicht
verwenden
▶ Halten Sie Finger und sonstige
Körperteile niemals in die Nähe des
Hochspannungsbereichs.
▶ Schließen Sie das Gerät nicht an Ihren
Computer oder sonstige Geräte an, solange Sie
Messungen durchführen.
▶ Öffnen Sie bitte nicht das Gehäuse des
Sparklike Handhelds. In einem solchen Falle
stimmt die Kalibrierung nicht mehr und es
kann die Sicherheit des Geräts nicht mehr
garantiert werden.
▶ Benutzen Sie kein anderes Ladegerät als das
mitgelieferte.
▶ Nutzen Sie keine andere Stromversorgung für
den Sparklike Handheld, als die mitgelieferte
Batterie.
1. LIEFERUMFANG
1. Sparklike Handheld Gerät
2. Tragegurt
3. Kalibrierungsdaten und Kurzhandbuch
4. Kalibrierungszertifikat
5. Batterie
6. USB-Kabel
7. Ladegerät und Netzkabel
8. Schutzkappe
9. Hartschalenkoffer
Software, Treiber und Anleitungen können hier
heruntergeladen werden: sparklike.com/en/product/
sparklike-handheld/
Lieferumfang

16
2. WIE DAS GERÄT ARBEITET
Ein Hochspannungsfunke (1) wird
innerhalb der Isolierglaseinheit (A)
gezündet. Dieser Funke regt Argon-
Atome an, deren Emission mit dem
Spektrometer (2) gemessen wird.
Ein Mikroprozessor (3) interpretiert
diese Messung und berechnet
daraus den Argon-Füllgrad, der dann
anschließend im Display (4) angezeigt
wird.
A
1.
3.
2.
4.
3. ERSTMALIGE INBETRIEBNAHME
1. Öffnen der Batterieabdeckung
2. Batterie einlegen
3. Anschließen der Batterie an das
Kabel
4. Schalten Sie das Gerät am An-/
Aus-Schalter ein
5. Registrieren Sie Ihr Gerät zur
Aktivierung unter sparklike.com/
register, um einen
Aktivierungscode per E-Mail zu
erhalten
6. Eingabe des Aktivierungscodes
7. Geräteeinstellungen werden
auf dem Bildschirm angezeigt
8. Gerät ist einsatzbereit
HINWEIS: LESEN SIE ALLE
WARNHINWEISE,BEVOR SIE DAS
GERÄT IN BETRIEB NEHMEN!
1. 2. 3. 4.
5. 6.
8.
7.

17
4. BENUTZUNG DES DREHKNOPFS DES SPARKLIKE HANDHELDS
Drücken Sie den Drehknopf, um
1. einen Menüpunkt auszuwählen
2. um Ihre Auswahl zu bestätigen
Drehen Sie den Drehknopf, um:
3. im Menü zu blättern
4. einen Dateinamen zu erstellen.
5. KURZÜBERSICHT DER FAKTOREN, DIE DIE MESSUNG
BEEINFLUSSEN
Faktoren, die die Optik betreffen:
▶ Gefärbtes Glas
▶ Getöntes Glas (Minimaler Effekt)
▶ Helle Hintergrundbeleuchtung (Gegenlicht
der Sonne oder einer anderen Quelle)
▶ Schmutz auf dem Glas (minimaler Effekt)
▶ Schmutz auf der Optik des Geräts
▶ Abgenutzte Optik oder Elektrode des Geräts
Faktoren, die den Funkensprung begünstigen:
▶ Hohe Argon-Füllgrade
▶ Dünnes Glas (6mm oder weniger)
▶ Geringer Scheibenzwischenraum (20mm oder
weniger)
▶ Metallische oder andere leitende
Beschichtungen auf der Oberfläche 3, wie z.B.
Low-E-Beschichtung
▶ Metallischer Abstandhalter
Faktoren, die den Funken beeinflussen:
▶ Dickes Glas (6mm und mehr)
▶ Plastikbeschichtung auf der Scheibe 1
(Laminiertes Glas, Beschichtungen, etc.)
▶ Metallische Beschichtungen auf der Scheibe 1
▶ Metallische Komponenten in der Scheibe 1
▶ Geringe Argon-Füllgrade
▶ Große Scheibenzwischenräume (15mm und
mehr)
▶ Die Elektrode ist nicht mit der Glasoberfläche
in Kontakt
▶ Der Sparklike Handheld wird nicht
gleichmäßig auf die Glasoberfläche
aufgedrückt
▶ Kein metallischer Abstandhalter
Korrekte Bedingungen:
▶ Gleichmäßige, relativ dunkle
Hintergrundbeleuchtung
▶ Das Gerät wird während der Messung nicht
bewegt

18
6. INSTALLATION DER SOFTWARE
Download der Software unter:
sparklike.com/en/product/
sparklike-handheld/
Installation des
Startup-Wizard
Sprachauswahl für die
Installation
Auswahl des Zielverzeichnisses
für die Installation
Auswahl des Start-Menü-
Ordners
Wählen Sie zusätzliche
Aufgaben aus
Installation
abgeschlossen
HINWEIS: die Darstellung
des Windows-Fensters
kann abhängig von Ihrer
Windows-Version
abweichen

19
7. INSTALLATION DER USB-TREIBER
Die Handheld™-Treiber sollten sich automatisch in wenigen Minuten installieren, wenn Sie
den Handheld an einen PC mit Windows10+ und Internetverbindung anschließen. Wenn
Sie eine ältere Windows-Version haben, können Sie den Treiber von der Sparklike-Website
herunterladen:
Falls der PC nach dem
Speicherort des Treibers fragt,
geben Sie den Speicherort
des entpackten
Treiberordners an
Laden Sie den
Treiber-Installationsordner
herunter
Entpacken Sie den
Ordner
Handheld mit USB-Kabel an
einen PC anschließen
Wenn der PC nicht nach
dem Treiber fragt, öffnen
Sie den Geräte-Manager
und wählen Sie “Nach
Hardwareänderungen
suchen”
Sobald die neue Verbindung in
der Liste des Gerätemanagers
angezeigt wird, klicken Sie mit
der rechten Maustaste auf die
Verbindung, und wählen Sie
“Treibersoftware aktualisieren”
Folgen Sie den
Anweisungen des
Installationsprogramms

20
8. ANSCHLIESSEN AN DEN COMPUTER
Die Software für das Sparklike Handheld können Sie
unter sparklike.com/en/product/sparklike-handheld/
herunterladen.
Bitte stellen Sie sicher, dass die benötigte Software
und Treiber auf Ihrem Rechner installiert sind, bevor
Sie das Sparklike Handheld anschließen
1. Schließen Sie das mitgelieferte USB-Kabel an die
USB-Buchse des Sparklike Handheld an. Verbinden Sie
das mitgelieferte USB-Kabel mit Ihrem Computer.
2. Starten Sie das Sparklike Handheld™.
3. Aktivieren Sie die Verbindung zwischen Ihrem
Computer und dem Sparklike Handheld am Handheld.
4. Starten Sie die Software.
5. Drücken Sie “Read Datalogs”.
1.
2.
3.
4.
5.
Das Softwarefenster
nach einem
erfolgreichen Daten-
Download
Kopiert alle Log-Dateien in die
Zwischenablage
Kopiert ausgewählte Log-
Dateien in die Zwischenablage
Sparklike
Handheld
Seriennummer
Heruntergelad-
ene
Log-Dateien
Informationen
der
ausgewählten
Log-Datei
Status der
Datenübertragung
Synchronisiert
und aktualisiert
Zeit und Datum
auf dem
Sparklike
Handheld
Zeigt die
übertragenen
Daten
Empfängt alle
Log-Dateien
vom Sparklike
Handheld
Other manuals for Handheld 3.0
3
Table of contents
Languages:
Other sparklike Measuring Instrument manuals

sparklike
sparklike Laser Portable 2.1 User manual

sparklike
sparklike Laser Portable 2.0 User manual

sparklike
sparklike Laser Portable 2.0 User manual

sparklike
sparklike Laser Portable 2.1 User manual

sparklike
sparklike GasGlass User manual

sparklike
sparklike GASGLASS HANDHELD V2 User manual

sparklike
sparklike Handheld 3.0 User manual

sparklike
sparklike Handheld 3.0 User manual

sparklike
sparklike Handheld User manual

sparklike
sparklike Gasglass handheld User manual